 Free shipping on orders over £29,85

How to use bodywork resin sheets?
A straightforward guide for repairing and reinforcing surfaces


Resin sheets and films provide a reliable solution for repairing, reinforcing, and protecting bodywork surfaces—especially in automotive and DIY repair projects. This guide will take you through every step of using bodywork resin sheets, ensuring robust and long-lasting results, whether you’re tackling vehicle bodywork, patching holes, or safeguarding surfaces during resin use.
What You’ll Need
- CROP 2K Fiberglass Putty – 750 ml + Hardener – for filling and strengthening damaged areas.
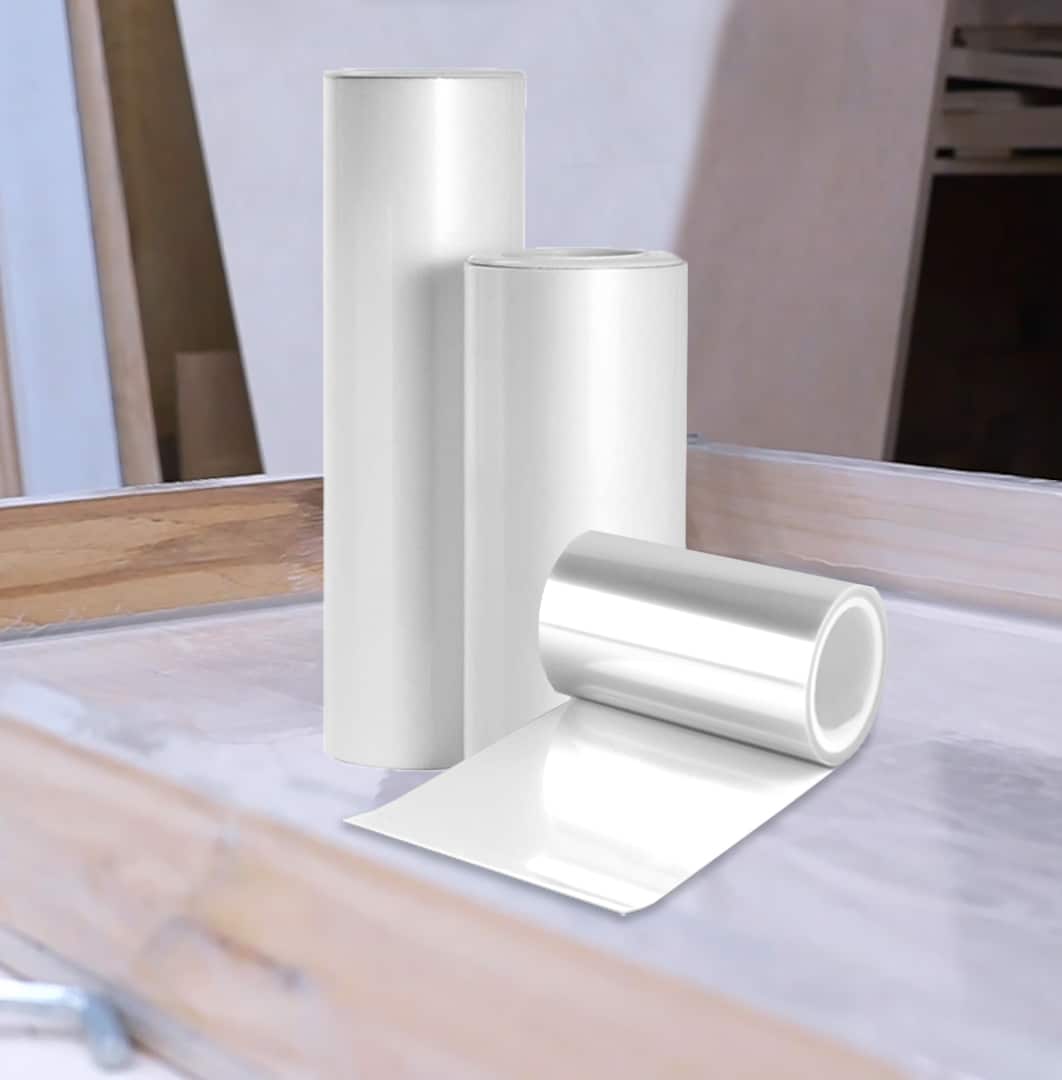
- Protective Sheet Film for Resin Projects, 4x4m Surface Cover – to shield your workspace from drips and spills.
- “Shiny Shield” – Glossy Release Film for Resin Projects – for lining moulds or achieving a high-gloss, easy-release resin finish.
- Sandpaper (various grits)
- Mixing tools
- Protective equipment (gloves, eyewear, mask)
- Cleaning materials (cloth, suitable solvent)

Workspace safety and sheet cutting
Clean, protected workspaces and precise sheet cutting make all the difference in bodywork repairs. Keep all surfaces covered with leak-proof sheets and trim sheets neatly before use.
Step 1: Prepare and Protect the Work Area
Begin by selecting a clean, well-ventilated workspace. Remove any loose paint, dirt, or rust from the area to be repaired using sandpaper or a wire brush. This helps the resin and sheets bond more effectively and ensures a smooth finish. Next, cover surrounding surfaces with a protective film to prevent accidental resin spills or dust contamination.
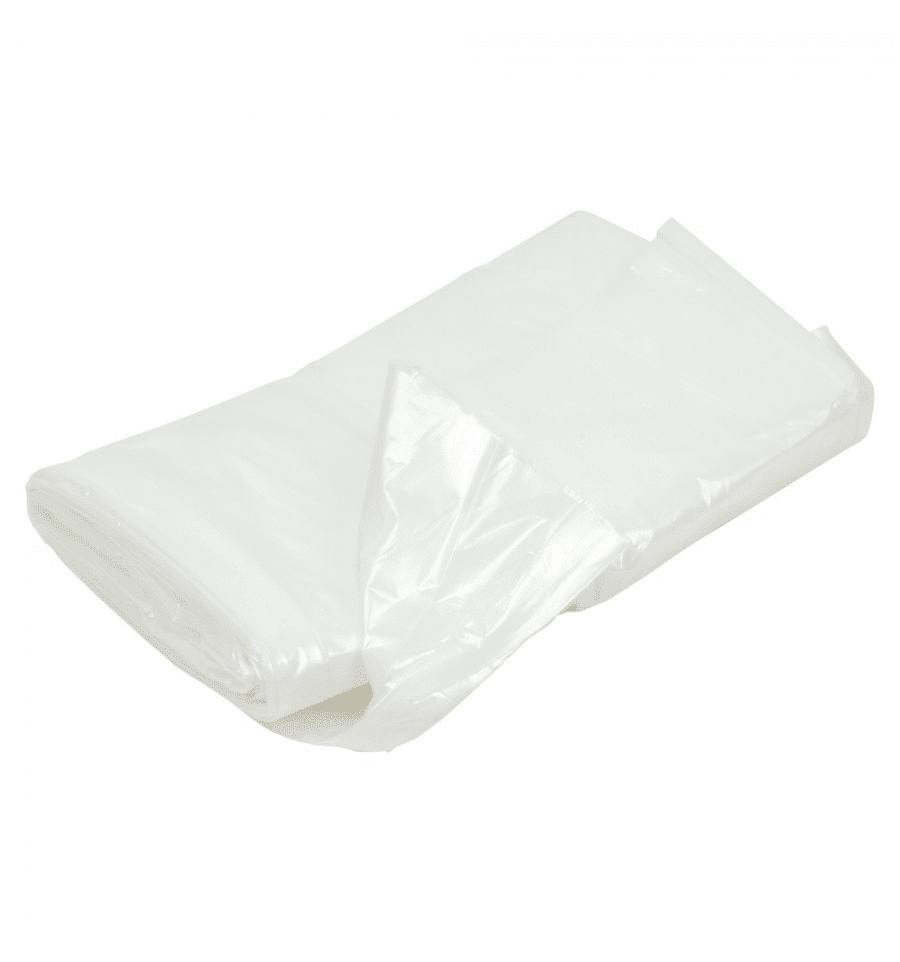
Protective Sheet Film for Resin Projects, 4x4m Surface Cover is ideal for safeguarding your workspace, offering an easy-to-apply, leak-proof barrier.
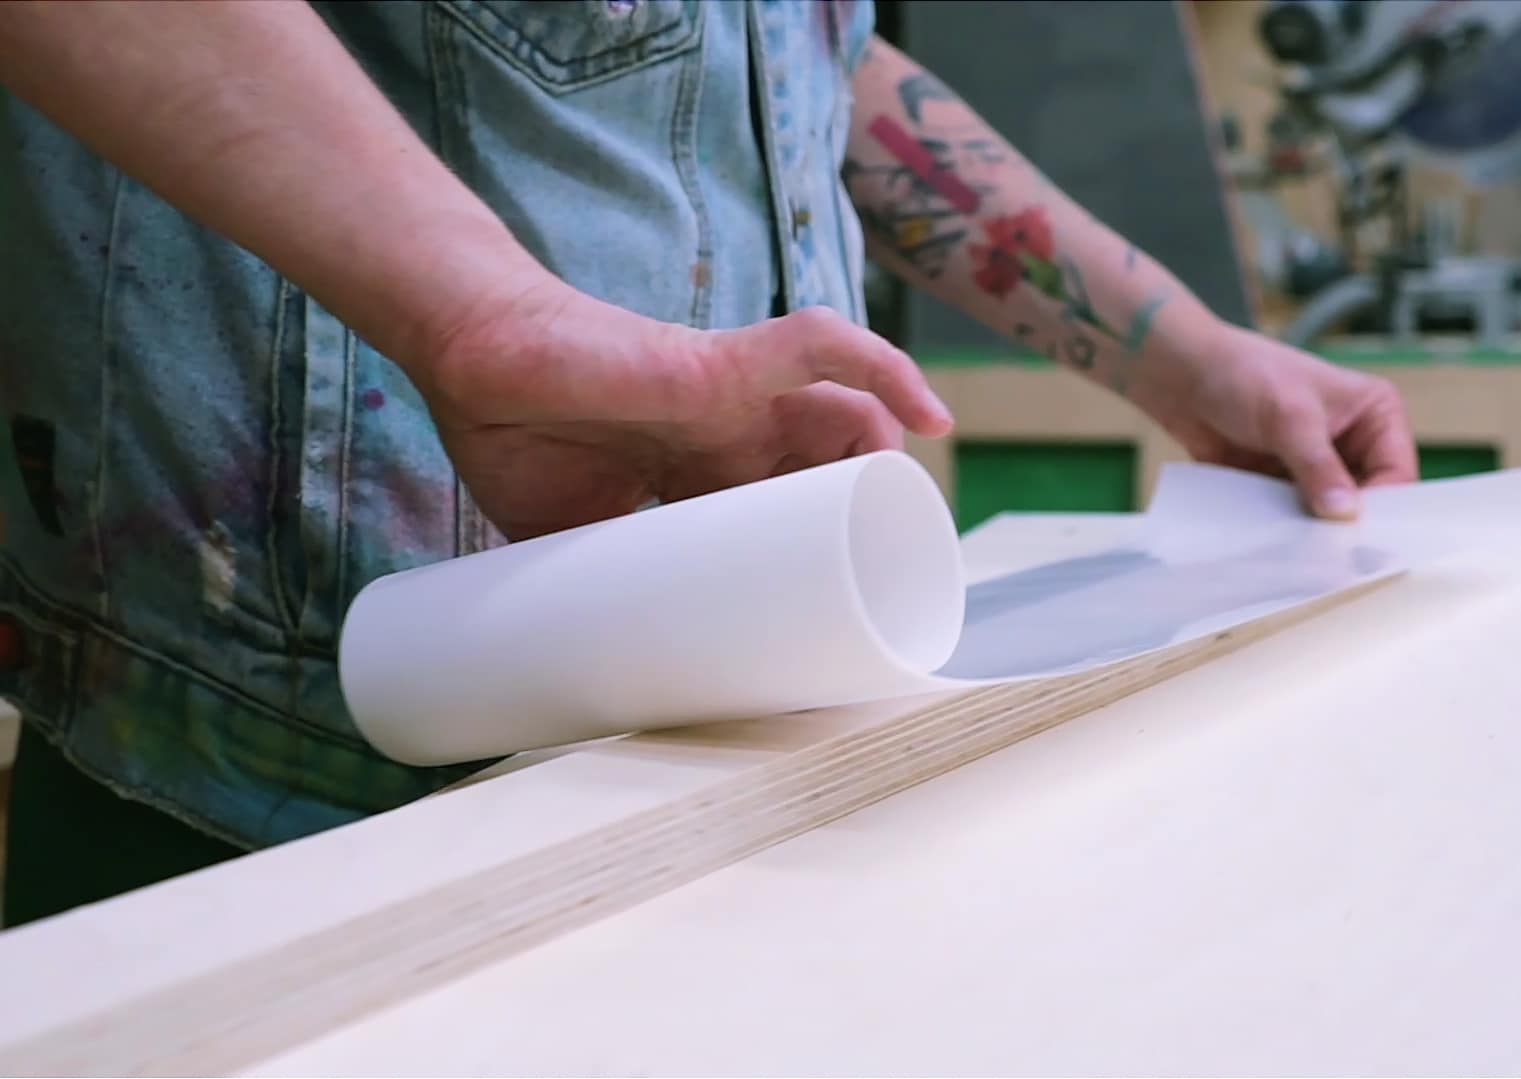
Step 2: Measure, Cut, and Dry-Fit the Resin Sheet
Lay out the resin sheet or film to match the area you wish to reinforce. Use scissors or a craft knife to cut the sheet to size, ensuring overlap beyond the damaged region for a secure fit. Dry-fit the sheet to verify coverage and make adjustments as needed before applying any adhesives or resins.
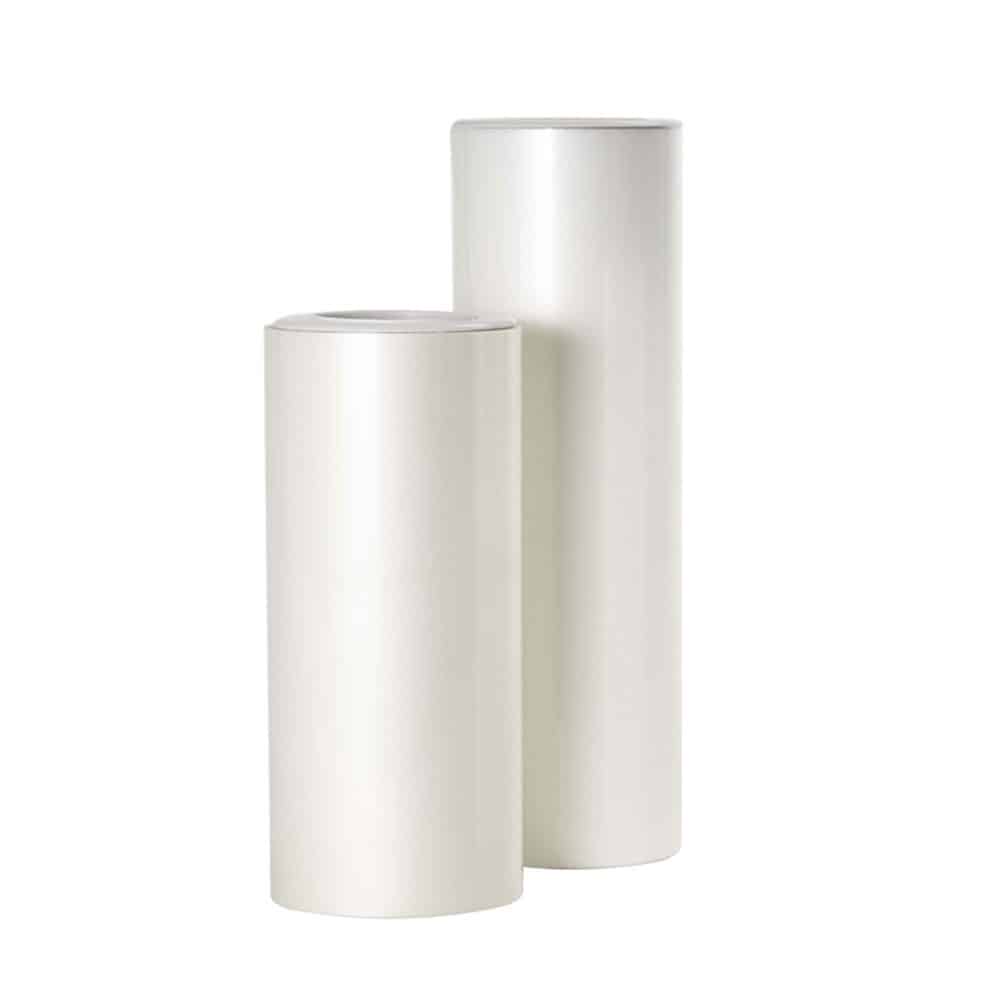
At this stage, if you require a high-gloss finish or need to line a mould, consider using the “Shiny Shield” – Glossy Release Film for Resin Projects, which provides a perfectly smooth and easily removable surface.
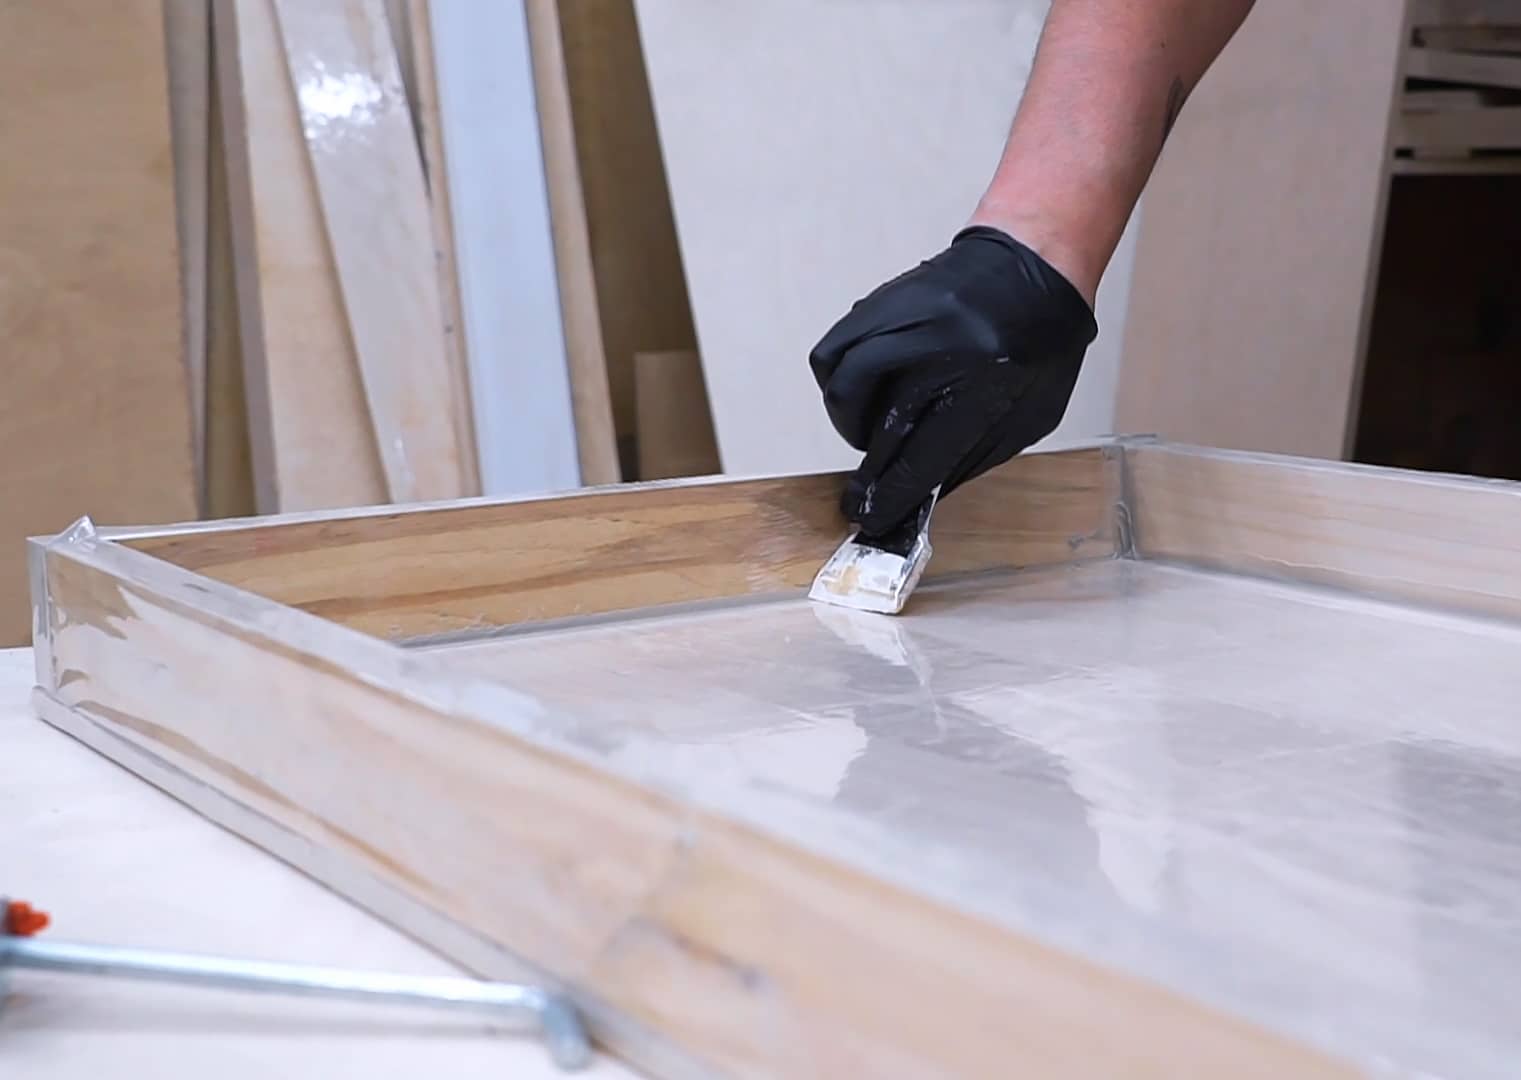
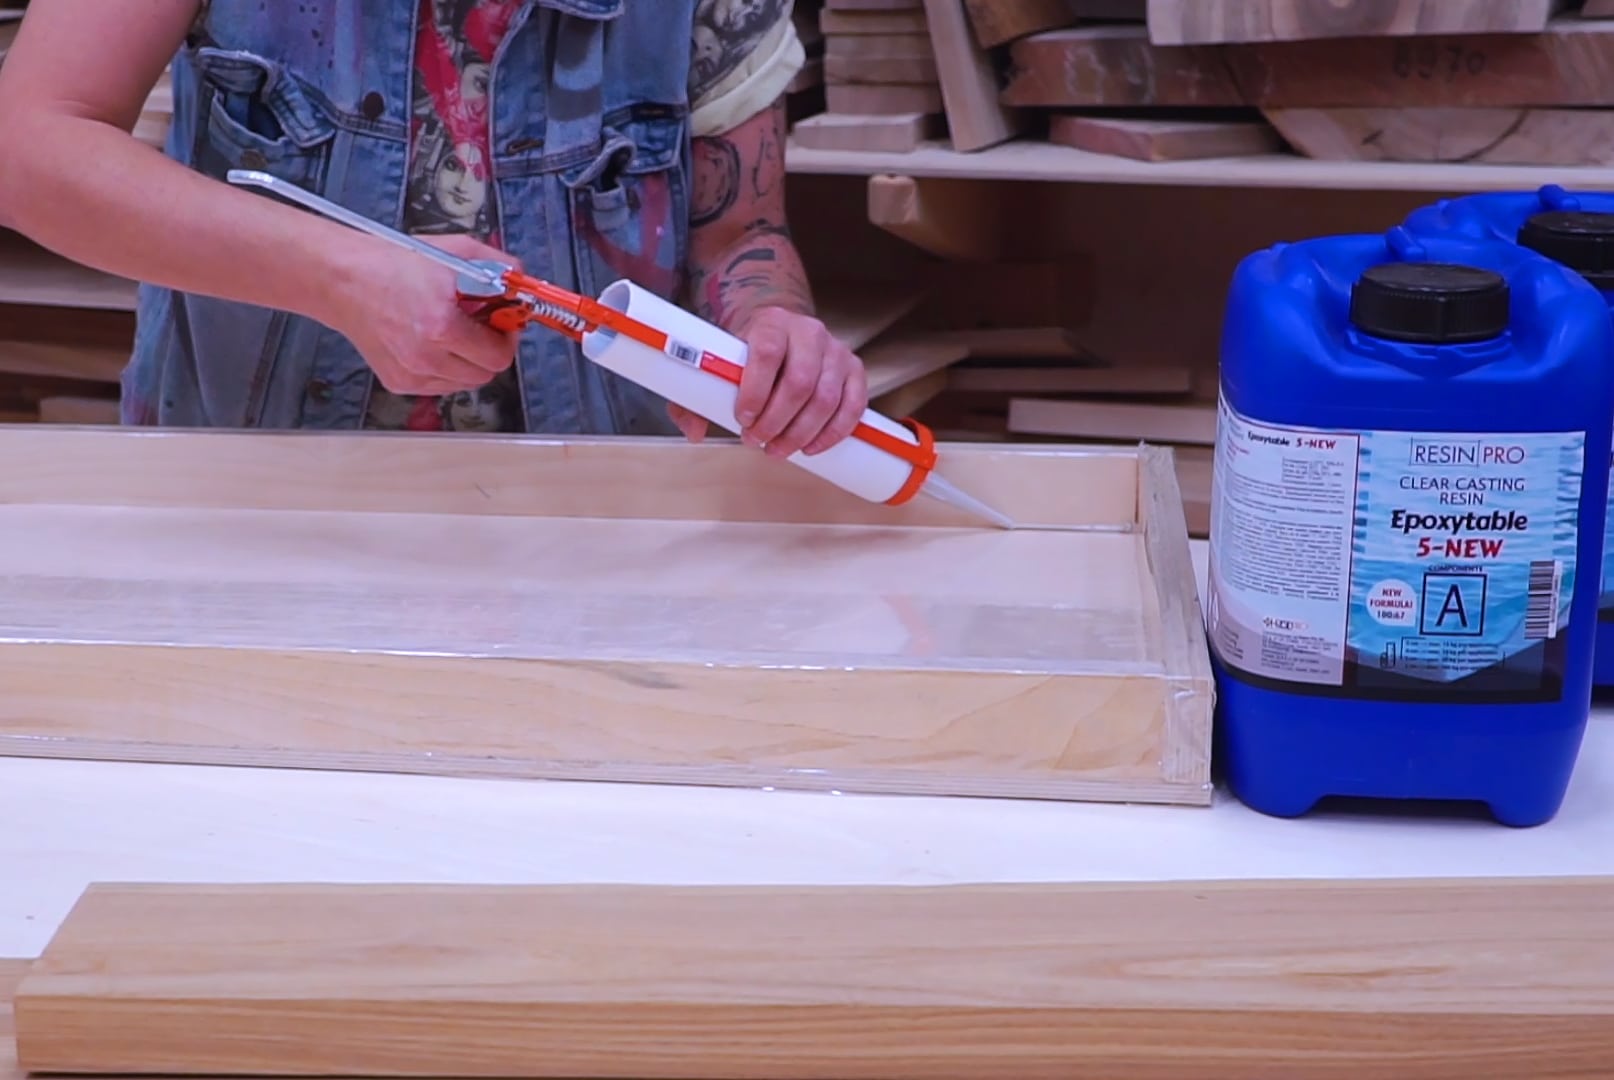
Step 3: Mix and Apply Resin or Putty Safely
Mix your resin or fibreglass-reinforced putty according to the manufacturer’s instructions. Adhere to recommended ratios and mixing times to achieve the right consistency and full strength. Apply a generous layer to the prepared surface, pressing the resin sheet firmly in place and smoothing out any bubbles or wrinkles.
For deeper cracks or holes, use CROP 2K Fiberglass Putty – 750 ml + Hardener as your filling material. This ensures optimum strength and durability, especially for vehicle bodywork or heavy-duty repairs.
Step 4: Cure, Finish, and Inspect
Allow the resin or putty to cure fully based on the product’s guidelines. During curing, keep the area clean and avoid disturbing the repair. Once the resin is completely set, sand the surface to remove any unevenness or sharp edges. Inspect your work closely—if required, apply a second layer or additional finishing for a seamless result before priming and painting.
Removal of release films (if used) will reveal a smooth, glossy surface, minimising the need for further finishing work.
Tips, Pitfalls, and Troubleshooting
Always wear gloves and protective eyewear to avoid irritation from resin and dust. Allow proper curing time for each product used—rushing the process can lead to weak repairs or a tacky finish. Avoid over-application of resin or putty, as it can create lumps or slow curing. Keep surfaces dust-free, and check that each sheet is fully embedded in the resin for optimal bonding. If bubbles form, gently roll or squeegee them out before the resin sets. Should you encounter peel or poor adhesion, check for surface contamination or incorrect mixing ratios.
Finishing for a lasting repair
Smooth sanding and thorough inspection after curing ensure your repair blends seamlessly. For projects needing a gloss finish, a release film is ideal for effortless demoulding and optimised results.
- CROP 2K Fiberglass Putty – 750 ml + Hardener£15.85CROP 2K Fiberglass Putty is designed for bodywork repairs, suitable for cracks, dents, and deep cavities with a reinforced formula.
- Protective Sheet Film for Resin Projects, 4x4m Surface Cover£3.00Protective Sheet Film helps shield surfaces during resin and DIY projects with a lightweight, durable design.
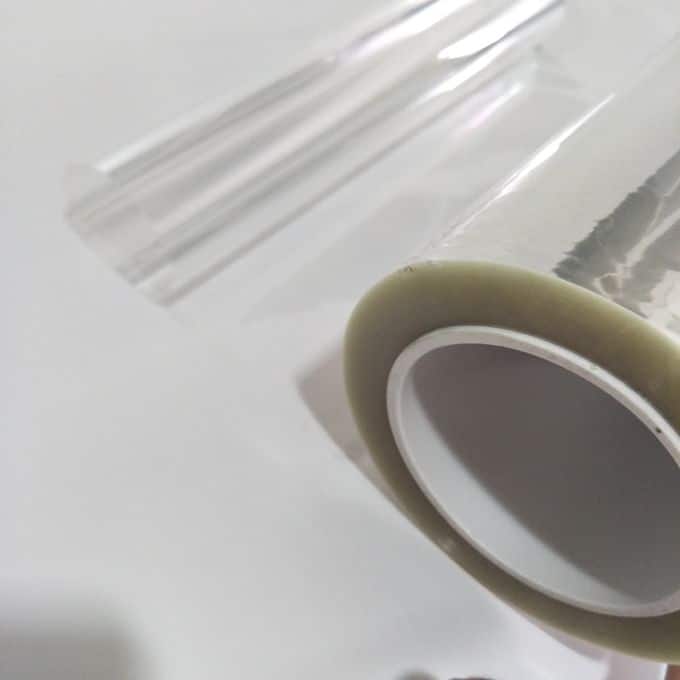
- "Shiny Shield" – Glossy Release Film for Resin ProjectsPrice range: £3.45 through £12.95Self-adhesive glossy release film designed for epoxy resin mould lining. Provides a bubble-free, flat, high-gloss surface without sanding.
Frequently Asked Questions
Can you use resin sheets on car bodywork?
Yes, resin sheets and fibreglass putties are commonly used for repairing and reinforcing car body panels with lasting results.
Do you need to use a release film for resin repairs?
A release film helps achieve a flawless, high-gloss finish and makes it easier to remove cured resin from moulds or frames.
How long should resin cure after application?
Curing times vary by product but typically range from a few hours to overnight. Always follow the specific instructions provided.
Can the protective sheet be reused for multiple projects?
Yes, many protective sheets are designed for multiple uses as long as they remain clean and undamaged.
What is the best way to avoid bubbles under the resin sheet?
Apply resin evenly and use gentle rolling or pressing to remove any trapped air before curing.