 Free shipping on orders over £29,85


how to work with resin sheet video
A hands-on pathway to resin sheet mastery with video lessons


Want to unlock the secrets behind stunning resin sheets? Whether you’re crafting vibrant coasters, statement trays, or mesmerising art, video tutorials offer invaluable step-by-step instruction. This guide will walk you through how to safely and effectively work with resin sheets by using detailed video resources, helping beginners and enthusiasts create beautiful resin decor projects in their own workspace.
What You’ll Need
- Free Step-by-Step Lesson “Kiwi Coasters” by Natalia Natirum – Discover techniques for creating playful fruit-inspired resin coasters and trays.
- Free Step-by-Step Lesson – “Pomegranate Trays” by Natalia Natirum – Explore the artistic process for crafting striking pomegranate resin trays.
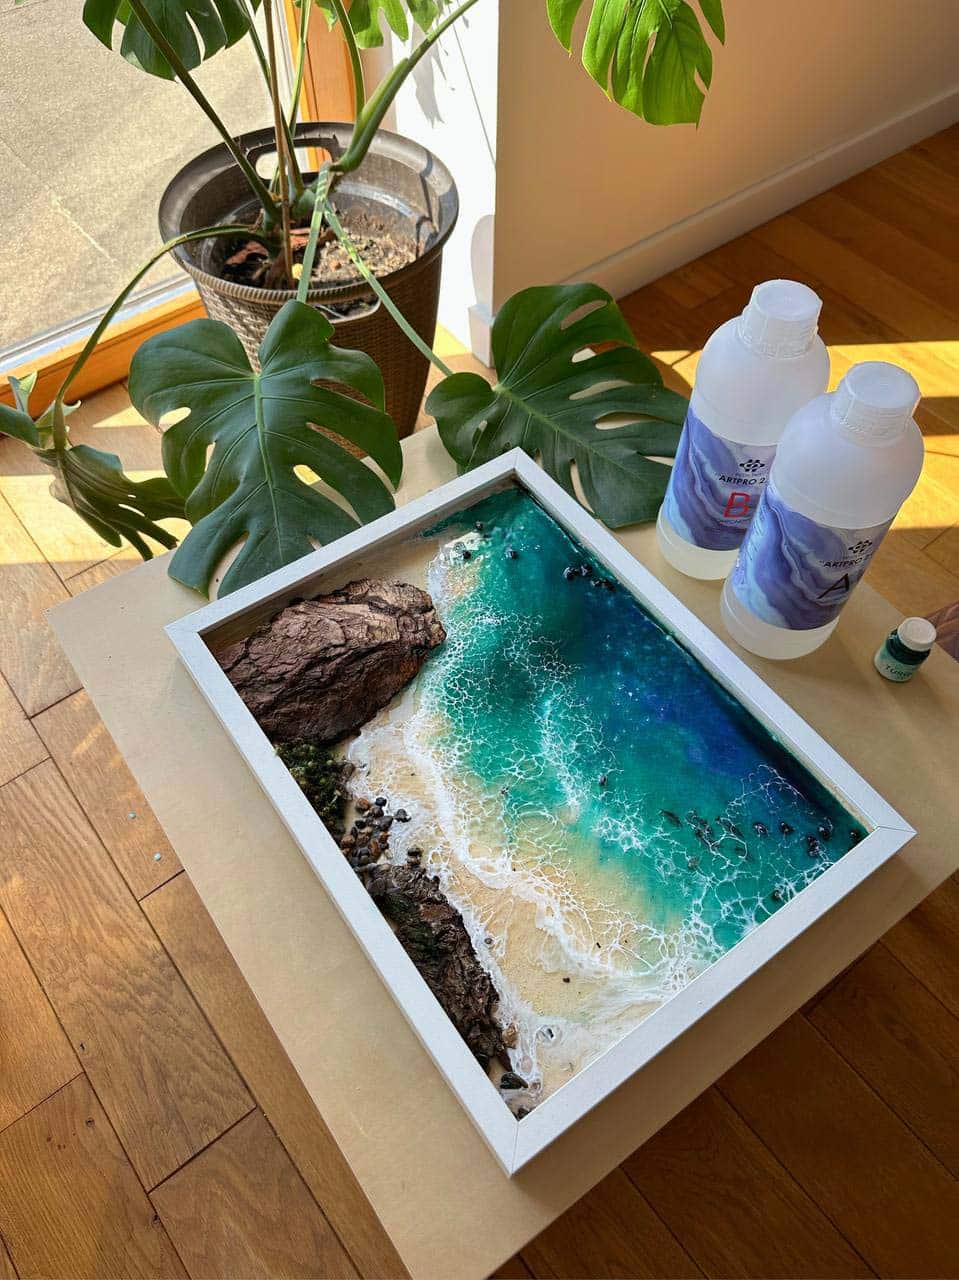
- Free Step-by-Step Resin Ocean Art Lesson by Natalia Natirum – Learn layering and wave effects for spectacular ocean-inspired resin art.
- Online Video Course – Christmas Tree Decorations Masterclass (Instagram Access) – Master four unique decoration techniques perfect for festive projects.
- Resin (as specified in your chosen lesson)
- Moulds or suitable flat surfaces
- Mixing tools (cups, spatulas, gloves)
Watch and Learn: Visual Resin Sheet Guidance
Immerse yourself in intuitive step-by-step video lessons for resin sheet projects. Watching experienced creators like Natalia Natirum in action makes techniques clearer and inspires creativity, offering concrete examples of how to mix, pour and finish resin crafts.

Step 1: Prepare Your Workspace and Materials
Before pouring any resin, it’s essential to organise your workspace and gather all required materials. Always follow safety instructions when working with resin. Work in a well-ventilated space to ensure safe resin handling. Cover your surface with masking tape or a non-stick surface to protect your workspace and lay out your mixing tools, resin, hardener, and decorative elements for easy access. If you’re following a lesson such as the Online Video Course – Christmas Tree Decorations Masterclass (Instagram Access), review the course material to check you have everything before starting.
Step 2: Measure and Mix the Resin Properly
Accurate measuring and thorough mixing are the foundation of any successful resin sheet. Refer to the proportions recommended in your chosen video lesson. Mix resin and hardener thoroughly but gently to reduce bubbles. Pour both parts into a clean mixing cup, stir slowly, and scrape the sides and bottom to ensure a homogenous blend. Bubbles are normal, but working patiently minimises unwanted cloudiness or weak spots in your piece. Some tutorials like Free Step-by-Step Lesson – “Pomegranate Trays” by Natalia Natirum offer specific advice on stirring and settling for the best results.
Step 3: Pour and Shape Your Resin Sheet
Next, gently pour the resin mixture into your prepared mould or onto your desired substrate (like MDF for artwork or silicone for coasters). Follow the visual guides on spreading, layering, or manipulating the resin to achieve different effects–from ocean waves as shown in the Free Step-by-Step Resin Ocean Art Lesson by Natalia Natirum to fruit patterns in the Kiwi Coasters project. Temperature and humidity can affect curing times and results, so always pour in optimal conditions recommended in the video for consistent outcomes.

Step 4: Curing, Demoulding and Finishing Touches
Once poured, cover your project to protect it from dust, then allow it to cure undisturbed for the duration shown in your selected lesson. Allow adequate curing time for stable, bubble-free resin sheets. When fully hardened, gently demould and inspect your piece. Refer to Free Step-by-Step Lesson “Kiwi Coasters” by Natalia Natirum for tips on adding finishing touches—like sanding edges, adding backings, or polishing for glassy depth.

Tips, Troubleshooting and Common Mistakes
Patience and the right setup lead to the best resin sheets. Watch out for common pitfalls such as mixing too quickly (which creates bubbles), working in a damp environment (which can cause blooming or sticky surfaces), or demoulding too soon (leading to warped pieces). If your project has surface imperfections, most video classes include fixes like gentle sanding and a final clear coat. When in doubt, rewatch the video section relevant to your step.
Test new techniques on a small surface first and adjust settings as you become more confident. Use lessons from the Masterclass page for deeper dives and advanced troubleshooting.
Mastering Details: Common Issues in Video Tutorials
Don’t be discouraged by mistakes—use video pausing and replaying to master every stage. Visual guides provide solutions to curing issues, surface flaws or demoulding mishaps, so you can confidently refine your results with each attempt.

- Free Step-by-Step Lesson "Kiwi Coasters" by Natalia NatirumOriginal price was: £99.00.£0.00Current price is: £0.00.Video tutorial on making resin trays and coasters resembling kiwi, suitable for following resin sheet techniques.
- Free Step-by-Step Lesson – "Pomegranate Trays" by Natalia NatirumOriginal price was: £99.00.£0.00Current price is: £0.00.A free video tutorial guides on creating resin pomegranate trays with the listed materials, suitable for the how to work with resin sheet video theme.
- Free Step-by-Step Resin Ocean Art Lesson by Natalia NatirumOriginal price was: £99.00.£0.00Current price is: £0.00.A free video tutorial demonstrating how to create Resin Ocean Art, suitable for the how to work with resin sheet video theme.
- Online Video Course – Christmas Tree Decorations Masterclass (Instagram Access)£19.85Online video course providing step-by-step guidance on creating Christmas tree decorations using resin techniques.
Frequently Asked Questions
What is the best type of resin for sheet crafting?
Medium viscosity resins like Art Pro are commonly recommended for manageable pouring and curing in sheet projects.
How can I avoid bubbles when making resin sheets?
Stir resin and hardener gently, pour slowly, and let the mixture rest for a few minutes before pouring to minimise bubbles.
Can I use household tools for resin crafts?
Some items like plastic cups and wooden sticks work well, but always use dedicated tools that will not be reused for food to ensure safety.
What surfaces are best for pouring resin sheets?
Non-stick moulds, silicone mats, MDF, or pre-treated wood are ideal bases for resin sheet projects.
How long should resin sheets cure?
Curing times vary but typically range from 12 to 48 hours depending on resin type, temperature, and humidity.
How do I fix mistakes on a cured resin sheet?
Surface flaws can be sanded back and recoated with a clear layer of resin for a smooth finish.
Can I layer multiple colours in resin sheets?
Yes, just allow partial curing between layers for distinct effects, as explained in most resin video tutorials.