 Free shipping on orders over £29,85


← Back to How to sculpt with epoxy putty?

For smooth, long-lasting results when sculpting with epoxy putty, the way you prepare your surface is just as important as the sculpting itself. Whether you’re working on repairs, art, or modelling, getting this first step right will help your putty adhere and shape beautifully.
Cleaning and Degreasing the Surface
Begin by thoroughly cleaning the area you intend to work on. Remove any dust, oils, wax, or loose debris using a mild detergent and water, then rinse and dry fully. For stubborn grease, an alcohol-based cleaner or a specialised degreaser is ideal. Any residue left behind can compromise the bond between the epoxy putty and the surface.


Mechanical Preparation for Enhanced Adhesion
For particularly smooth surfaces such as metal or glass, lightly sand the area to create microscopic grooves. This helps the epoxy mechanically grip the surface for better holding power. Wipe away sanding dust with a lint-free cloth before moving on to application.
Tools to Improve Application
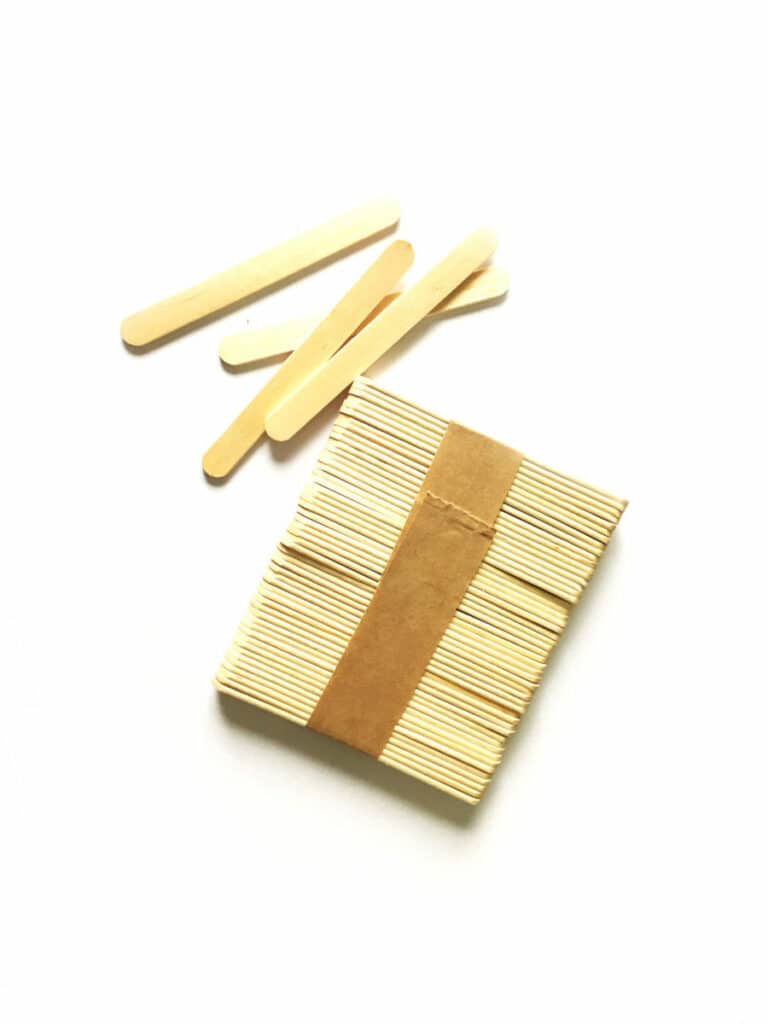
Using the right tools aids not just with sculpting, but also with even and defect-free application. A notched spatula, such as the Tooth Shaped Spatula for Epoxy Resin Application, helps spread your putty consistently, reducing the chance of bubbles and uneven areas. Wooden spatulas can also be helpful for mixing and spreading putty accurately, especially for detailed work and hard-to-reach spots.

Related products
Related guides
Taking the time to clean and prepare your surface gives your epoxy putty sculpture the strongest start. For more tips and in-depth techniques, explore our full guide at How to sculpt with epoxy putty?