 Free shipping on orders over £29,85


← Back to How to remove epoxy resin from tiled wall?

Removing epoxy resin from tiled walls depends on whether it has fully cured or is still tacky. Each situation calls for a different approach, and using the right tools or cleaners can make the job much easier and safer for your tiles.
Uncured (Fresh) Epoxy: Wiping and Gentle Cleaning
If the resin is still liquid or sticky, it can usually be addressed without much difficulty. Immediate action is best—use a soft cloth dampened with a suitable cleaner or a gentle degreaser designed for use on ceramics. Work carefully to avoid spreading the resin further. Always test the cleaner on a hidden area first to ensure it doesn’t damage or discolour your tiles. Dispose of contaminated cloths safely.

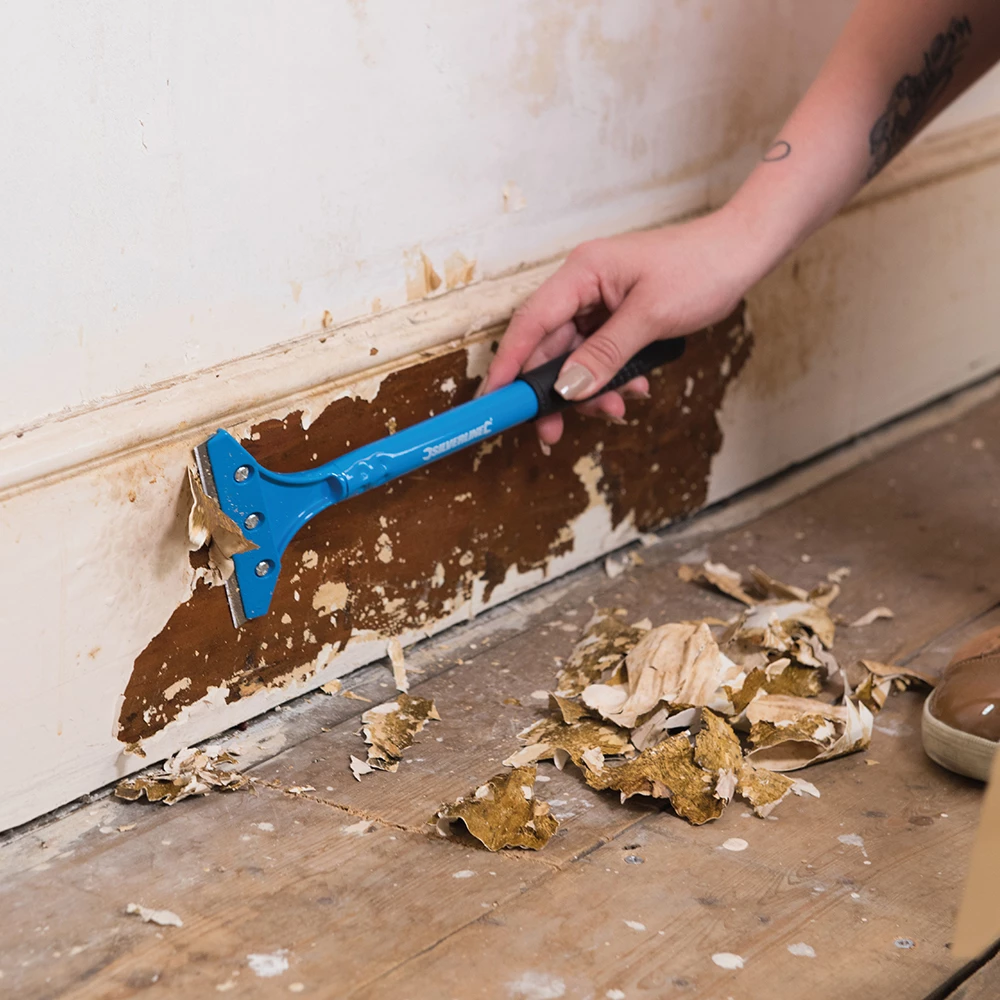
Cured (Hardened) Epoxy: Tools and Elbow Grease
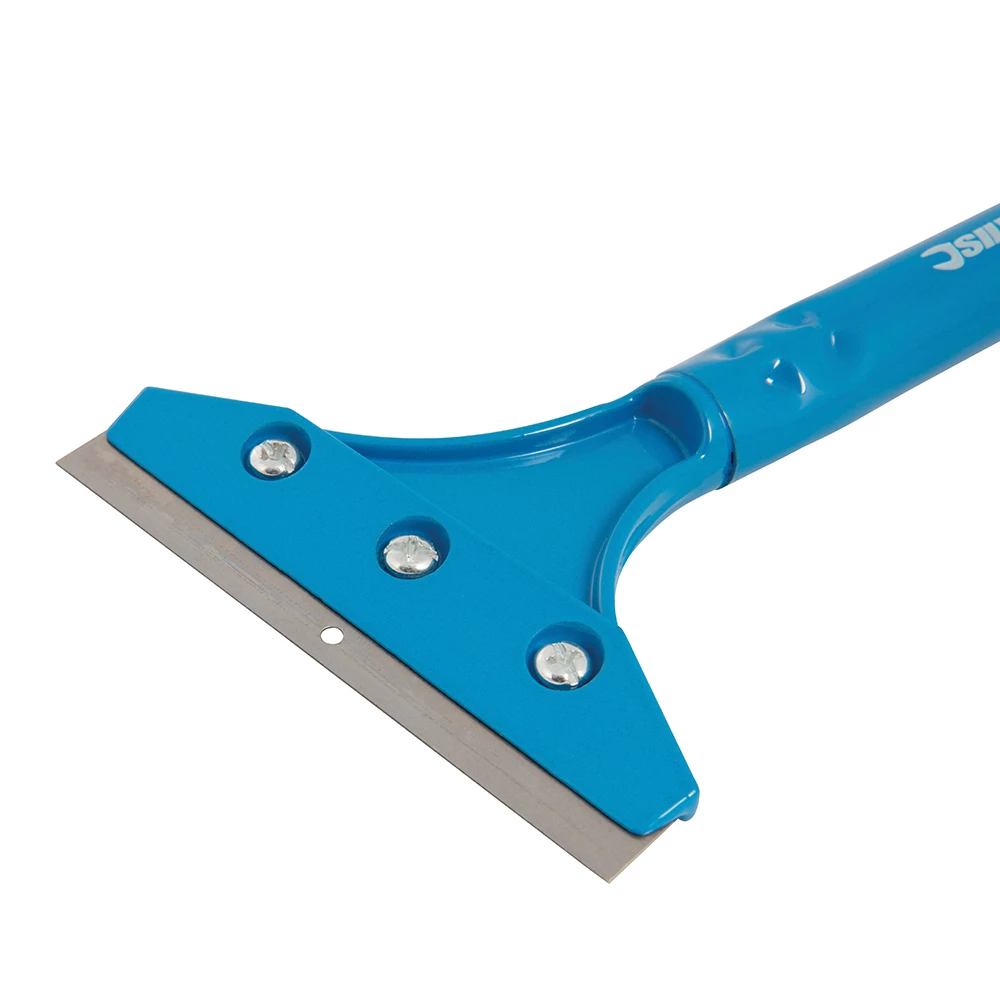
Once epoxy resin has hardened, it bonds firmly to surfaces—making removal a bit more involved. Mechanical methods are typically required. Use a Heavy Duty Scraper for Paint and Epoxy Resin Removal with a sharp blade, keeping the tool at a shallow angle to minimise the risk of gouging tile surfaces. For really stubborn spots or to smooth things down after scraping, fine sanding pads such as Ebonite Abralon Sanding Pads (choose the appropriate grit) can be effective. Work slowly for best results and use protective gloves.
When It Matters: Timing and Surface Care
The sooner you act on fresh spills, the easier and cleaner the removal process will be. Leaving resin to cure hardens your task—delicate tiles are at risk during aggressive scraping. Always use gentle tools and cleaners that suit ceramic, and never use harsh solvents unless certain they’re safe for your wall finish.

Related products
Related guides
Whether cleaning up a recent accident or tackling hardened epoxy on your tiled wall, choosing the right removal method is crucial for protecting your surfaces. For a full overview of methods and more tips, revisit our guide on removing epoxy resin from tiled walls.