 Free shipping on orders over £29,85

← Back to How do you heat epoxy resin?

The timing of when to apply heat to your epoxy resin can be important for achieving a glass-smooth, bubble-free surface. Knowing exactly when to introduce heat during resin work helps ensure the best possible finish.
Ideal Moment to Apply Heat
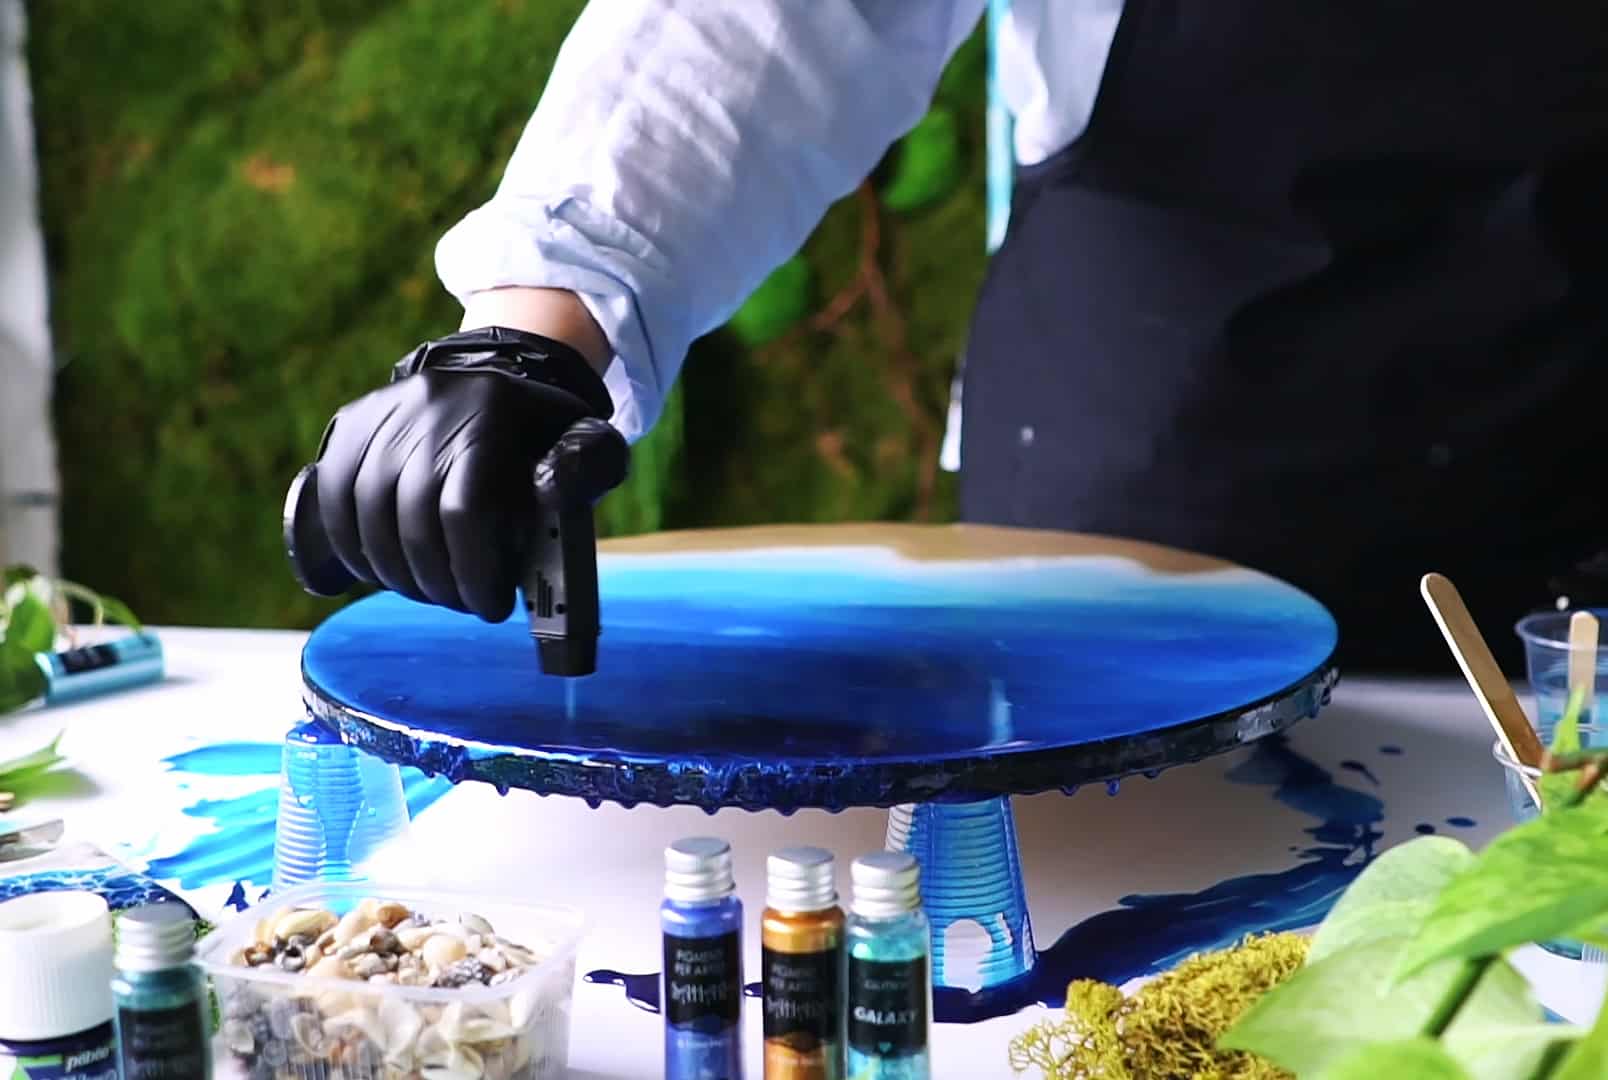
Once you have poured your epoxy resin, closely observe the surface as bubbles start to rise. This is the optimum time to apply gentle heat. Applying heat at this stage encourages trapped air to escape before the resin begins to settle or become tacky. Waiting too long may cause the surface to start curing, making it harder to remove bubbles and potentially damaging the finish.
How to Safely Apply Heat
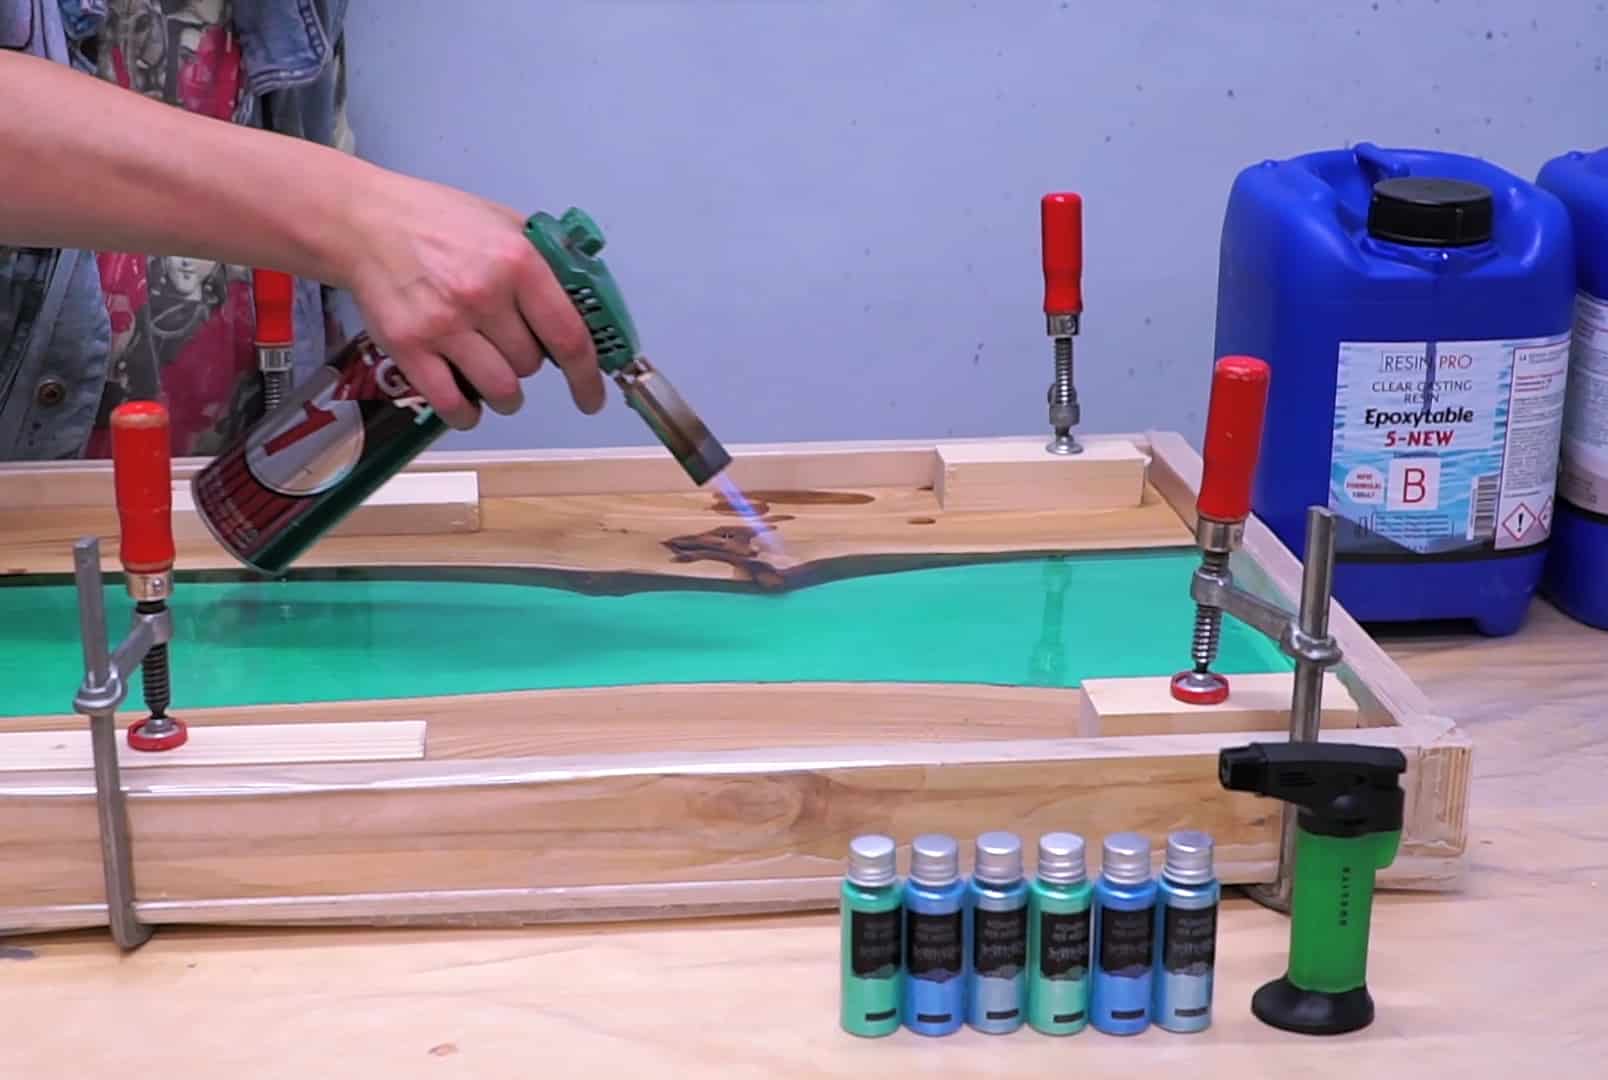
Use a suitable heat source, such as a gas heat gun for resin or a heat gun with adjustable settings. Hold the tool a few inches above the surface and move it in a steady motion to gently warm the resin. Avoid lingering on one spot to prevent overheating. This method is highly effective for minimising imperfections without disturbing your design.
Practical Tips for Best Results
- Work in a dust-free environment with stable room temperature.
- Always heat immediately after pouring and bubble formation but before the resin starts to thicken.
- Choose the right tool for your setup; fans or heaters like the “Rhino” Fan Heater can help regulate workspace temperature, while a heat gun focuses on surface bubbles.

When This Matters Most
Applying heat at the correct time is crucial for clear castings, artwork with embedded objects, or detailed patterns where a flawless surface is desired. This step is particularly important for large pours or moulded pieces prone to bubble formation.
Related products
Related guides
Paying attention to when you apply heat to your poured epoxy resin ensures a professional, clear finish. For more in-depth advice on working with resin, return to our main guide on how to heat epoxy resin.