 Free shipping on orders over £29,85

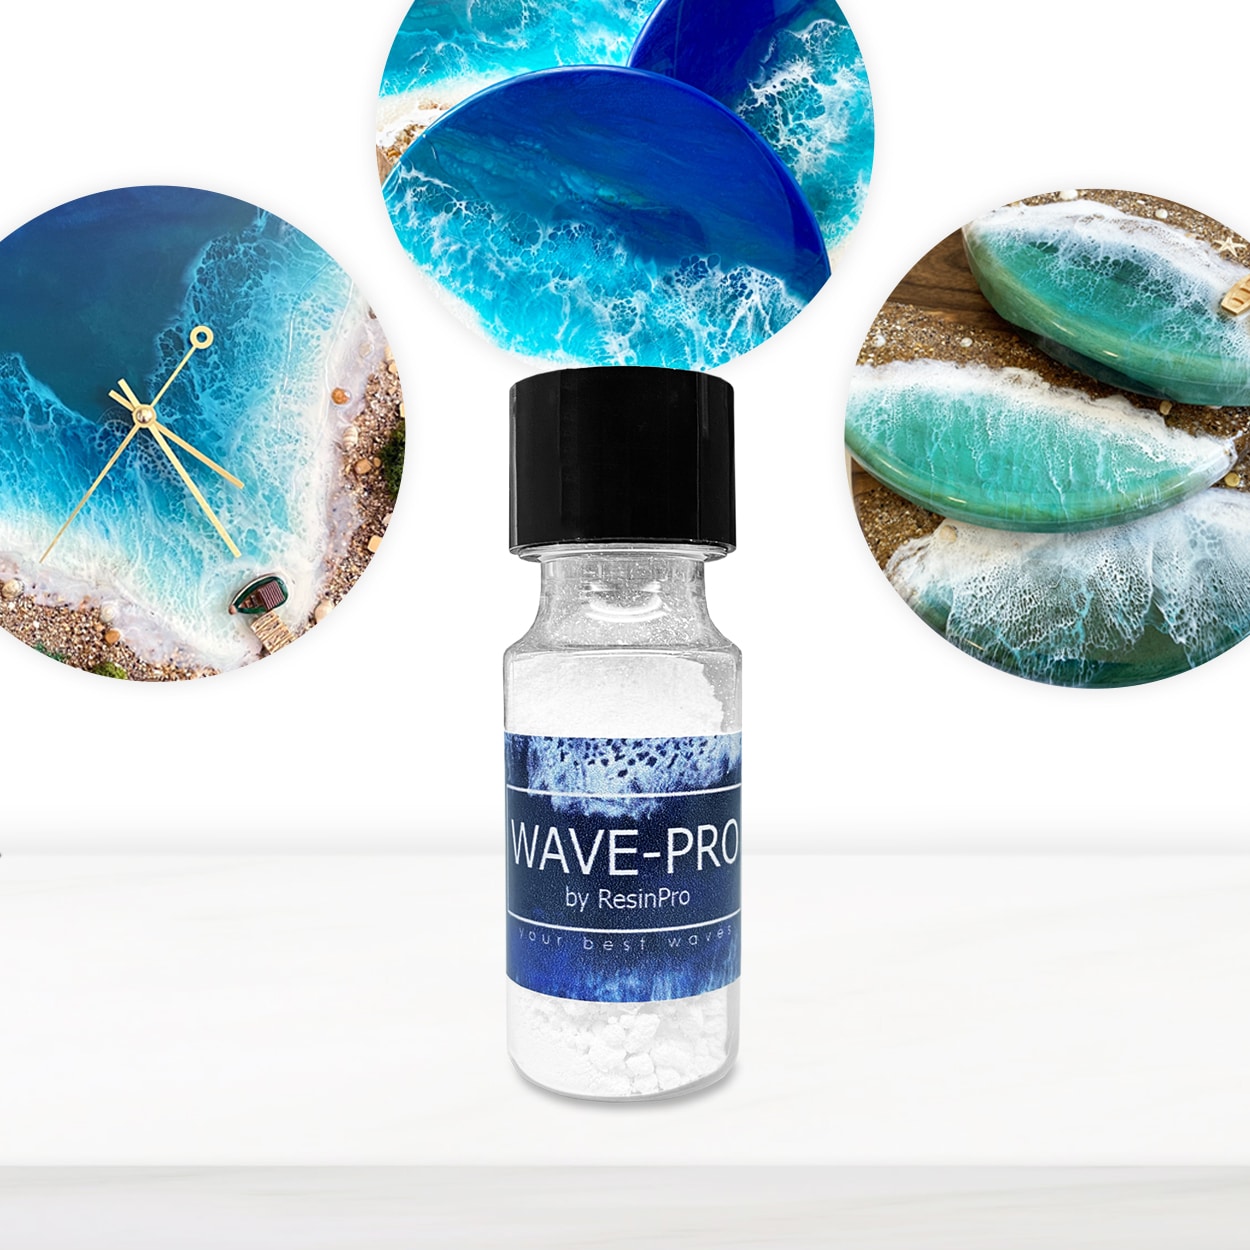
← Back to How to create sea foam effects with epoxy resin?
It can be disappointing when those much-anticipated sea foam cells refuse to develop in your resin art. Achieving beautiful lacy wave effects often comes down to getting several technical details just right. Here’s how to diagnose and fix the issue for truly realistic ocean results.
Check Additive Amount and Mixing
The success of sea foam cells often relies on using the correct amount of wave additive, such as the Wave-Pro Pigment Additive. Using too little may result in faint or absent cell structure, whilst too much can muddy the overall effect. Always measure your additive according to the product’s guidance, and ensure it’s mixed thoroughly, but not excessively, into fluid white resin to maintain good cell separation.
Resin Viscosity and Timing Are Crucial
Low viscosity (runny) resin may cause cells to spread too thinly, while resin that is too thick or setting too quickly won’t allow proper dispersion. For the best results, use a medium to high viscosity epoxy—kits like the “Sea” – Resin Kit for Creating Ocean Art provide an ideal consistency for lacy, dynamic sea foam effects. Apply the wave additive while the surface is still glossy and workable; waiting until the resin starts to set reduces cell formation dramatically.
When This Matters Most
Getting these variables right is particularly important in ocean-inspired pieces where the white foam layer is a focal point. Whether you’re working on coasters, trays, or wall art, addressing the balance of resin and additive ensures realistic, eye-catching wave effects that anchor your piece’s coastal aesthetic.
Related products
Related guides
Perfecting sea foam cells in resin art takes some experimentation, but with a suitable additive, proper resin selection, and mindful timing, you’ll achieve the stunning ocean effects that bring your artwork to life. For more techniques and troubleshooting guides, visit our main sea foam effects hub.