 Free shipping on orders over £29,85

Petri Resin Art Starter Kit – Create Stunning Petri Effect Art at Home
 Available, ready for shipping
 Order now to receive your product between Friday 19 June and Saturday 20 June.
 Shipping from £1.97 - Free for orders over £29.85
£55.85
Wed, 17. Jun
Ordered
Wed, 17. Jun - Thu, 18. Jun
Order Shipped
Thu, 18. Jun - Fri, 19. Jun
Estimated delivery
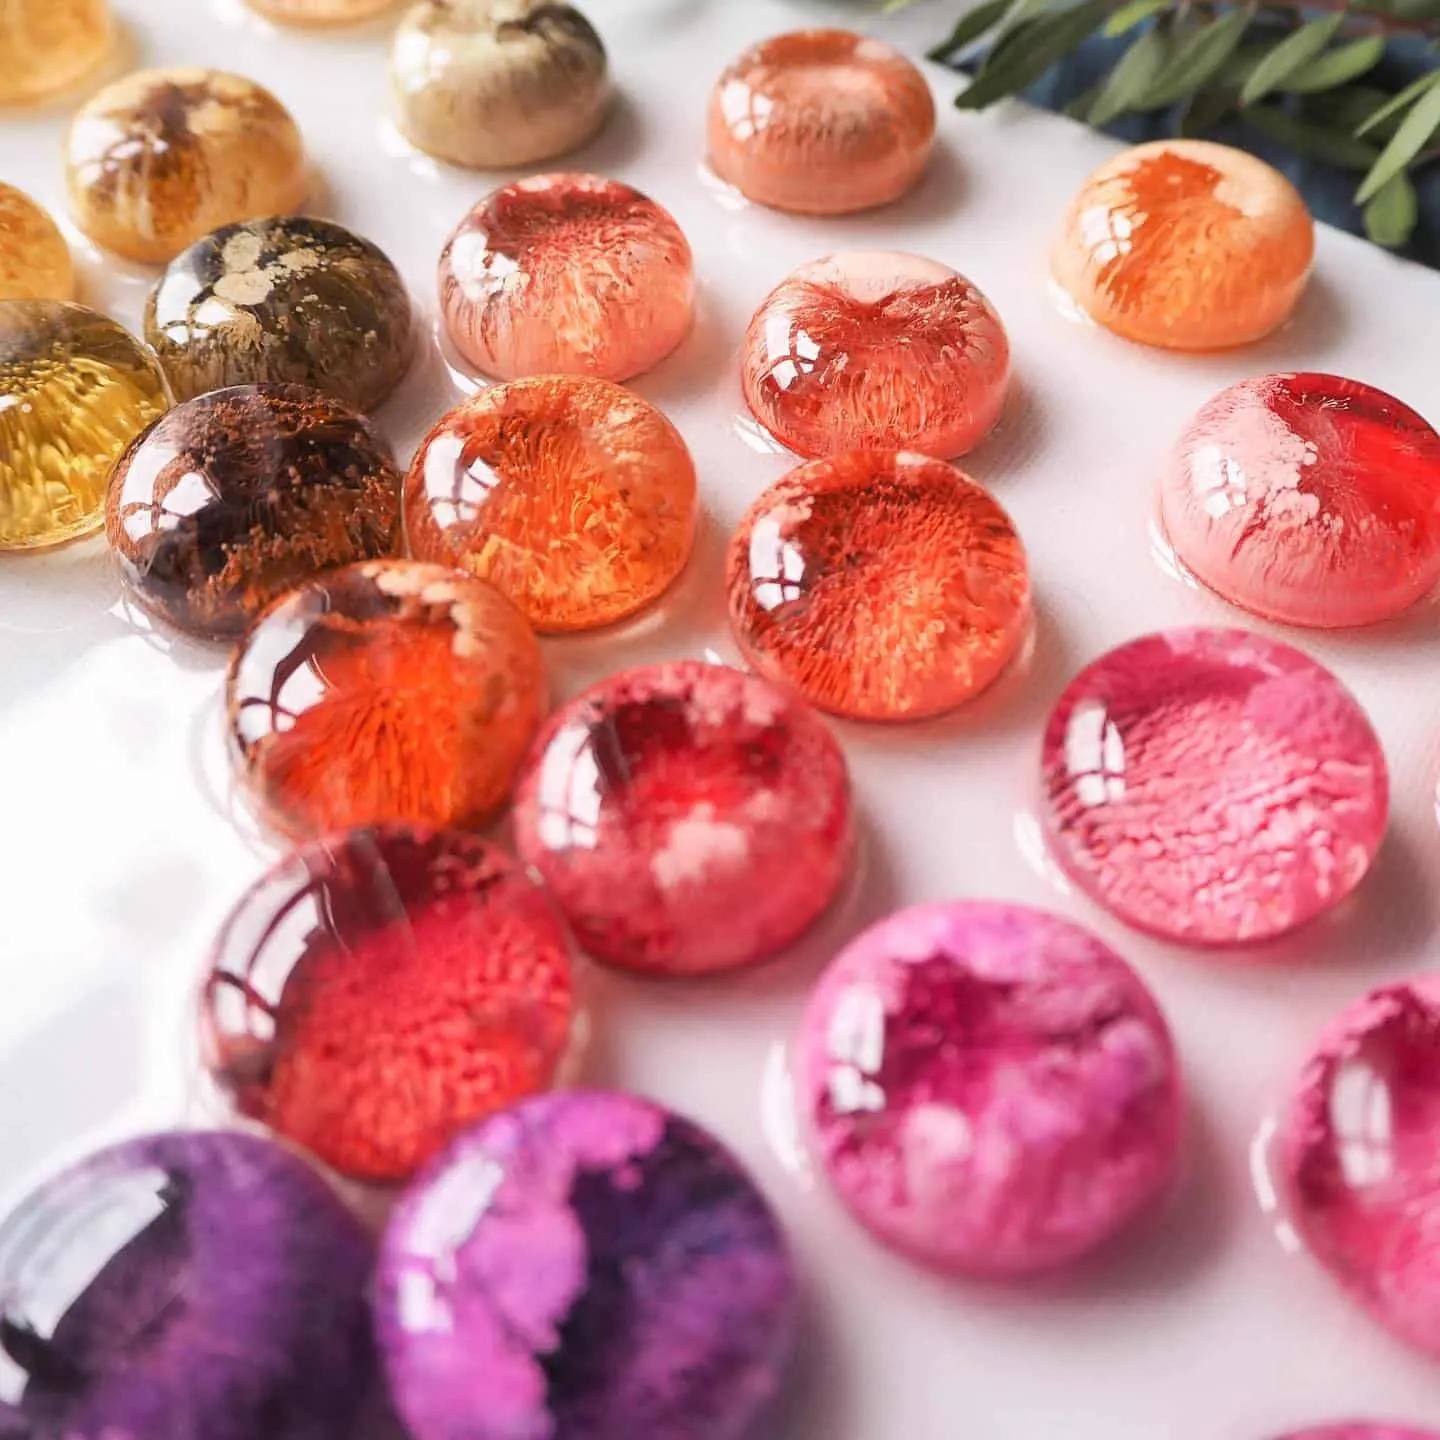
Create eye-catching resin artworks with beautiful flowing colours and unique Petri effects. This complete kit contains everything you need to start making professional-looking resin creations, even if you are a beginner.
✔️ 830 g epoxy resin
✔️ Silicone half-sphere mould
✔️ 5 alcohol ink colours
✔️ Gloves and mixing tools
✔️ Step-by-step instructions
Perfect for creating decorative pieces, jewellery, gifts, and unique home décor. Simply mix, pour, add colour, and watch fascinating patterns appear inside the resin.
Whether you are exploring a new hobby or looking for a creative gift, this kit makes it easy to achieve impressive artistic results.
Start creating your own colourful Petri resin masterpieces today! 🎨✨
Description
Description
This kit contains:
830 g epoxy resin
Silicone half-sphere mould
5 alcohol ink colours
Gloves and mixing tools
Step-by-step guide
Prepare your workspace by covering the surface with a protective plastic sheet. Ensure that the silicone mould is clean, dry, and free from dust. Arrange all materials within easy reach and put on the included disposable gloves before starting.
Mix the epoxy resin according to the ratio of 100:66 by weight. For example, combine 50 g of component A with 33 g of component B. Measure accurately for the best curing results. Stir thoroughly for approximately 3 minutes, scraping the sides and bottom of the mixing cup to achieve a completely uniform mixture. Allow the resin to rest for 2–3 minutes so that trapped air bubbles can rise to the surface.
Slowly pour the mixed resin into the half-sphere cavities of the silicone mould. Fill each cavity evenly for a smooth, professional finish.
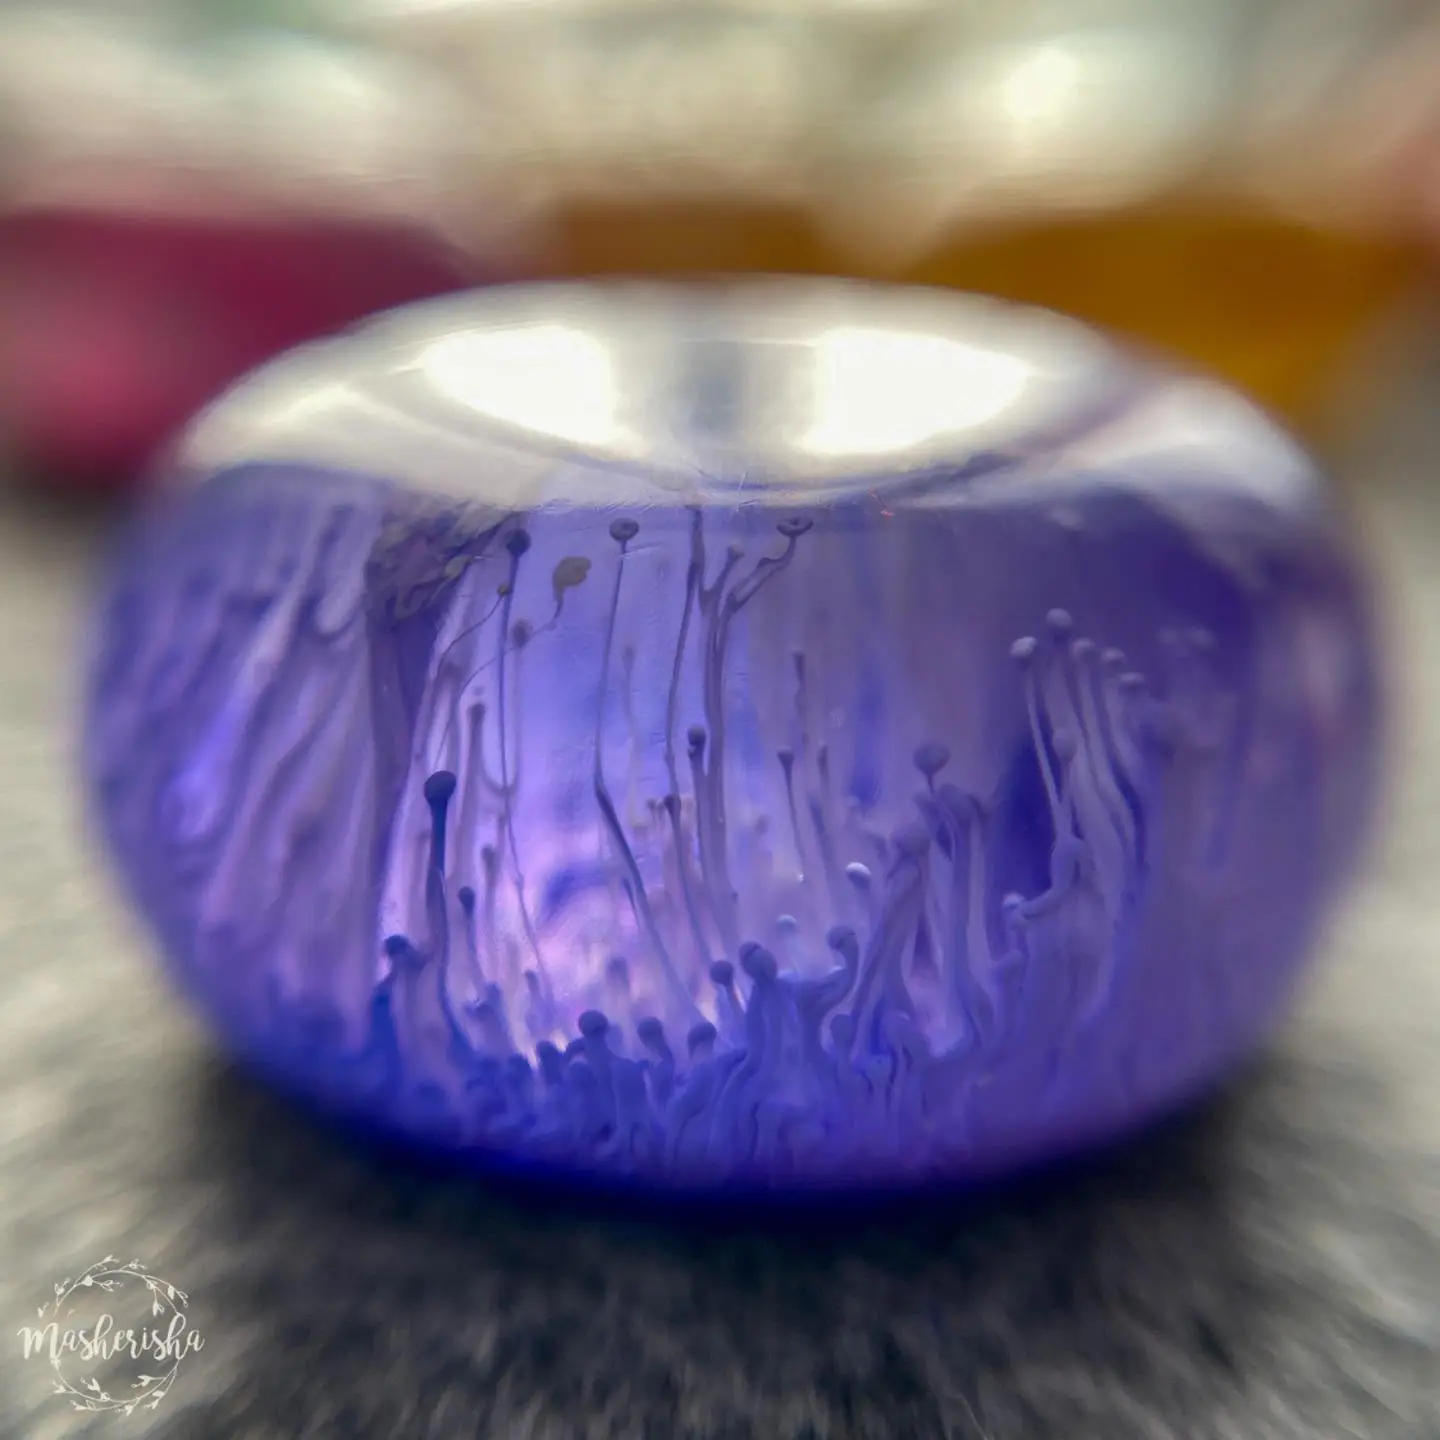
Select one alcohol ink colour (excluding white) and place a few drops onto the resin surface. Next, add several drops of white alcohol ink directly over the coloured drops. As the white ink sinks through the resin, it pulls the coloured pigments downward, creating the signature Petri Dish effect with dramatic depth, delicate tendrils, and organic patterns.
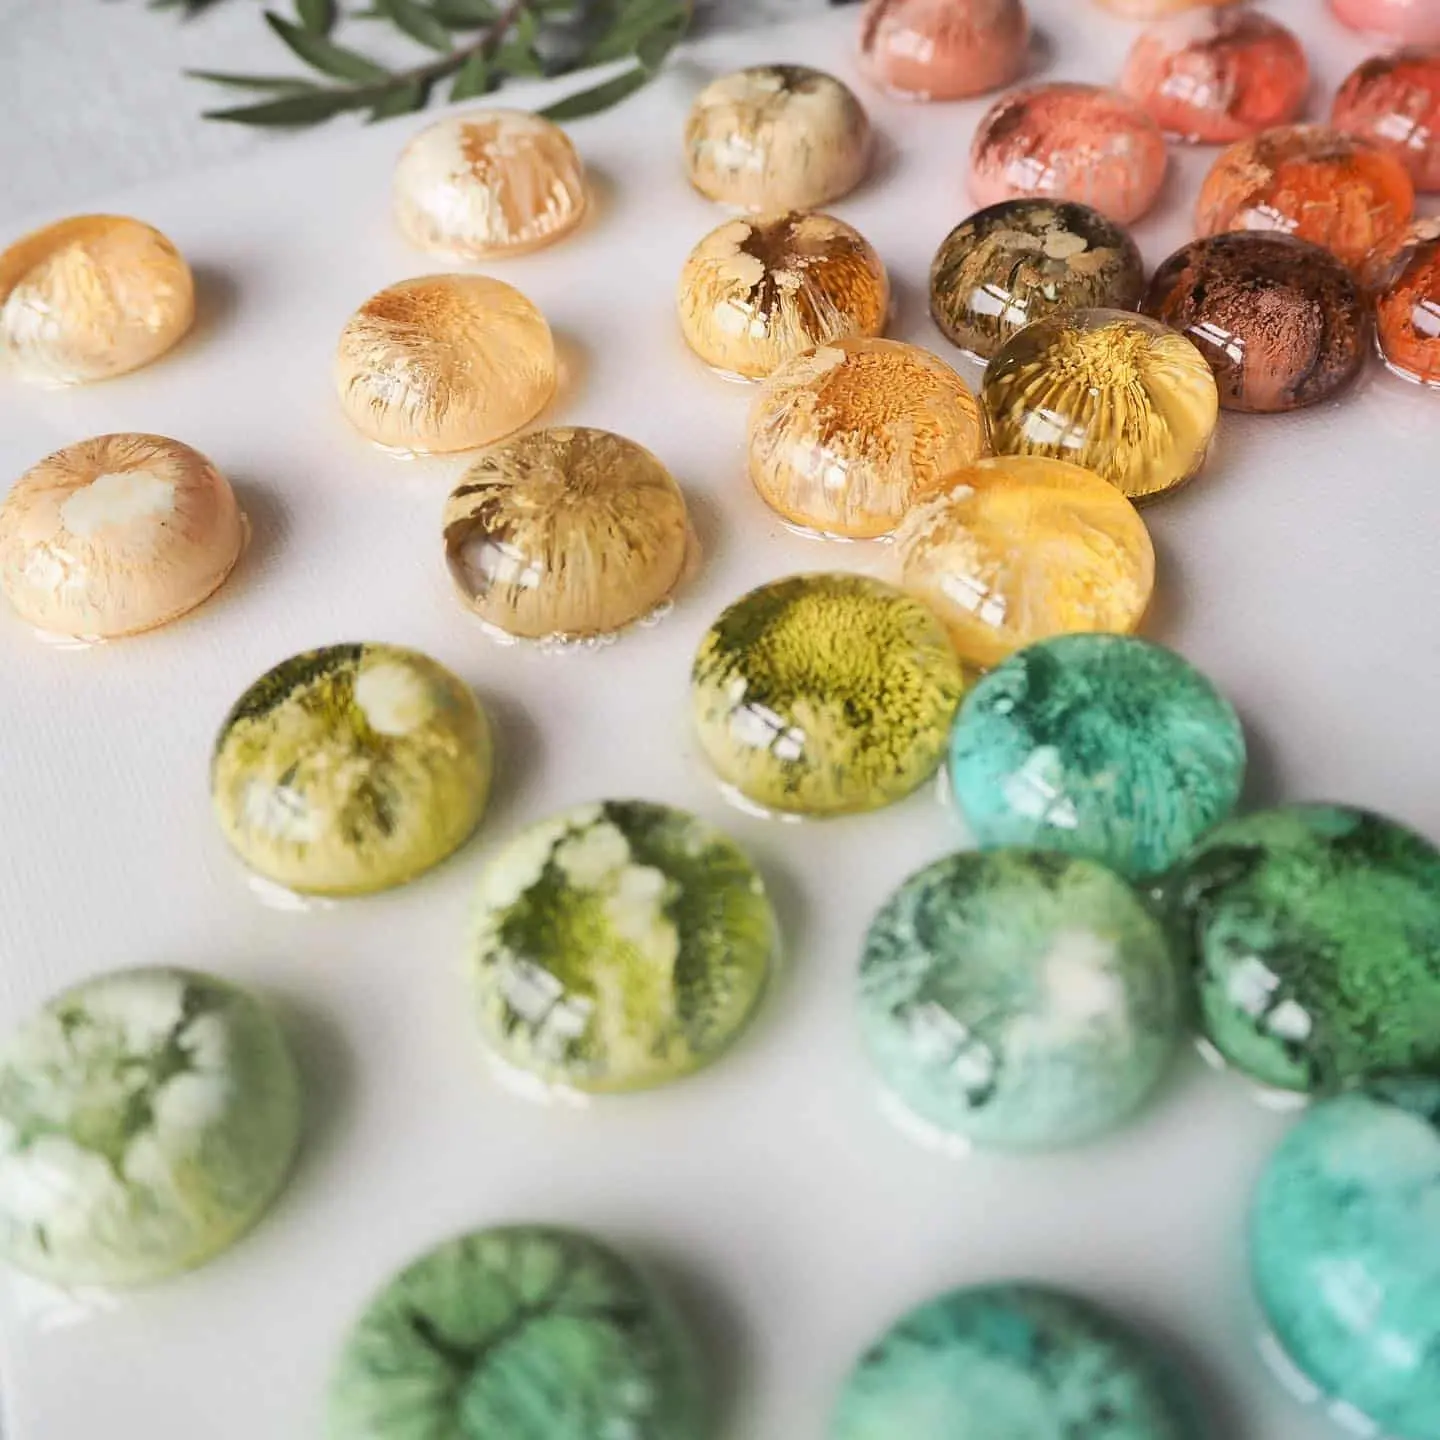
Experiment with different colour combinations by repeating the process with additional inks. Layer colours strategically to create unique designs ranging from subtle marble effects to bold, high-contrast artwork. Every piece will develop its own one-of-a-kind pattern.
Leave the mould on a level surface and allow the resin to cure for 24–48 hours in a dust-free environment. Avoid moving the mould during curing to maintain crisp details and smooth surfaces.
Next steps and creative possibilities
Once the resin has fully cured, gently remove the pieces from the silicone mould. You will reveal beautiful Petri art creations with impressive depth and intricate colour formations. These finished pieces are perfect for personal projects, gifts, or selling as handmade creations.
Creative ideas:
Animal brooches
Use flat animal-shaped moulds and choose ink colours inspired by natural fur, feathers, or scales. The Petri effect adds texture and movement, making each brooch look artistic and unique.
Jewellery making
Transform your resin pieces into earrings, pendants, keychains, bag charms, or statement accessories. The vibrant colours and organic patterns make every item completely unique and highly eye-catching.
Home décor and wall art
Decorate photo frames, decorative boxes, trays, coasters, and other craft projects with your Petri art pieces. Multiple half-spheres can also be arranged on a wooden panel or canvas to create a modern wall display with a luxurious artistic appearance.
Custom gifts
Create personalised handmade gifts for birthdays, holidays, weddings, or special occasions. No two Petri designs are ever identical, making every gift truly one of a kind.
Experimenting with dilution
Adjust the appearance of your Petri effects by changing the consistency of the white ink. Undiluted white ink creates stronger sinking action, larger formations, and dramatic cloud-like effects. Diluting the white ink with alcohol produces finer details, cleaner lines, and more controlled patterns. Experiment with different levels of dilution to develop your own signature style.
Tips for best results:
• Measure resin accurately for proper curing.
• Mix slowly and thoroughly to minimise bubbles.
• Use white ink sparingly at first and add more if needed.
• Test different colour combinations to discover unique effects.
• Allow full curing before demoulding for the best finish.
Enjoy creating professional-looking Petri Dish resin art with endless colour combinations and stunning visual depth. Every project becomes a unique piece of art.
 Instruction
Technical data
Technical data
TECHNICAL DATA
“ART PRO” – Epoxy Resin For Artists & Surface Coating – Medium Viscosity:
- Mix ratio: 100:66 by weight
- Pot-life: (150 gr at 30°C): 24h
- Viscosity: Resin – 800mPas; Hardener – 300mPas; Mix – 500-700mPas
- Full catalysis: 24-36h
- Film catalysis: (1.5 mm at 30°C): 6h
- Demoulding time: 14h
- Maximum pouring level: 1.5-2cm*
- Minimum pouring level: 1.5mm
- Hardness 3-5 days after application: 80 Shore D
- Coverage 1kg: 100*60*0.15cm
- 1sqm consumption (1.5mm thickness): 5kg
* – may vary from the pouring`s conditions (please, read below)
To obtain a cellular effect we recommend using the “Resi-Blast” additive or alcohol-based inks (“Pinàta”, “Jacquard” etc.).
If you have not enough experience, we insistly suggest to make a small test before working with large project.
Reviews
Reviews
COD:
PETRIARTKIT