 Free shipping on orders over £29,85


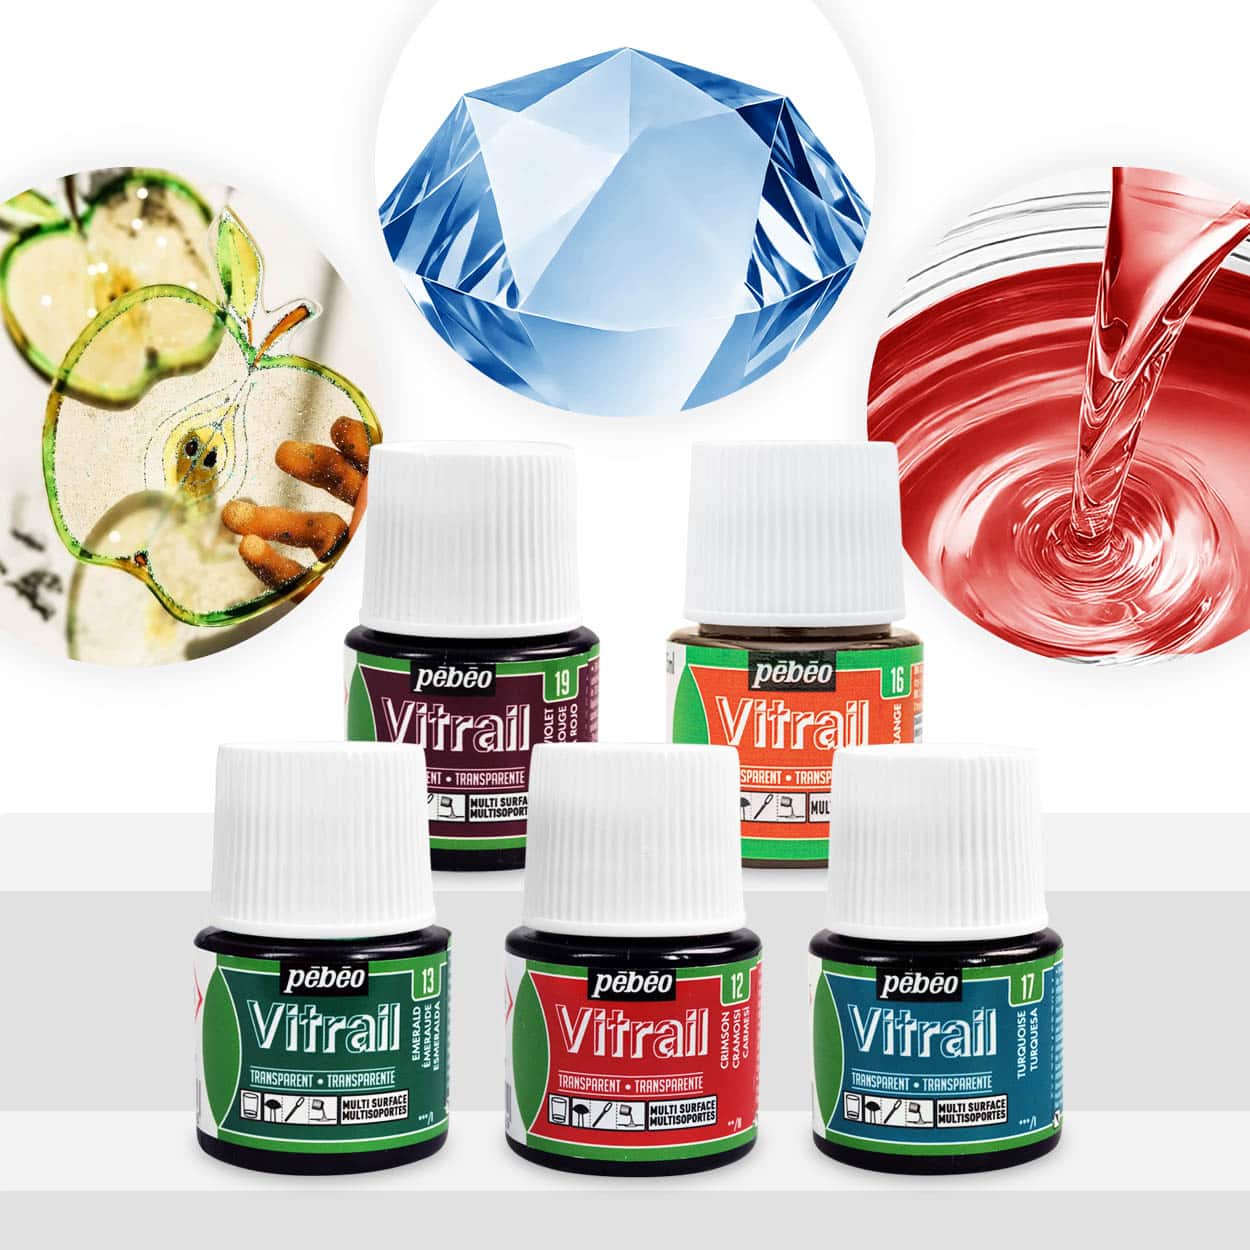
← Back to How to colour crystal with epoxy resin?
Bubbles can easily form when working with clear or coloured resin, especially in crystal projects where clarity matters most. This short guide will help you achieve smooth, glass-like results every time.
Why Bubbles Occur in Resin
Bubbles tend to enter resin when you mix the resin and hardener together, particularly if you stir too vigorously. Introducing colourants or pouring into intricate moulds can also trap small air pockets. Left untreated, these bubbles can affect the transparency and aesthetic of your finished crystal pieces.
How to Effectively Remove Bubbles
- Stir Slowly: Mix the resin, hardener, and any colourant—such as the Magic Crystal Transparent Colourants—slowly and thoroughly to avoid creating extra bubbles.
- Allow to Settle: After mixing, let your resin sit for a few minutes so bubbles can rise to the surface naturally.
- Apply Gentle Heat: Use a heat tool (like a heat gun or torch) lightly waved across the surface to break the surface tension and pop any remaining bubbles, taking care not to overheat or scorch the resin.
Repeating this process after pouring into a mould can further improve clarity if any bubbles remain trapped at the edges or within detail areas.
When This Matters Most
Bubble removal is especially important for transparent resin projects or when using vibrant colourants such as the Magic Crystal Transparent Resin Colours. Any trapped air will be visible, so a careful approach ensures your finished piece has that professional, glass-like finish.
Related products
Related guides
Perfectly clear, colourful resin is all about careful handling and the right finishing touches. For more tips on colouring crystals with epoxy resin, see our complete guide on how to colour crystal with epoxy resin.