 Free shipping on orders over £29,85


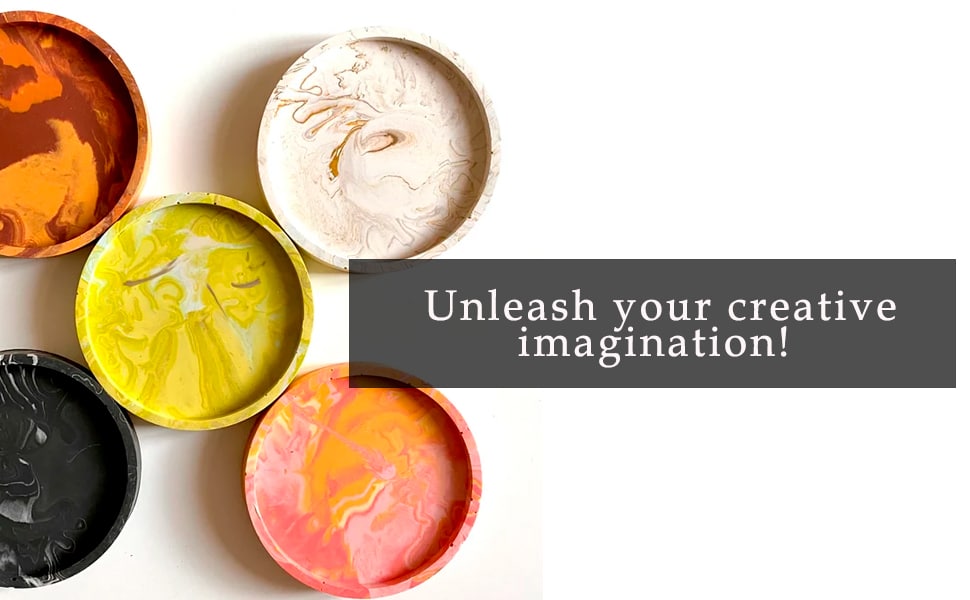
How to build a resin planter?
Step-by-step guide for crafting striking resin planters at home

Creating your own resin planter combines practicality with creative design, resulting in a decorative and durable home for your plants. Whether you want an indoor statement piece or a weather-resistant outdoor planter, this guide will help you achieve professional results using straightforward techniques. You’ll learn how to plan, cast, cure, and finish a bespoke resin planter that stands out in any setting.
What You’ll Need
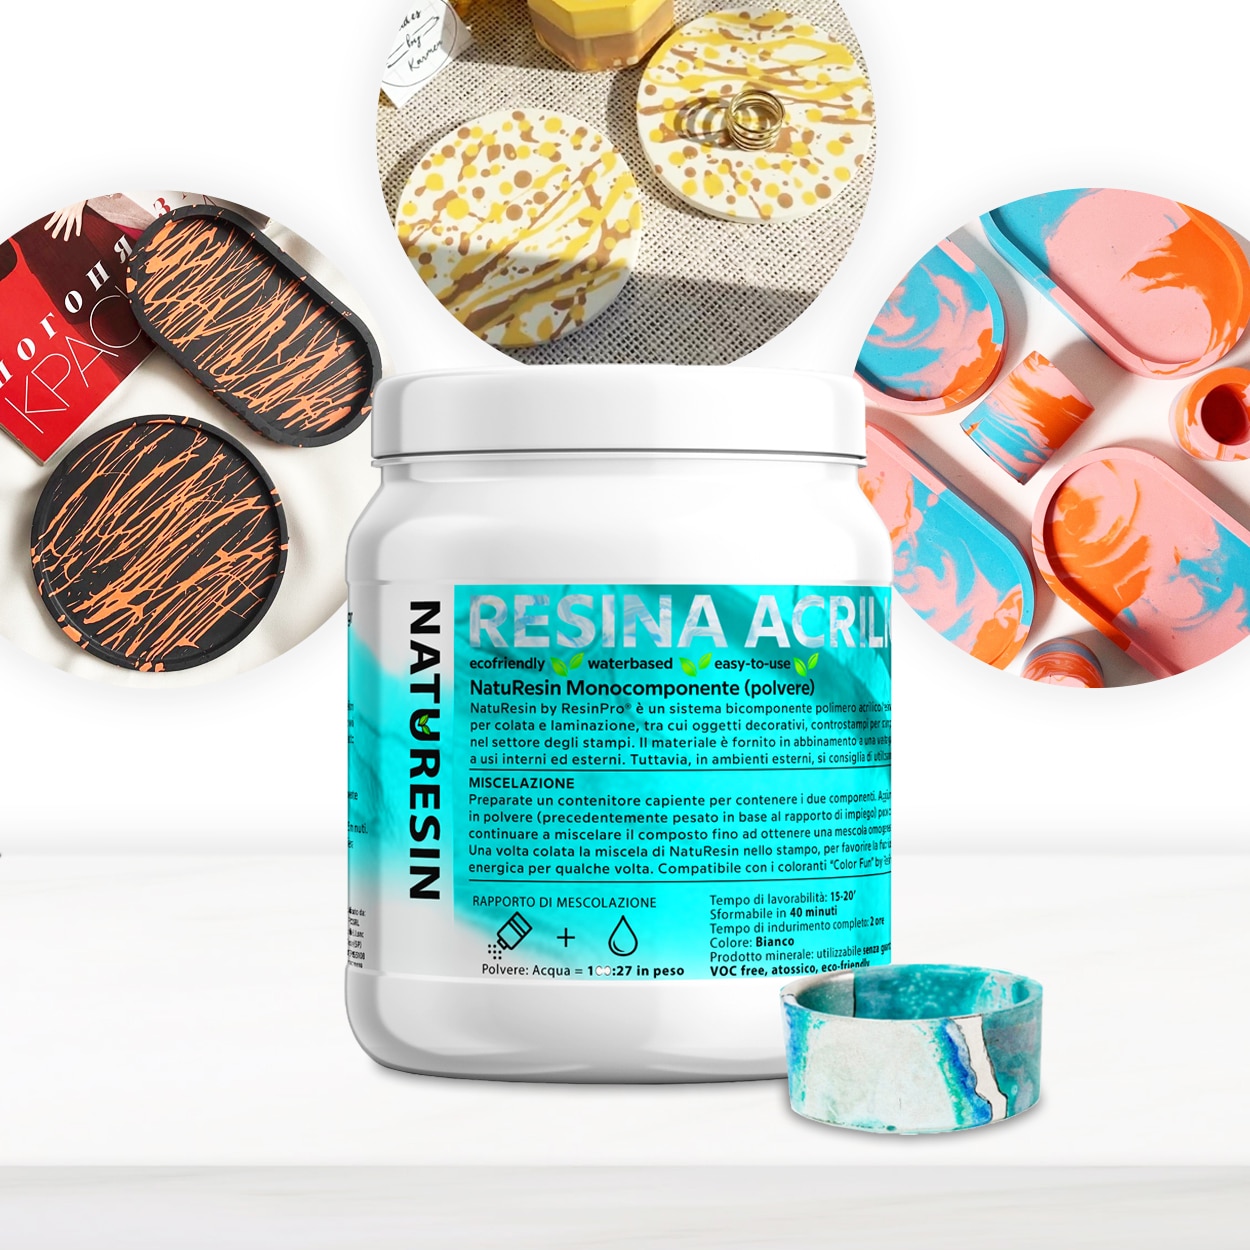
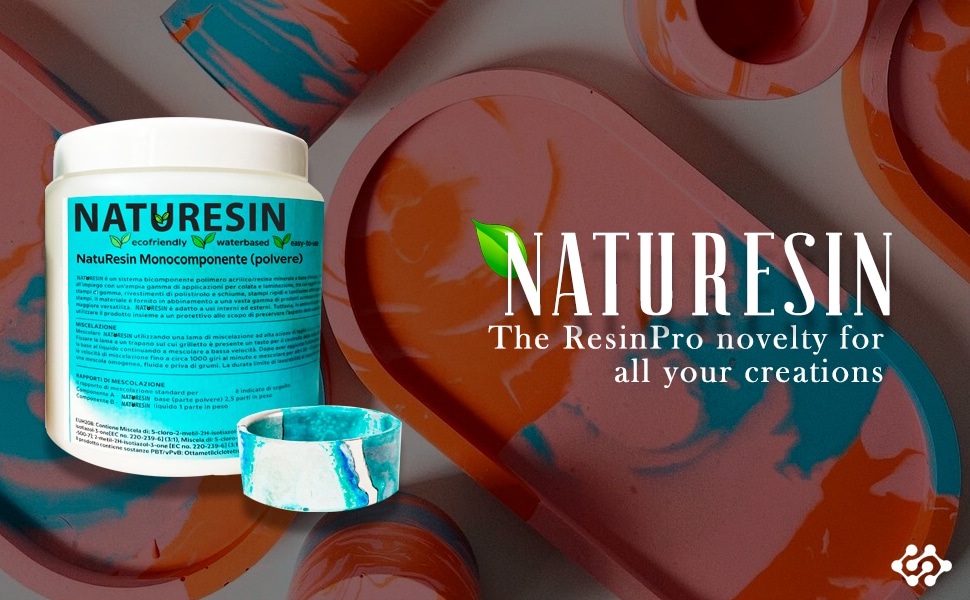
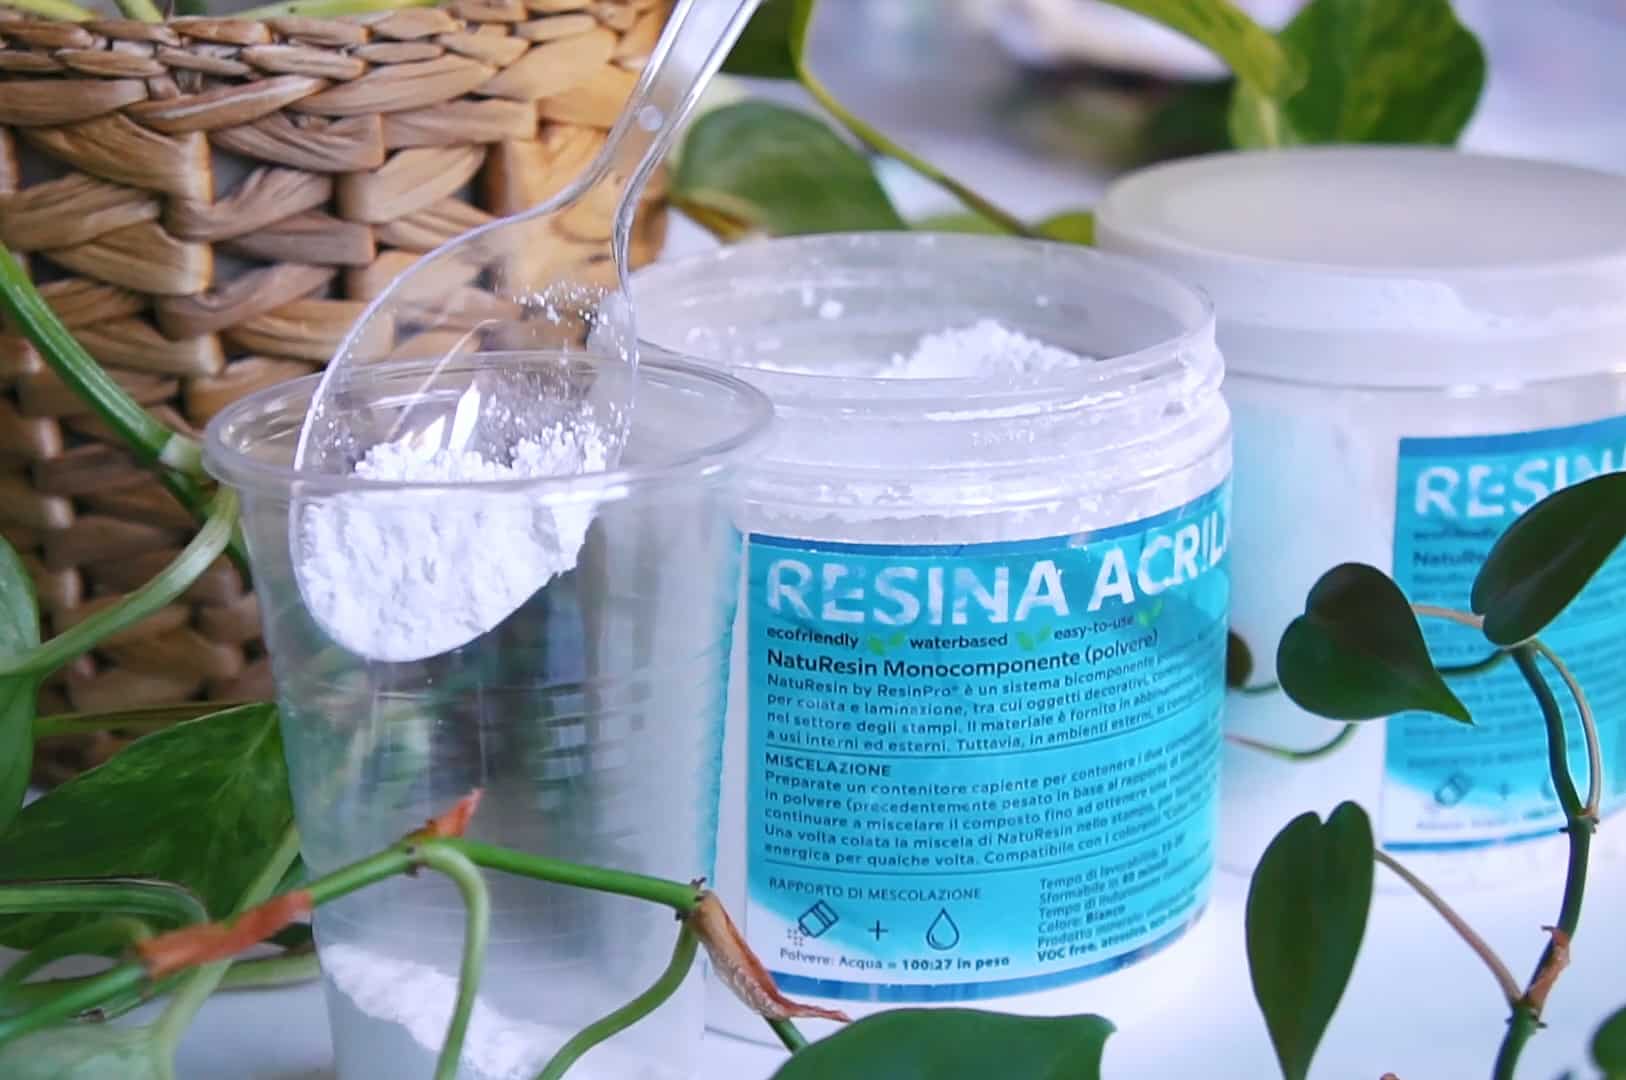
- “NatuResin” – Mineral Resin & Water System for Creative Casting and Crafts – ideal for safe, ceramic-like planters
- “Vase” – Flower Vase Resin Art Kit with Mica Powder and Silicone Mould – for decorative, colourful resin vases
- “Flower Tray” – Vase Silicone Mould 35cm – reusable mould for floral shapes
- “EpoxyTable 5-Five” – Deep Pour Epoxy Resin for Tables and Large Projects – Up to 5cm – for larger or thicker planters
- Protective gloves, apron, and a dust mask
- Graduated mixing containers and wooden sticks
- Pigments, paints or mica powders for colour (if desired)
- Sandpaper (400–1000 grit), polishing compound
- Plants, soil, and optional drainage media
Tools and Materials for Resin Planter Success
Gathering the right tools and quality materials at the start ensures a smoother crafting process and a more reliable result. Invest in a sturdy mould, accurate measuring containers, and well-formulated resin suited to your planter’s size and purpose to save hassle and achieve a professional finish.
Measure and Prepare Your Workspace
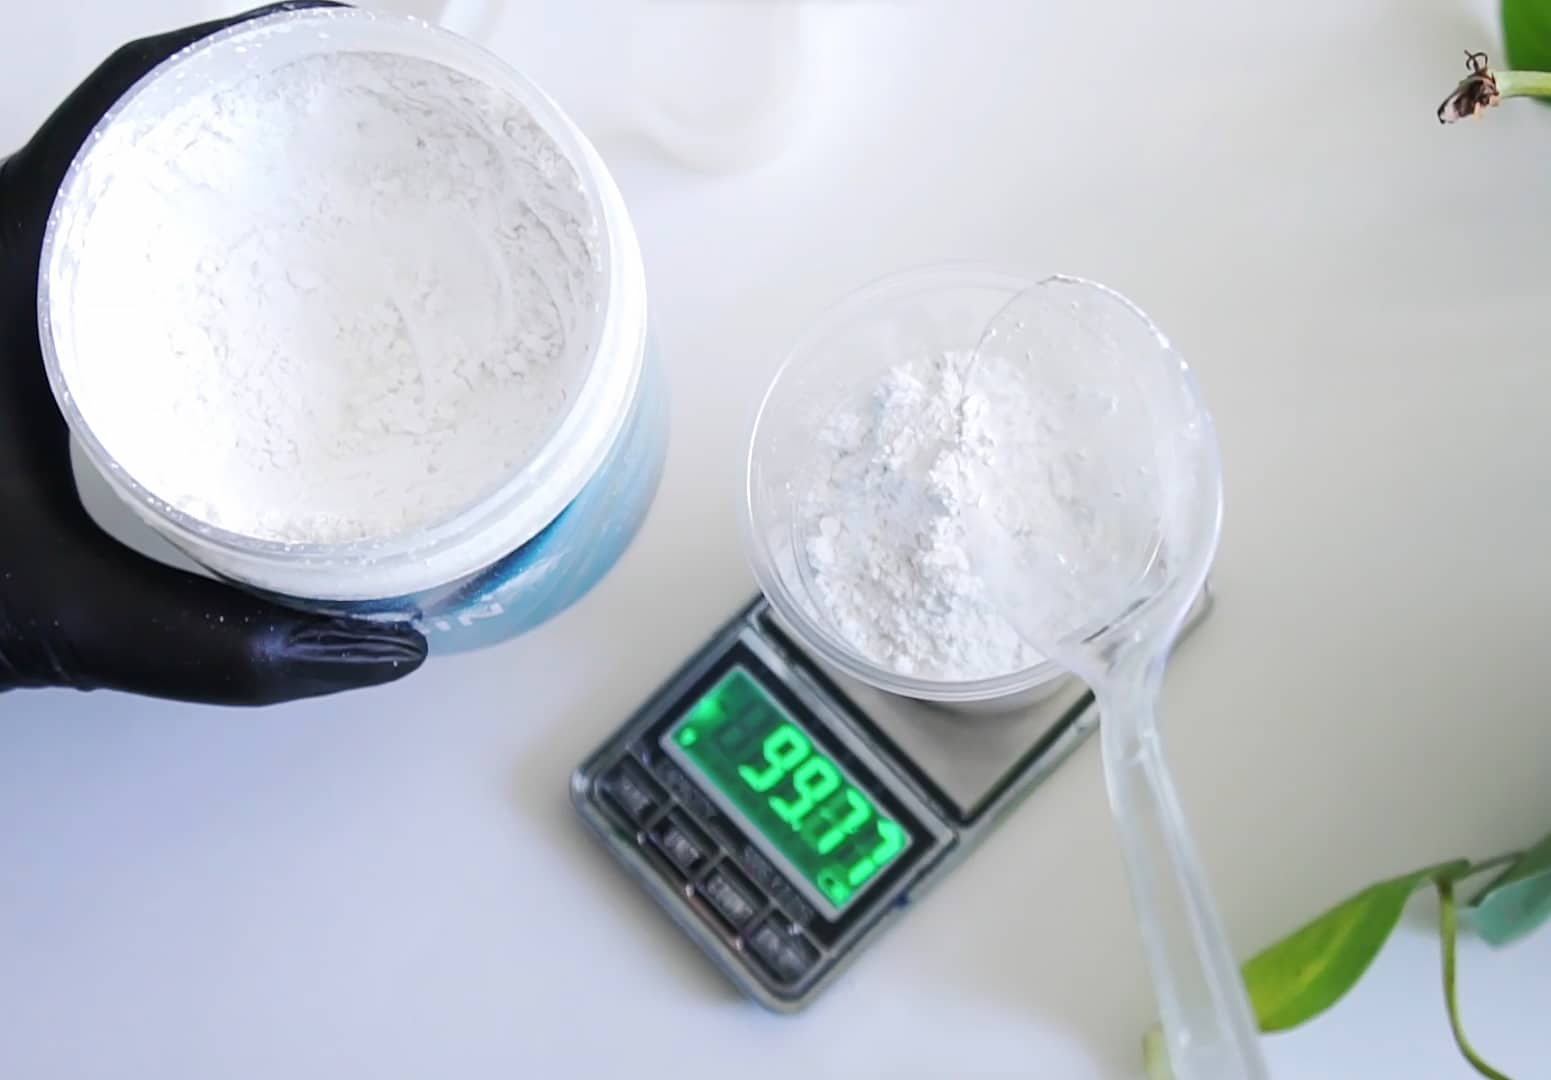
Start by planning the shape and size of your resin planter. Choose a space with good ventilation and cover your work area to protect from spills. Have all your tools and materials to hand before working with resin, as timing can be crucial. Make sure the surface is level so your resin cures evenly and your finished planter sits correctly. Always use gloves and avoid skin contact with uncured resin.
Choose and Set Up the Right Mould
Select a silicone mould that suits your desired planter shape. If you want a floral aesthetic, reusable moulds such as the “Flower Tray” – Vase Silicone Mould 35cm are an excellent option for consistent results and easy demoulding. Inspect your mould for any dust or residue, washing and drying thoroughly beforehand. Lightly coat the inside with a mould release spray if needed to make demoulding easier, especially with detailed shapes.
Mix and Pour the Resin Carefully
Prepare your chosen resin according to the manufacturer’s instructions. For vibrant, decorative planters, you could use a kit like the “Vase” – Flower Vase Resin Art Kit with Mica Powder and Silicone Mould, which includes colour pigments and clear mixing instructions. For larger or thicker pieces, opt for a deep-pour variety such as “EpoxyTable 5-Five” – Deep Pour Epoxy Resin. If you are prioritising safety and eco-friendliness, “NatuResin” – Mineral Resin & Water System is a great water-based system for smaller items.
Mix components in a clean container, stirring slowly to minimise bubbles and ensure complete blending. Pour the resin into your mould gradually, tilting it if needed to avoid air pockets, and fill up to your desired thickness. Tap or gently vibrate the mould to bring surface bubbles up and out.
Cure and Demould with Precision
Allow the resin to cure as per the product’s recommended time, keeping your workspace dust-free and undisturbed. Cure times vary: water-based mineral resins tend to set faster, while some epoxies require several hours or overnight. Wait until fully hardened before attempting to demould.
Carefully flex the silicone mould to ease out your planter. Avoid rushing, as premature demoulding can lead to warping or surface marks. For best results, always follow the guidelines for your chosen resin or kit.
Finish, Seal, and Prepare for Planting
Once demoulded, inspect your planter for sharp edges or uneven areas. Smooth these gently with fine-grade sandpaper and polish if you want a glossy effect. If your planter is intended for real plants, consider sealing internally with a waterproof coat for long-lasting use, especially if using it outdoors.
Add a drainage layer if required, some soil, and your favourite plants. Your custom resin planter is now ready to be the centrepiece of your décor or garden.
Tips, Common Mistakes, and Troubleshooting
- Mix resins carefully – Incomplete mixing can cause soft spots or cloudiness.
- Choose the mould wisely – Complex shapes may need more care or mould release.
- Patience pays off – Allow thorough curing to avoid distortion and improve the planter’s lifespan.
- Check resin compatibility if planning to grow plants – Some epoxies can be waterproofed for planting, while others may need liners.
- If bubbles persist, use a torch briefly over the surface—taking care not to damage the mould.
- Store unused resin and pigments in a cool, dry place, sealed tightly for longevity.
Showcase Your Completed Resin Planter
Once your resin planter is finished, display it proudly indoors as a decorative centrepiece or outdoors as a weather-resistant pot. Experiment with pigments or floral shapes to create planters that are uniquely yours and perfectly suited to your plants and home décor.
- "Vase" – Flower Vase Resin Art Kit with Mica Powder and Silicone Mould£39.85A resin art kit with mica powders and a flower-shaped silicone mould, designed for decorative vases or trays.
- “NatuResin” – Mineral Resin & Water System for Creative Casting and CraftsPrice range: £17.85 through £99.85NatuResin is a single-component mineral resin mixed with water, suitable for creative indoor and outdoor decorative casting projects.
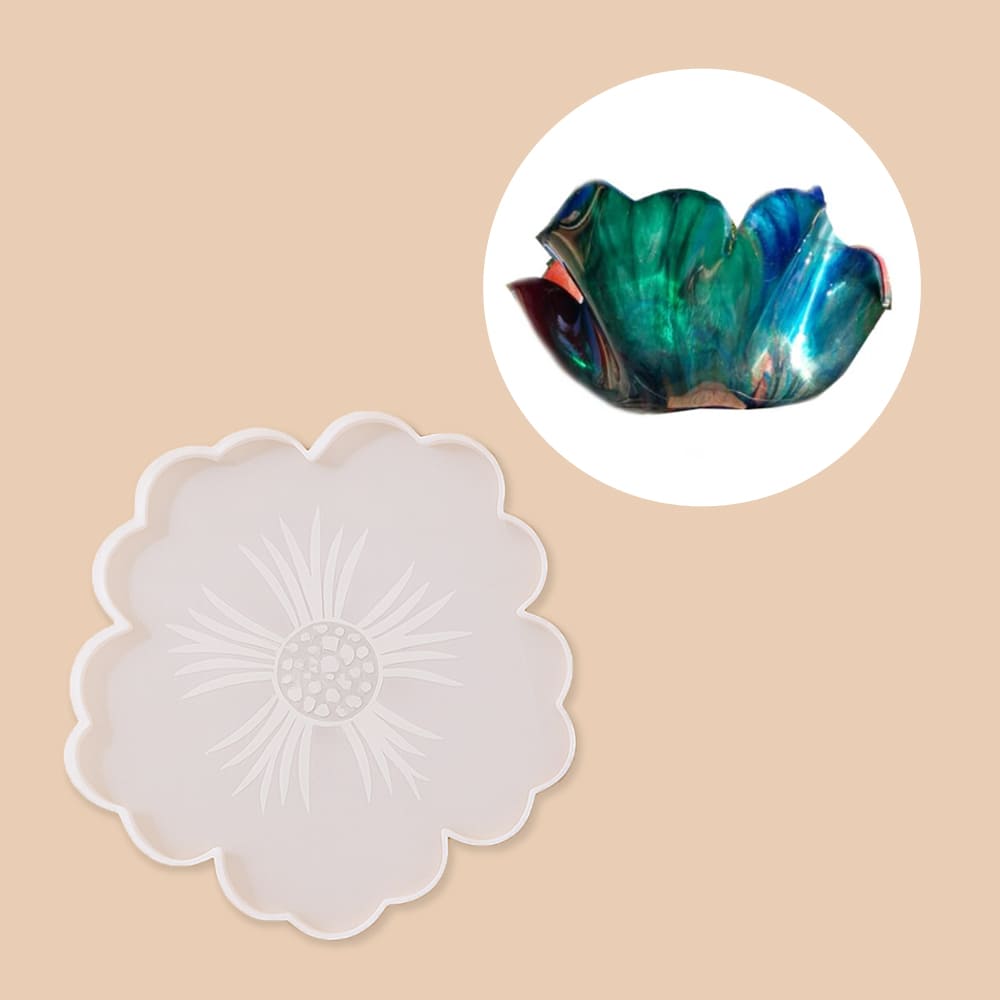 "Flower Tray" – Vase Silicone Mould 35cm£9.45This silicone mould is suitable for resin coasters and decorative items, designed to be reused over the years.
 "EpoxyTable 5-Five" – Deep Pour Epoxy Resin for Tables and Large Projects – Up to 5cmPrice range: £16.85 through £1,099.85"EpoxyTable 5-Five" is a deep pour epoxy resin suitable for large projects, designed to provide clear, scratch-resistant surfaces with long working…
Frequently Asked Questions
Is resin safe for real plants in planters?
Cured resin is generally safe for plants, but it’s best to use an internal waterproof seal for direct planting, especially for outdoor use.
Which moulds are best for resin planters?
Flexible silicone moulds are recommended, as they allow easy demoulding and support intricate decorative shapes for resin planters.
Can I mix colours or effects in the same planter?
Yes, you can layer or swirl in pigments, mica powders, or paints before pouring for unique colour transitions and shimmery effects.
How do I avoid bubbles in resin planters?
Mix resin slowly and pour gradually. Gently vibrate or tap the mould, and use a torch briefly on the surface to help bubbles rise and pop.
How long should resin cure before demoulding?
Always wait until the resin is fully hardened as per manufacturer instructions—this varies from a few hours to overnight depending on resin type.
Are resin planters weather-resistant outdoors?
Some resins, such as water-based mineral or deep-pour epoxies, cure to a weather-resistant surface making them suitable for outdoor planters.