 Free shipping on orders over £29,85

← Back to How to create a resin paint drip effect?
Finishing up a resin drip art project can get messy if you’re not prepared. Proper clean-up prevents unwanted damage and ensures your space is ready for your next creative session. Here are some straightforward steps to keep your studio tidy and safe.
Timing Your Clean-Up
It’s best to remove any protective tape and used gloves as soon as the resin reaches a tacky stage, rather than waiting for a full cure. Tacky resin is less likely to stick to surfaces, making it easier to peel off materials and dispose of them neatly.
Disposing of Materials Safely
Gather all used items, including gloves, tape, mixing sticks and any leftover resin drippings. Place these in a disposable container or bag and seal it before disposal according to your local guidelines. Never rinse excess resin or mixtures down the sink, as this can harm plumbing and the environment.
Keeping Your Space Ready for Next Time
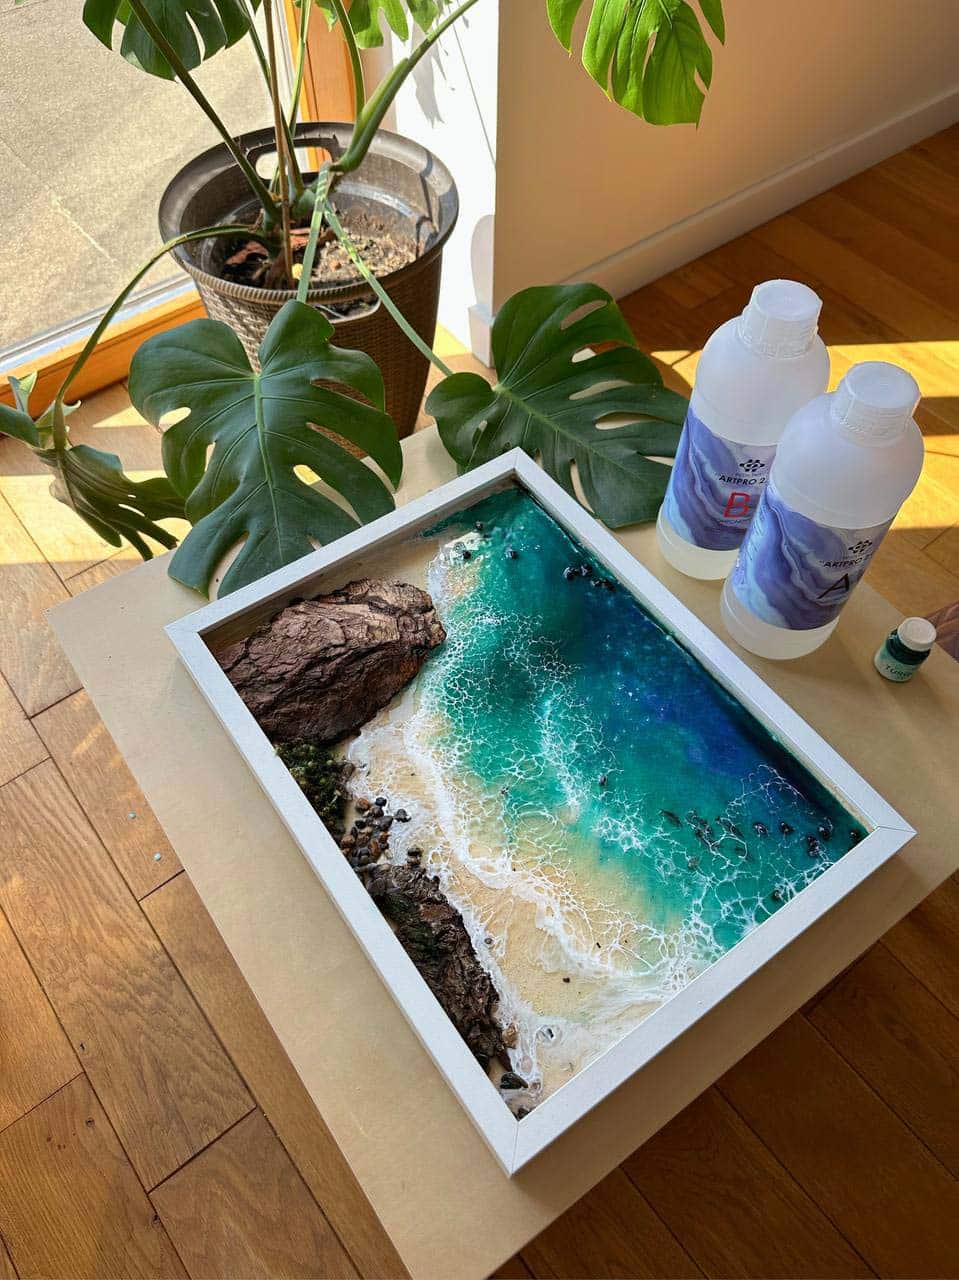
Wipe down any surfaces with a suitable cloth or paper towel before the resin fully hardens. A protective sheet or silicone mat under your work area will make cleaning up future drips much easier. If you’re using specialist resins like the Art Pro Deluxe, these steps help you maintain a clean environment for high-precision artwork.
Related products
Related guides
Mindful clean-up leaves your workspace safe and ready for more creativity. For further advice on resin techniques and effects, explore our main page on creating resin paint drip effects.