 Free shipping on orders over £29,85

How to create a resin paint drip effect?
Achieve dynamic cell patterns and bold drips in resin artwork.
Creating a resin paint drip effect allows artists to infuse their artwork with vivid, flowing movement and eye-catching cells. This guide covers the precise steps and tips for controlling drips, achieving seamless blends, and introducing striking cell patterns, making it ideal for both beginners and those looking to perfect their resin techniques.
What You’ll Need
- “Art Pro Deluxe” – Ultra-High Viscosity Epoxy Resin for Artists — for controlled, non-running drips
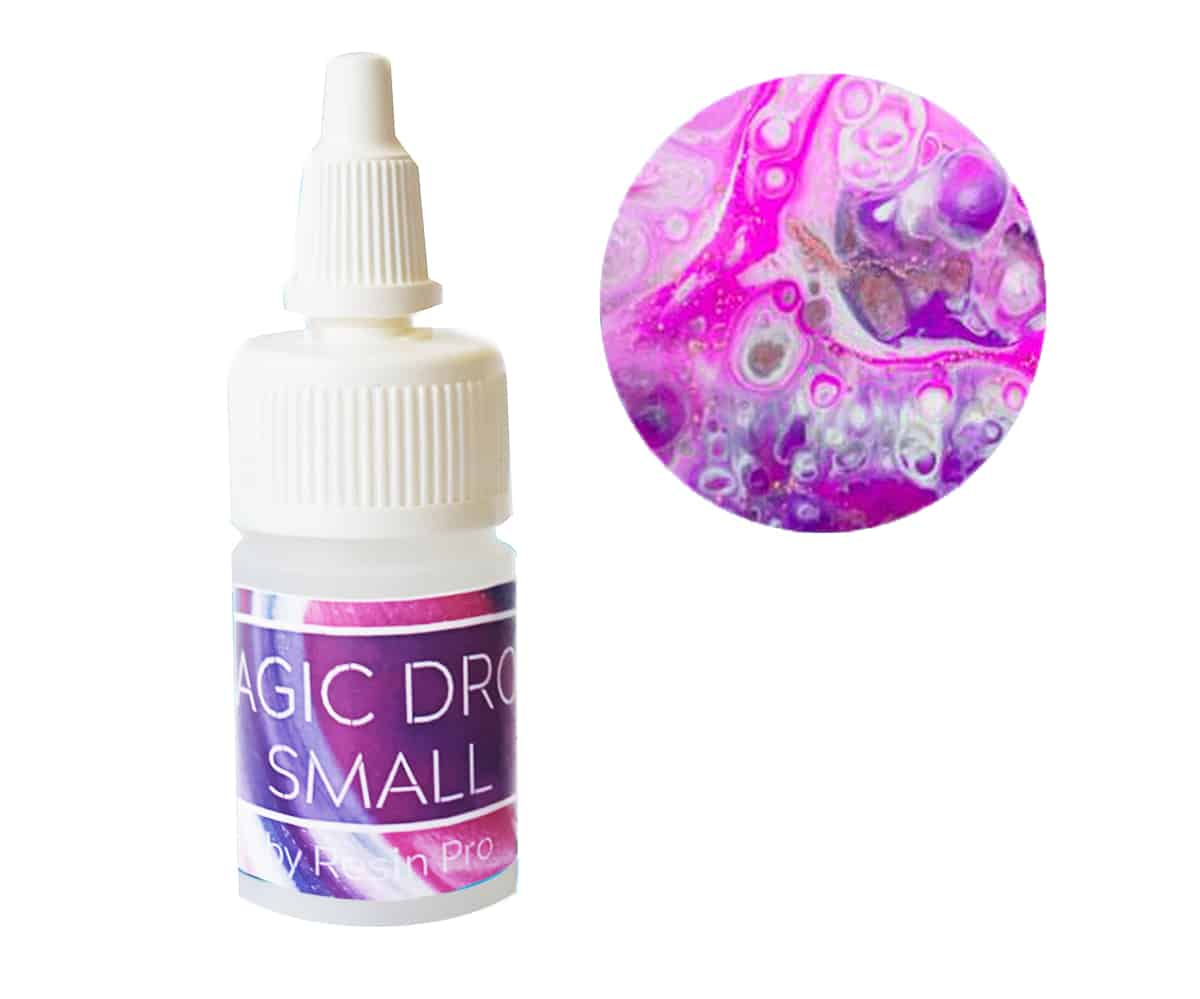
- “Magic Drops” – Cell Effect Additive for Resin Art 15ml — to create lacing and cell patterns
- “Resi-Blast” – Cell Effect Additive for Resin Art, 25ml — to add blooming cell effects
- Pigments or resin dyes of your choice
- Mixing cups, stir sticks, gloves, and a level work surface
- Protective sheeting for your workspace
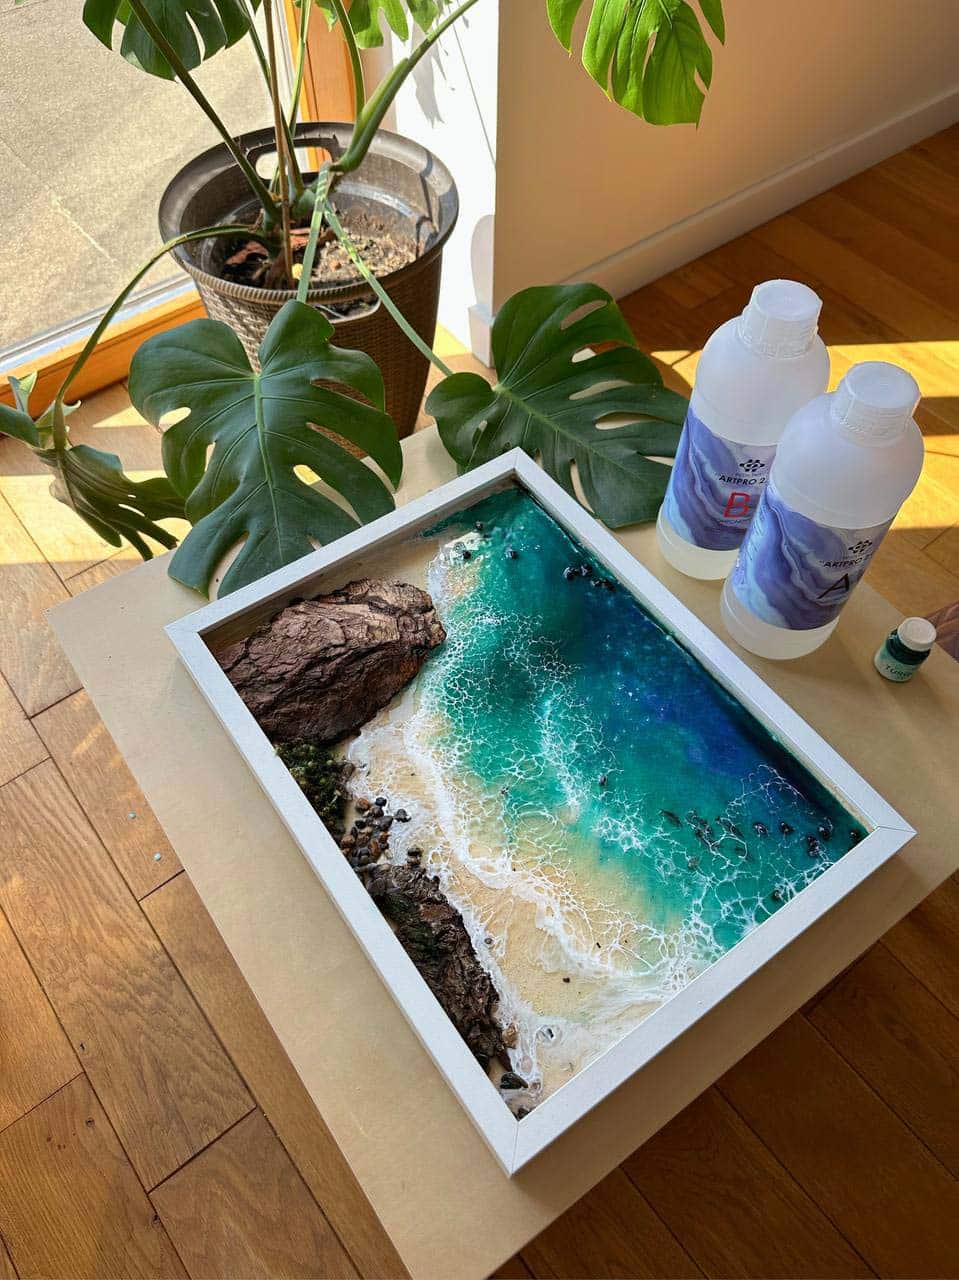
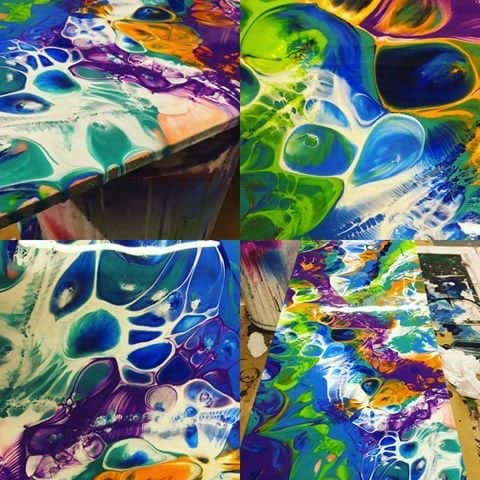
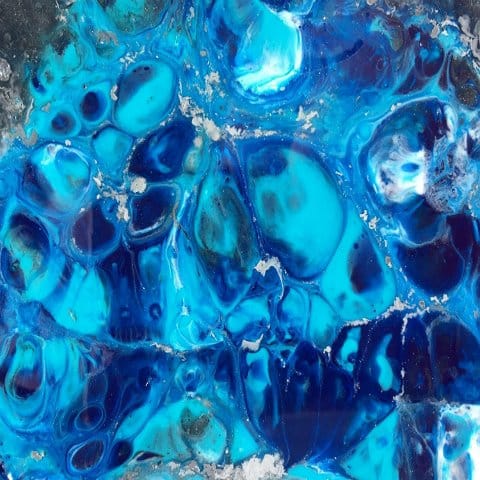
Essential Drip Effect Tools in Action
Explore the dramatic results achieved using cell effect additives and high-viscosity resin. Vivid drips and bold cell patterns come alive with careful selection of pigments and controlled resin movement for striking surface art.
Step 1: Prepare Your Workspace and Surface
Begin by choosing an area free from dust, drafts, and direct sunlight. Cover your table with plastic sheeting to catch any resin drips. Place your art board or canvas levelled on blocks to allow the resin to flow off the edges freely. Put on gloves and ensure all your materials are within easy reach to streamline your process and avoid unnecessary interruptions. Proper preparation is key for mess-free and predictable drip effects.
Step 2: Mix and Colour Your Resin
Carefully follow the mixing instructions provided with your resin, measuring both components precisely for optimum results. Once thoroughly combined, separate the resin into smaller cups if using multiple colours. Add pigments or dyes, stirring slowly to avoid introducing air bubbles. For bold drip effects, vibrant opaque pigments often offer the best results. Blend pigments gently for cell effects, mixing only as much as needed for even colour without over-stirring, which can muddy the look.
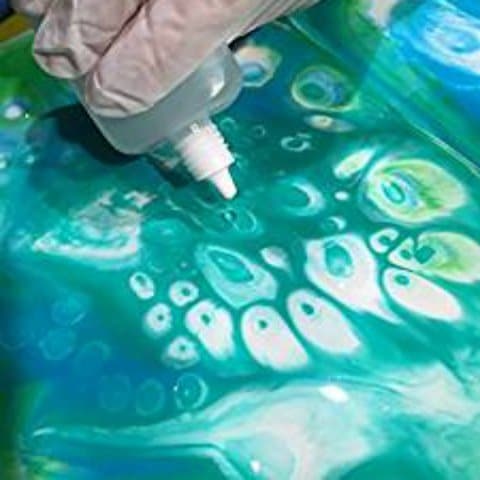
Step 3: Pour and Manipulate the Drips
With all colours ready, pour strips or narrow pools of tinted resin onto the top edge or desired section of your artwork. Gently tilt or manipulate the surface, so gravity draws the resin down in natural drips. To produce unique cell patterns, add a few drops of “Magic Drops” – Cell Effect Additive for Resin Art 15ml or “Resi-Blast” – Cell Effect Additive for Resin Art, 25ml onto the wet resin and observe the blooming effect as the additives react. Control resin flow with correct viscosity; ultra-high viscosity resin helps maintain crisp, non-blurred drips and sharp boundaries between colours.

Step 4: Fine-Tune and Cure
If more separation or lacing is desired, add additional drops of additive and tilt gently again. Use a stick or gloved finger to guide drips where needed, but avoid excessive intervention as this can disturb cell formation. Work swiftly while resin is fluid, since the effect will set as the resin begins curing. Allow your piece to cure fully on a level surface, protecting it from dust and movement as it dries.

Tips, Troubleshooting, and Common Mistakes
Always check resin working times before starting and ensure all materials are mixed well, but not over-stirred. Prevent over-mixing for clear drips and avoid using water-based colours with epoxy. Should colours merge unintentionally, it may be due to low-viscosity resin or surface tilt issues. Use high-viscosity resin for best definition. Protect your work surface and wear gloves to avoid sticky spills and skin contact with uncured resin.
Realistic Finishing and Clean-Up Advice
Careful clean-up ensures clarity—remove tape and dispose of gloves once resin is tacky but before fully hard. For best results, maintain a dust-free environment until work is completely cured.
- Free Step-by-Step Resin Ocean Art Lesson by Natalia NatirumOriginal price was: £99.00.£0.00Current price is: £0.00.Free video tutorial on creating Resin Ocean Art by Natalia Natirum, suitable for artistic resin techniques.
- "Magic Drops" – Cell Effect Additive for Resin Art 15mlOriginal price was: £8.00.£5.85Current price is: £5.85."Magic Drops" is a user-friendly, odourless additive designed for resin art to create cells and lacing effects compatible with various pigments.
- "Resi-Blast" – Cell Effect Additive for Resin Art, 25ml£20.50"Resi-Blast" is a liquid additive designed for creating cell effects in epoxy resin art with a simple drip application.
- "Art Pro Deluxe" – Ultra-High Viscosity Epoxy Resin for ArtistsPrice range: £33.85 through £287.85Art Pro Deluxe ultra-high viscosity epoxy resin is designed for detailed resin art with precise line control and a clear, scratch-resistant finish.
Frequently Asked Questions
Which resin is best for creating controlled resin drips?
Ultra-high viscosity resin such as Art Pro Deluxe helps prevent unwanted colour blending and supports crisp drip effects.
What additives produce the best cell and lacing effects in resin art?
Cell effect additives like Magic Drops or Resi-Blast create cell patterns and lacing in wet resin by causing pigments to move and separate.
How can I prevent resin drip colours from blending together?
Work with high viscosity resin and pour gently on a levelled surface for sharp, well-defined colour boundaries.
How do I achieve bold, vibrant drip effects in resin painting?
Use highly pigmented dyes, high viscosity resin, and coordinate colours carefully to enhance visual impact.
What is the best way to clean up after creating a resin drip effect?
Remove tape and gloves once the resin is tacky, and dispose of all materials responsibly before full cure.
Why are my resin paint drips merging instead of staying distinct?
Low-viscosity resin or too much tilting often causes blending—switch to a thicker resin for sharper results.