 Free shipping on orders over £29,85

← Back to How to paint with resin
Bubbles are a common challenge in resin art, but with the right approach, you can achieve a beautiful, glass-like surface. Here’s how to keep your resin pours smooth and clear.
Mixing Resin Carefully
To minimise unwanted bubbles, always stir your resin and hardener slowly and steadily. Vigorous mixing introduces air, which forms bubbles that may become trapped in your artwork. Fold the mixture gently and scrape the sides and bottom of your cup to ensure a complete blend, taking your time rather than rushing the process.
Pouring and Layering Techniques
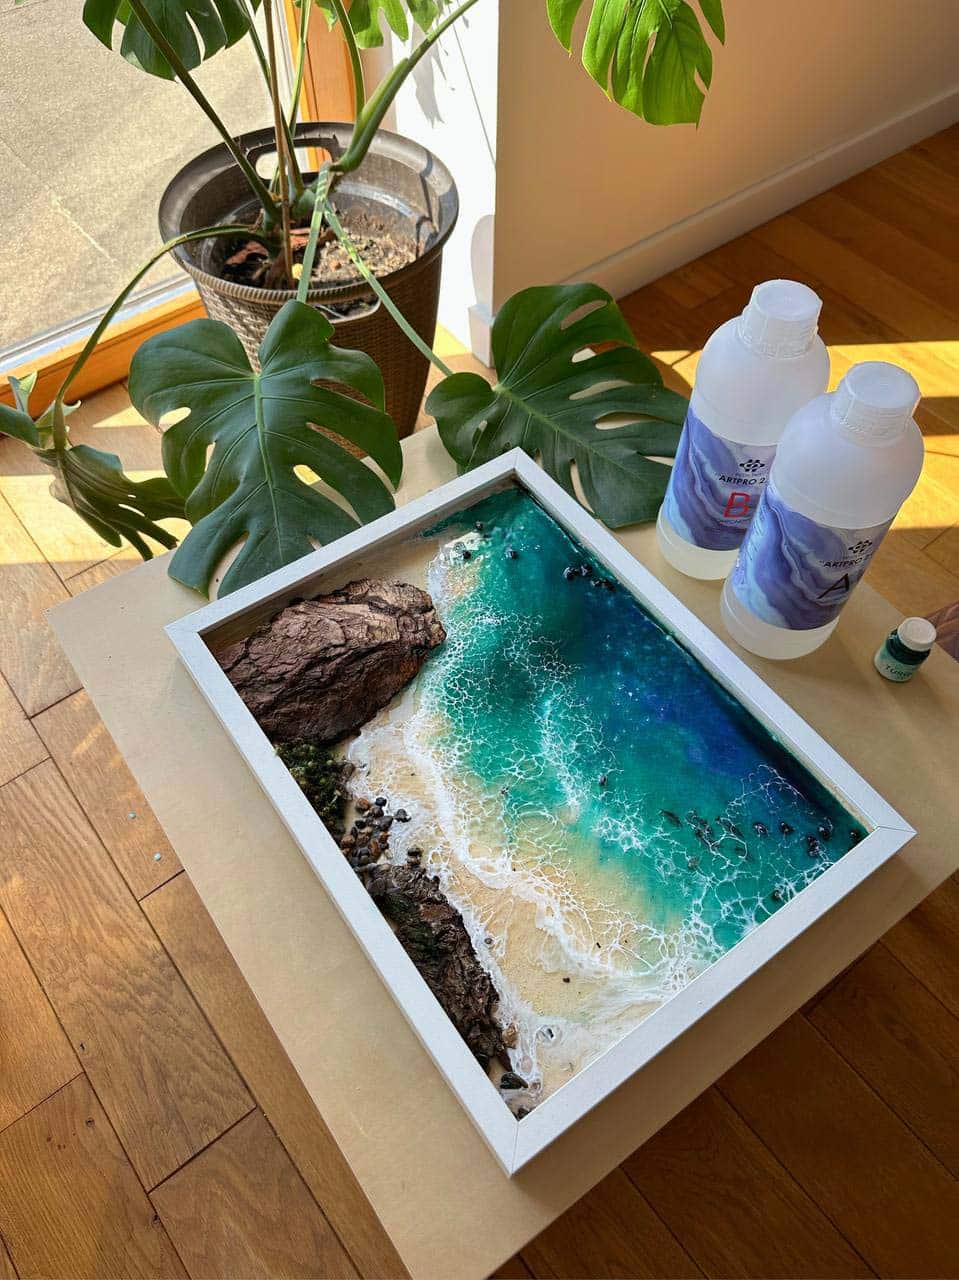
Pour your resin in thin, even layers instead of one thick coat. This gives trapped air a better chance to rise and escape before the resin begins to set. Allow a few minutes between layers if your project requires more depth. Working with products designed for art projects, such as Art Pro Deluxe ultra-high viscosity resin, can help you control the pour and achieve cleaner results.
Using Heat to Remove Surface Bubbles
After pouring, use a heat gun or a small torch—waved lightly over the surface—to gently pop visible bubbles. Move the heat source in a steady motion and avoid holding it too close, as excessive heat can damage your piece or cause yellowing. It’s important to do this before the resin starts to cure, while it is still fluid and bubbles can escape.
When Bubble Control Matters Most
Pay extra attention to bubble prevention when creating ocean art, encapsulating objects, or working on transparent finishes. Highly detailed or layered projects, like those found in the Free Step-by-Step Resin Ocean Art Lesson, especially benefit from careful technique.
Related products
Related guides
Mastering bubble prevention is key to professional-looking resin pieces. For more advice and creative tips on painting with resin, visit our main guide on how to paint with resin.