 Free shipping on orders over £29,85


← Back to How to make resin cabochon pendants?
Removing resin cabochons from their moulds is a delicate but crucial step in the jewellery making process. Doing this safely ensures your pieces maintain their shape and shiny finish, ready for use as pendants or decorative items.
Best Practices for Safe Demoulding
Once your resin cabochons are fully cured, gently flex the silicone mould from the edges to help loosen the cast pieces. Avoid forcing or twisting, which can lead to cracks or loss of shine on the cabochon surface. Never use metal tools, as these can scratch or damage both your cabochon and the mould itself. Instead, use your hands or, if needed, a soft silicone or plastic tool.
- Wait until the cabochons have hardened completely.
- Demould within 12 hours after curing to avoid excess adhesion.
- Work on a clean, dry surface to prevent dust or fingerprints.
Choosing the Right Mould and Resin
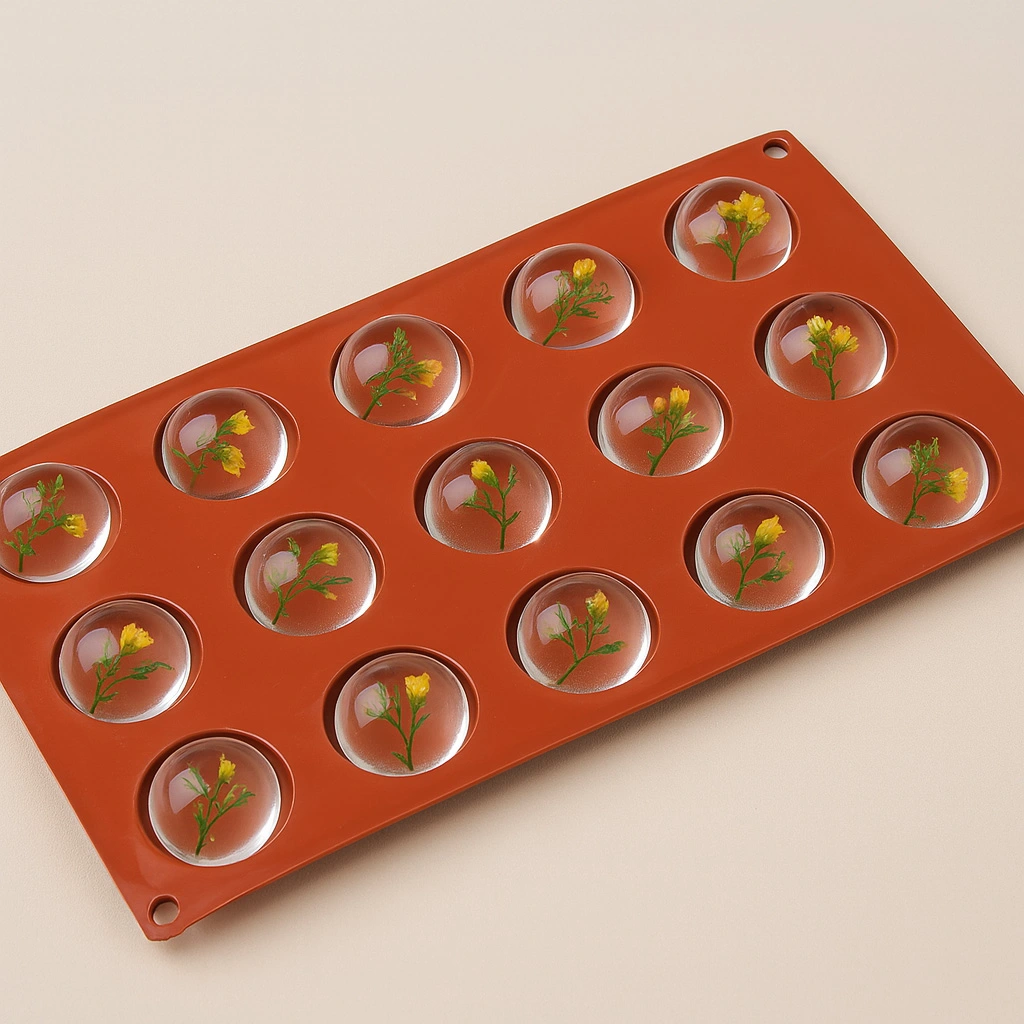
High-quality silicone moulds make demoulding easier and safer, minimising the risk of sticking or surface flaws. The “Cabochon-15” silicone mould is designed for clean releases and a shiny finish, ideal for resin jewellery projects. Pairing a suitable mould with medium viscosity, crystal-clear resins (like those in our starter kits) leads to consistently smooth cabochons without unwanted chips or marks.
When Safe Demoulding Matters Most
It’s especially important to practice careful demoulding when your cabochons feature inclusions such as dried flowers, pigments or fine details. Rushing the process or using sharp objects can damage these delicate additions and ruin your finished piece. Gentle removal protects your creative work and preserves the professional look of your pendants.
Related products
Related guides
Mastering safe demoulding techniques protects both your cabochons and your moulds, paving the way for beautiful resin pendants every time. Ready to take the next step? Visit our main guide on how to make resin cabochon pendants for more project inspiration.