 Free shipping on orders over £29,85


how to do it with resin
Unlock your creativity and discover the foundations of resin crafting. Whether you dream of beautiful coasters, eye-catching tables, or bespoke jewellery, this guide explains the steps and techniques you’ll need to achieve professional-looking results while avoiding common pitfalls.
Essential steps for creative resin projects at any skill level


What You’ll Need
- Free Step-by-Step Lesson “Kiwi Coasters” by Natalia Natirum – Ideal for learning techniques for decorative trays and realistic effects.
- “River-Table” – Complete Kit for Creating Your First Epoxy Resin Table – Suited for crafting resin and wood fusion tables.
- “Coasters” – Creative Kit with Mineral Resin and Silicone Mould – Provides everything needed for quick, eco-friendly coaster projects.
- “Evershine Collection” – Artisan Jewellery Epoxy Resin Kit with 100+ Accessories – Great for fashioning custom pendants, charms, and gifts.

Inspiration for Every Project
See real results from beginner to expert: Coasters that look like natural stone, rivers of colour flowing through tables, and finely detailed resin jewellery are all possible with a solid foundation in resin techniques. Take visual cues from gallery projects to spark your next creation.

Step 1: Prepare Your Workstation and Safety Gear
Before starting any resin project, set up a clean, dust-free workspace with plenty of ventilation. Wear gloves and work in a ventilated area to protect your skin and lungs from resin fumes and accidental spills. Cover your table with a reusable sheet or plastic barrier, and gather all required tools and kits within arm’s reach. Preparation is key to ensuring a smooth workflow and minimising errors.
Step 2: Measure and Mix Resin Accurately
Different projects might require different resin systems, such as an easy 1:1 mixing epoxy for jewellery or a mineral-based resin for coasters. Always check your kit’s instructions for the precise resin-to-hardener ratio. Use separate measuring cups for resin and hardener, then combine and mix slowly but thoroughly to avoid bubbles. Accurate measuring ensures the right set and clarity. Don’t mix more than you can pour within the working time, and if desired, add pigment or dyes according to the kit’s guidance for artistic effects.
If you’re starting with decorative coasters or trays, video guides like the Free Step-by-Step Lesson “Kiwi Coasters” by Natalia Natirum can provide direct visual guidance on mixing and colour application.
Step 3: Pour and Cast Your Project
Slowly pour the mixed resin into your prepared mould or onto your wood base, working from the centre outwards for even distribution. Tap or gently vibrate the surface to release any trapped air. Don’t rush the process! For deeper pours, like those needed for epoxy river tables, consider a kit like the “River-Table” – Complete Kit for Creating Your First Epoxy Resin Table, which is designed for controlled depth and minimised bubble formation.

Step 4: Cure and Unmould
Let your resin project cure undisturbed according to the recommended timeframe—some mineral resins can be demoulded in as little as 60 minutes while most epoxies require several hours or overnight. Cover with a dust guard to prevent surface contamination during curing. Bubbles form if mixed too strongly or left unchecked. Once cured, carefully remove from the mould or formwork. At this stage, softer edges can be gently sanded or polished as required.
The “Coasters” – Creative Kit with Mineral Resin and Silicone Mould is particularly suited for fast-turnaround projects, thanks to its rapid cure time and natural stone effect.

Step 5: Finish, Polish, and Personalise
After complete curing, inspect your artwork for rough edges, cloudy areas, or imperfections. Sand with fine-grit paper if necessary and polish resin surfaces to achieve optimal clarity—a must for transparent jewellery or table tops. Personalise with additional pigments, embed decorations, or attach findings for jewellery. The “Evershine Collection” – Artisan Jewellery Epoxy Resin Kit with 100+ Accessories provides not only resin but also accessories for transforming blanks into finished pieces.
Work with room temperature materials for best results. Always check that seams and joints are sealed in table projects before final finishing.
Tips, Common Mistakes, and Troubleshooting
Finish thoroughly to protect your creations: Give each project enough curing and finishing time before handling. Measure and mix according to instructions, as mistakes can result in sticky or cloudy results. Wear PPE throughout, and always read your kit’s full directions before starting. If bubbles appear, use a heat gun or torch briefly—taking care not to scorch or overheat the resin. Keep temperature and humidity stable, especially in larger projects such as tables. Seek out online lessons and video tutorials whenever you need specific visual guidance.
Essential Finishing for Long-Lasting Artwork
Protect your resin pieces with proper finishing: Sand sharp edges, polish visible surfaces, and apply a protective top coat where needed. Proper finishing enhances durability and gives crafts a professional sheen, ensuring your work looks impressive and lasts for years.

- Free Step-by-Step Lesson "Kiwi Coasters" by Natalia NatirumOriginal price was: £99.00.£0.00Current price is: £0.00.Video tutorial to create resin trays and coasters resembling kiwi, suited for the 'how to do it with resin' theme.
- "River-Table" – Complete Kit for Creating Your First Epoxy Resin TablePrice range: £188.85 through £444.85Kit containing epoxy resin, pigments and a polishing kit for creating wood and resin tables with detailed instructions.
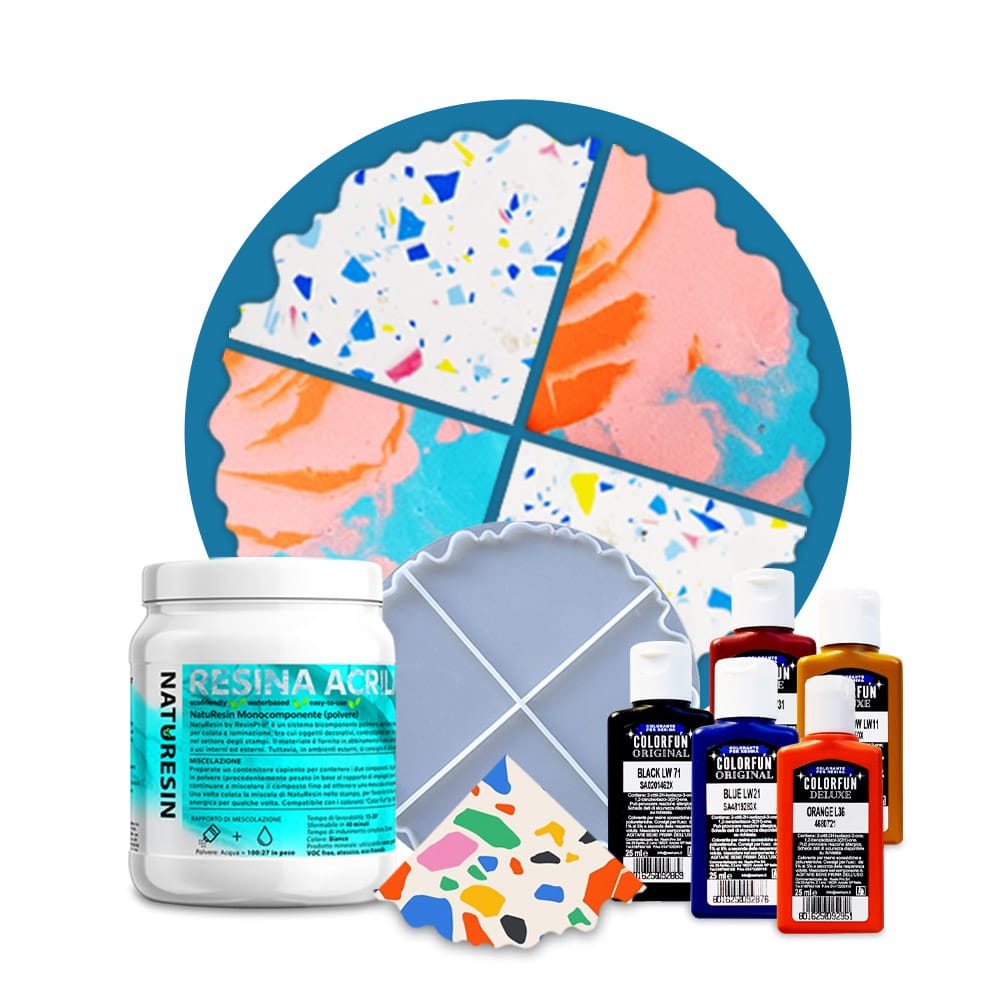 "Coasters" – Creative Kit with Mineral Resin and Silicone Mould£38.85The COASTERS resin craft kit includes mineral resin and silicone moulds, designed for resin artists and DIY enthusiasts under the how to do it with…
 "Evershine Collection" – Artisan Jewellery Epoxy Resin Kit with 100+ Accessories£20.85A complete jewellery resin kit offering 500g crystal-clear resin and over 100 accessories, suitable for beginners and enthusiasts.
Frequently Asked Questions
How do I choose the right resin for DIY projects?
Select based on your intended use: opt for mineral resin for stone-effect coasters, epoxy for clear or glossy surfaces, and 1:1 easy mix resin for jewellery.
How can I prevent bubbles in resin casting?
Mix resin slowly and pour gently; use a heat gun or torch if bubbles appear. Always follow your kit’s instructions for best results.
What is the safest way to work with resin?
Always wear gloves, work in a ventilated area, and keep resin away from children and pets. Avoid direct contact with skin.
How long should resin cure before demoulding?
Cure times vary: some mineral resins demould in under an hour, while most epoxies require 6–24 hours. Always check your specific product.
Can I reuse silicone resin moulds?
Yes. Clean them thoroughly between uses and store away from heat or sunlight to preserve shape and flexibility.
Any tips for resin jewellery beginners?
Start with a simple kit, follow 1:1 mixing instructions, and use small moulds while learning. Personalise with dried flowers or pigments.