 Free shipping on orders over £29,85


How do you make coloured resin?
Creating coloured resin opens up a world of possibilities for resin art, jewellery making, river tables, and custom castings. This guide will walk you through each step of the process, from selecting pigment to achieving flawless colour dispersion—ideal for beginners or experienced makers aiming for consistent, professional results.
Step-by-step guide to vibrant, lasting resin colours


What You’ll Need
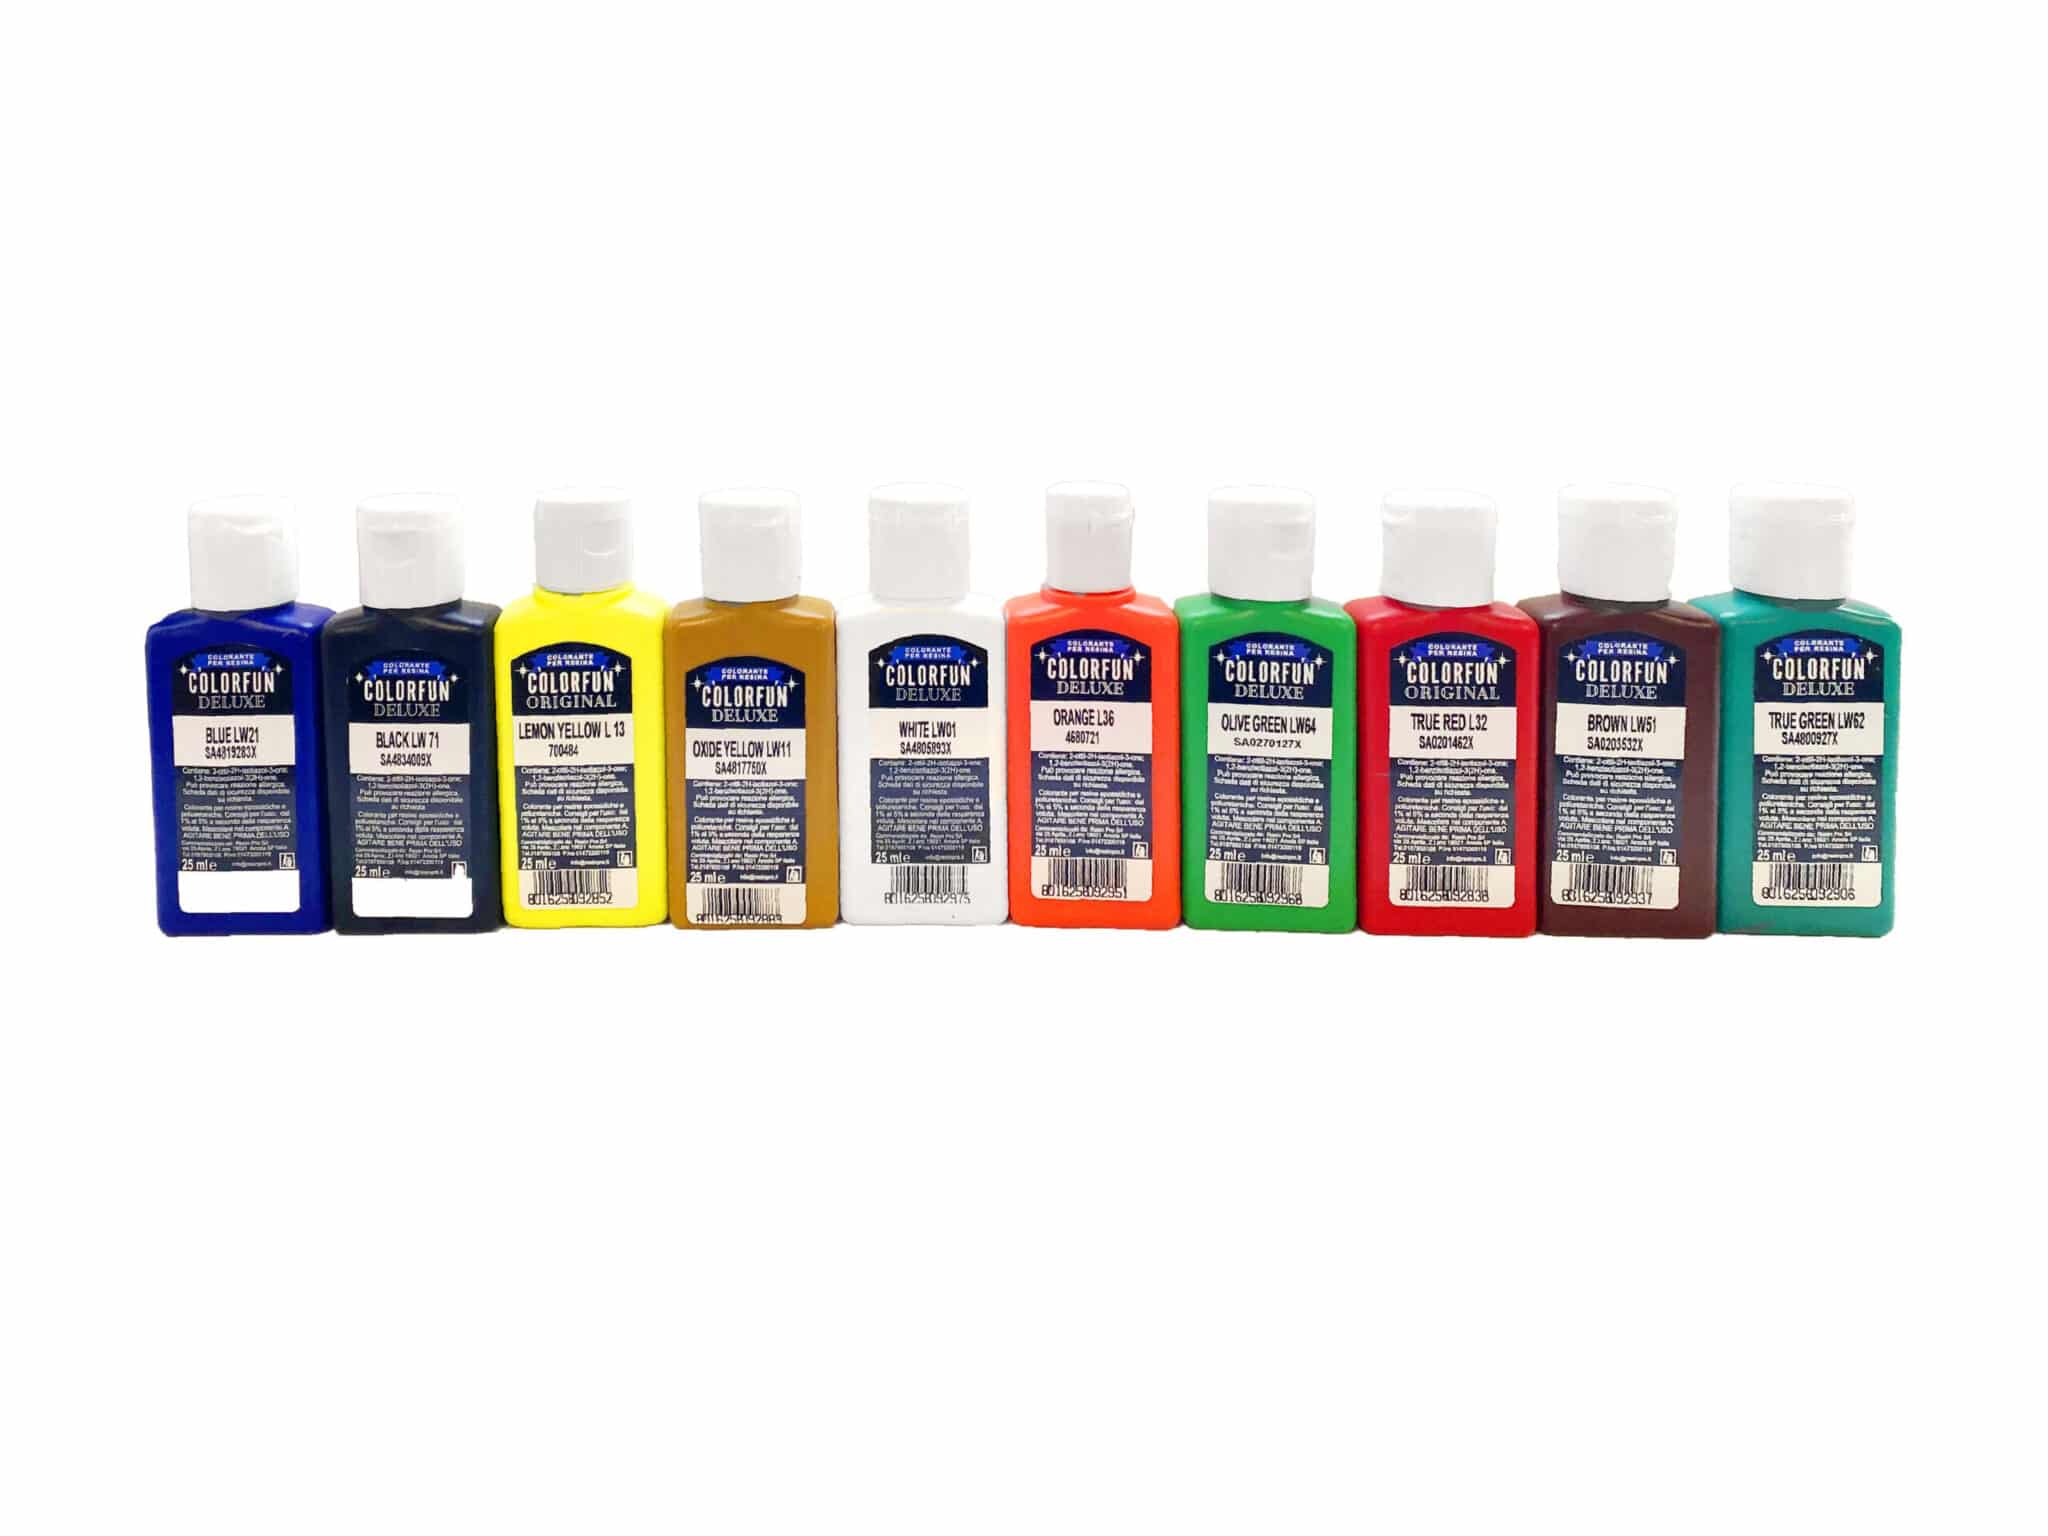
- “Colourfun Set” – Liquid Epoxy Resin Colourant Set for Solid Colour Effects: For custom shades and solid or translucent colours.
- “Marine Palette” – Set of Dyes for Ocean Art, Epoxy Resin, and Beach Effects: Ideal for marine-inspired art and ocean effects.
- “Colourfun” – Liquid Epoxy Resin Colourant 25-100ml – High coverage: For vivid pigment with easy blending and high intensity.
- “Magic Crystal” – Set of 5 Transparent Colourants, 5 x 45ml: Perfect for transparent effects and crystal-like finishes.
- Clear, compatible epoxy resin
- Mixing tools (cups, stirrers, gloves)
- Levelled workspace and protective equipment
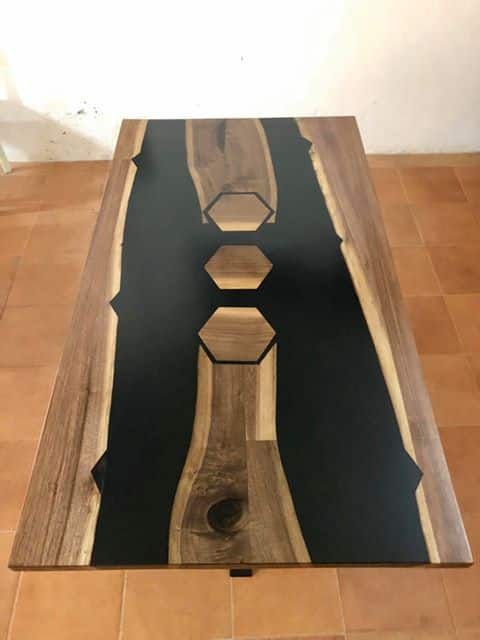
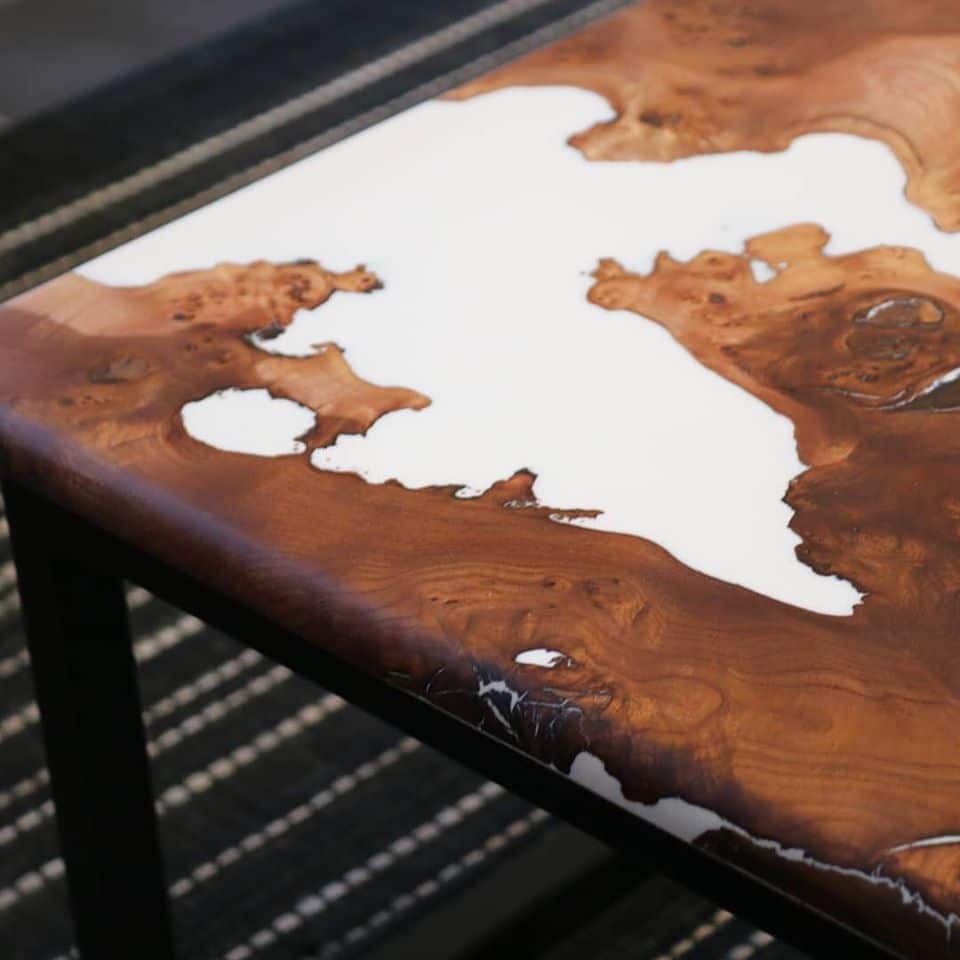
Visual Inspiration: Resin Art in Colour
Explore gallery examples of resin artworks showcasing bold solid colours, ocean-inspired pieces, and crystal-clear effects. Notice how different pigment types create either opaque, vivid tones or shimmering transparent layers. Let these images inspire your approach as you experiment with your own resin colouring techniques.
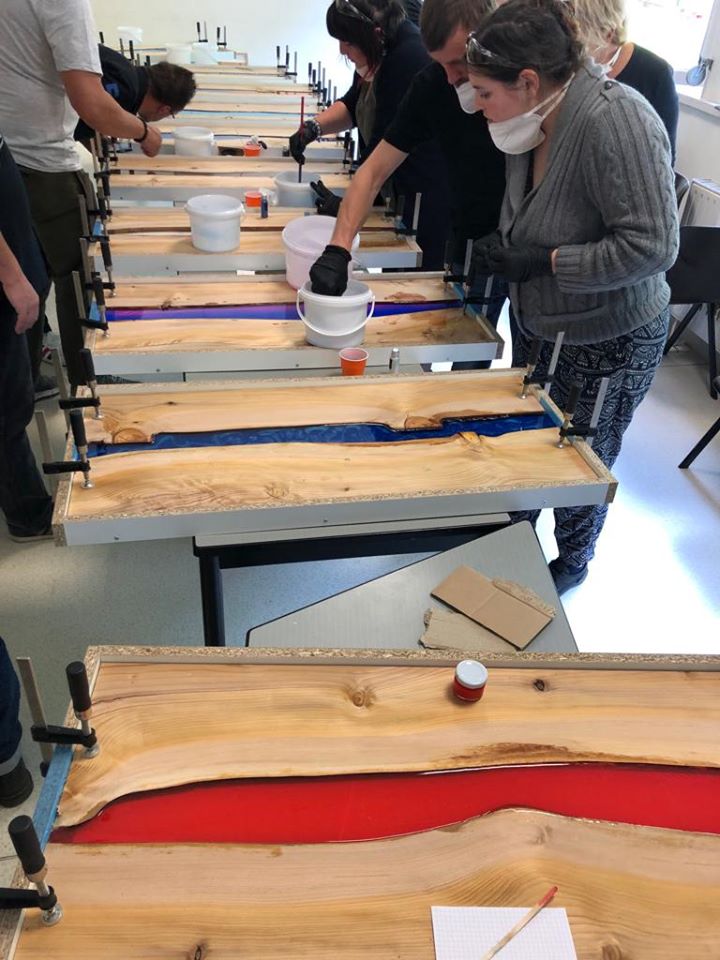
Step 1: Prepare Your Workspace and Resin
Begin by setting up a clean, dust-free and levelled working surface. Use gloves, aprons, and protect your workspace to keep the resin free from contaminants. Carefully measure out the required amounts of resin and hardener as per manufacturer’s instructions, ensuring precise ratios for strong curing and clear results. Mix the resin and hardener slowly but thoroughly, minimising air bubbles.
Work methodically and be patient at this stage, as good preparation forms the foundation for a flawless coloured resin pour.
Step 2: Add Pigment and Achieve Desired Colour
Once your resin is fully mixed, it’s time to introduce the colourant. Start with a small amount of pigment to maintain control over transparency and colour strength. For deep, solid colour effects, sets like the “Colourfun Set” – Liquid Epoxy Resin Colourant Set for Solid Colour Effects or “Colourfun” – Liquid Epoxy Resin Colourant 25-100ml – High coverage allow gradual build-up of intensity.
Mica powders and liquid dyes blend swiftly with epoxy; use a gentle, consistent stirring motion. When working towards ocean or crystal effects, opt for formulations such as the “Marine Palette” – Set of Dyes for Ocean Art, Epoxy Resin, and Beach Effects for marine tones, or the “Magic Crystal” – Set of 5 Transparent Colourants, 5 x 45ml to maintain clarity while adding vibrant colour.
Step 3: Mix and Test for Uniform Colour
Blend the coloured resin thoroughly, scraping the sides and base of your mixing vessel. Mix thoroughly to prevent streaks, as insufficient mixing can result in uneven colour distribution and patchiness after the resin sets. If you want a customised shade, combine small amounts of different pigments to your preferences—always mixing in between additions.
Check transparency before pouring by placing a drop on a piece of clear plastic or glass. Assess the effect against light and adjust pigment amount if needed.
Step 4: Pour and Allow to Cure
Once satisfied with your mixed colour, pour the resin slowly into your mould, casting surface, or directly over your art. Work gently to minimise bubbles and protect the coloured effect. Ensure your space remains undisturbed while curing to prevent dust or movement from affecting the final result.
Cure as per the resin manufacturer’s timings and recommendations for the best effect and durability.

Tips, Common Mistakes, and Troubleshooting
To avoid under- or over-colouring, always add pigments sparingly and build up gradually. Overloading resin with pigment can result in compromised curing or sticky surfaces. For transparent looks, select dyes specifically designed for clarity. If cloudy results appear, re-evaluate pigment volume and mixing technique. Always follow safety guidelines for epoxy use and allow sufficient curing in a dust-free environment.
If layering with multiple colours, allow partial curing between pours to prevent shades from merging unintentionally. For best results, keep your work at the recommended room temperature.
Techniques for Clean Colour and Smooth Results
Take care with measuring and mixing for perfect results every time. A little attention during pigment addition and blending can make the difference between professional, uniform colour and a patchy finish. Patience during curing is equally important—don’t rush for best results.
- "Colourfun Set" – Liquid Epoxy Resin Colourant Set for Solid Colour EffectsPrice range: £13.45 through £48.15The "Colourfun Set" offers intense, translucent colours in paste form suitable for colouring epoxy resin with even distribution.
- "Marine Palette" – Set of Dyes for Ocean Art, Epoxy Resin, and Beach EffectsPrice range: £10.85 through £16.85The Marine Palette Set offers concentrated, odourless dyes designed for creating ocean-inspired effects in epoxy resin art.
 "Colourfun" – Liquid Epoxy Resin Colourant 25-100ml – High coveragePrice range: £3.65 through £9.85Liquid epoxy resin colourant offering vibrant pigmentation, suitable for artistic applications and professional castings.
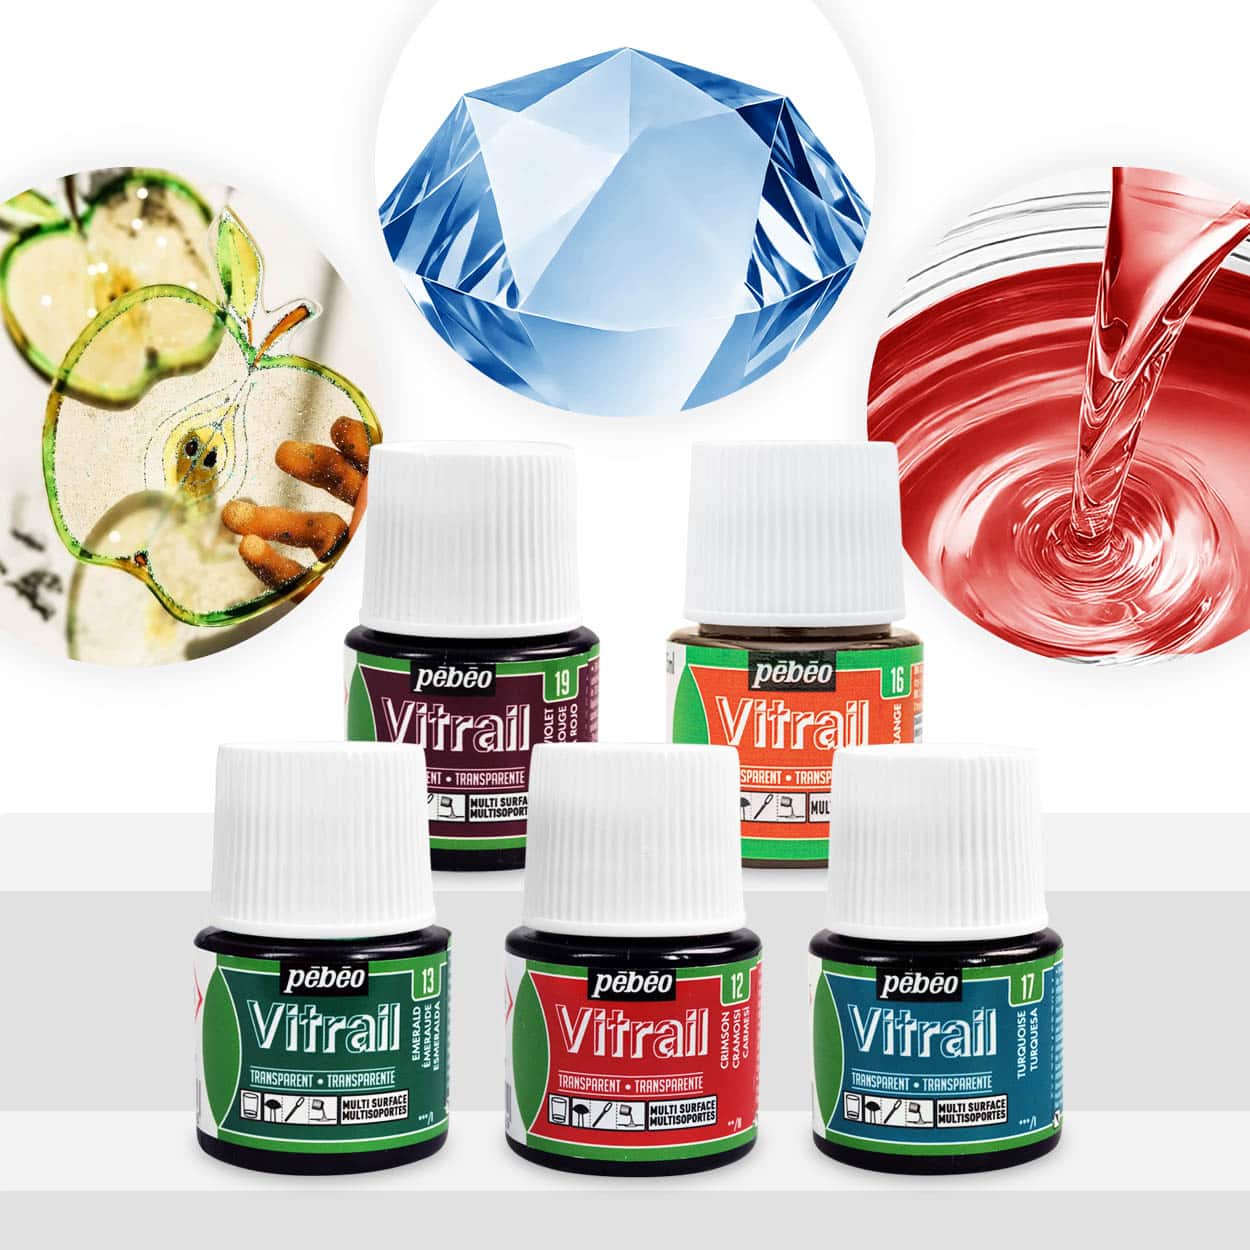 "Magic Crystal" – Set of 5 Transparent Colourants, 5 x 45ml£18.85Transparent colourants designed for use with Resin Pro transparent resin to create custom coloured crystals.
Frequently Asked Questions
What is the best pigment type for coloured resin?
For vibrant, even colour, use dedicated resin colourant sets. Choose liquid dyes for strong, opaque effects, and transparent colourants for crystal-clear looks.
Can I mix different colour pigments in resin?
Yes, combining pigments allows for custom shades. Mix thoroughly to avoid uneven colour and test on a sample before pouring larger projects.
How do I keep coloured resin transparent?
Use transparent dyes designed for resin. Add pigment gradually, stirring gently, and avoid exceeding recommended concentrations for clarity.
Can too much pigment affect resin curing?
Excessive pigment may hinder proper curing, causing sticky results. Always keep pigment below manufacturer guidelines, typically under 5% by weight.
Why is my coloured resin cloudy?
Cloudiness usually results from excess pigment, poor mixing, or using non-transparent dyes. Use appropriate transparent colourants and stir thoroughly.
How do I create ocean effects in resin?
Use marine-themed pigment sets and layer colours for depth. Special effects powders can enhance foamy wave patterns in epoxy resin.