 Free shipping on orders over £29,85


How to make coloured resin?
Step-by-step guide for vibrant, custom resin colours at home


Mastering the art of colouring resin opens the door to a world of creative possibilities, from striking jewellery to bold artwork and dramatic casting projects. This guide takes you through the fundamentals of making coloured resin, including material selection, technique, and expert tips for flawless, vivid colours every time.
What You’ll Need
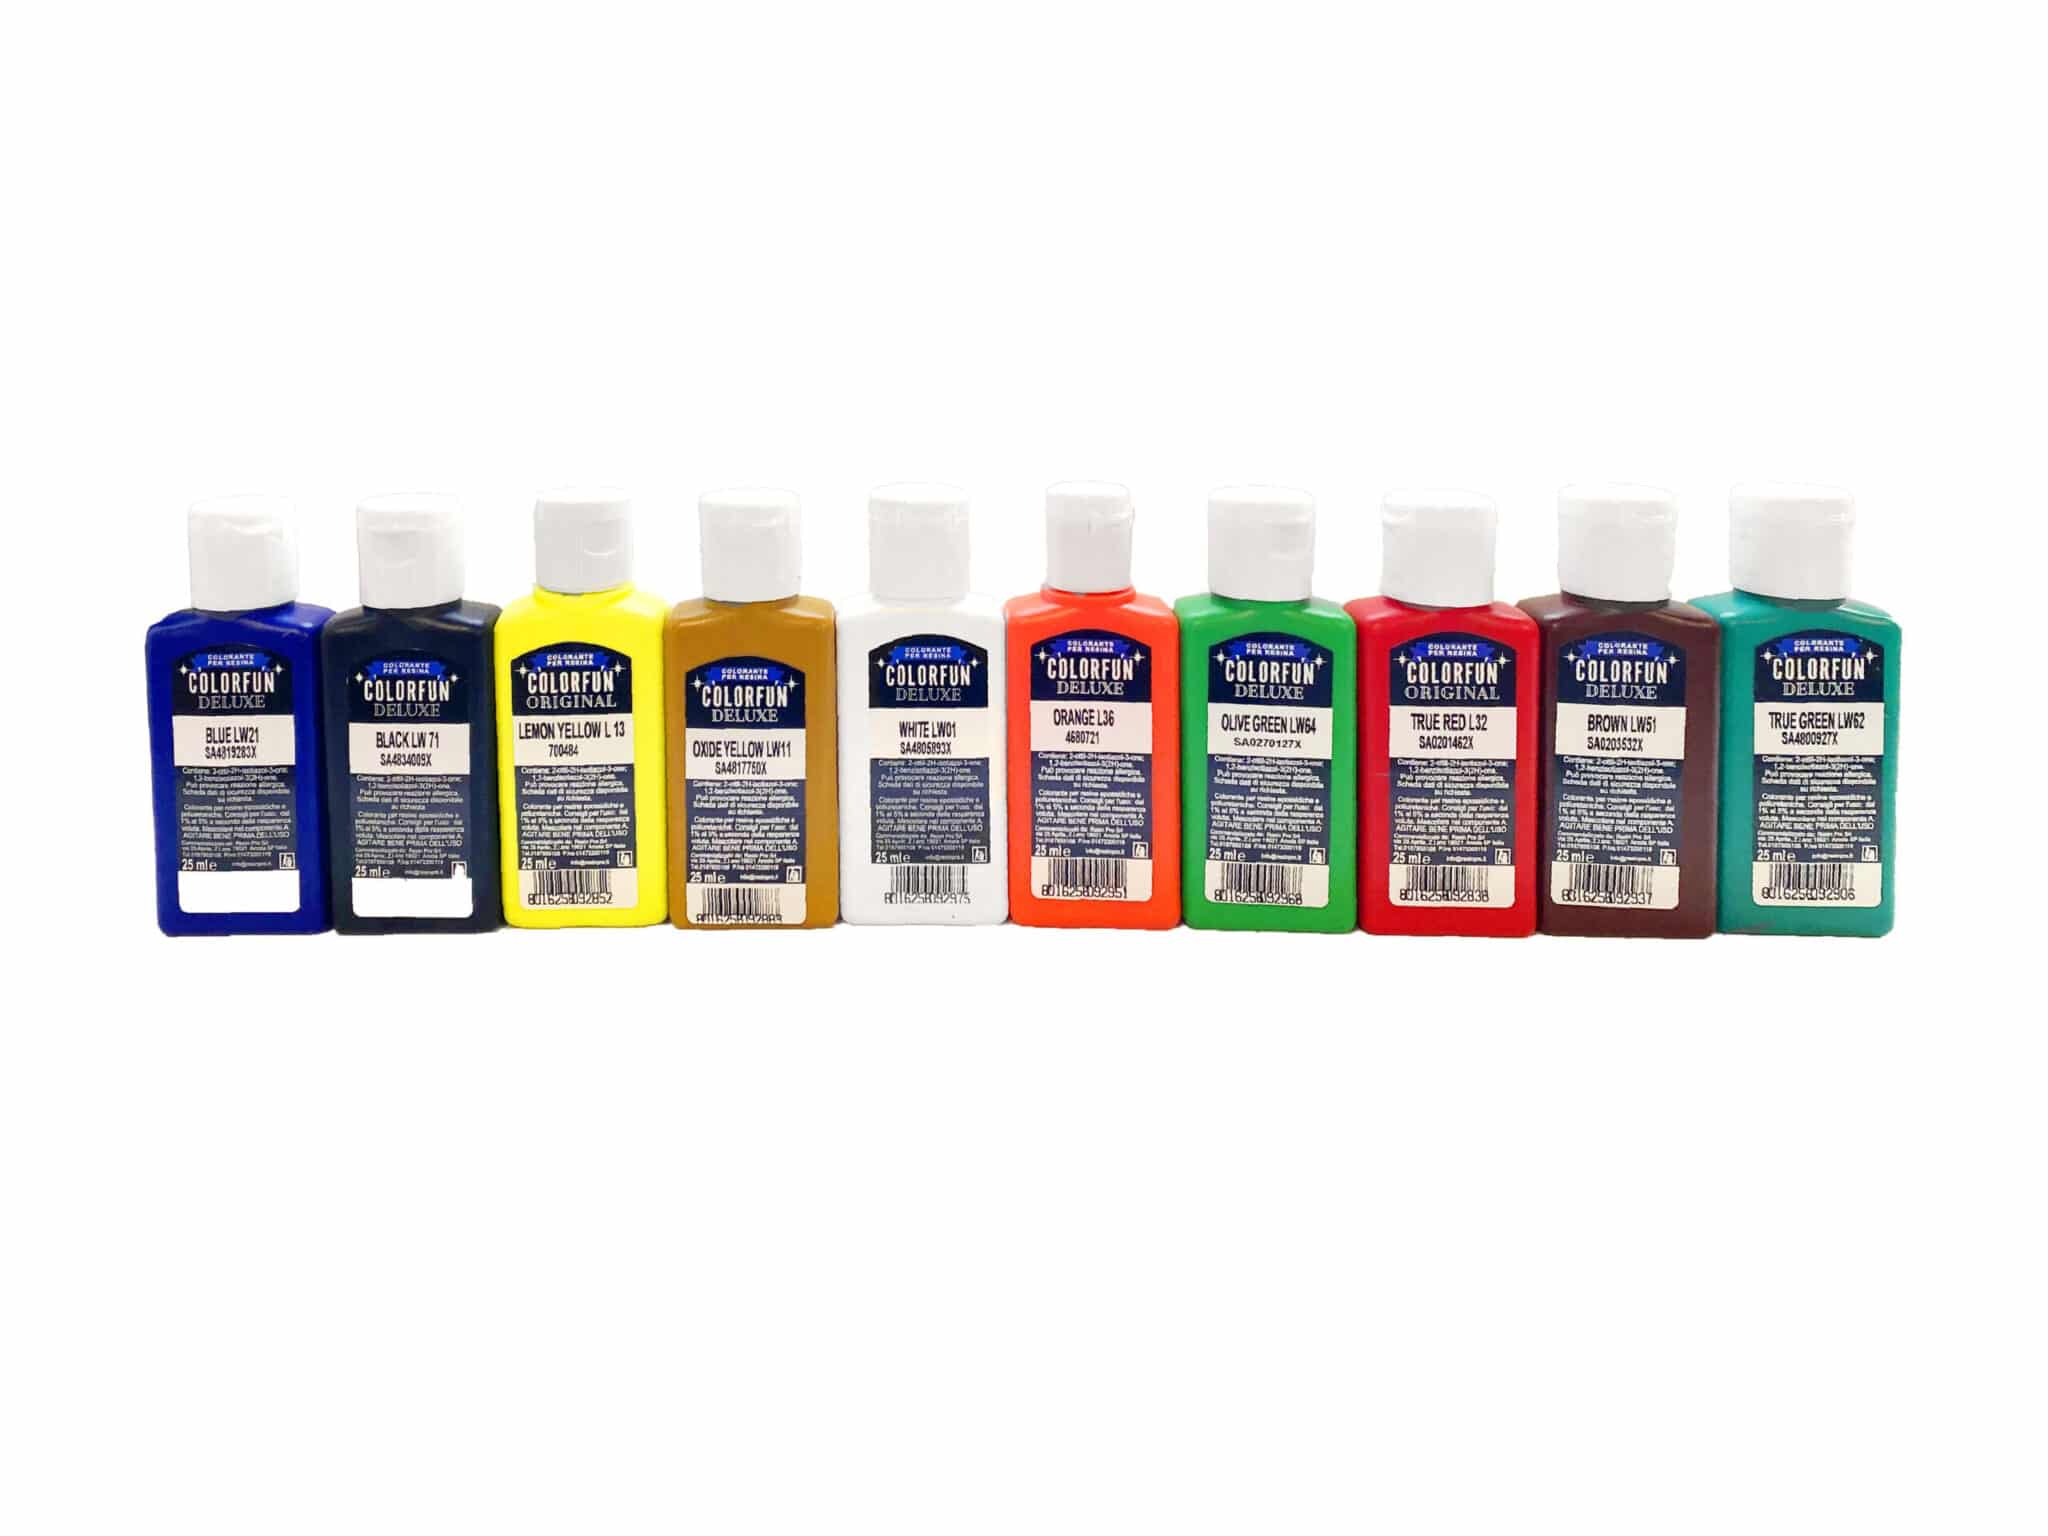
- “Colourfun Set” – Liquid Epoxy Resin Colourant Set for Solid Colour Effects: Designed for artists and makers to add vibrant colour to transparent epoxy resin projects.
- “Colourfun” – Liquid Epoxy Resin Colourant 25-100ml – High coverage: A liquid colourant designed for deep, even pigmentation in epoxy resin art and castings.
- “Magic Crystal” – Transparent Resin Colour 45ml: Transparent resin colour designed for producing vibrant, glass-like crystal and jewellery effects.
- “Magic Crystal” – Set of 5 Transparent Colourants, 5 x 45ml: Set of five transparent colourants for use with transparent resin to create custom coloured crystals.
- Epoxy resin and hardener suitable for your project
- Protective gloves, apron, and a well-ventilated workspace
- Mixing cups and stirring sticks
- Measuring scales (for accurate resin and pigment ratios)
Choosing the Right Colourant for Your Resin Project
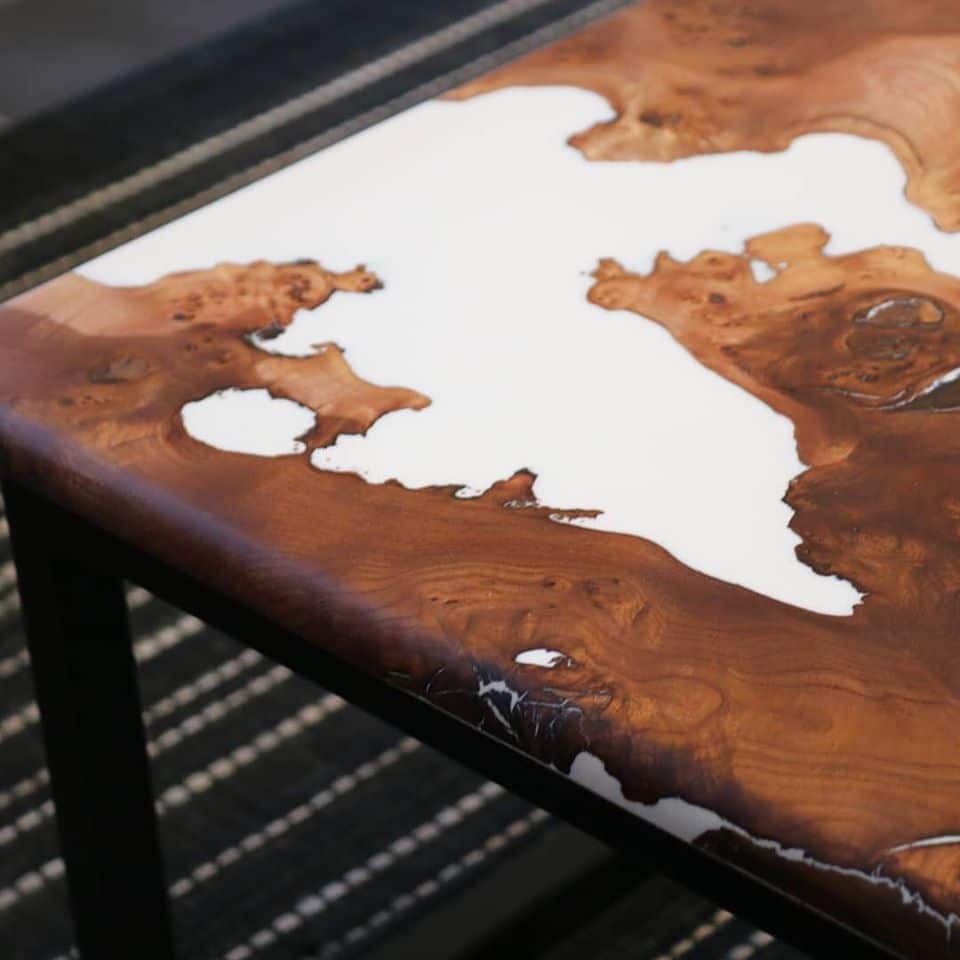
Selecting the correct resin colourant makes all the difference for your result. Opaque pastes such as the Colourfun Set work beautifully for bold, solid colour, while transparent pigments like Magic Crystal Transparent Resin Colour bring stunning, glass-like clarity to jewellery and decorative castings. Always confirm compatibility with your chosen resin system for a flawless finish.
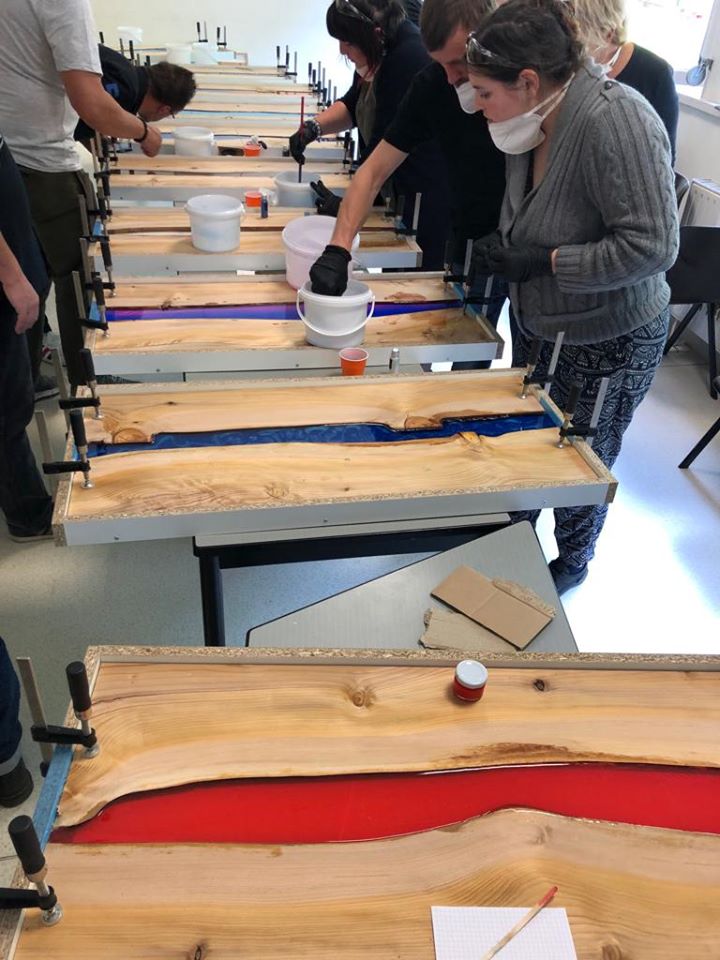
Step 1: Prepare Your Workspace and Materials
Work in a clean, dust-free environment before you start, as resin easily attracts dust and debris. Lay down protective covers, and make sure all your tools and moulds are silicone- or plastic-based and completely dry. Good ventilation is essential – always wear gloves and an apron to protect both your hands and clothing.
Accurate measuring prevents problems later on, so gather all your tools and check that your resin and hardener are within the recommended shelf life.
Step 2: Decide on Colour Style (Opaque, Translucent or Crystal)
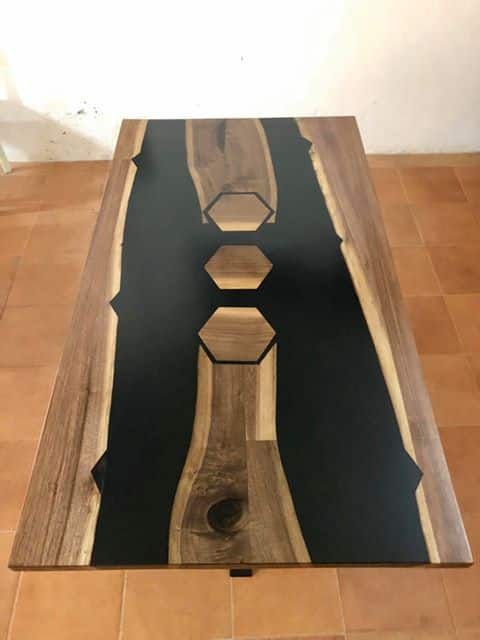
Decide what level of transparency is required for your project: deep, opaque hues for bold artwork, or crystal-clear effects for jewellery and geode imitations. This choice dictates both the type of colourant and the quantity you use.
For bright, opaque finishes, a set like the “Colourfun Set” – Liquid Epoxy Resin Colourant Set for Solid Colour Effects or the “Colourfun” – Liquid Epoxy Resin Colourant 25-100ml ensures intense solid colours. For vibrant transparency and glass-like finishes, turn to “Magic Crystal” – Transparent Resin Colour 45ml or the “Magic Crystal” – Set of 5 Transparent Colourants.
Step 3: Mix Resin and Hardener Thoroughly
Combine the resin and hardener thoroughly in the exact ratio specified on your product label. Incomplete mixing is one of the most frequent causes of tacky, undercured resin. Stir slowly but deliberately, scraping the sides and base of the mixing cup for a few minutes until fully blended.
Avoid whipping air into the mixture, as excess bubbles will affect the final appearance of both clear and pigmented resin.
Step 4: Add Colourant Gradually and Blend Evenly
Add small amounts of colourant at a time to the mixed resin, blending well after each addition. Strongly concentrated pastes, such as those in the “Colourfun” – Liquid Epoxy Resin Colourant 25-100ml, require only a few drops per batch – be cautious, as adding too much can impact curing and saturation.
For glass-like effects, a transparent tint such as “Magic Crystal” – Transparent Resin Colour 45ml delivers clarity without cloudiness. Mix until the colour is fully uniform, with no visible streaks or lumps.

Step 5: Pour and Cure the Coloured Resin
Pour the coloured resin carefully into your prepared mould or onto your surface, slowly to avoid introducing more bubbles. Follow manufacturer instructions for layer thickness, as pouring too much at once can delay curing.
Protect the poured resin from dust and vibrations throughout the curing process. Wait the recommended time before demoulding or handling your piece for best results.
Tips, Common Mistakes, and Troubleshooting
Avoid using too much pigment, as this can interfere with the chemical reaction needed for resin to harden fully. Many colourants are highly concentrated – a little goes a long way.
Mix thoroughly to avoid streaks and patchy colouring. Use gentle folding motions rather than aggressive stirring to minimise bubbles.
If you want to customise colours, experiment by blending small amounts in a separate cup first before adding to your main resin batch.
If your result isn’t as vivid as desired, gradually build up pigment, but never exceed the recommended maximum proportion (usually around 5% of the total resin mass).
Expert Colour Blending for Unique Effects
Experiment with blending different colourants and layering for custom effects. Try combining shades from the Magic Crystal Set or mixing two opaque pastes for one-of-a-kind hues. For realistic gemstone effects, layer transparent tints with opaque undertones and control saturation drop by drop.
- "Colourfun Set" – Liquid Epoxy Resin Colourant Set for Solid Colour EffectsPrice range: £13.45 through £48.15This set contains liquid epoxy resin colourants designed for creating intense, translucent effects suitable for transparent resin projects.
- "Colourfun" – Liquid Epoxy Resin Colourant 25-100ml – High coveragePrice range: £3.65 through £9.85Colourfun liquid epoxy colourant delivers intense pigments for various resin art effects, supporting the theme of making coloured resin.
 "Magic Crystal" – Transparent Resin Colour 45ml£4.65"Magic Crystal" Transparent Resin Colour offers intense transparent colours and blends easily for crystal-like effects in resin.
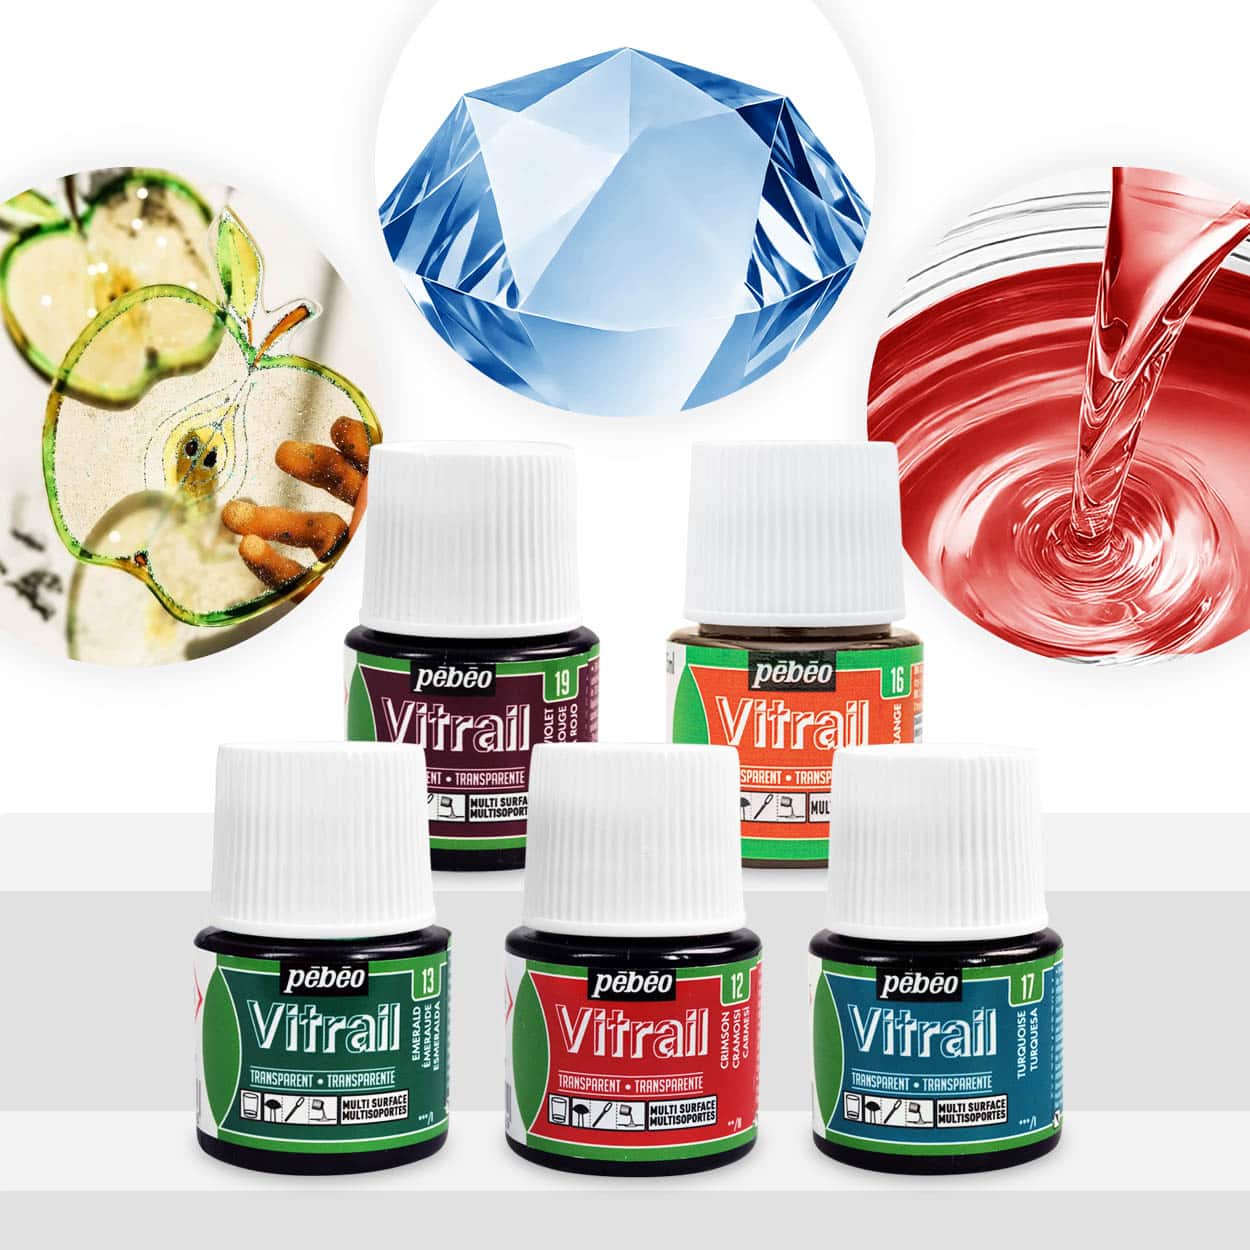 "Magic Crystal" – Set of 5 Transparent Colourants, 5 x 45ml£18.85"Magic Crystal" Set contains five transparent colourants designed for creating coloured resin crystals.
Frequently Asked Questions
Can Colourfun colourants be used in both UV and epoxy resin?
Yes, Colourfun colourants are compatible with both epoxy and UV resin for a range of bold or dark colours.
How do I avoid cloudiness in transparent resin?
Mix thoroughly and use transparent colourants like Magic Crystal to achieve glass-like results free from haze.
How can I create a grey resin colour using these colourants?
Blend white and black pigments from the Colourfun range or add metallic grey powder for a stylish grey shade.
Which products are best for making resin with a crystal-clear effect?
Magic Crystal Transparent Resin Colour or the Magic Crystal Set produce vibrant, clear results ideal for crystals.
How much pigment should I add to my resin mixture?
Start with only a few drops and never exceed 5% pigment by resin mass for optimal curing and colour strength.
What should I do if my coloured resin isn’t curing properly?
Check that you have mixed resin and hardener in the right ratio and kept pigment concentration within recommended limits.