 Free shipping on orders over £29,85


← Back to How to make a resin sphere?
After successfully casting your resin sphere, the next step is polishing to reveal a smooth, glass-like finish. Careful polishing removes mould lines and minor imperfections for truly eye-catching results.
Preparing Your Resin Sphere
Before you start polishing, ensure your resin sphere is fully cured and has been carefully demoulded. If you notice rough areas or seam lines, begin by gently sanding with fine-grit sandpaper (start around 600 grit and progress to higher grits for an even finish). Keep the surface and sandpaper lightly moistened to minimise scratching and dust.
Buffing and Finishing Techniques
Once sanded, use a soft cloth and a quality resin polishing compound to buff the sphere. Go in circular motions, applying gentle pressure until the desired shine emerges. For best results on small spheres, hand polishing allows greater control. Make sure to wipe away any residue with a clean, dry cloth.
- If your project is larger or you want a mirror-like surface, repeat polish application until you’re satisfied.
- Consider wearing gloves to avoid fingerprints during the process.
When Polishing Really Matters
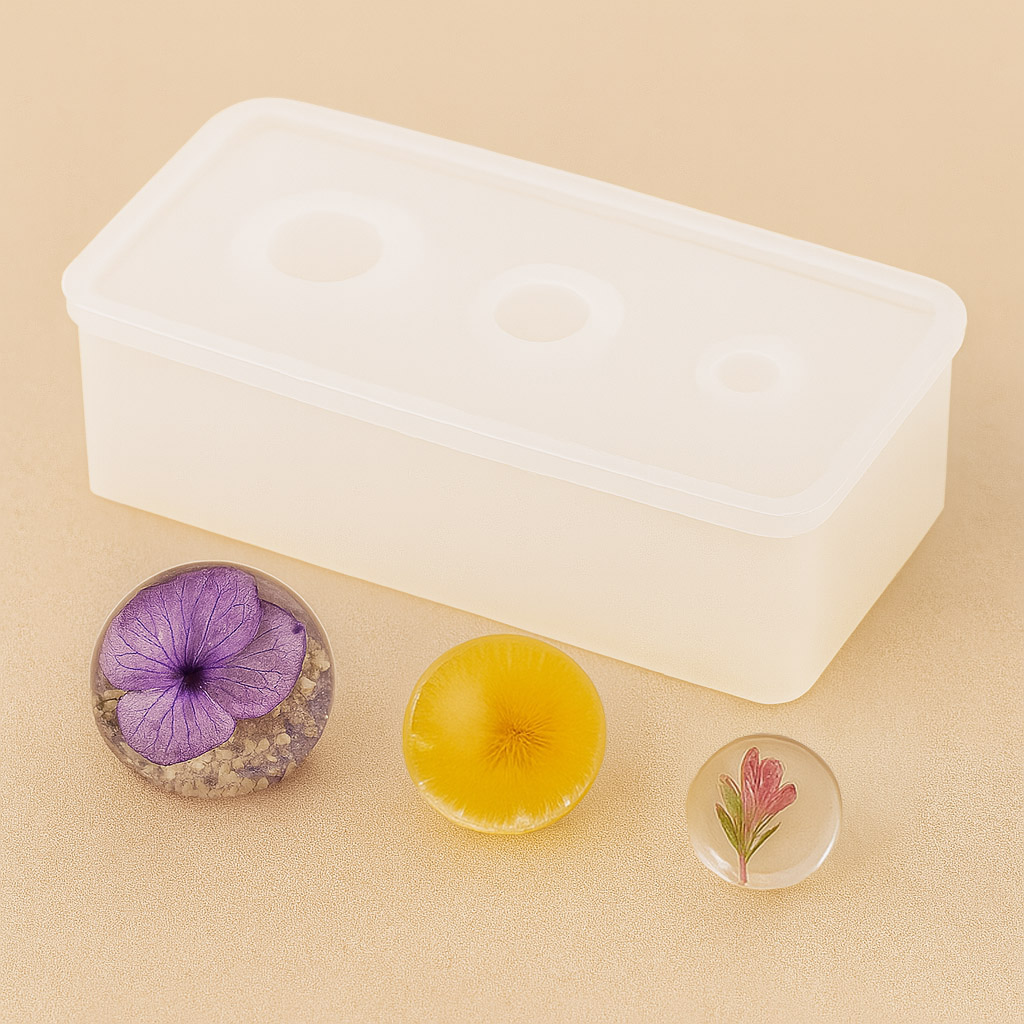
Polishing is especially important when your resin spheres will be used for jewellery or display pieces. A well-polished finish not only looks professional but also highlights your craftsmanship. If you’re casting with a dedicated sphere mould like the “3 Sphere” silicone mould, polishing brings out the clarity and depth of each piece.
Related products
Related guides
Polishing your resin sphere is the final touch that transforms your project from homemade to high-quality. For more creative tips and to explore ideal moulds, visit our main guide on how to make a resin sphere.