 Free shipping on orders over £29,85


how to make a resin sphere
Resin spheres are a stylish way to enhance jewellery, crafts, and decorative projects. Creating a flawless resin sphere at home is rewarding, but achieving clear, bubble-free results requires attention to detail. This comprehensive guide will walk you through the complete resin sphere casting process, highlighting the essential steps, equipment, and professional tips that make all the difference for beginners and experienced crafters alike.
Step-by-step guide for flawless resin spheres every time
What You’ll Need
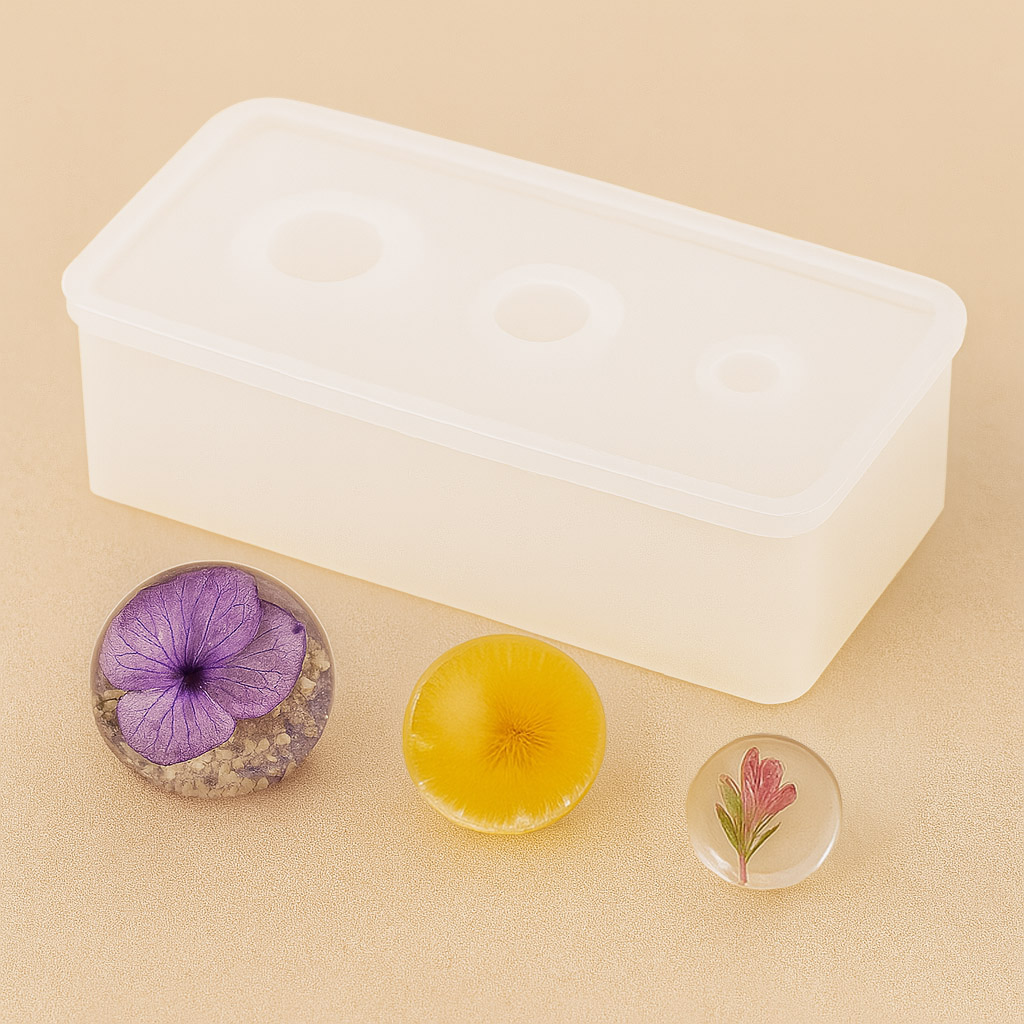
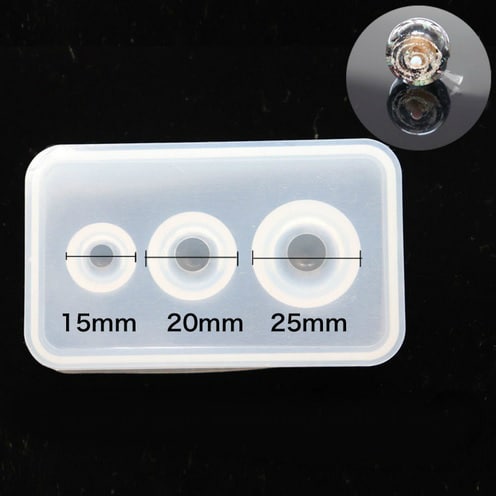
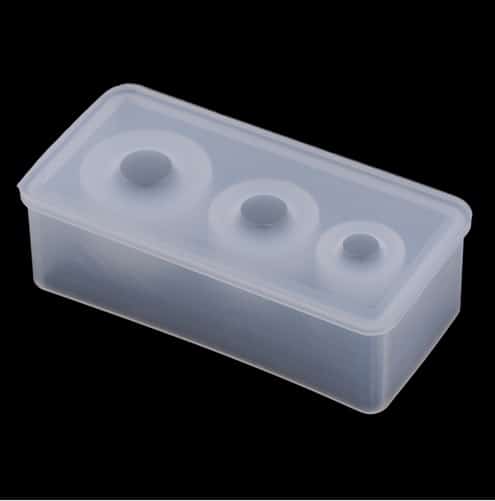
- “3 Sphere” – Silicone Mould for Jewellery and Crafts, 1cm-2.5cm Spheres: Reusable and polished for an easy release and glossy finish.
- “EpoxyTable 5-Five” – Deep Pour Epoxy Resin for Tables and Large Projects – Up to 5cm: Delivers brilliant clarity and minimises bubbles.
- “Epoxytable 10-Ten” – Deep Pour Epoxy Resin for Tables, Up to 10cm Casting: Recommended for extra-large sphere projects needing deep pours.
- Mixing cups and stir sticks
- Nitrile gloves for safety
- Mould release spray (optional but helpful)
- Pigments or inclusions (optional)
Essential Tools and Materials for Sphere Casting
Selecting the right mould and resin ensures crystal clarity and reliable demoulding for your resin spheres. Opt for dedicated silicone sphere moulds and choose a deep pour resin to achieve a flawless finish without bubbles. Safety gear and clean tools are essential for professional results.
Step 1: Prepare Your Workspace and Mould
Begin by setting up a level and dust-free workspace to prevent defects and disturbance during the curing process. Wear protective gloves and ensure adequate ventilation. Place the silicone sphere mould on a stable surface, double-checking it is clean and free of debris. If you are using a new mould, you may lightly coat it with a mould release spray to aid demoulding, but this step is optional with quality silicone moulds. Ensure your mixing tools and cups are similarly free of dust and contaminants.
Step 2: Measure and Mix Your Resin
Select a deep pour epoxy resin suitable for your desired sphere size. For spheres up to 5cm in diameter, use “EpoxyTable 5-Five” – Deep Pour Epoxy Resin for Tables and Large Projects – Up to 5cm. If you plan to create larger spheres requiring very thick pours, “Epoxytable 10-Ten” – Deep Pour Epoxy Resin for Tables, Up to 10cm Casting will offer enhanced depth and bubble control.
Carefully follow the manufacturer’s mixing ratio for your chosen resin. Pour hardener and resin into a clean cup and stir slowly and consistently for several minutes, scraping the sides and bottom as you mix. Mix resin slowly to prevent bubbles which can mar your finished sphere. If using pigments or embedding items, mix them in at this stage, still maintaining a slow, gentle action.
Step 3: Pour the Resin into the Mould
Once mixed thoroughly, gently pour the resin into your mould cavity in a thin stream, letting it flow to the bottom naturally. This method reduces potential bubble trapping. If your sphere design includes suspended elements or layers, pour a partial fill, wait for partial gelling, add inclusions, then complete the pour. For best results, fill the mould slightly above the rim to accommodate resin shrinkage during curing.
Lightly tapping the sides of the mould or briefly using a heat gun (on its lowest setting) can encourage bubbles to rise and pop, but avoid overheating. Cover the mould to prevent dust settling on the surface as the resin cures.

Step 4: Cure and Demould Your Resin Sphere
Leave the filled mould undisturbed on a level surface. The curing time depends on the resin used and the size of your sphere — refer to your resin instructions for specifics, but most deep pour resins require at least 24–48 hours for a complete cure.
For a polished finish and to prevent sticking, remove resin from mould within 12 hours to prevent sticking if recommended by your mould’s manufacturer. After demoulding, allow your sphere to fully cure at room temperature for maximum hardness and clarity.
Allow full curing before demoulding if the sphere is thick or includes intricate inclusions, as premature removal can deform or cloud the surface.

Tips, Troubleshooting and Common Mistakes
• Choose a flexible, polished mould for effortless demoulding and the highest possible shine on your finished sphere. • Work at moderate room temperature for optimal resin flow and to avoid premature gelling. • Use slow, gentle pouring and mixing techniques to prevent bubbles. • Address any surface tackiness after curing by lightly sanding and polishing. • If your sphere sticks to the mould, soak both gently in warm water before easing out.
Expert Hints for a Perfect Resin Sphere
Cast in a dust-free environment to prevent inclusions on the sphere surface. If you notice surface imperfections post-cure, a gentle polish can revive clarity. Always follow curing guidelines for your resin, as rushing the process may compromise both appearance and durability.

- "3 Sphere" – Silicone Mould for Jewellery and Crafts, 1cm-2.5cm Spheres£6.85"3 Sphere" silicone mould is designed for making small spheres suited to jewellery and craft projects.
- "EpoxyTable 5-Five" – Deep Pour Epoxy Resin for Tables and Large Projects – Up to 5cmPrice range: £16.85 through £1,099.85EpoxyTable 5-Five is a deep pour epoxy resin designed for tables and large projects up to 5cm thickness, suitable for artistic and DIY uses.
 “Epoxytable 10-Ten” – Deep Pour Epoxy Resin for Tables, Up to 10cm CastingPrice range: £33.85 through £334.85“Epoxytable 10-Ten” is suitable for deep pour casting up to 10cm, designed for tables and artistic projects within the theme how to make a resin…
Frequently Asked Questions
What is the best resin type for making resin spheres?
Deep pour epoxy resins provide superior clarity and bubble control, making them ideal for sphere moulds.
How do I prevent my resin sphere from sticking to the mould?
Use high-quality silicone moulds and, if necessary, a mould release spray. Remove the sphere promptly after initial cure.
How do I avoid bubbles in my resin sphere?
Mix resin slowly, pour gently, and tap the mould to release trapped bubbles. Deep pour resins also help minimise bubbles.
How long does it take for a resin sphere to cure fully?
Typically, deep pour resins require at least 24–48 hours. Check your resin's instructions for specific guidance.
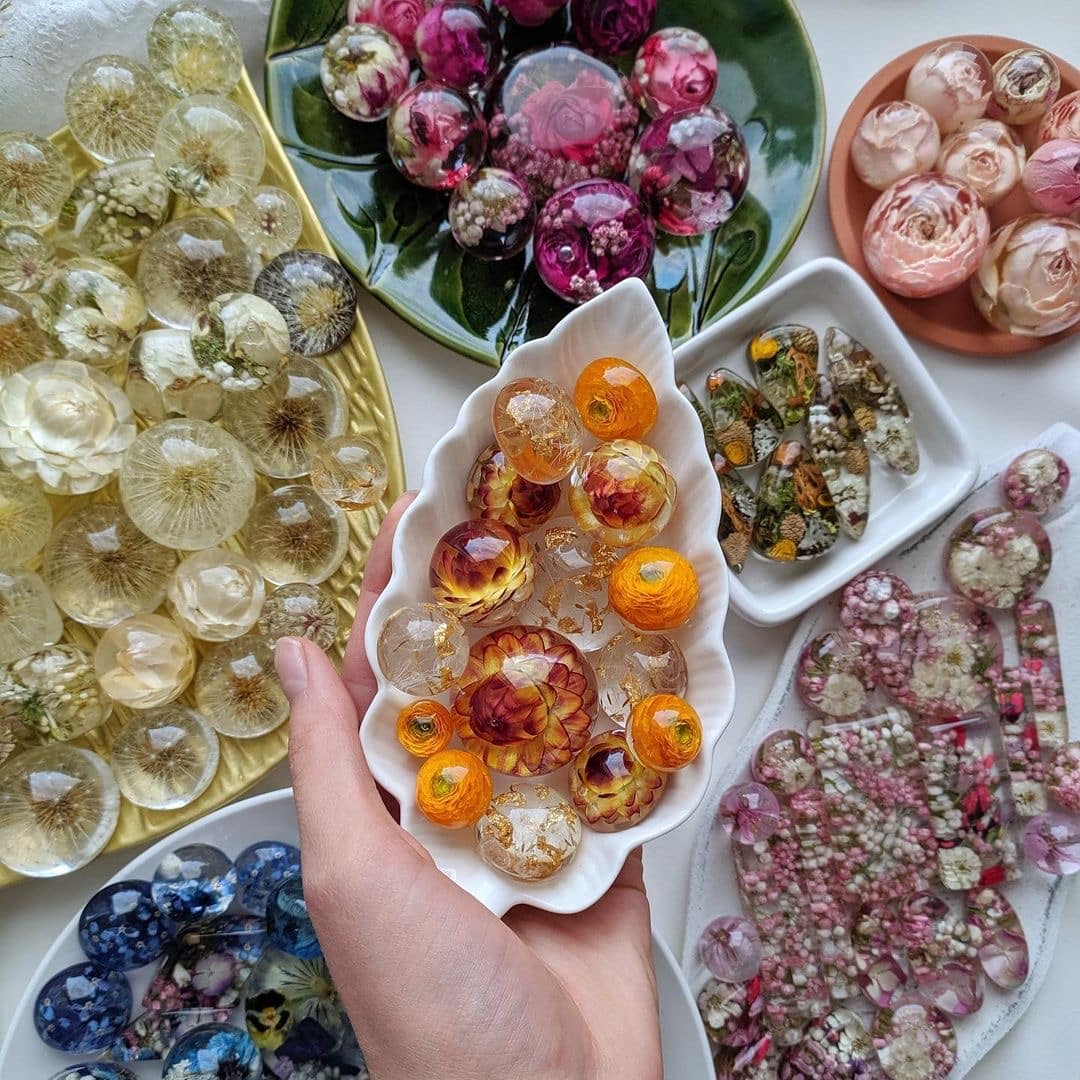
Can I embed items or flowers in a resin sphere?
Yes, allow partial gelling before adding inclusions for best suspension results within the sphere.