 Free shipping on orders over £29,85


How to embed flowers in resin
A complete guide to preserving blooms in epoxy resin art.


Preserving the beauty of flowers in resin creates elegant, everlasting art pieces—from decorative jewellery to bespoke home décor. This guide details every stage of embedding flowers in resin, so you can achieve crystal-clear, professional results that capture nature’s charm.
What You’ll Need
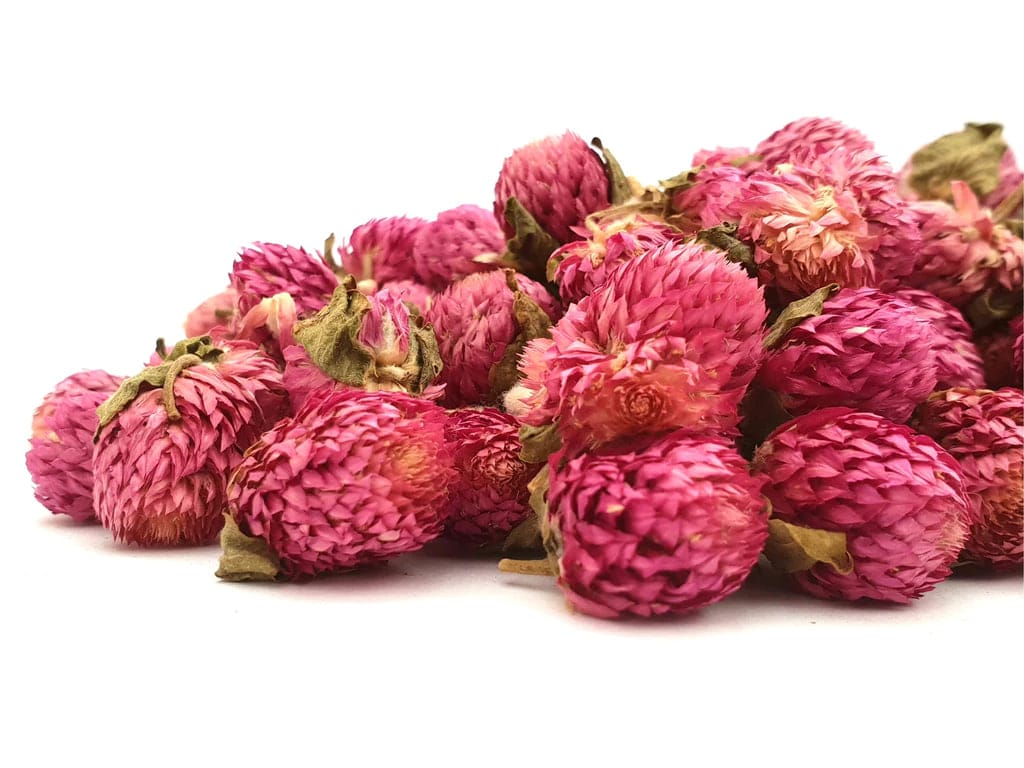
- Natural Dried Flowers for Art Projects and Epoxy Resin Casting – for vibrant, ready-to-use blooms
- “Trasparente” – Multipurpose Clear Epoxy Resin for Casting – Up to 2cm – for a glossy, crystal-clear finish (great for most casting needs)
- “One-2-One” – Epoxy Resin for Handcraft, 1:1 Mixing Ratio – ideal for beginners or smaller projects
- “Icrystal” – Clear Epoxy Resin – Odourless Formula – Up to 1.5cm – suitable for clear, odourless indoor projects
- Mixing tools and cups
- Nitrile gloves and a protective surface cover
- Silicone moulds (your chosen shape)
- Toothpicks or tweezers for flower placement

Gallery of Embedded Flower Resin Projects
Explore inspiring examples of dried flowers artfully embedded in resin jewellery, keepsake paperweights, and décor. Each project showcases the stunning clarity and colour retention possible when using quality dried flowers and clear casting resins. Notice the preserved details and beautiful layering effects achievable at home.

Step 1: Prepare and Dry Your Flowers
Start by selecting flowers that are completely dry. Any retained moisture can affect the resin’s clarity and cause cloudiness or decay inside the finished piece. Use only Completely dry your flowers before use. If you’re not using pre-dried blooms, dry them using silica gel, pressing, or air drying for several days. Give them a gentle brush to remove any dust or pollen before embedding.
Natural Dried Flowers for Art Projects and Epoxy Resin Casting are ready-made and ideal for this process, as they stay intact and vibrant during casting.
Step 2: Prepare Your Work Area and Moulds
Work in a well-ventilated, dust-free area, as dust or fibres can get trapped in your resin. Lay down a protective cover, and gather all materials. Place your silicone mould on a flat, stable surface. Work in a clean, dust-free environment to ensure clarity and finish.
Arrange your dried flowers in advance to plan your composition, using tweezers for delicate handling.
Step 3: Mix and Pour the Resin
Carefully follow the chosen epoxy resin’s mixing instructions—whether it’s a 1:1 or 2:1 ratio. Mix slowly to avoid introducing air bubbles. For projects up to 2cm thick, “Trasparente” – Multipurpose Clear Epoxy Resin for Casting – Up to 2cm provides an ultra-clear, self-levelling finish. For odour-sensitive or indoor use, “Icrystal” – Clear Epoxy Resin – Odourless Formula – Up to 1.5cm is excellent, while “One-2-One” – Epoxy Resin for Handcraft, 1:1 Mixing Ratio offers an easy equal-parts mix for beginners.
Pour a thin base layer into your mould and let it thicken until slightly tacky. Allow each resin layer to gel before adding more flowers or resin, especially for larger moulds. This prevents your flowers from floating or shifting position.
Step 4: Place and Set Your Flowers
Using tweezers or a toothpick, gently arrange the dried flowers onto the first gelled layer of resin. Take your time to ensure petals and stems lie as desired. Avoid overfilling the mould, as this can force flowers up or out when more resin is added. Once flowers are in position, pour another layer of mixed resin over the top, encapsulating them completely.
Use a slow-pouring technique to minimise air entrapment around delicate blooms. For detailed jewellery or cabochons, consider using “One-2-One” resin for best clarity and flower placement control.

Step 5: Remove Bubbles and Allow Full Cure
Air bubbles may form around petals or inside the resin. Gently remove air bubbles by using a pin or toothpick, or by waving a heat gun lightly over the surface—take care not to overheat the resin or flowers. Let your piece cure fully as per the chosen resin’s instructions.
Allow for full curing time (typically 24–48 hours). Unmould gently once completely hardened for a smooth, professional result.
Tips, Common Mistakes, and Troubleshooting
- Completely dry your flowers before use to avoid moisture problems and cloudiness.
- Choose the right resin thickness for your mould size — overfilling thick moulds can cause overheating.
- Work in layers to keep flowers in place and minimise bubbles.
- Let each layer partially cure for more precise arrangement and depth effects.
- Be patient with mixing and pouring to maintain clarity.
Video: Step-by-Step Embedding Guide
Watch a step-by-step visual guide that follows the key stages of flower embedding: from flower preparation to pouring resin and bubble removal. Expert tips highlight common pitfalls and best practices for professional, clear results in every piece.

- Natural Dried Flowers for Art Projects and Epoxy Resin CastingPrice range: £5.45 through £7.85Natural dried flowers ready for use, suitable for epoxy resin and craft projects reflecting natural aesthetics.
 "Trasparente" – Multipurpose Clear Epoxy Resin for Casting – Up to 2cmPrice range: £8.45 through £948.85"Trasparente" is a clear casting epoxy resin with a self-levelling finish, suitable for detailed projects up to 2cm thick, aligning with flower…
- "One-2-One" – Epoxy Resin for Handcraft, 1:1 Mixing RatioPrice range: £14.85 through £56.85"One-2-One" epoxy resin is a medium viscosity formula designed for beginners and seasoned crafters to produce clear, glossy decorative items.
 "Icrystal" – Clear Epoxy Resin – Odourless Formula – Up to 1.5cmPrice range: £11.65 through £954.85The "Icrystal" epoxy resin offers clear, odourless, and easy-to-use qualities suitable for embedding flowers in resin.
Frequently Asked Questions
What is the best resin for embedding flowers?
Epoxy resins such as "Trasparente", "Icrystal", and "One-2-One" provide clarity and strength ideal for flower embedding.
Do flowers need to be completely dry before embedding?
Yes, fully dried flowers prevent cloudiness and decay, ensuring crystal-clear, long-lasting results.
How do I avoid bubbles when embedding flowers?
Pour resin slowly and use a pin or heat gun to remove air bubbles, especially around petals and stems.
How long does the resin take to cure?
Most epoxy resins cure in 24–48 hours, but refer to the product's instructions for precise timing.
Can I use fresh or artificial flowers in resin?
Only fully dried flowers should be used; artificial flowers can be used if fully clean and dry.
What is the safest way to handle resin for flower embedding?
Wear nitrile gloves, ensure ventilation, and follow resin manufacturer instructions for safe handling.
How do I arrange multiple flowers in one mould?
Add flowers in stages, letting each layer thicken to keep them in place and achieve depth.