 Free shipping on orders over £29,85


How to polish epoxy resin by hand
Step-by-step guide for a flawless glossy resin finish


Polishing epoxy resin by hand allows you to bring out a professional, glossy finish on your creations—perfect for art, jewellery, tabletops or casting projects. This guide will walk you through each step, ensuring a smooth finish without visible scratches or cloudiness, even if you do not have access to professional machinery.
What You’ll Need
- “Ebonite Abralon” – Sanding Pads 360-4000 Grit for Resin and Wood: For progressive wet or dry sanding of resin surfaces, helping remove scratches and prepare for polishing.
- Foam Sanding Block 70x100mm for Resin and Wood Surface Smoothing: Gentle and flexible for sanding curved or detailed surfaces.
- “Epoxy Polish” – Epoxy Resin Polishing System: Specially formulated for restoring clarity and a high-gloss finish.
- (Optional for dark resin): “Carbon Polish” – Polishing System for Dark and Black Surfaces, 250ml: Ensures a flawless non-cloudy shine on black or carbon-effect resin.
- Clean microfibre cloths or lint-free rags
- Bowl of water and spray bottle (for wet sanding)
- Protective gloves and mask (for dust protection)

Hand Polishing Tools in Action
See how flexible sanding blocks and graded pads adapt to resin shapes for even smoothing. Careful progression through grits eliminates surface scratches before final polishing.

Step 1: Level and Smooth Your Resin Surface
Start by inspecting your cured epoxy resin piece for uneven areas, drips or sharp edges. Using a Foam Sanding Block 70x100mm for Resin and Wood Surface Smoothing helps gently flatten and smooth both flat and curved surfaces. Sand lightly with even pressure, focusing on any imperfections while avoiding excessive abrasion in one spot. Wet sanding is recommended to reduce clogging and heat—simply dampen the sanding block and surface regularly.
Always sand thoroughly before progressing to finer stages: removing all surface bumps now will help you achieve a truly professional finish later.
Step 2: Progress Through Fine Grits for Clarity
Once major imperfections are gone, switch to progressively finer abrasive pads, such as “Ebonite Abralon” – Sanding Pads 360-4000 Grit for Resin and Wood. Begin around 600 or 800 grit, sanding in gentle, even strokes, then step up gradually to 1200, 2000 and finally up to 4000 grit. At each stage, sand until the previous scratches are no longer visible, wiping away residue and keeping the surface slightly damp but not soaking wet.
Work through progressively finer grits for the best clarity. Don’t skip grades, as this can leave visible marks in the finished piece.
Step 3: Clean the Resin Thoroughly
After sanding, it’s important to remove dust and sanding slurry completely. Rinse your piece under clean water, then dry with a microfibre cloth. Any grit or debris left behind can cause scratches when you start polishing.
Clean residue fully before polish application to ensure the polish makes direct contact with the surface for maximum shine.

Step 4: Apply Polishing Compound for Mirror Gloss
Once dry, apply a small amount of “Epoxy Polish” – Epoxy Resin Polishing System to a clean soft cloth or non-abrasive pad. Buff the surface using circular motions and steady pressure, working the compound over every part of the resin. For dark or black resin projects—such as jewellery or carbon effect—substitute the polish for “Carbon Polish” – Polishing System for Dark and Black Surfaces, 250ml to avoid white streaks and restore deep, clear shine.
Let the polish work for a few minutes, then wipe away the residue with a fresh, clean microfibre cloth, revealing a lustrous, smooth result.

Step 5: Inspect and Repeat if Necessary
Examine your polished surface in natural light. If dull patches or fine swirl marks remain, repeat the previous two steps—polishing again will further increase the level of shine. Often, a second polishing pass delivers optimal gloss, especially on larger or high-use areas.
Test your polishing pressure on a small, inconspicuous area before working across the main surface. This helps avoid over-polishing or missing spots.
Tips and Troubleshooting
- Avoid excess water when sanding, as oversaturation can soften resin edges or seep under unmixed layers.
- Do not rush between sanding stages; work each grit fully for true clarity later.
- Keep all materials clean—dirty cloths can reintroduce scratches.
- If polish leaves residue or looks cloudy, buff further with a soft dry cloth until clear.
Achieving the Finest Finish
Final gloss levels depend on both your technique and the polishing compounds chosen. Selecting the correct hand tools ensures your resin art or furniture shines flawlessly from every angle.

- "Epoxy Polish" – Epoxy Resin Polishing SystemPrice range: £17.85 through £44.85"Epoxy Polish" is a polishing system designed for resin projects to restore a glossy finish with a professional and easy-to-use formula.
- "Ebonite Abralon" – Sanding Pads 360-4000 Grit for Resin and Wood£3.95"Ebonite Abralon" Sanding Pads offer versatile grits for detailed polishing on epoxy resin and wood surfaces.
 Foam Sanding Block 70x100mm for Resin and Wood Surface Smoothing£1.85Foam Sanding Block is designed for smoothing epoxy resin and wood surfaces with its flexible foam core adapting to contours.
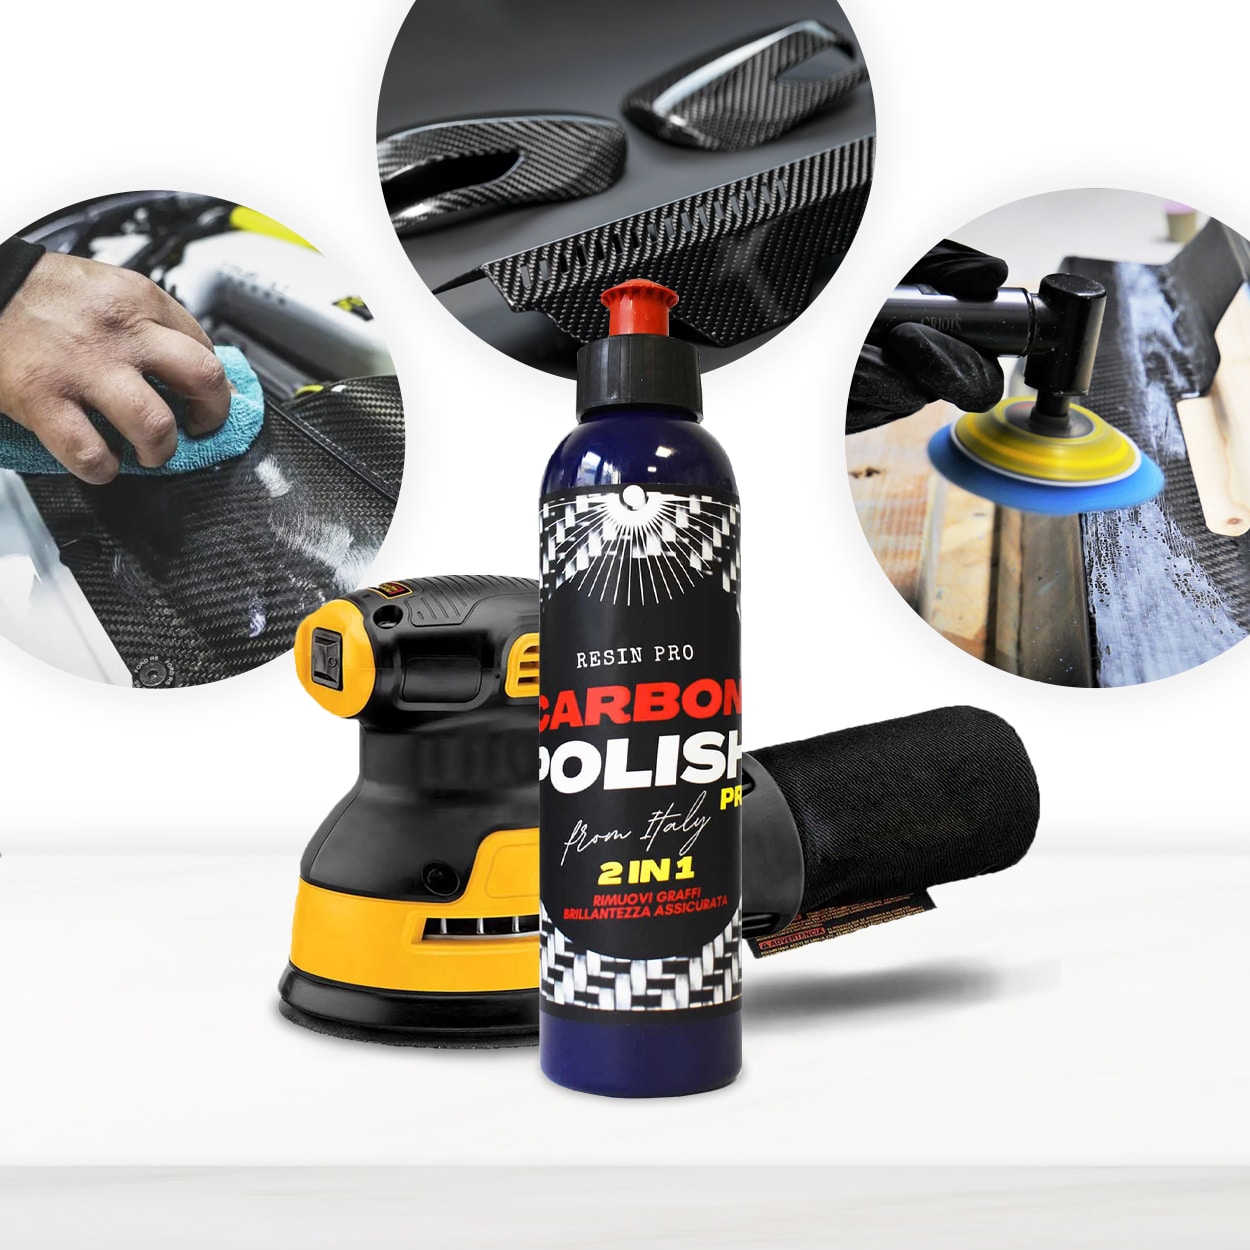 "Carbon Polish" – Polishing System for Dark and Black Surfaces, 250mlPrice range: £17.85 through £44.85Carbon Polish Black is designed for hand or power tool use, suitable for polishing dark surfaces in epoxy resin projects.
Frequently Asked Questions
Is wet sanding necessary for hand polishing epoxy resin?
Wet sanding is recommended as it minimises dust, reduces heat, and helps achieve a smoother finish without surface clogging.
How long does it take to polish epoxy resin by hand?
Polishing by hand can take between 30 and 90 minutes, depending on the size and initial smoothness of your resin piece.
Can I use regular car polish on epoxy resin?
Specific epoxy polishes are better suited, as they prevent white haze or residue and are designed for clarity and scratch removal.
What is the best way to polish dark-coloured resin by hand?
Use a polishing paste formulated for dark or black resin, such as Carbon Polish, to avoid white marks and achieve a brilliant, clear shine.
Can I polish epoxy resin by hand without any special tools?
While possible, using quality sanding pads and polish ensures a much better result than cloth or household abrasives.
Why does my polished epoxy surface look cloudy?
Cloudiness is usually due to incomplete sanding or insufficient buffing of the polish. Repeat fine grit sanding and polish again for clarity.
What is the best cloth for hand polishing epoxy resin?
A clean, lint-free microfibre cloth is ideal for both applying polish and buffing to a high sheen.