 Free shipping on orders over £29,85


How do you polish resin creations?
Expert steps to achieve a professional gloss on epoxy resin items.


Polishing resin creations transforms dull or lightly scratched pieces into eye-catching works of art with a mirror-like finish. Whether you are crafting jewellery, tabletops, or decorative art, mastering the polishing process not only enhances the beauty of your resin pieces but also increases their durability and appeal. This guide details clear, actionable steps to achieve a professional polish on various resin projects.
What You’ll Need
- “Ebonite Abralon” – Sanding Pads 360-4000 Grit for Resin and Wood – Range of grits for gradual and precise sanding
- “Epoxy Polish” – Epoxy Resin Polishing System – Specially formulated polishing cream for epoxy resin
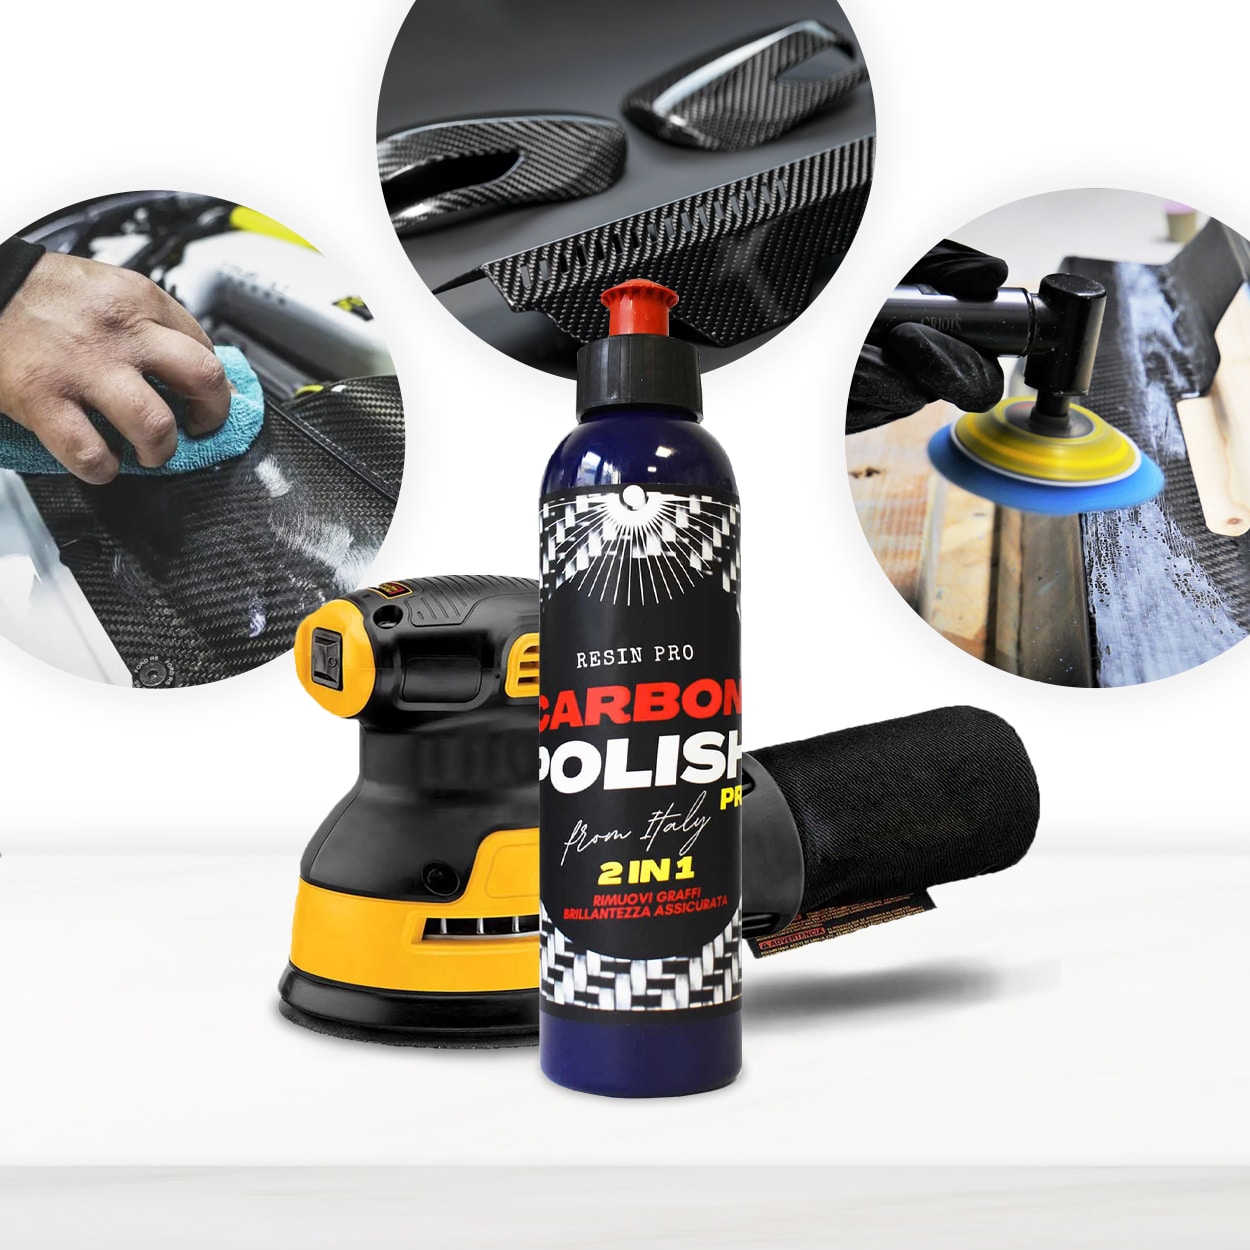
- “Carbon Polish” – Polishing System for Dark and Black Surfaces, 250ml – Suitable for dark-tinted or black resin items
- 1200W Polisher for Sanding and Buffing – Variable Speed, D-Handle – For efficient sanding and buffing, particularly on larger surfaces
- Microfibre cloths or soft buffing pads
- Clean water (for wet sanding)
- Protective gloves and safety glasses

Essential Tools for a Flawless Polish
Using the right combination of sanding pads and polishing creams is crucial to unlocking a glossy finish on resin. Products like “Ebonite Abralon” – Sanding Pads 360-4000 Grit for Resin and Wood and the “Epoxy Polish” – Epoxy Resin Polishing System ensure consistency and quality in every step.

Step 1: Sand the Resin Surface Smooth
Begin by flattening and smoothing your resin surface. Use a sanding pad starting at a lower grit (such as 360 or 600), applying gentle, even pressure in a circular motion. For best results, sand wet—dip your pad in water or regularly moisten the surface. This minimises airborne dust and reduces heat build-up, guarding against accidental damage. Sand until you achieve a uniformly matte finish, removing any surface imperfections or marks from the casting process.
Wet sanding helps prevent deep scratches and overheating. As you progress, move up through the grits (from 1000 to 4000), ensuring each pass removes the scratches from the previous grit before continuing. This careful, gradual approach is key to a glass-smooth base needed for effective polishing.
Step 2: Buff and Polish the Resin
Once your surface is finely sanded and completely dry, apply a dedicated resin polishing cream. For general clear or coloured epoxy projects, a product such as the “Epoxy Polish” – Epoxy Resin Polishing System provides outstanding shine and scratch removal. Apply a small amount to a soft polishing pad or cloth, then buff either by hand or with a powered polishing tool on lower speed settings. Use overlapping circular motions and minimal pressure for even distribution.
Polish gently and evenly for a consistent, glossy surface. Depending on the project size, a 1200W Polisher for Sanding and Buffing – Variable Speed, D-Handle can save time and deliver uniform results, especially for larger panels or tabletops.
Step 3: Special Care for Dark or Black Surfaces
Polishing dark or black resin creations poses unique challenges, as ordinary abrasive creams may leave unsightly white residue or fail to achieve proper depth of colour. In these cases, a specialised product such as the “Carbon Polish” – Polishing System for Dark and Black Surfaces, 250ml is recommended. It delivers a mirror-like shine without any chalky marks, preserving true colour and clarity.
Dark surfaces require a non-whitening polish to avoid residue. Apply using soft pads or a suitable polishing machine, ensuring to wipe away any excess and inspecting frequently for a uniform glossy finish.

Step 4: Clean and Protect Your Resin Finish
After polishing, thoroughly wipe down your creation with a clean microfibre cloth to remove any leftover cream, dust, or residue. Inspect the surface under good lighting – a properly polished piece should be free from haze and streaks, displaying a deep, glass-like lustre. To extend the shine and prevent future scratching, handle your pieces with care, store them in dust-free environments, and consider regular light touch-ups.

Tips and Common Mistakes When Polishing Resin
Sanding is gradual – do not skip grits for the best finish. Rushing the sanding process or using a too-coarse grit can leave visible scratches that are difficult to remove later. Always use clean pads and cloths to avoid recycling abrasive dust onto the surface. Avoid excessive pressure when buffing, which can cause swirl marks or even damage the resin. Test your selected polish on a small, hidden area first, especially with tinted or dark resin works. Lastly, ensure each stage is complete—polishing cannot mask scratches left by incomplete sanding.
Finishing Touches for Lasting Results
Regular cleaning and careful handling preserve the glassy shine you worked so hard to achieve. Use a quality microfibre cloth for dust removal, and repeat light polishing as needed to maintain a flawless finish on your resin art.

- "Epoxy Polish" – Epoxy Resin Polishing SystemPrice range: £17.85 through £44.85"Epoxy Polish" offers a polishing system designed for epoxy resin surfaces, providing a professional gloss and scratch removal.
- "Ebonite Abralon" – Sanding Pads 360-4000 Grit for Resin and Wood£3.95Ebonite Abralon Sanding Pads offer versatile and durable sanding options for resin and wood projects, suitable for wet or dry polishing.
 "Carbon Polish" – Polishing System for Dark and Black Surfaces, 250mlPrice range: £17.85 through £44.85"Carbon Polish" is designed for polishing dark and black surfaces, suitable for epoxy resin projects, with easy application by hand or power tools.
 1200W Polisher for Sanding and Buffing – Variable Speed, D-Handle£85.95The 1200W Polisher is designed for sanding and polishing resin creations with variable speed and a sturdy D-handle for control.
Frequently Asked Questions
Do I need to sand before polishing resin?
Yes, sanding is essential to remove imperfections and create a smooth surface, enabling your polish to deliver a flawless, shiny finish.
What grit should I use for sanding resin?
Begin with a coarse (360–600) grit and progress through finer grits up to 4000. Never skip steps to avoid uneven results.
Which polish is best for dark or black resin?
"Carbon Polish" is formulated specifically for dark and black surfaces to prevent white residues and enhance shine.
Can I polish resin by hand or do I need a machine?
You can polish small pieces by hand, but machines like the 1200W Polisher provide a more consistent and quick result for large projects.
How do I remove haze after polishing resin?
Haze is usually from inadequate sanding or leftover polish—repeat fine sanding, then thoroughly clean before a final polish.
Is polishing resin safe and do I need protection?
Polishing is safe with simple precautions—always wear gloves and eye protection, and keep the workspace ventilated.
How long does it take to polish resin creations?
Depending on project size and detail, the process usually takes 30 minutes to several hours including sanding and polishing steps.