 Free shipping on orders over £29,85


← Back to How do you repair a sink with epoxy resin?
Finishing a sink repair with epoxy resin can leave behind unwanted residue or uneven patches. Removing surplus epoxy at the right time ensures your work looks seamless and lasts longer.
Removing Epoxy While Soft
If the epoxy is still fresh and unset, act promptly. Using a paper towel or soft cloth, gently wipe away any extra resin from the sink’s surface. Take care not to disturb the repaired area to maintain the structural bond. Acetone can help remove sticky residue from non-porous materials, but always check your sink’s suitability for chemical cleaners first.
Dealing with Cured Epoxy
Once the epoxy has set hard, removal requires a different approach. Select fine-grit sandpaper and gradually smooth down the excess, being careful to target only the resin and not the original sink material. Work in small circles for a uniform finish. For larger repairs, a sanding block or gentle file can help refine the area without damaging the repair.
Practical Tips for Neat Results
- Always protect surrounding areas with masking tape to avoid scratches.
- Wipe surface dust away regularly during sanding to closely monitor your progress.
- Finish by cleaning with a damp, slightly soapy cloth after sanding to restore shine.
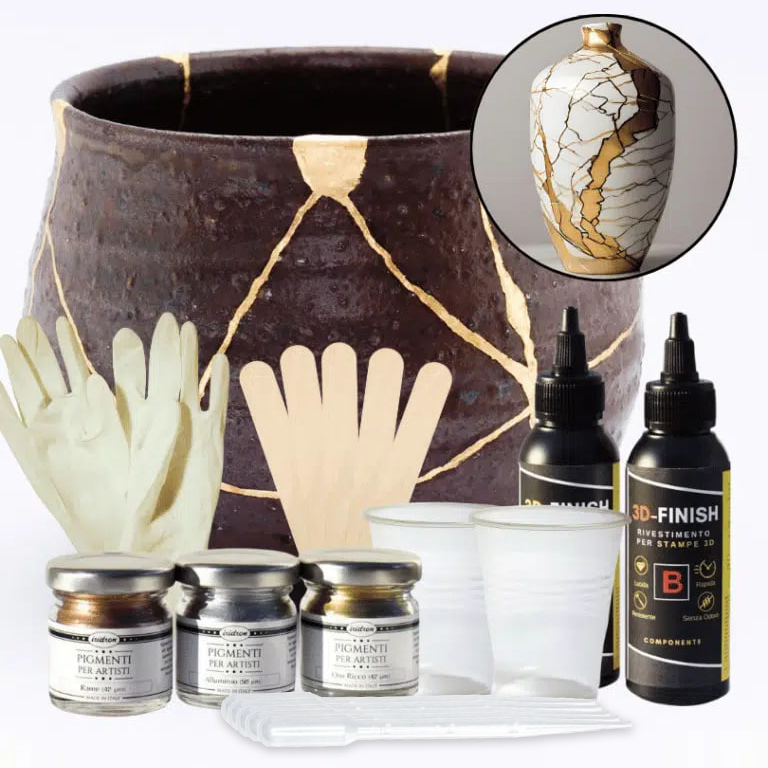
If you are starting a sink repair, consider a precise application kit like the “Kintsugi” Ceramic Repair Kit for better control and easy clean-up.
Related products
Related guides
Taking the time to remove excess epoxy gives your sink repairs a polished and professional appearance. For more support with sink and ceramic fixes, explore our detailed advice on repairing sinks with epoxy resin.