 Free shipping on orders over £29,85


How do you spread epoxy paint?
Step-by-step guide to flawless epoxy paint application


Achieving a smooth, seamless coat is essential when working with epoxy paint, whether you’re coating a garage floor, a wooden table, or creating an art piece. Mastering the right spreading technique helps you avoid common issues like streaking, bubbles, or uneven thickness and ensures a long-lasting, professional finish. This guide walks you through the essential steps for spreading epoxy paint like a pro – with actionable tips, tool suggestions, and troubleshooting advice.
What You’ll Need
- Resin & Paint Application Rollers – Short-Pile, Large, and Sponge Types – for uniform coverage on floors or broad surfaces
- Tooth Shaped Spatula for Epoxy Resin Application – ideal for controlling depth and even spread on tables or trays
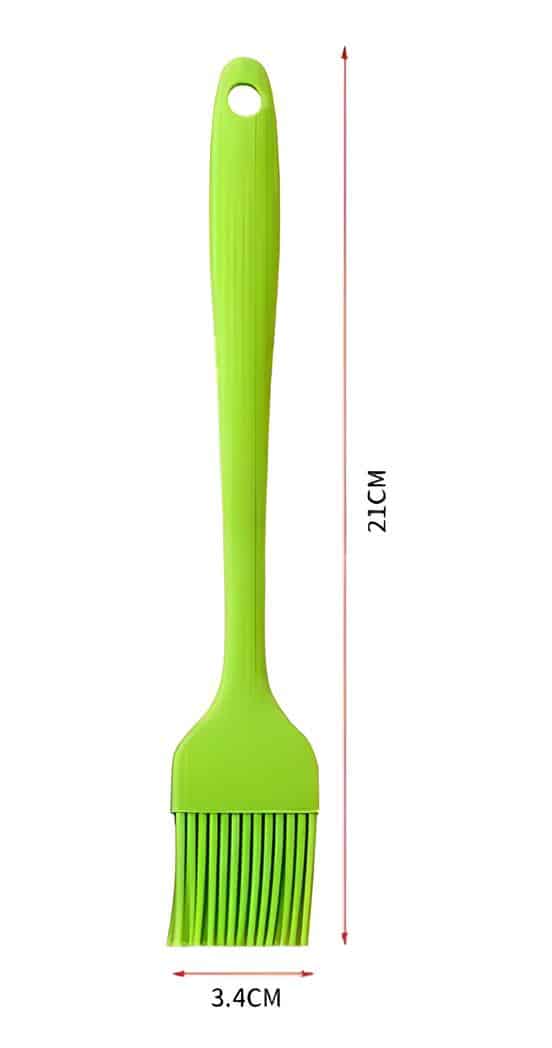
- Reusable Silicone Resin Brush for Epoxy Art and Wood Applications – perfect for detail work, edges, and smaller surfaces
- Wooden Spatula for Epoxy Resin Mixing – 90x10mm & 114x15mm, Pack of 50 – for thorough mixing before application
- Protective gloves, masking tape, clean mixing containers, and safety equipment

Essential Epoxy Spreading Tools in Action
See how specialised rollers, spatulas, and brushes can transform the epoxy paint application process, ensuring smooth, even results whether you’re tackling a floor, wooden surface, or creative project. The right tools help you achieve both speed and accuracy, making professional-quality finishes accessible to everyone.

Step 1: Prepare Surfaces and Prime Your Workspace
Proper preparation is vital for achieving a flawless epoxy paint finish. Clean the surface thoroughly to remove dust, grease, or residues that could prevent adhesion. Sanding the area lightly can help the epoxy grip, especially on glossy or dense materials like hardwood or old concrete.
Ensure your workspace is dust-free, well-ventilated, and protected with masking tape along edges or fixtures you wish to keep clean. Temperature and humidity can affect curing, so aim for stable indoor conditions as per your epoxy’s instructions. Allow surfaces to dry completely before mixing and spreading any epoxy products.
Step 2: Mix the Epoxy Paint Thoroughly
Accurately measuring and mixing your epoxy paint components is crucial. Use separate, clean containers and always follow manufacturer ratios. Stir both parts together slowly but thoroughly to avoid introducing air bubbles. Scrape around the sides and base to ensure complete blending, as improper mixing can lead to patchy curing or sticky spots.
If you are working on small or detailed projects, a Wooden Spatula for Epoxy Resin Mixing – 90x10mm & 114x15mm, Pack of 50 is ideal for controlled, even mixing. For larger quantities, larger spatulas or mixing paddles may help speed the process while maintaining accuracy.
Step 3: Apply and Spread the Epoxy Paint
Pour the freshly mixed epoxy paint onto your surface along the centre or in sections. Move quickly but methodically – epoxy has a limited pot life, especially in warmer conditions. Work in manageable areas to ensure smooth blending between sections.
On floors or wide surfaces, use Resin & Paint Application Rollers – Short-Pile, Large, and Sponge Types to spread the paint evenly. Start with a short-pile roller for detail near walls or corners, switch to a large roller for open areas, and finish with a sponge roller for a self-levelling, professional finish. Apply gentle, even pressure to prevent streaks and roller marks. For tables, trays, or to control coating depth, the Tooth Shaped Spatula for Epoxy Resin Application helps distribute the resin consistently and avoids thick or thin patches.
Step 4: Finishing Touches and Detail Work
After spreading the bulk of your epoxy paint, focus on edges, corners, or intricate sections that need fine-tuning. This step ensures a seamless, continuous coating without missed spots or drips.
A Reusable Silicone Resin Brush for Epoxy Art and Wood Applications is excellent for these finishing touches, allowing for precise adjustments and easy smoothing of tricky areas. Check for air bubbles and use a heat source, such as a heat gun, if needed, to remove them without disturbing your perfect finish.

Tips, Common Mistakes, and Troubleshooting
Work swiftly and confidently, as epoxy starts curing soon after mixing. Avoid applying too much pressure with rollers or spatulas, as this can lead to streaks or pooling. Always mix small batches if possible, especially for newcomers, to reduce waste and avoid rushed coverage on larger surfaces.
If uneven areas or bubbles appear, gently back-roll or use a notched spatula to redistribute the epoxy. Bear in mind that temperature swings, excess humidity, or contaminants like oil or dust will hinder results. In case of mistakes, sand lightly between coats after full curing, then reapply a thin layer to perfect the finish.
Project Inspiration: Flawless Epoxy Paint Finishes
Explore completed projects featuring mirror-smooth epoxy floors, crystal-clear tabletops, and striking resin art, all made possible by using tailored application tools and following the right step-by-step methods. Let these examples inspire your own flawless epoxy paint venture.

- Resin & Paint Application Rollers – Short-Pile, Large, and Sponge TypesPrice range: £3.62 through £5.09Rollers designed for epoxy resin applications offer precision and uniform coverage using short-pile, large, and sponge types.
- Tooth Shaped Spatula for Epoxy Resin Application£3.45The Tooth Shaped Spatula is designed for precise resin application with a unique notched edge suitable for the theme 'How do you spread epoxy paint?'.
- Reusable Silicone Resin Brush for Epoxy Art and Wood Applications£3.62Reusable Silicone Resin Brush offers precise resin application and easy cleaning, suitable for art and wood projects.
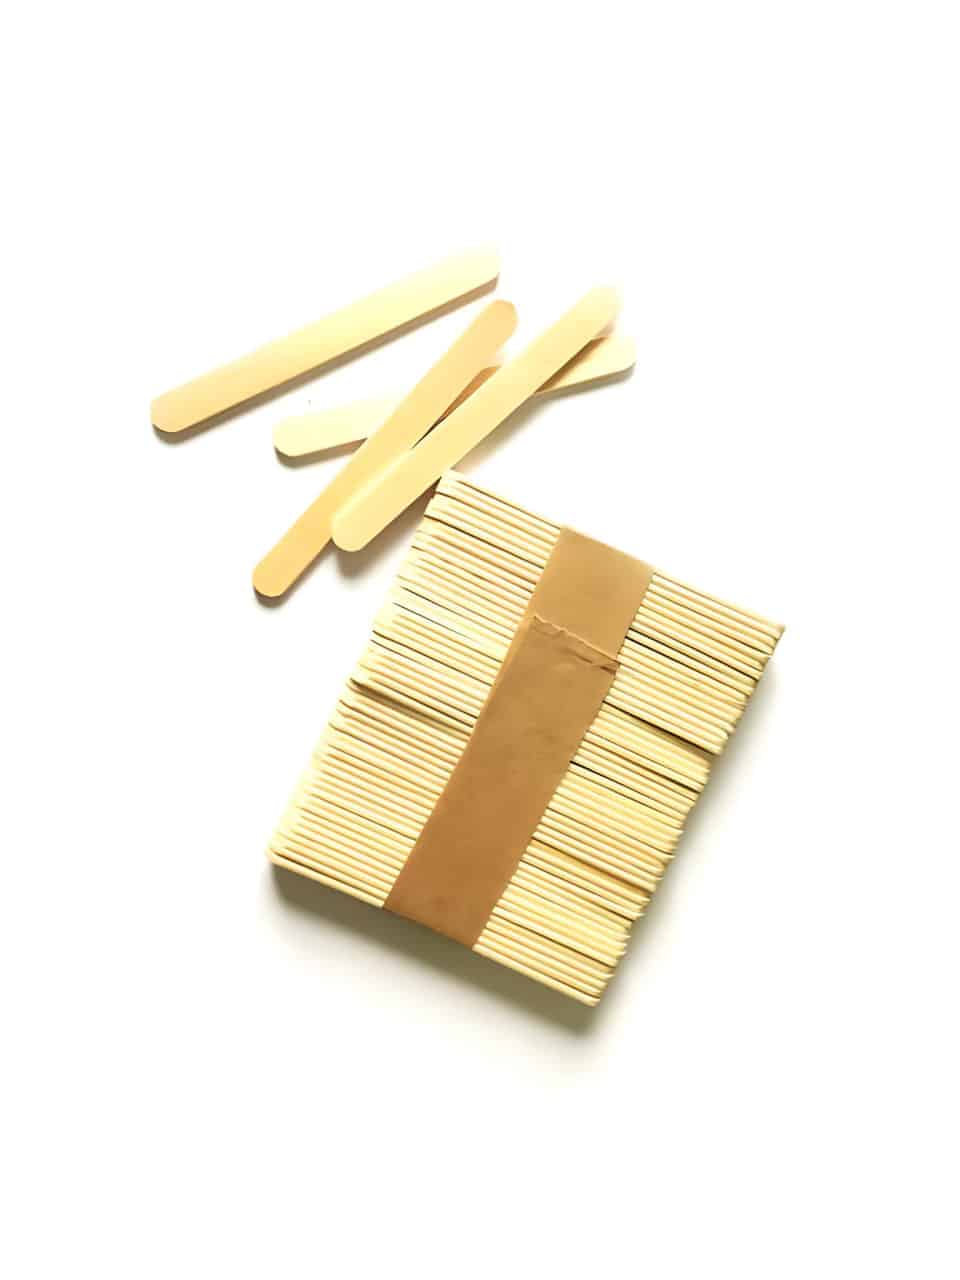 Wooden Spatula for Epoxy Resin Mixing – 90x10mm & 114x15mm, Pack of 50Price range: £2.05 through £7.45Wooden spatula designed for mixing epoxy resin, suitable for detailed projects using different sizes.
Frequently Asked Questions
What is the best tool to spread epoxy paint?
Short-pile and sponge rollers offer uniform coverage on broad surfaces, while notched spatulas ensure even depth and silicone brushes are ideal for details.
Why are bubbles appearing in my epoxy paint?
Bubbles often form due to over-mixing or trapped air. Pour gently and use a heat source, like a heat gun, to release them before curing.
Can I use any roller for epoxy application?
No, choose rollers designed for resin, such as short-pile or sponge types, to avoid lint issues and achieve a flawless, lint-free finish.
How do I prepare a surface before spreading epoxy paint?
Clean and degrease the surface thoroughly, sand if necessary, and ensure it is completely dry to improve epoxy adhesion and final appearance.
How should I clean my tools after use?
Clean brushes and spatulas with warm soapy water immediately after use. Allow silicone tools to dry fully before storing.
What causes uneven finishes in epoxy paint?
Uneven application, surface debris, or unlevel surfaces may lead to patchy results. Use even pressure and the correct tools for spreading.