 Free shipping on orders over £29,85


How do you remove epoxy resin?
Step-by-step guide to removing cured and uncured resin.

Removing epoxy resin can be challenging, whether you are tidying up a small accidental spill or tackling a larger cured application on wood, metal, or tiles. This detailed guide covers proven strategies to eliminate both fresh and hardened resin, focusing on safety and protecting the underlying surface. Whether you are a DIY enthusiast or tackling a professional project, you’ll learn how to get the job done cleanly and efficiently.
What You’ll Need
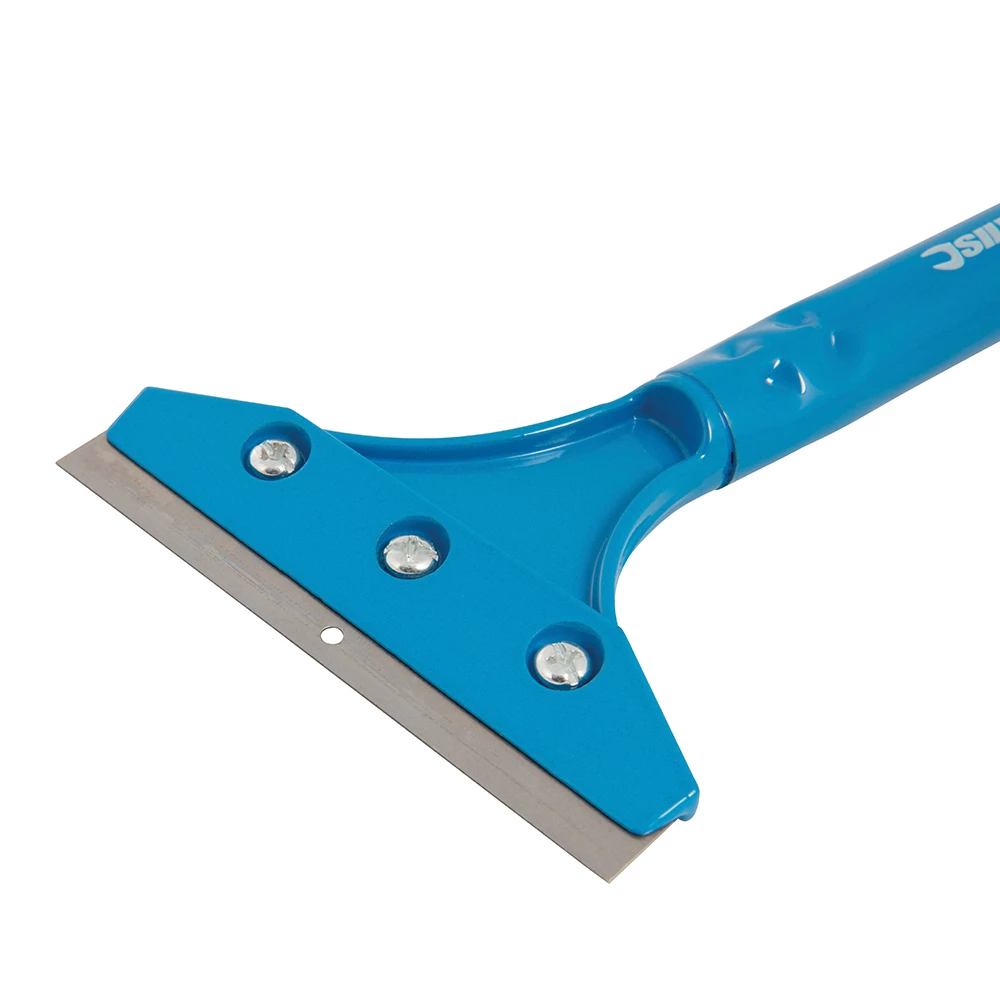
- Heavy Duty Scraper for Paint and Epoxy Resin Removal – A tool designed for scraping away cured resin layers.
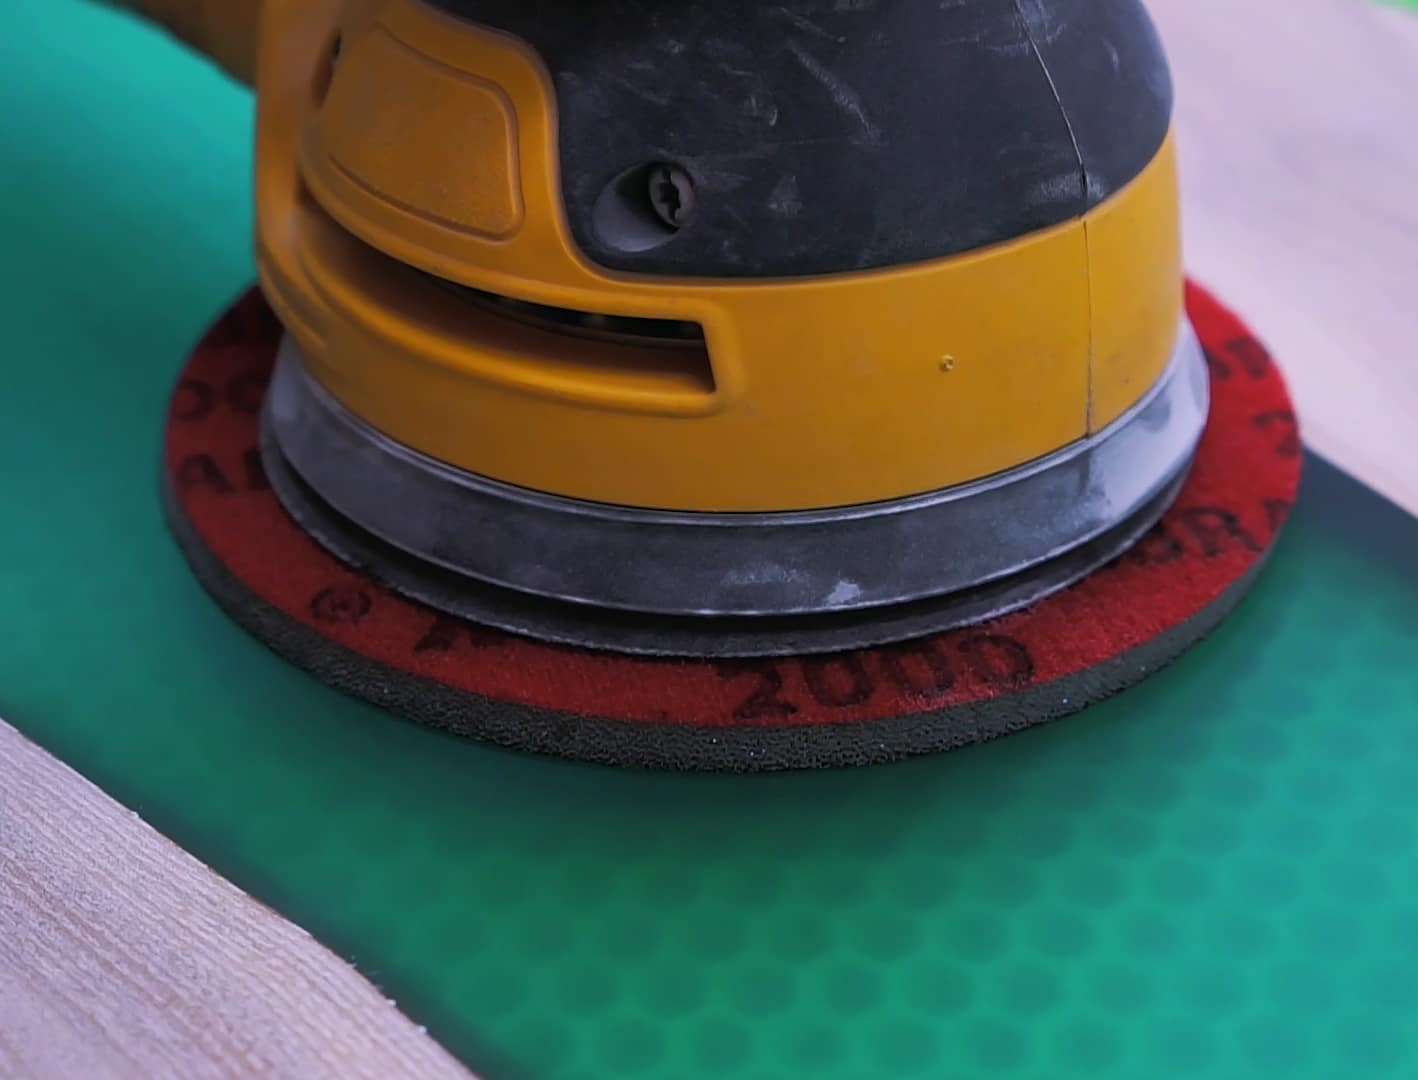
- “Ebonite Abralon” – Sanding Pads 360-4000 Grit for Resin and Wood – For smoothing and finishing after scraping.
- Pure Isopropyl Alcohol 99.9% – 1000ml Bottle for Epoxy Resin Projects & DIY – For lifting uncured resin and cleaning surfaces.
- Strong Technical Degreaser for Resin Projects – 100% Natural Formula – For cleaning residue and degreasing areas after removal.
- Protective gloves and eyewear (recommended for all removal processes).
- Clean, lint-free cloths or paper towels.
Visual Tools and Surface Preparation
Prepare your workspace with adequate lighting and lay out all necessary removal tools before you begin. Staying organised helps prevent accidental resin contact and speeds up the entire process.

Step 1: Assess the Resin and Prepare the Area
Before you start, determine whether the epoxy resin is still uncured (tacky or liquid) or fully cured (hard and solid). Remove any sources of heat and ensure good ventilation. Cover nearby items with old sheets or protective coverings to prevent accidental damage.
Always wear protective gloves and eyewear when working with resin. This keeps you safe from chemical exposure and accidental splashes. Gather all materials within reach, and test your chosen technique on a small spot before proceeding across a larger area.
Test your removal method on a small, inconspicuous area first. This ensures you do not damage the underlying material.
Step 2: Remove Uncured Epoxy Resin
If you catch the resin before it hardens, removal is far easier. Use a flat-edged plastic or metal implement to scoop up as much uncured resin as possible. For cleaning sticky residue, apply a small amount of Pure Isopropyl Alcohol 99.9% – 1000ml Bottle for Epoxy Resin Projects & DIY to a lint-free cloth, and gently wipe the affected area. Repeat as needed, using fresh portions of the cloth each time.
Remove uncured resin gently to avoid spreading the sticky material. Avoid rubbing in circles, which can make cleaning more difficult.
Step 3: Remove Cured Epoxy Resin Mechanically
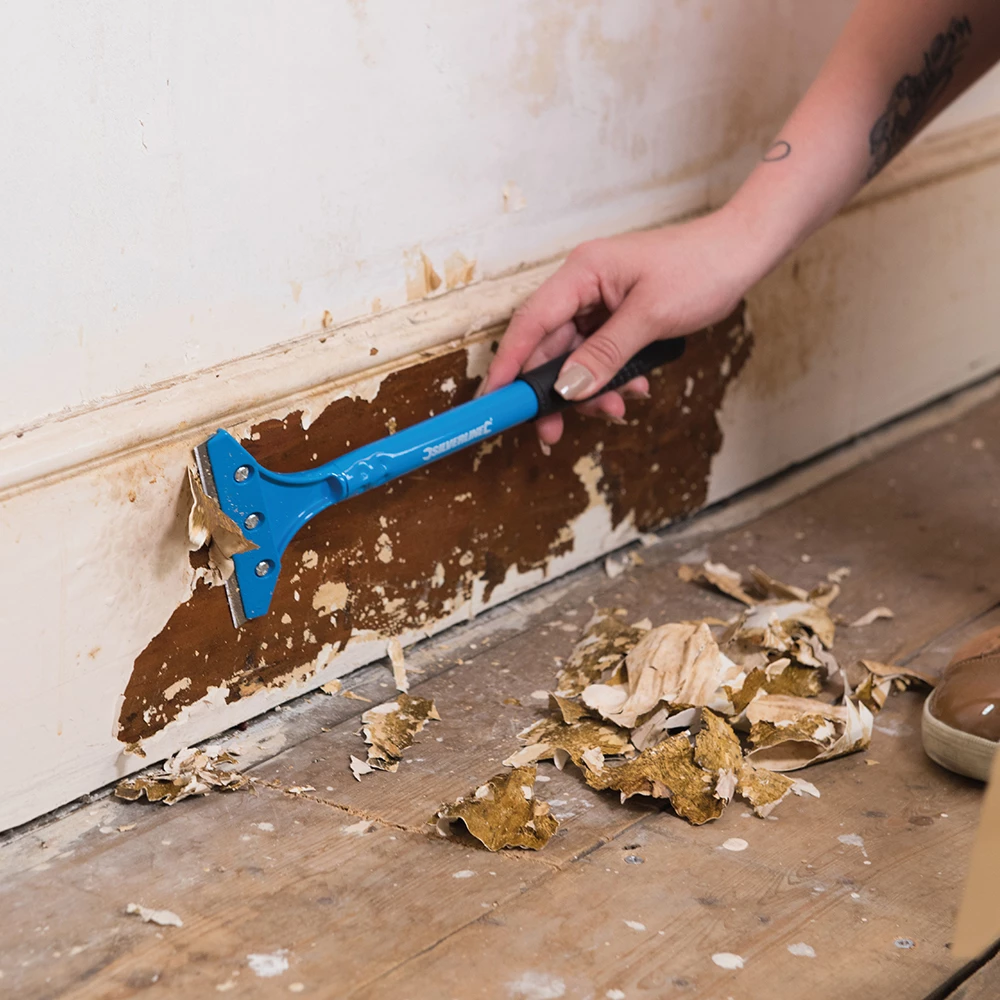
For resin that has already hardened, begin with mechanical removal. Place the Heavy Duty Scraper for Paint and Epoxy Resin Removal at a shallow angle against the resin. With steady, even pressure, push under the resin to lift it away from the surface. Work carefully to avoid scratching or gouging underlying materials like wood or ceramics. In tight spots, use the blade tip for targeted chipping.
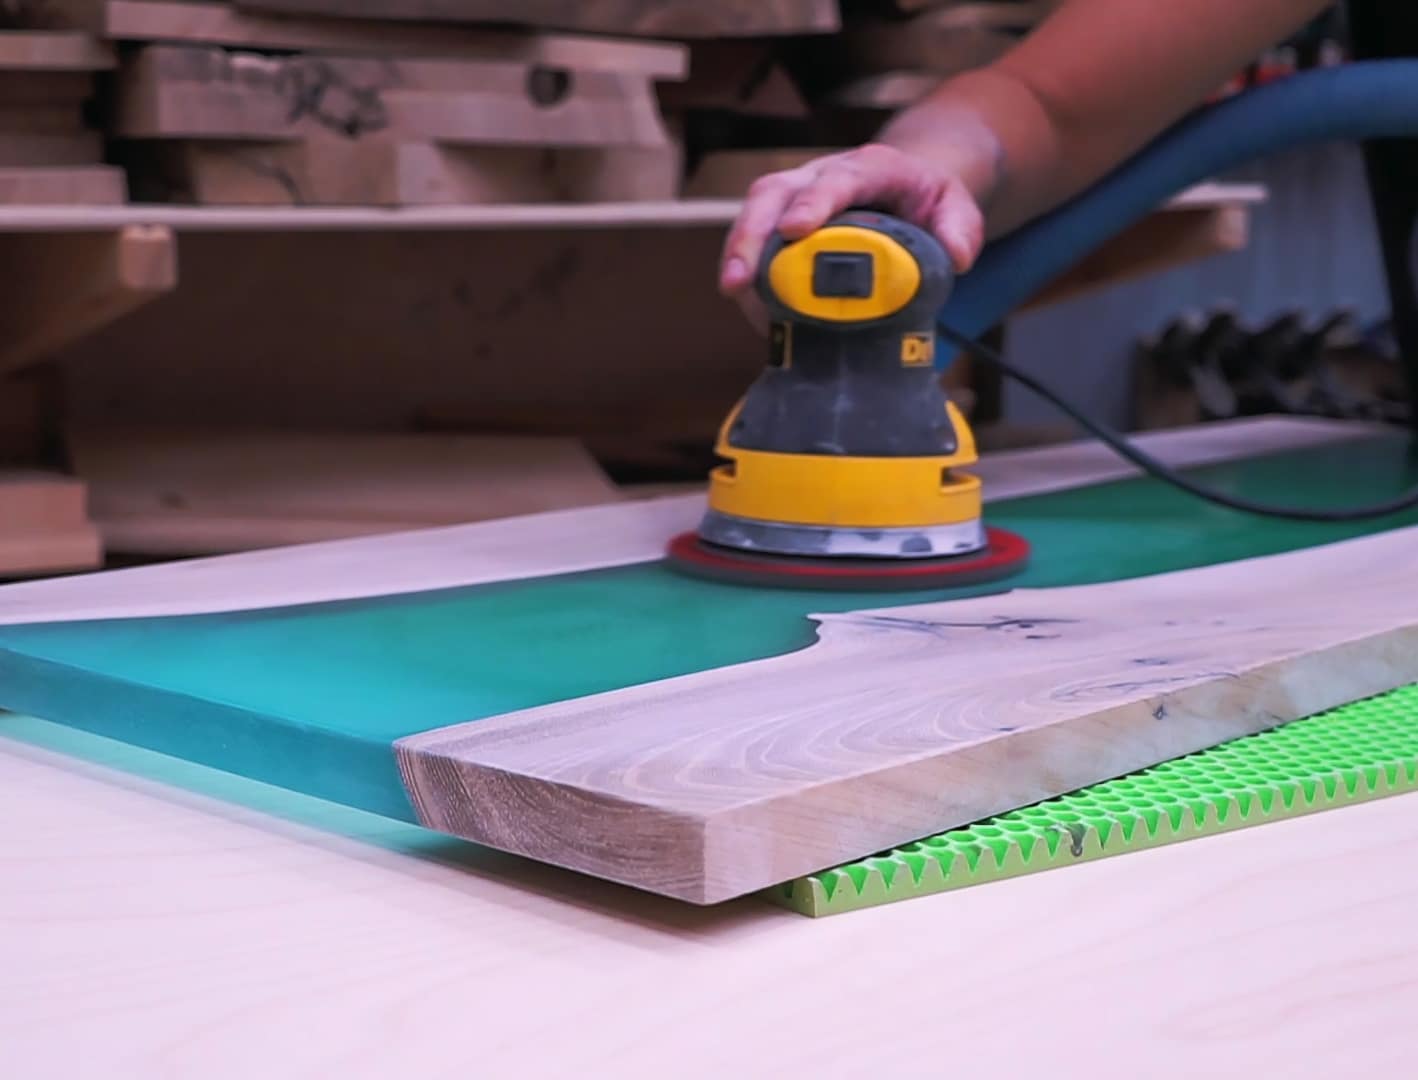
Once you have removed the bulk, finish by sanding down leftover patches using “Ebonite Abralon” – Sanding Pads 360-4000 Grit for Resin and Wood. Start with a coarser grit to level the area, then progress to finer grits to smooth and blend with the surrounding surface. Sand lightly, checking often to avoid over-removal.
Step 4: Clean and Degrease After Removal
After removing resin, whether synthetic or natural, it is vital to clean and degrease the area for best results. Apply Strong Technical Degreaser for Resin Projects – 100% Natural Formula to remove remaining residues, oils, or fingerprints, especially useful on sensitive surfaces like metals and ceramics. Wipe the surface with a clean cloth and allow it to dry thoroughly.
Allow sufficient drying time before using the area or reapplying finishes. This step ensures any new paint, varnish, or coating will adhere properly.
Tips and Avoiding Common Mistakes
When removing epoxy resin, patience and care make all the difference. Avoid using excessive force with mechanical tools, as this can mar the surface beneath. Never use highly abrasive pads beyond the recommended grit range. Skipping protective equipment can expose skin to harsh chemicals, so always take suitable precautions. If the resin layer is stubborn, repeat the removal and cleaning process in stages rather than trying to force completion in a single attempt.
Close-Up Results and Surface Finishing
After resin removal, examine surfaces under good light to spot any remaining residue, repeating cleaning if needed for a flawless finish.
- Heavy Duty Scraper for Paint and Epoxy Resin Removal£8.95Heavy Duty Scraper offers a lightweight design with a razor-sharp blade, suitable for removing paint and epoxy resin in general renovation tasks.
- "Ebonite Abralon" – Sanding Pads 360-4000 Grit for Resin and Wood£4.15Sanding pads designed for polishing epoxy resin and wood surfaces, suitable for detailed finishing using wet or dry methods.
 Pure Isopropyl Alcohol 99.9% – 1000ml Bottle for Epoxy Resin Projects & DIYPrice range: £10.45 through £20.95Pure Isopropyl Alcohol 99.9% in 1000ml is suitable for removing bubbles and enhancing effects in epoxy resin projects.
 Strong Technical Degreaser for Resin Projects – 100% Natural FormulaOriginal price was: £10.95.£9.45Current price is: £9.45.The Strong Technical Degreaser is a gentle, natural cleaner suitable for removing grease and silicone on multiple surfaces including resin projects.
Frequently Asked Questions
What is the best way to remove cured epoxy resin?
Scrape the resin off gently with a dedicated scraper, then sand smooth with appropriate sanding pads for a clean surface.
Can I dissolve epoxy resin with alcohol?
Alcohol is effective for uncured epoxy but will not dissolve fully cured resin; mechanical removal is then required.
What is the safest way to remove resin from skin?
Wipe off as much as possible, then wash with soap and warm water. Avoid harsh solvents on skin.
Can I sand resin off delicate surfaces?
Yes, but use fine-grit sanding pads and proceed slowly to prevent damage to the underlying layer.
How can I remove resin without damaging wood?
Use a sharp scraper at a shallow angle, followed by gentle sanding. Always test on a small spot first.
Why should I use a technical degreaser after resin removal?
A technical degreaser removes residual oils and contaminants, ensuring a clean surface for any further finishing.
How do I handle thick resin drips?
Let the resin fully cure, then carefully cut or scrape off in layers for controlled removal.