 Free shipping on orders over £29,85


How do you paint the resin tank of the Ducati Monster?
Step-by-step guide to surface prep, painting and resin finishing


Painting a resin fuel tank for your Ducati Monster is the ideal way to customise your bike, refresh its look, or repair faded finishes. Achieving a durable, flawless coat on a resin substrate requires careful preparation, compatible paints, and a methodical approach. This guide will help you achieve lasting, professional results on your motorcycle’s resin tank.
What You’ll Need
- Heavy Duty Scraper for Paint and Epoxy Resin Removal – to efficiently remove any old paint or surface contaminants
- Fine and medium grit sandpaper – to smooth and key the resin surface
- Degreasing agent or isopropyl alcohol – to clean residual oils and dust
- Microfibre cloths – for thorough cleaning and dust removal
- Automotive primer – formulated for resin and plastic substrates
- Sanded filler (if repairs are needed) – to fill imperfections
- High-quality acrylic or 2K paint – suitable for use on motorcycles
- Resin & Paint Application Rollers – Short-Pile, Large, and Sponge Types – for smooth, even application if rolling or resin finishing
- Clear coat or compatible epoxy finish (optional for extra gloss) – for protection and shine
- Masking tape and dust sheets – to protect surrounding areas
Essential Tools and Surface Prep for a Motorcycle Resin Tank
Using the right tools, such as a Heavy Duty Scraper for Paint and Epoxy Resin Removal and Resin & Paint Application Rollers, ensures even surface preparation and smooth paint application. Cleanliness and careful technique are essential for a long-lasting, professional outcome.
Step 1: Prepare and Clean the Surface
Proper preparation is essential for a long-lasting and flawless paint finish. Begin by removing the resin tank from the motorcycle, if possible, to facilitate thorough access on all sides. Strip off any existing paint, stickers, adhesive, or residue. For stubborn coatings or layers, a Heavy Duty Scraper for Paint and Epoxy Resin Removal allows precise and safe removal on resin surfaces without causing damage underneath.
After initial cleaning, progress through medium and then fine sandpaper. Sand in even, circular motions to eliminate any gloss from previous coatings and create a keyed surface for primer. Remove sanding dust with a microfibre cloth. Wipe the tank thoroughly with a degreasing agent or isopropyl alcohol to eliminate all traces of oils, grease, and fingerprints. Remove all traces of old paint and contaminants for optimal adhesion.
Step 2: Apply Filler and Primer
Any chips, cracks, or minor imperfections should be filled with a sandable resin-based filler. Allow to dry completely, then sand flush until the repaired area feels perfectly smooth to the touch. Mask off threads, mounting points, and areas not to be painted.
Apply a thin, even coat of automotive primer formulated for resin or plastics. Priming establishes excellent paint adhesion, seals the surface, and highlights any remaining imperfections. Allow the primer to dry fully, in line with manufacturer guidance – usually at least 30 minutes to 1 hour. Sand the cured primer lightly with very fine grit sandpaper if further smoothing is required.
Step 3: Paint the Resin Tank
Once primed and dust-free, it’s time for your chosen colour. Use a high-quality acrylic or 2K paint compatible with resin surfaces. Application can be by spray, or with one of the Resin & Paint Application Rollers – Short-Pile, Large, and Sponge Types for more controlled coverage, especially on flat sections. If rolling, opt for the sponge or short-pile roller for minimal texture and a smooth finish. Apply paint in thin, even coats, building up colour and coverage gradually. Follow the paint manufacturer’s instructions for drying times between coats.
Allow each layer ample drying and curing time to avoid trapping solvents or moisture beneath the surface, which can cause defects in the final finish.
Step 4: Add Top Coat or Epoxy Finish
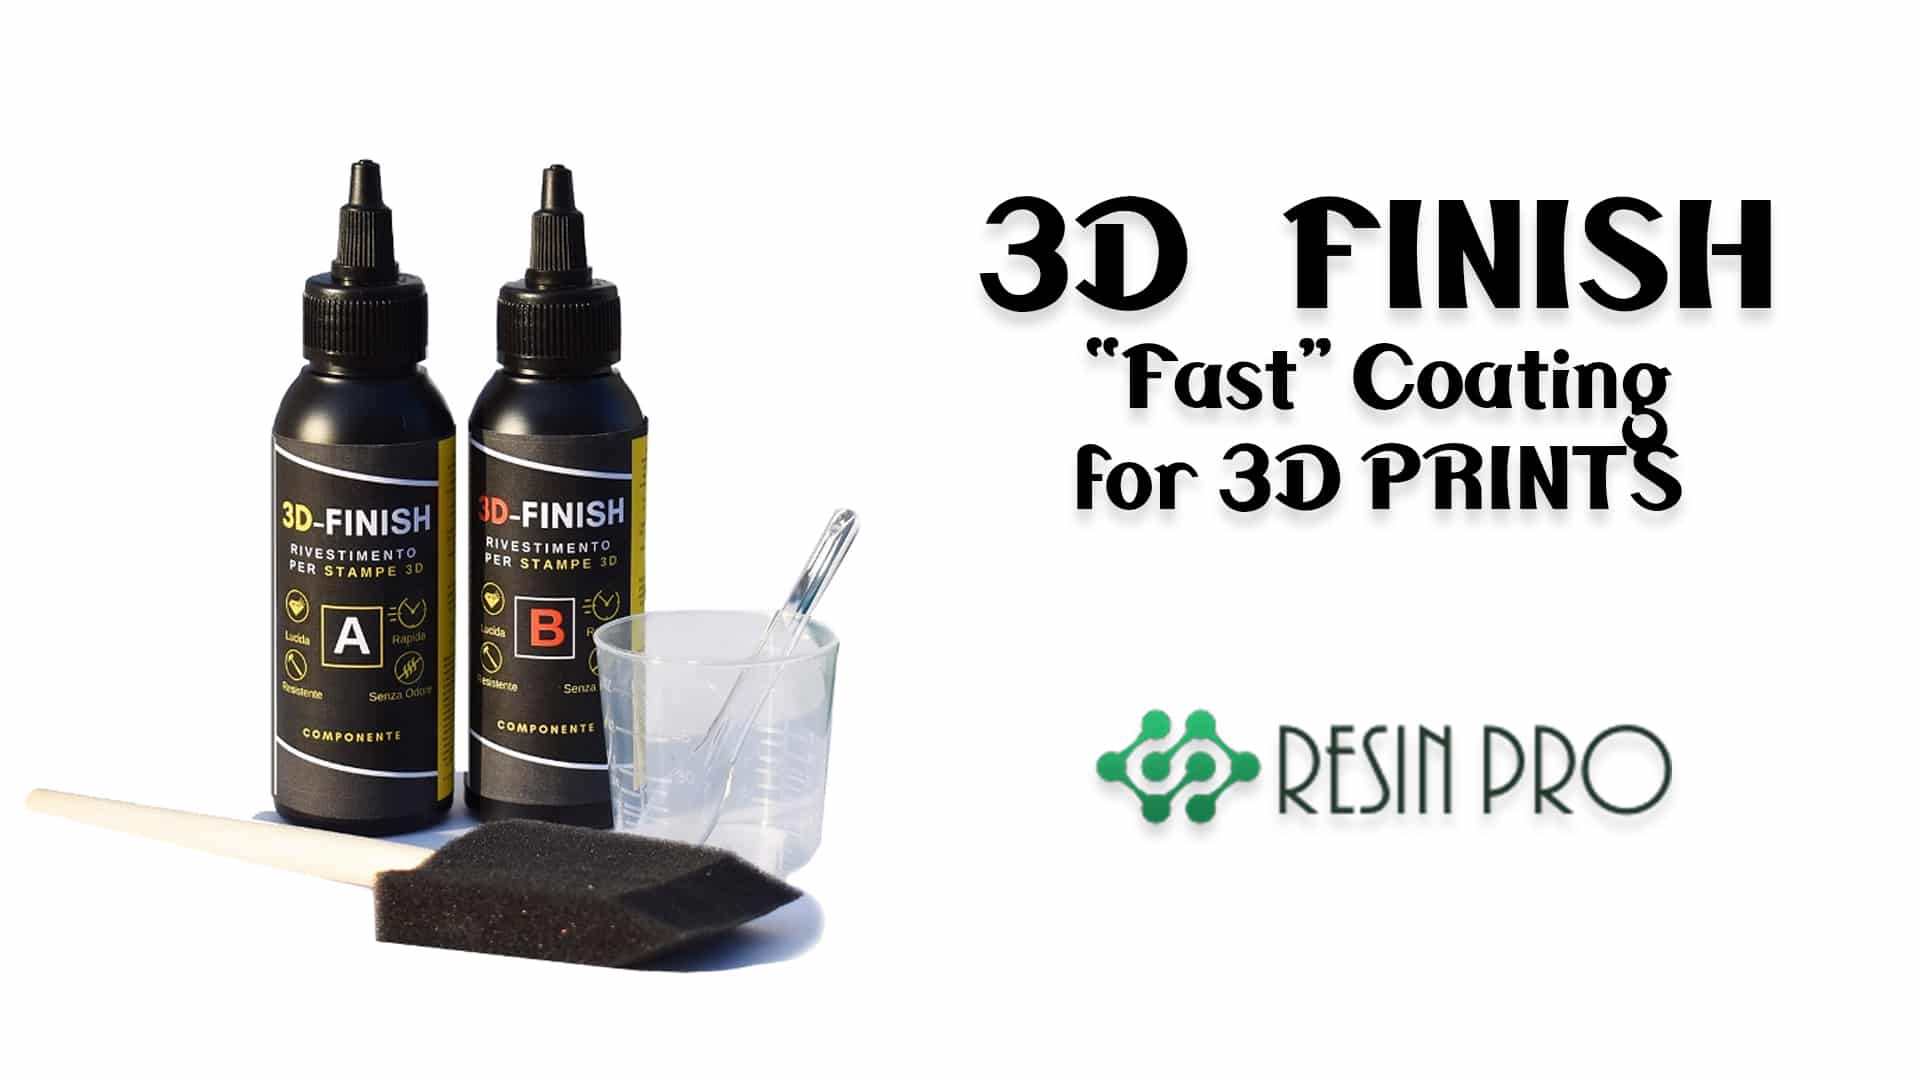
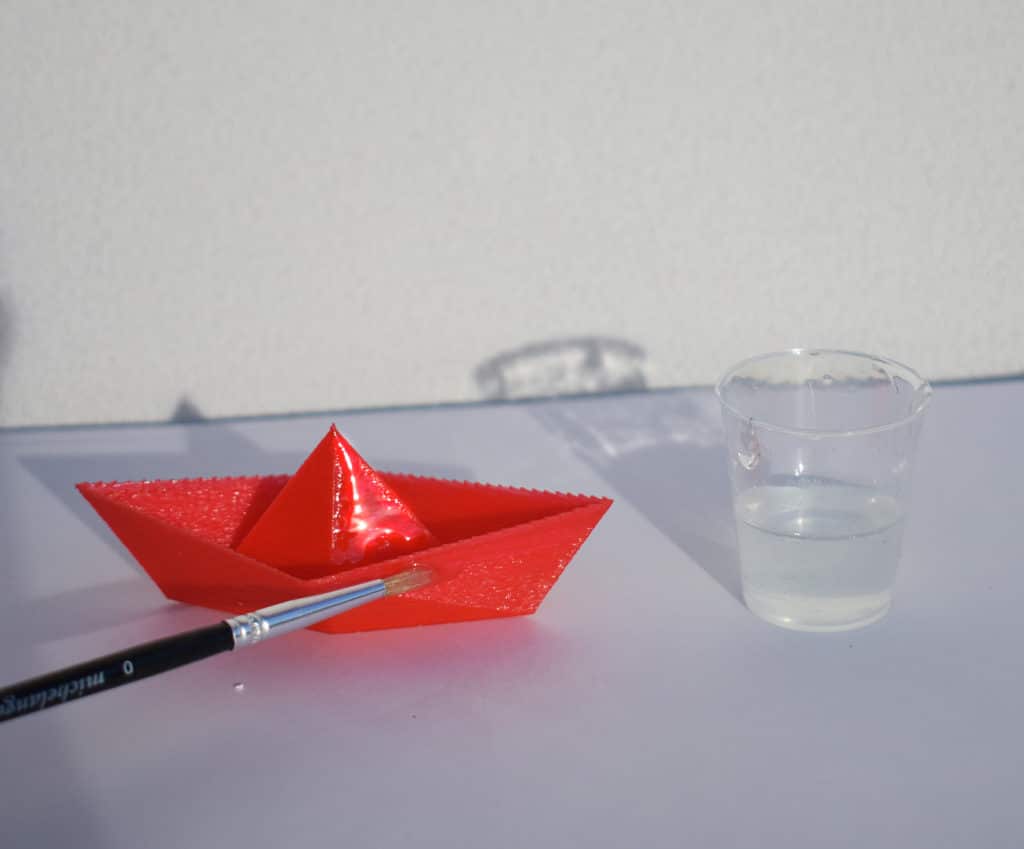
For enhanced gloss, depth, and fuel resistance, complete your job with a clear top coat. Standard automotive clear coats work well, but for a highly durable, glass-like finish, you may consider applying an epoxy resin clear coat such as “3D Finish” – Fast Coating Epoxy Resin for 3D Prints. This type of resin provides a tough, polishable, and paintable surface. Carefully apply your chosen clear coat according to manufacturer guidance. Leave to cure fully before reassembly or use.
Ensure that curing takes place in a dust-free, ventilated environment to avoid imperfections in the finish.
Tips and Common Mistakes
Patience is vital: each preparation and paint layer needs appropriate drying or curing time, especially if using epoxies. Avoid painting or curing in overly humid or cold conditions as this can cause blushing or poor adhesion. Work in a dust-free and well-ventilated area for best results.
Do not attempt to rush the process by applying thick coats or heating the tank to speed drying. Uneven application, contamination, or poor preparation will lead to bubbling, poor gloss, or premature paint failure. If you notice defects, sand back once dry, then repeat priming or painting as necessary.
Final Finish and Maintaining Your Custom Painted Resin Tank
Allow the paint and protective coats to cure completely before reassembly. Keep your custom resin tank looking fresh by washing only with mild detergents and avoiding abrasive polishes. With the right materials and care, your Ducati Monster’s resin tank can retain its brilliant finish for years.
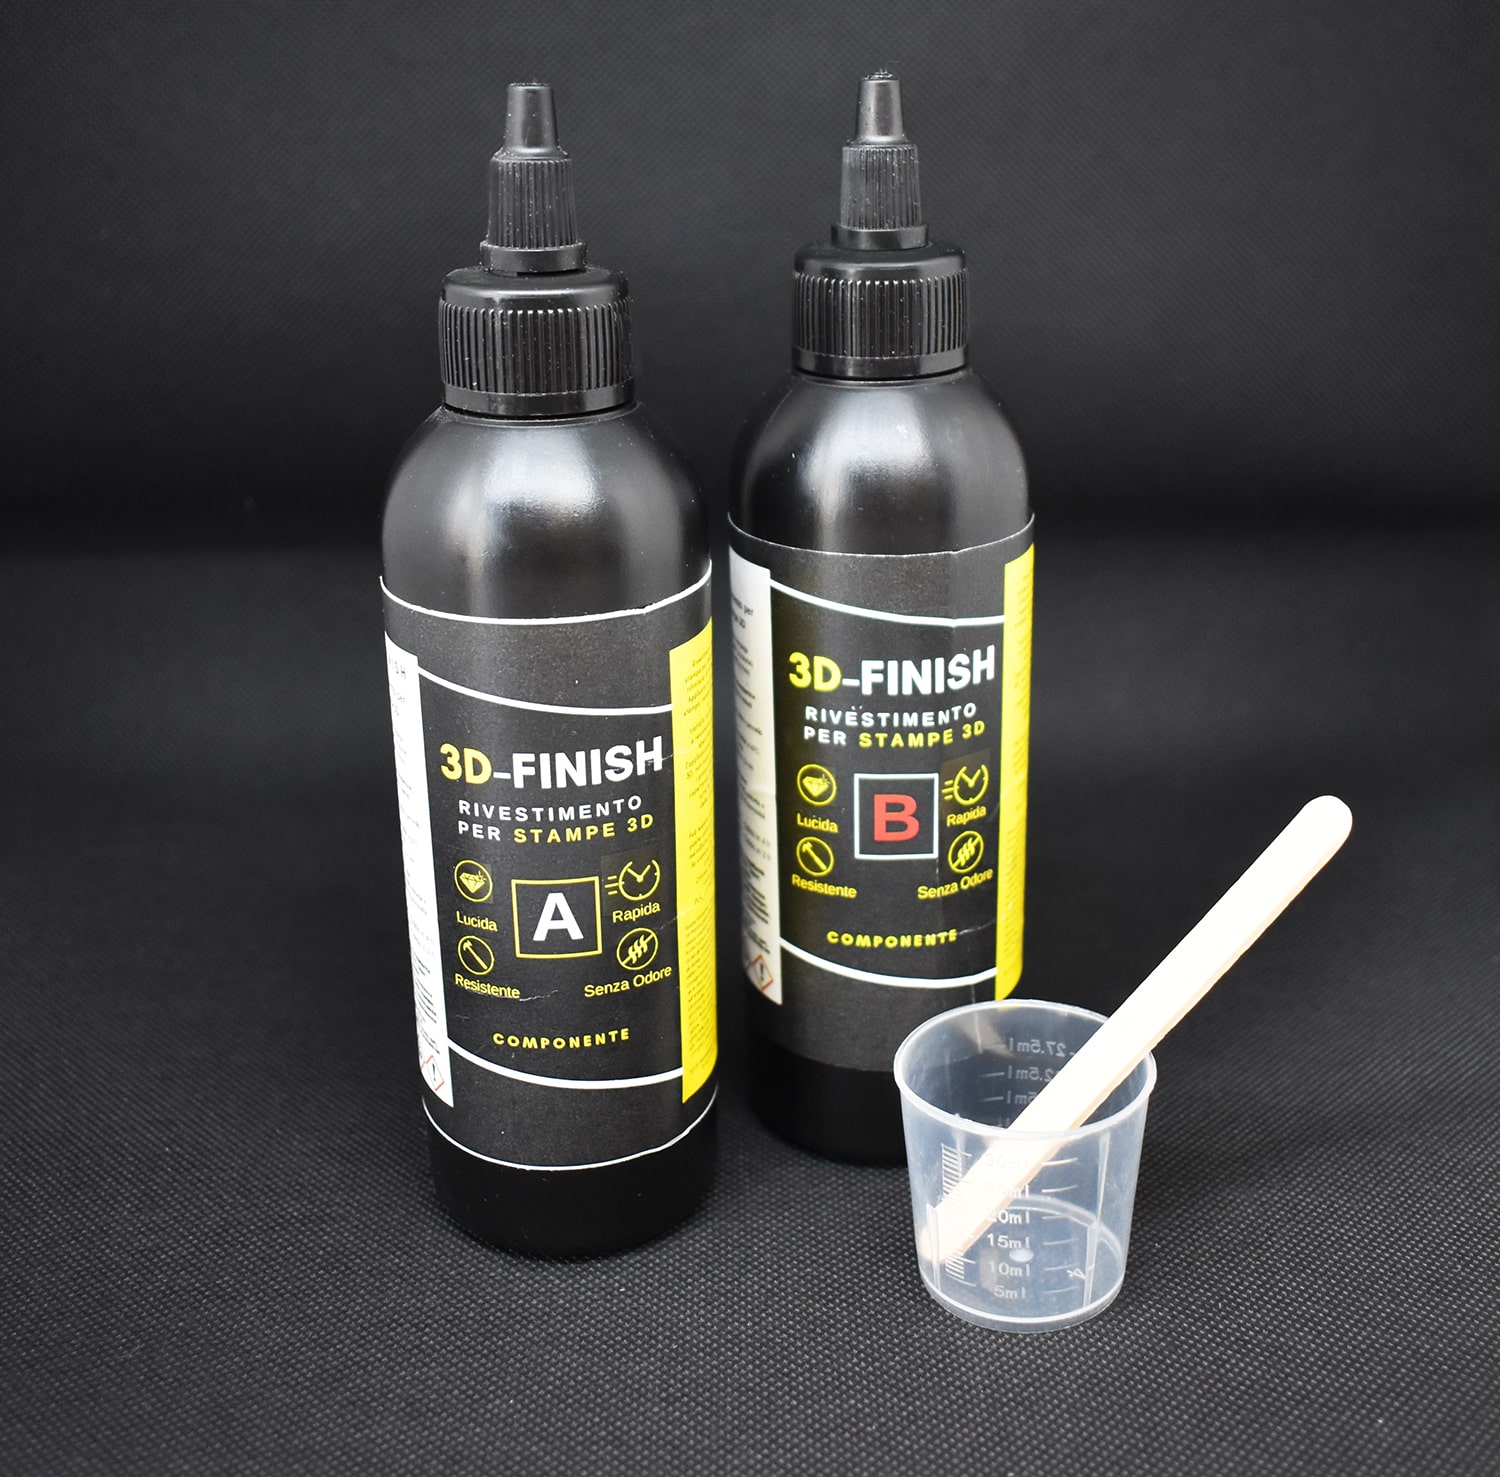
- "3D Finish" – Fast Coating Epoxy Resin for 3D PrintsPrice range: £13.95 through £19.95"3D Finish" provides a fast, smooth coating for 3D prints, preserving detail and suitable for painting within this theme.
 "Trasparente" – Multipurpose Clear Epoxy Resin for Casting – Up to 2cmPrice range: £8.95 through £397.95"Trasparente" clear epoxy resin is designed for detailed castings and table creation with a self-levelling, ultra-clear finish up to 2cm thick.
 Resin & Paint Application Rollers – Short-Pile, Large, and Sponge TypesPrice range: £3.62 through £5.09Rollers designed for precise and uniform application of epoxy resin, suitable for professionals and DIY users.
 Heavy Duty Scraper for Paint and Epoxy Resin Removal£8.95Heavy Duty Scraper is designed for effective removal of paint and coverings, suitable for DIY and professional use.
Frequently Asked Questions
Why won't the paint stick to my resin tank?
Most often, poor paint adhesion results from inadequate cleaning, sanding, or missed priming steps. Ensure each layer is free from contaminants and properly keyed.
Can I use epoxy resin as a clear coat?
Yes, certain fast-curing epoxies like "3D Finish" offer a durable and high-gloss clear finish suitable for resin tanks.
How do I remove old paint from a resin tank?
A scraper designed for resin surfaces, coupled with careful sanding, can efficiently remove paint without damaging the tank underneath.
Is a primer necessary on a resin tank?
Yes, priming is essential to promote adhesion and ensure durable results when painting resin surfaces like motorcycle tanks.
What is the best tool for painting a resin tank?
For even, professional results use purpose-designed rollers or spray equipment, choosing the method that suits your workspace and preferred finish.
How do I prevent paint bubbling on a resin tank?
Apply thin, even coats in a dust-free environment and avoid rushing drying times or applying heat directly.
How can I keep my painted resin tank looking good?
Clean with mild soap, protect from harsh chemicals and abrasives, and promptly touch up chips to maintain the tank’s appearance.