 Free shipping on orders over £29,85


How do you make crystals from cherry tree resin?
Transform cherry tree resin into sparkling crystal-like pieces at home.

Creating crystal-like formations inspired by natural cherry tree resin is a captivating craft, perfect for anyone fascinated by gemstones, jewellery, or decorative art. This guide will walk you through the process, from selecting your materials to achieving that brilliant, glassy finish, whether you are a beginner or an experienced maker seeking professional results.
What You’ll Need
- “Icrystal” – Clear Epoxy Resin – Odourless Formula – Up to 1.5cm – A transparent, odourless resin for a crystal-clear effect.
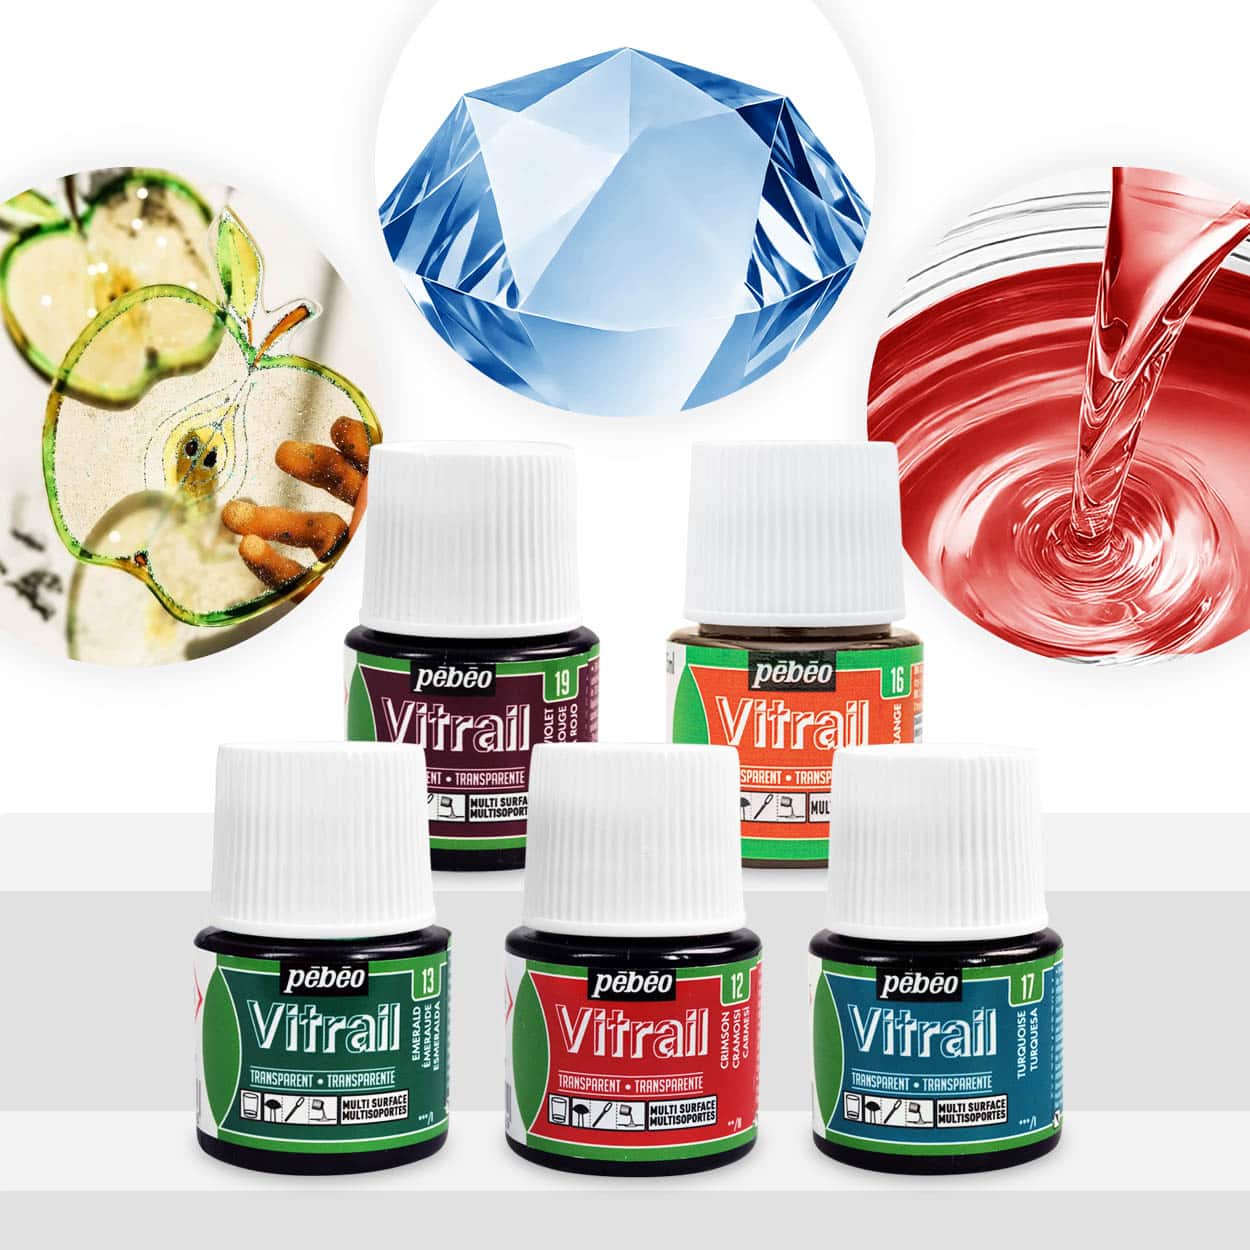
- “Magic Crystal” – Transparent Resin Colour 45ml – Add vibrant and glass-like colour for your crystal creations.
- “Magic Crystal” – Set of 5 Transparent Colourants, 5 x 45ml – For a selection of transparent, mixable shades.
- Resin Geode Coaster Starter Kit – Create Stunning Crystal-Style Coasters at Home – Ideal for those starting out, complete with tools and mould.
- Silicone crystal or gemstone moulds
- Mixing sticks and small cups
- Nitrile gloves and a protective workspace
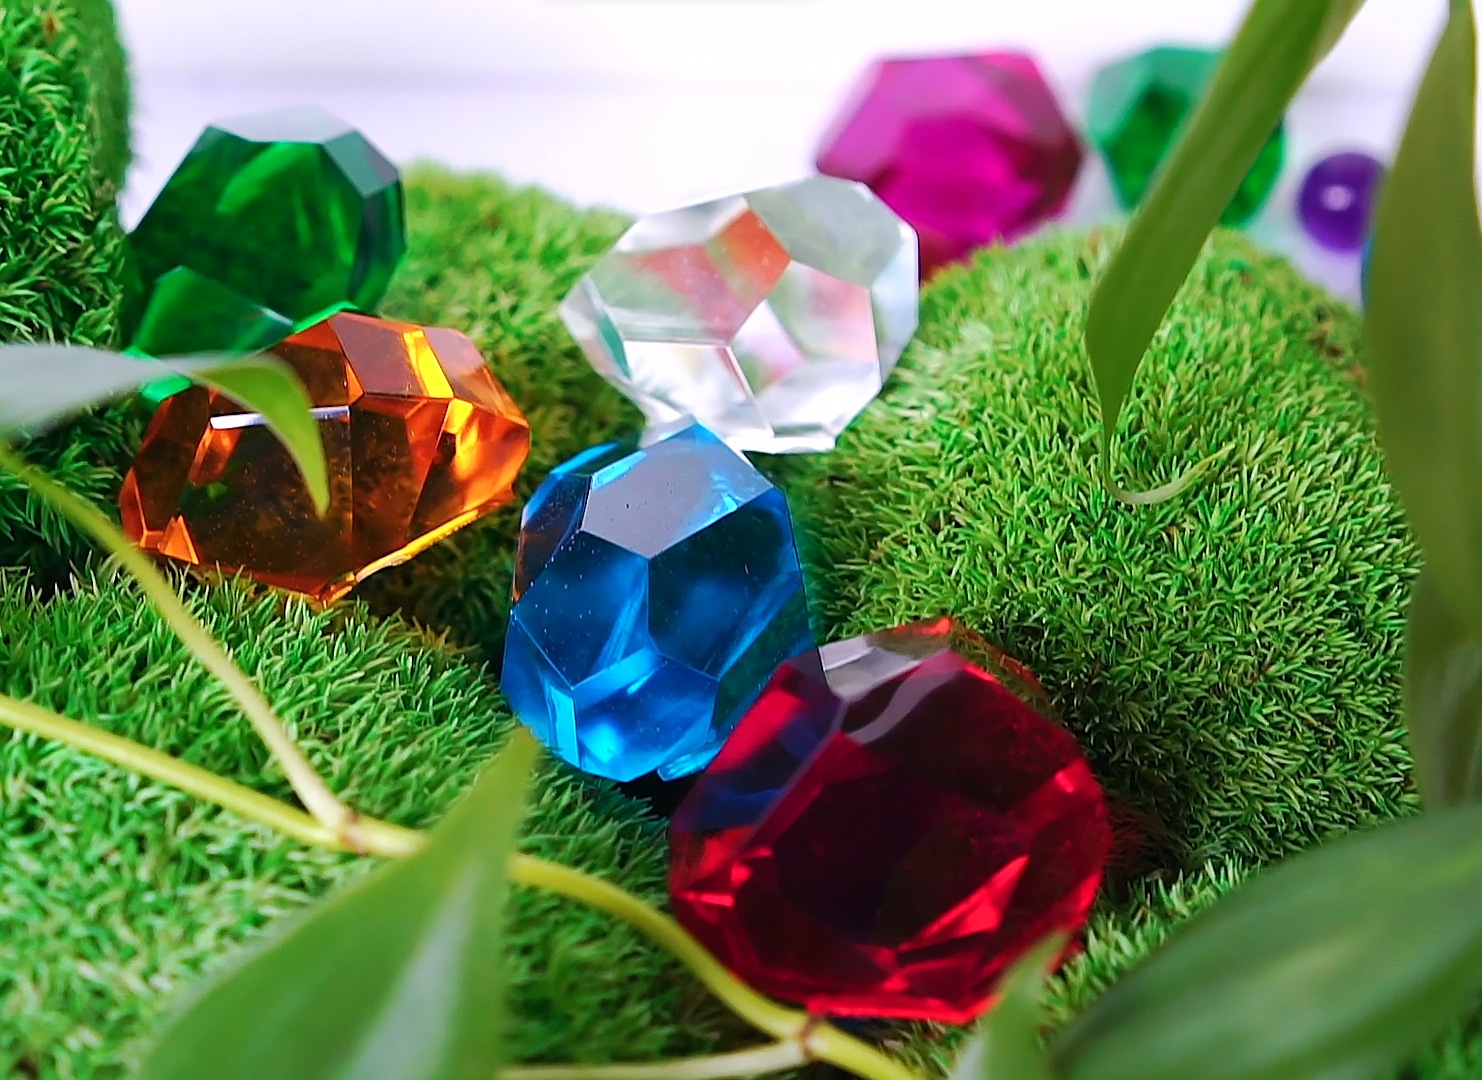
Cherry Tree Resin Crystal Inspiration
Explore finished examples of resin crystals inspired by natural cherry tree resin. Notice the clarity, colour depth, and intricate crystal formations made possible using transparent resins and subtle tints. Let these pieces spark your creativity for your own resin crystal project.
Step 1: Prepare and Protect Your Workspace
Work in a well-ventilated area with a stable, level surface. Use gloves and a protective workspace to avoid skin contact and spills. Arrange all your tools and lay out silicone moulds for easy access. Any dust or debris should be removed since it can mar the clarity of your finished resin crystals. Temperature consistency is important — a room temperature between 18°C and 24°C is ideal for best resin flow and curing.
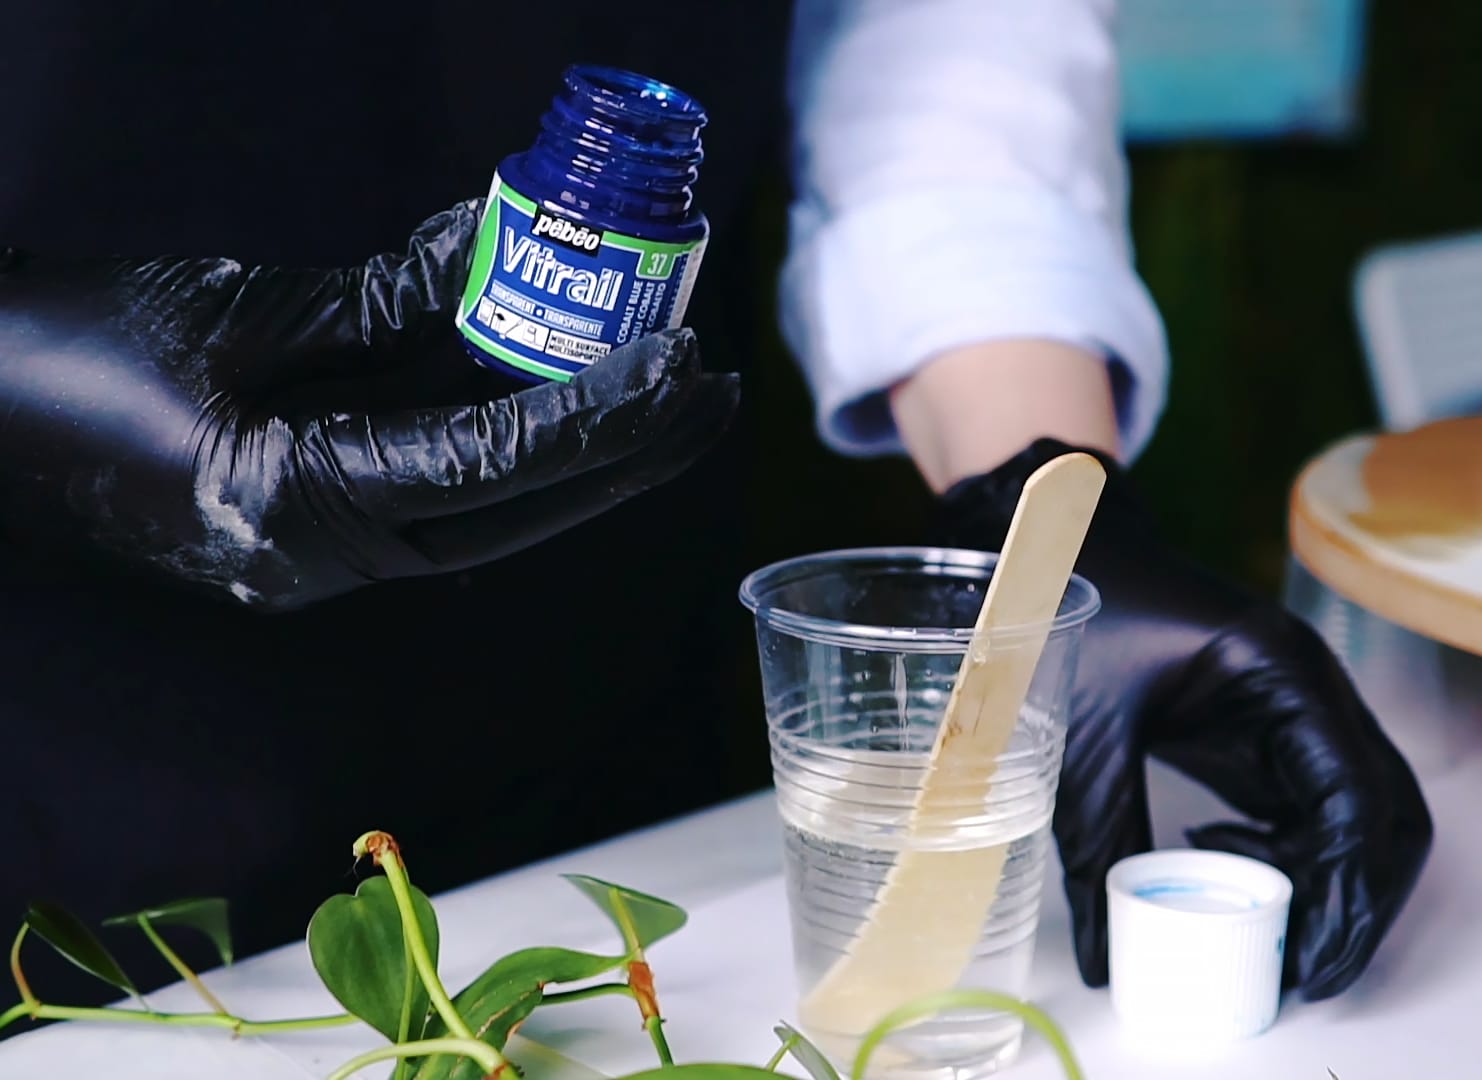
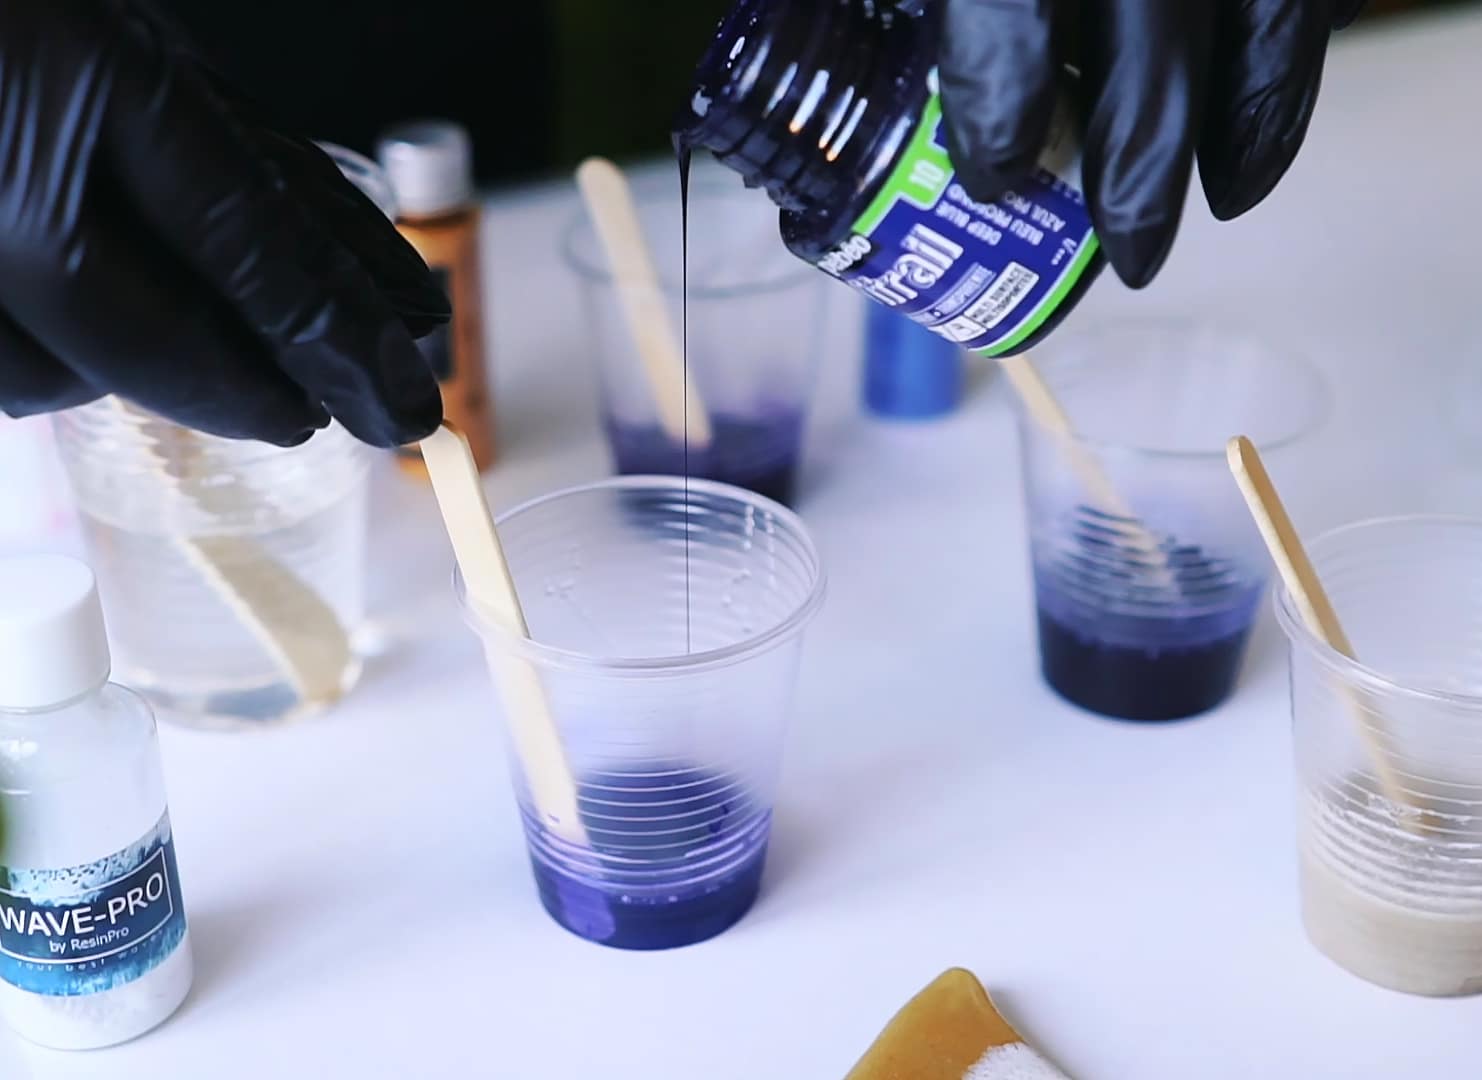
Step 2: Mix and Colour the Epoxy Resin
Carefully measure and mix your clear epoxy resin according to the manufacturer’s ratio, taking time to blend the components thoroughly to avoid cloudiness. For a crystal-inspired effect, consider using “Icrystal” – Clear Epoxy Resin as it delivers glass-like transparency suitable for jewellery and casting projects. Choose a transparent colourant, such as “Magic Crystal” – Transparent Resin Colour 45ml, and add a few drops at a time until your desired shade is achieved. The colour can also be customised further by blending different hues from the “Magic Crystal” – Set of 5 Transparent Colourants. Stir slowly to minimise bubbles.
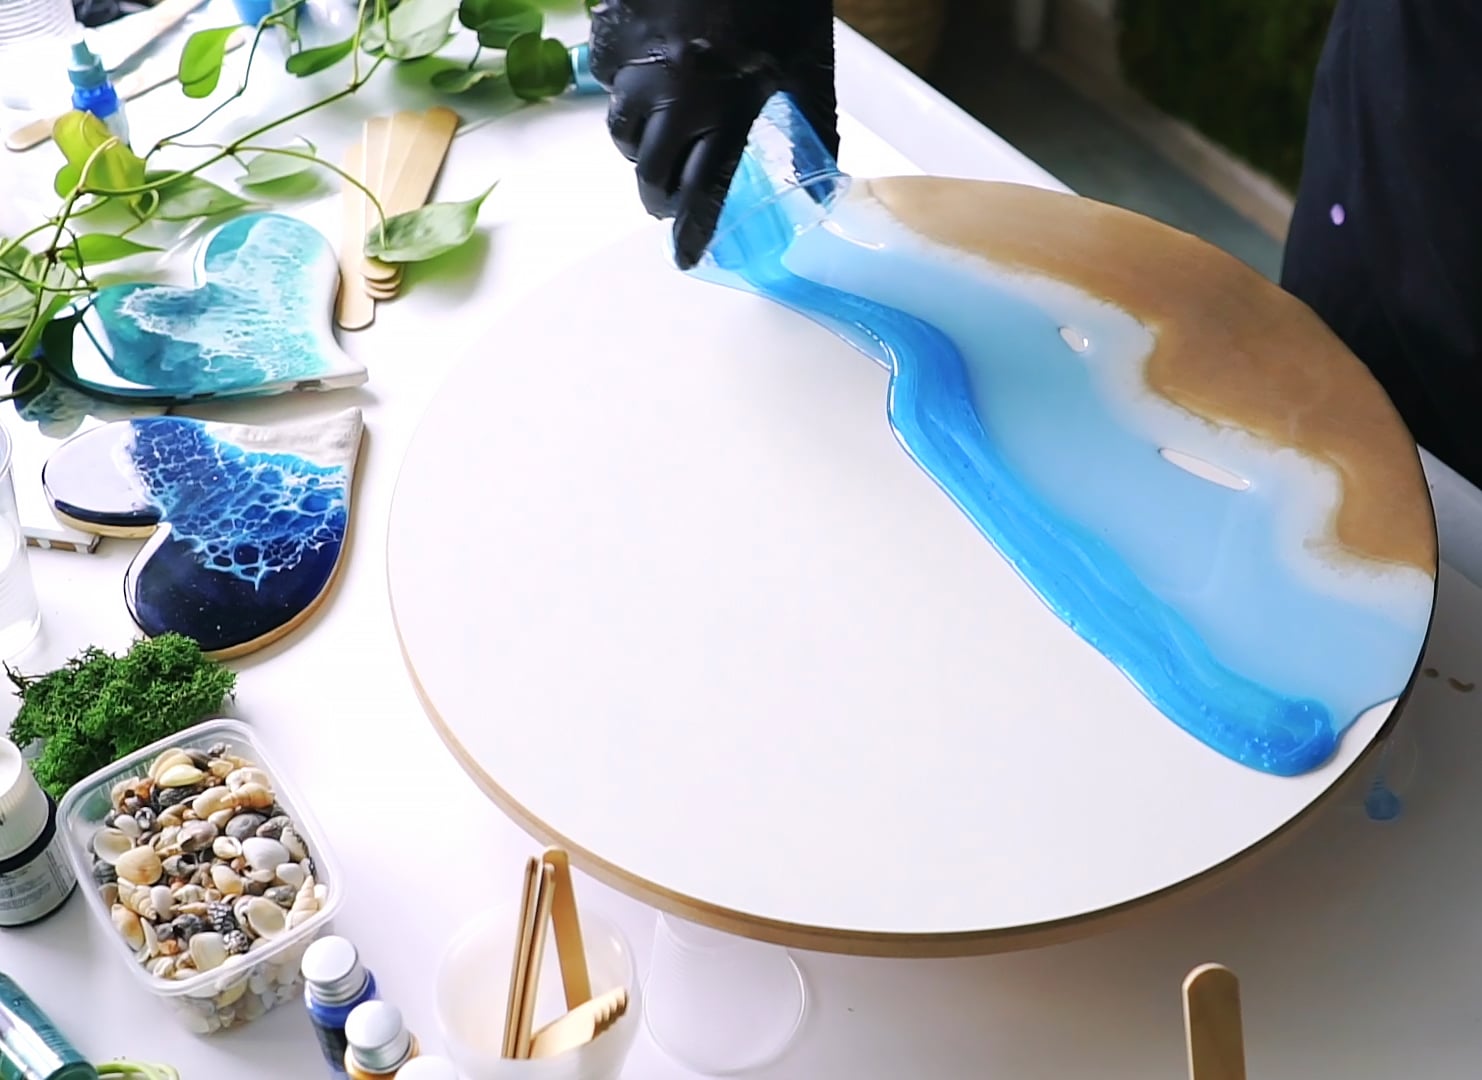
Step 3: Pour the Resin into Moulds
Once your resin is coloured and mixed, gently pour it into your prepared silicone moulds. Pour the resin gently and allow air bubbles to rise naturally, or use a heat gun lightly over the surface to help disperse small bubbles. Fill each mould to the desired thickness, keeping within the maximum recommended pour depth for your chosen resin (up to 1.5 cm for the “Icrystal” resin). Allow the resin to rest undisturbed so that the surface remains smooth and the final piece retains its crystal clarity.
Step 4: Cure, Demould, and Finish Your Crystals
Let your pieces cure for the full recommended time, which could be 24 to 48 hours depending on room temperature and thickness. Avoid moving or bumping the moulds during this stage. Once fully cured, carefully demould your resin crystals. If rough edges are present, sand lightly with fine-grit sandpaper or a micro-mesh. To add a reflective polish, use a soft cloth and a small amount of resin polish, if needed.

Tips, Common Mistakes, and Troubleshooting
For best results, use only transparent, high-clarity resins and suitable colourants. Excessively vigorous mixing can introduce trapped bubbles, so mix slowly and with care. If your resin appears cloudy, review the mixing ratio and ensure your workspace isn’t too cold. Avoid overfilling moulds, as this can hinder curing. Store finished resin crystals away from direct sun and extreme heat to preserve their clarity and prevent yellowing over time.
Polishing and Displaying Resin Crystals
Once your cherry resin-inspired crystals are finished, display them on reflective trays, in frames, or under glass domes. Clever lighting can enhance the vibrant colour and clarity, turning your handmade resin crystals into striking centrepieces or unique pieces of art.
- "Magic Crystal" – Transparent Resin Colour 45ml£4.95"Magic Crystal" Transparent Resin Colour is suitable for creating clear, vibrant crystal and jewellery effects with resin.
- "Magic Crystal" – Set of 5 Transparent Colourants, 5 x 45ml£19.95"Magic Crystal" Set includes transparent colourants for custom resin crystals with consistent transparency.
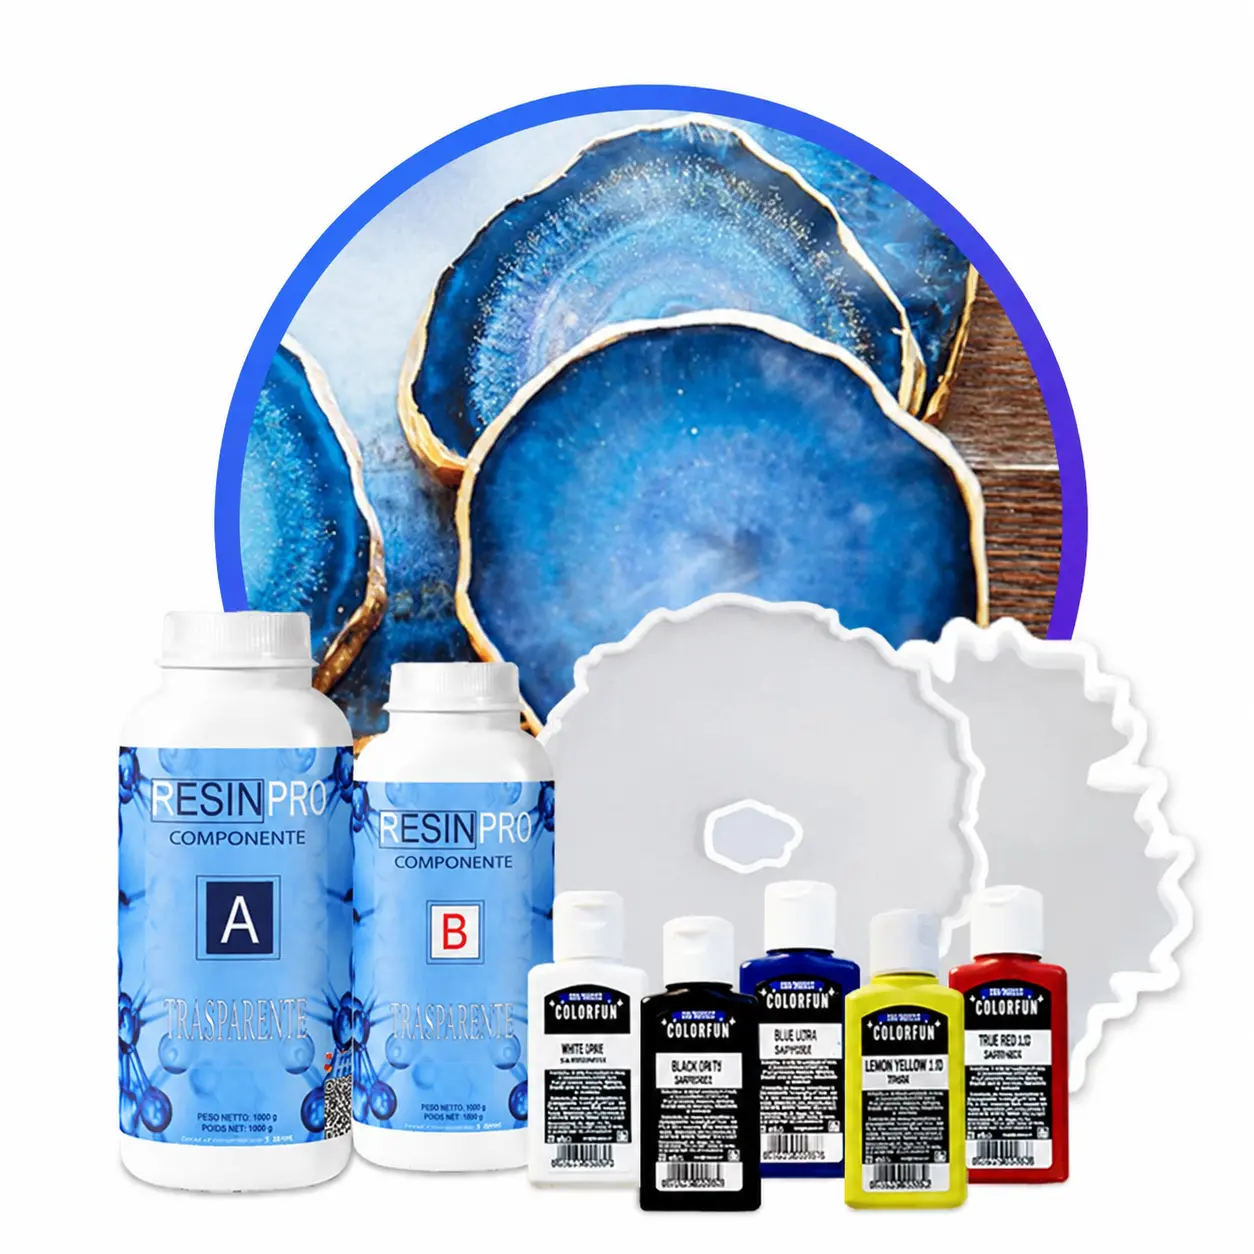 Resin Geode Coaster Starter Kit – Create Stunning Crystal-Style Coasters at Home£42.85This kit is suitable for creating crystal-style resin coasters with geode-inspired patterns at home, including colourants and moulds.
 "Icrystal" – Clear Epoxy Resin – Odourless Formula – Up to 1.5cmPrice range: £12.45 through £341.45"Icrystal" Clear Epoxy Resin is a transparent, odourless resin suitable for tables and artistic creations within the theme of cherry tree resin…
Frequently Asked Questions
Can you use natural cherry resin instead of epoxy?
Natural cherry resin hardens but lacks the clarity and durability of synthetic clear epoxy resins, so epoxy is usually preferred for crystal-like results.
What types of moulds are best for making resin crystals?
Silicone moulds with smooth inner surfaces and geometric crystal shapes are ideal for achieving sharp edges and easy demoulding.
How do you ensure your resin crystals are clear and glassy?
Use high-transparency resin, mix slowly to avoid bubbles, maintain recommended pouring depths, and work in a dust-free environment.
How long should you let resin crystals cure before demoulding?
Cure times typically range from 24 to 48 hours depending on temperature, resin type, and thickness of the pour.
What causes cloudiness in resin crystals?
Common causes are improper mixing ratios, cold ambient temperatures, or excessive air bubbles trapped during mixing.
How do you colour resin crystals without losing transparency?
Use specialised transparent resin colourants and add gradually to preserve the crystal-clear quality and achieve vibrant transparent hues.