 Free shipping on orders over £29,85


How to sculpt with epoxy putty?
Practical guide to shaping, detailing, and finishing epoxy putty art

Epoxy putty is a versatile and durable sculpting medium, ideal for art, repair, and custom design. Whether creating miniatures, restoring surfaces, or building bespoke forms, mastering the technique of sculpting with epoxy putty ensures your projects are both beautiful and resilient. This guide outlines the essential steps to help you achieve precision results with confidence.

What You’ll Need
- CROP 2K Fiberglass Putty – 750 ml + Hardener: For strong, buildable sculpting and durable repairs.
- Tooth Shaped Spatula for Epoxy Resin Application: Achieve smooth, uniform shaping and detail with the notched edge.
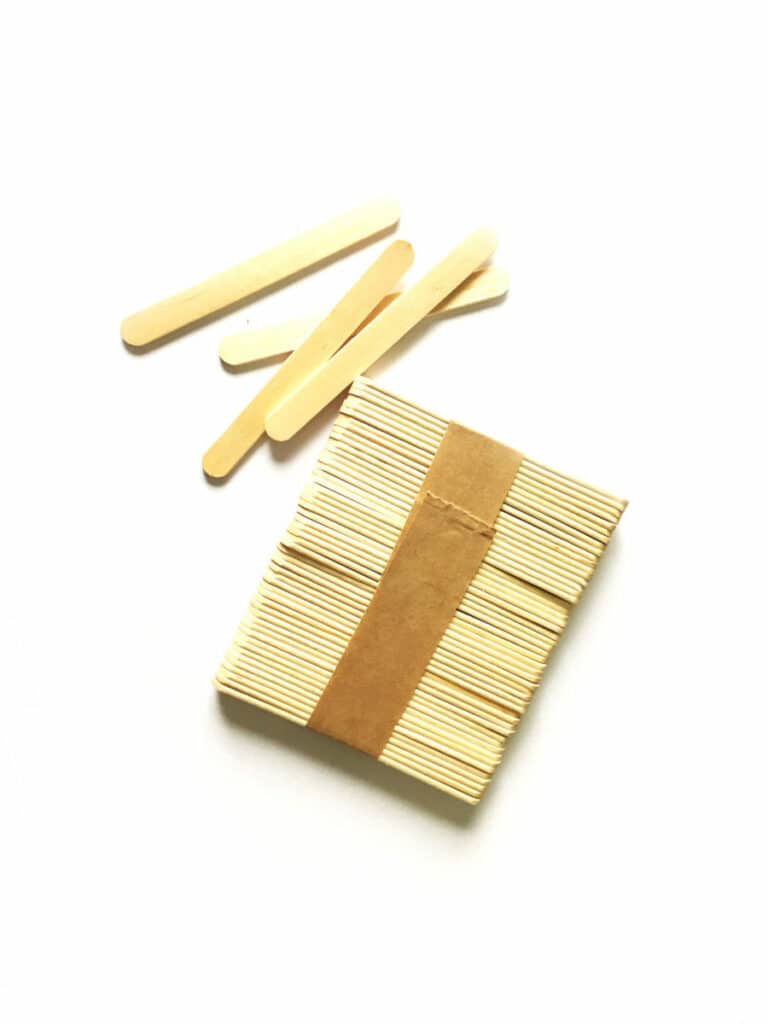
- Wooden Spatula Set for Epoxy Resin Projects – 50 Pack: Handy for mixing and fine modelling.
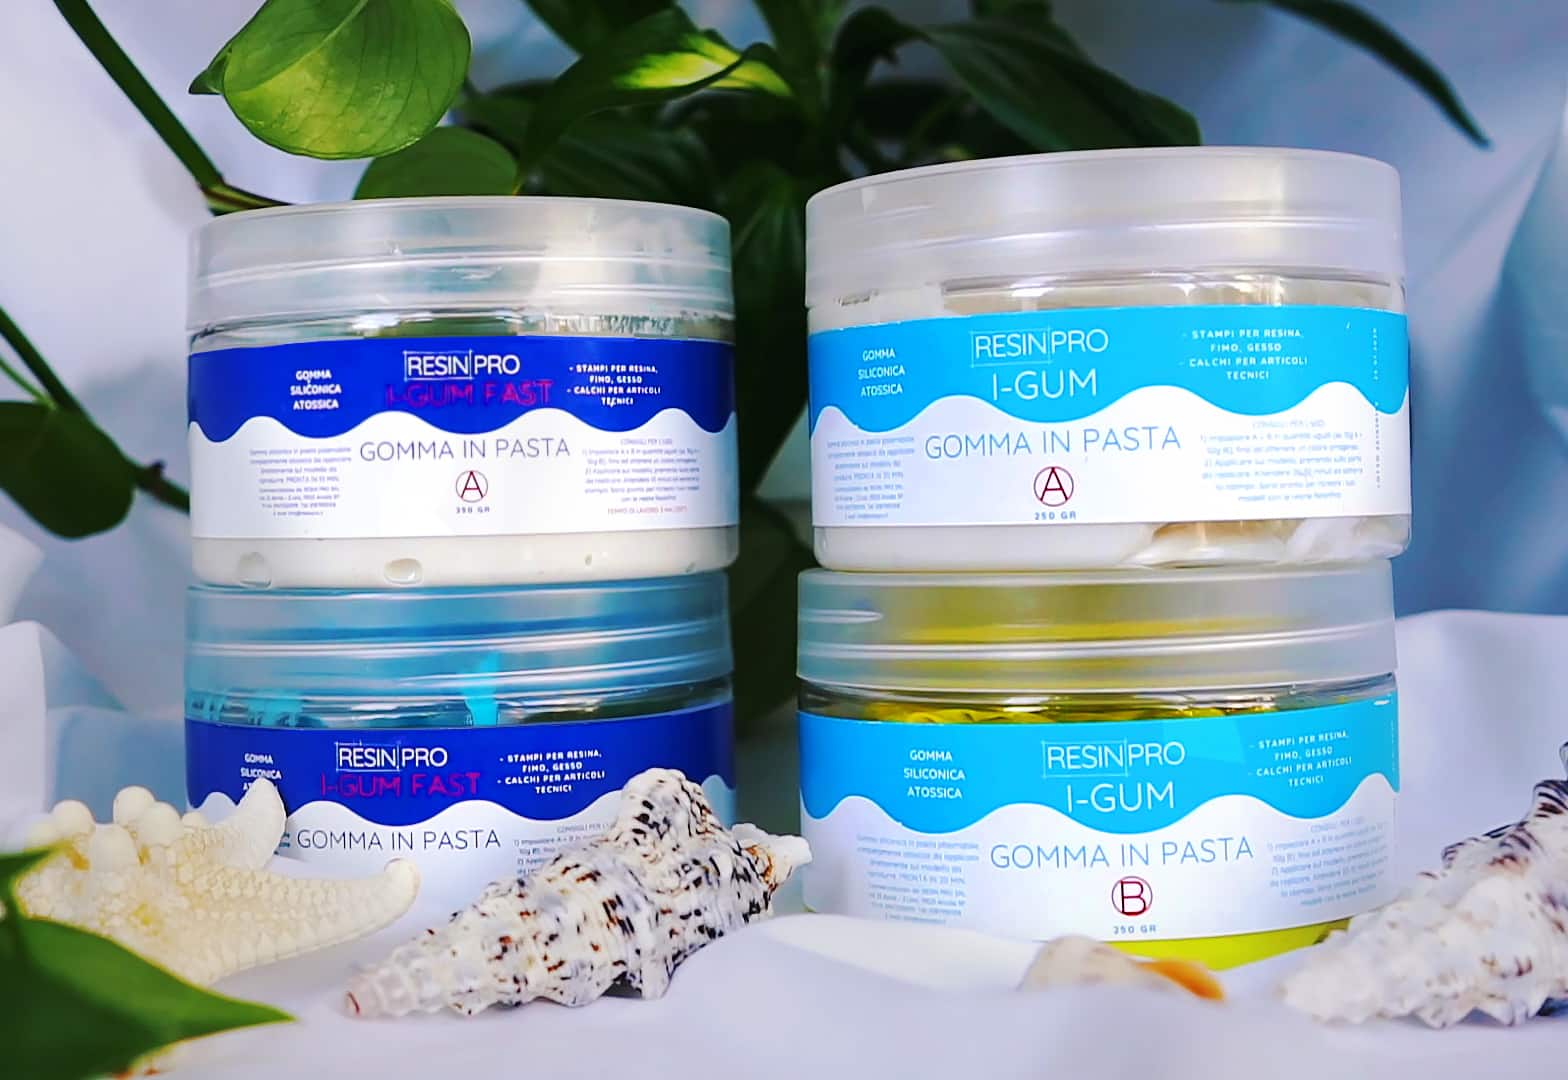
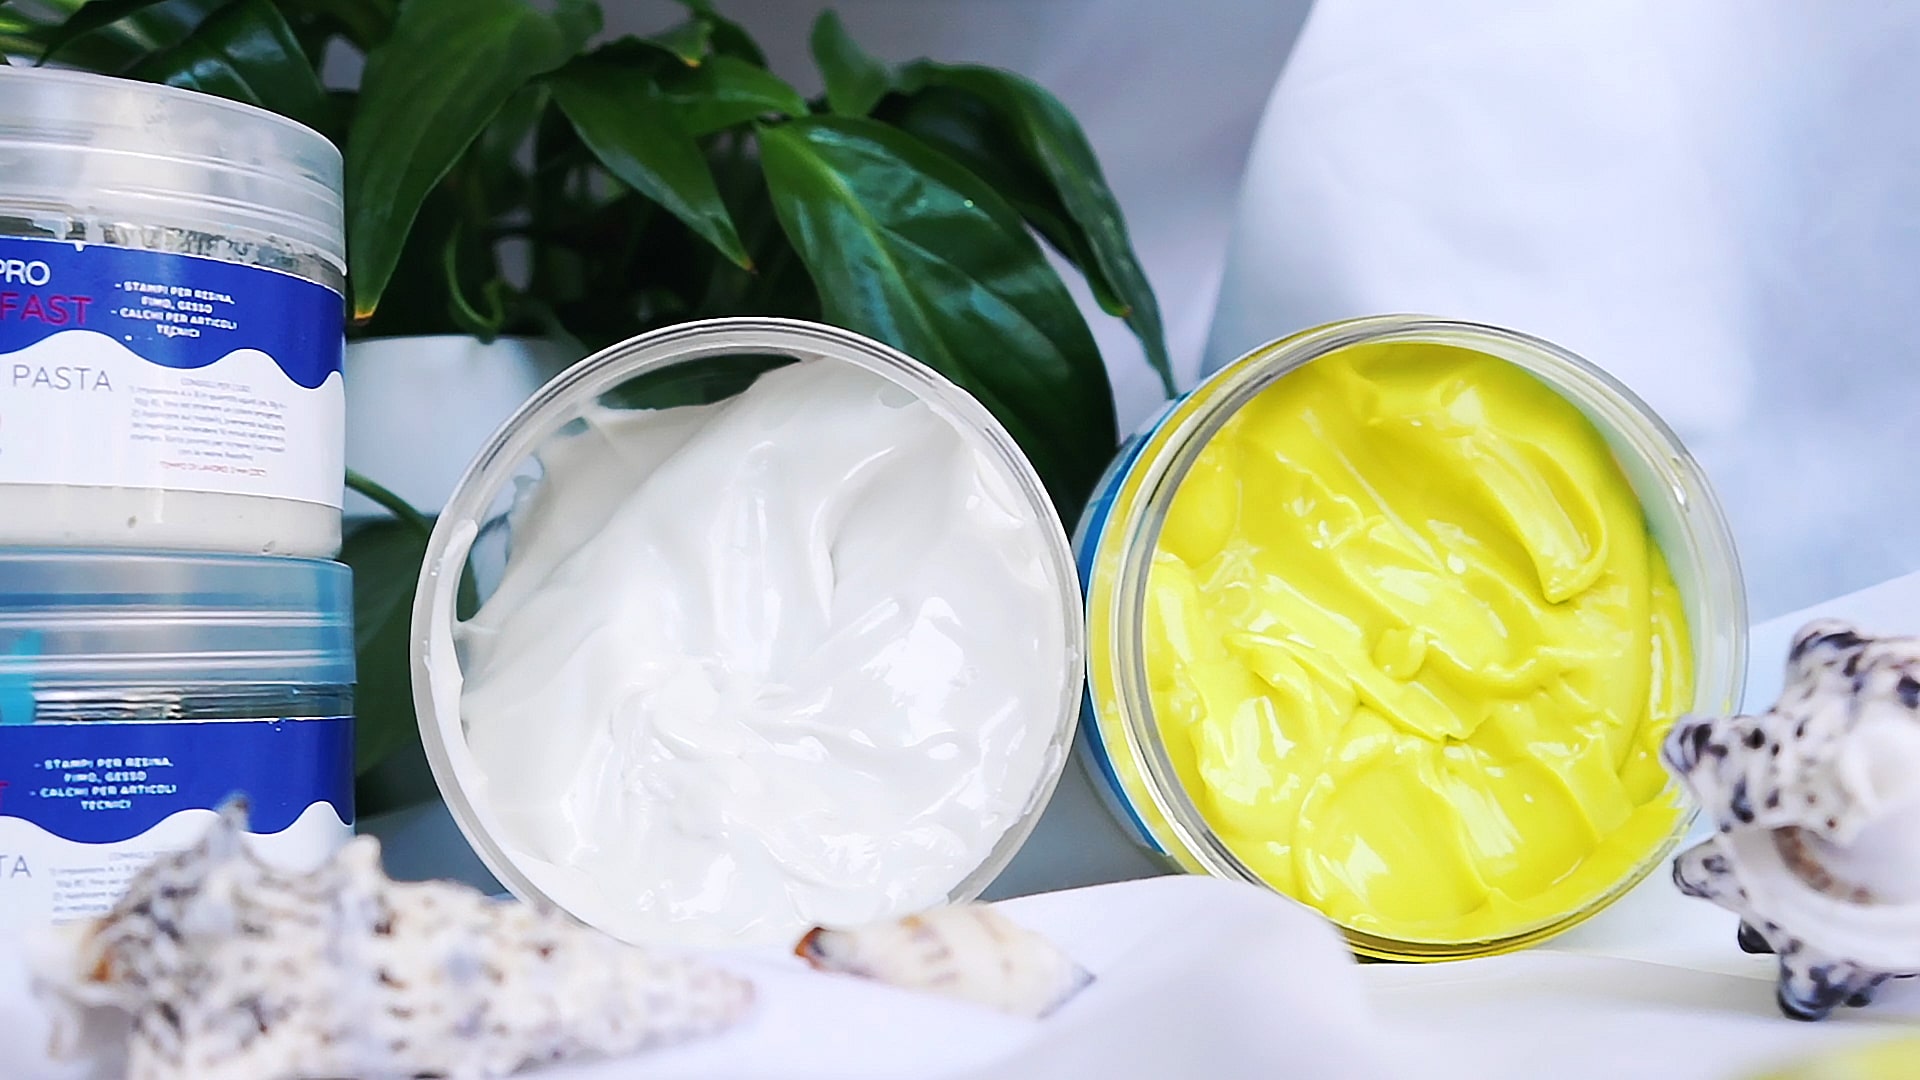
- “I–Gum” – Non-Toxic Silicone Putty for Mould Making (optional): For creating custom templates and supporting complex shapes.
- Protective gloves or barrier cream (optional for sensitive skin)
- Fine sandpaper (for finishing)
- Mixing board or disposable surface

Visual Tools for Epoxy Putty Sculpting
Use a combination of notched spatulas and wooden mixing sticks for precise sculpting. Silicone putty moulds are perfect for repeatable or highly-detailed forms, complementing your epoxy putty projects.
Step 1: Prepare Your Workspace and Surface
Begin by clearing and cleaning your work area. Ensure all surfaces for sculpting are free from dust, grease, or loose particles—these can weaken adhesion and compromise detailing. If you’re planning to use a mould for repeated shapes, now is the time to select or create one. Preparation at this stage helps maintain control and keeps debris out of your project.
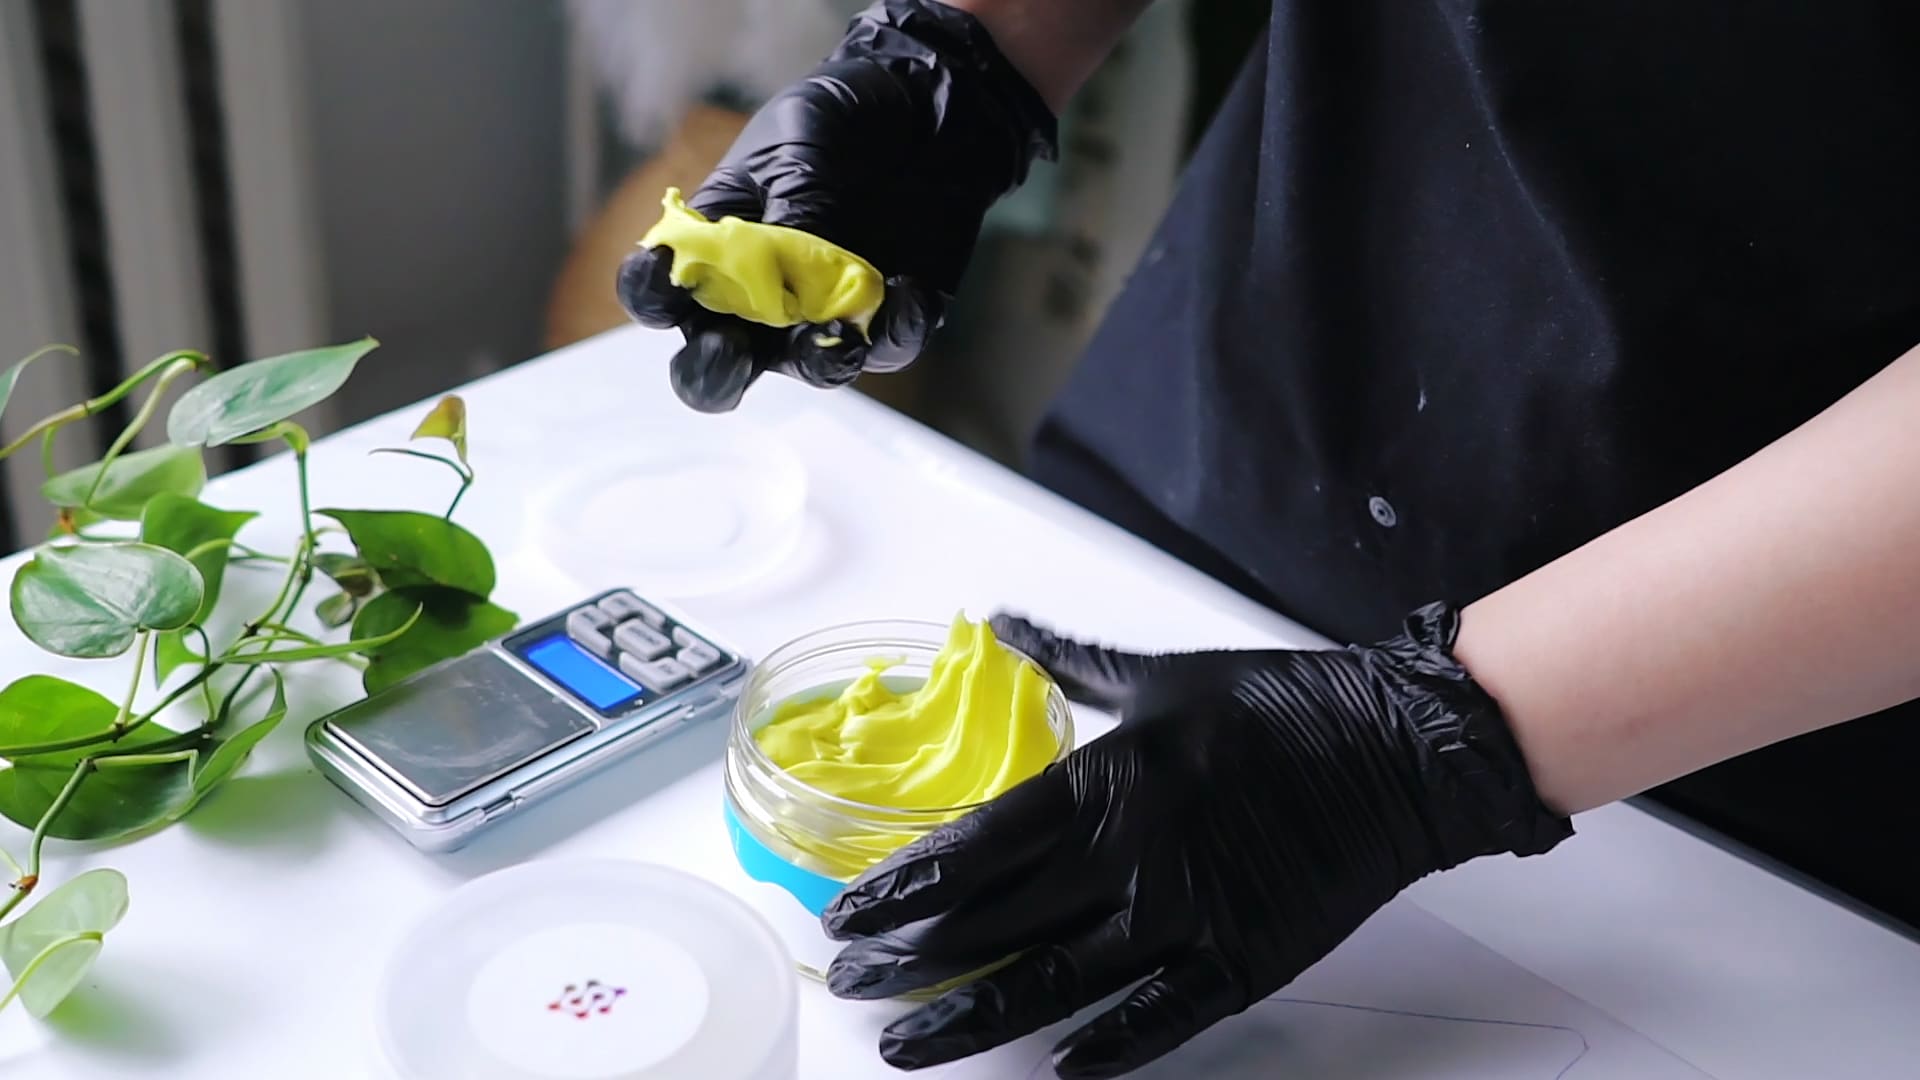
Lay out your tools and components for easy access. If using “I–Gum” – Non-Toxic Silicone Putty for Mould Making, pre-mix the required quantity and press it over objects to create tailored forms for your epoxy putty work.

Step 2: Mix the Epoxy Putty
Most epoxy putties, like two-component systems, require thorough and accurate mixing to achieve the desired strength and workability. Using a clean, disposable surface, cut or scoop equal parts of resin and hardener. Mix them by folding and kneading until the colour and texture are consistent with no streaks remaining.
For reliable results, a Wooden Spatula Set for Epoxy Resin Projects – 50 Pack is excellent for blending, ensuring the chemical reaction is even throughout your putty. Mix only as much as you can work with within the open time (usually a few minutes for most blends).
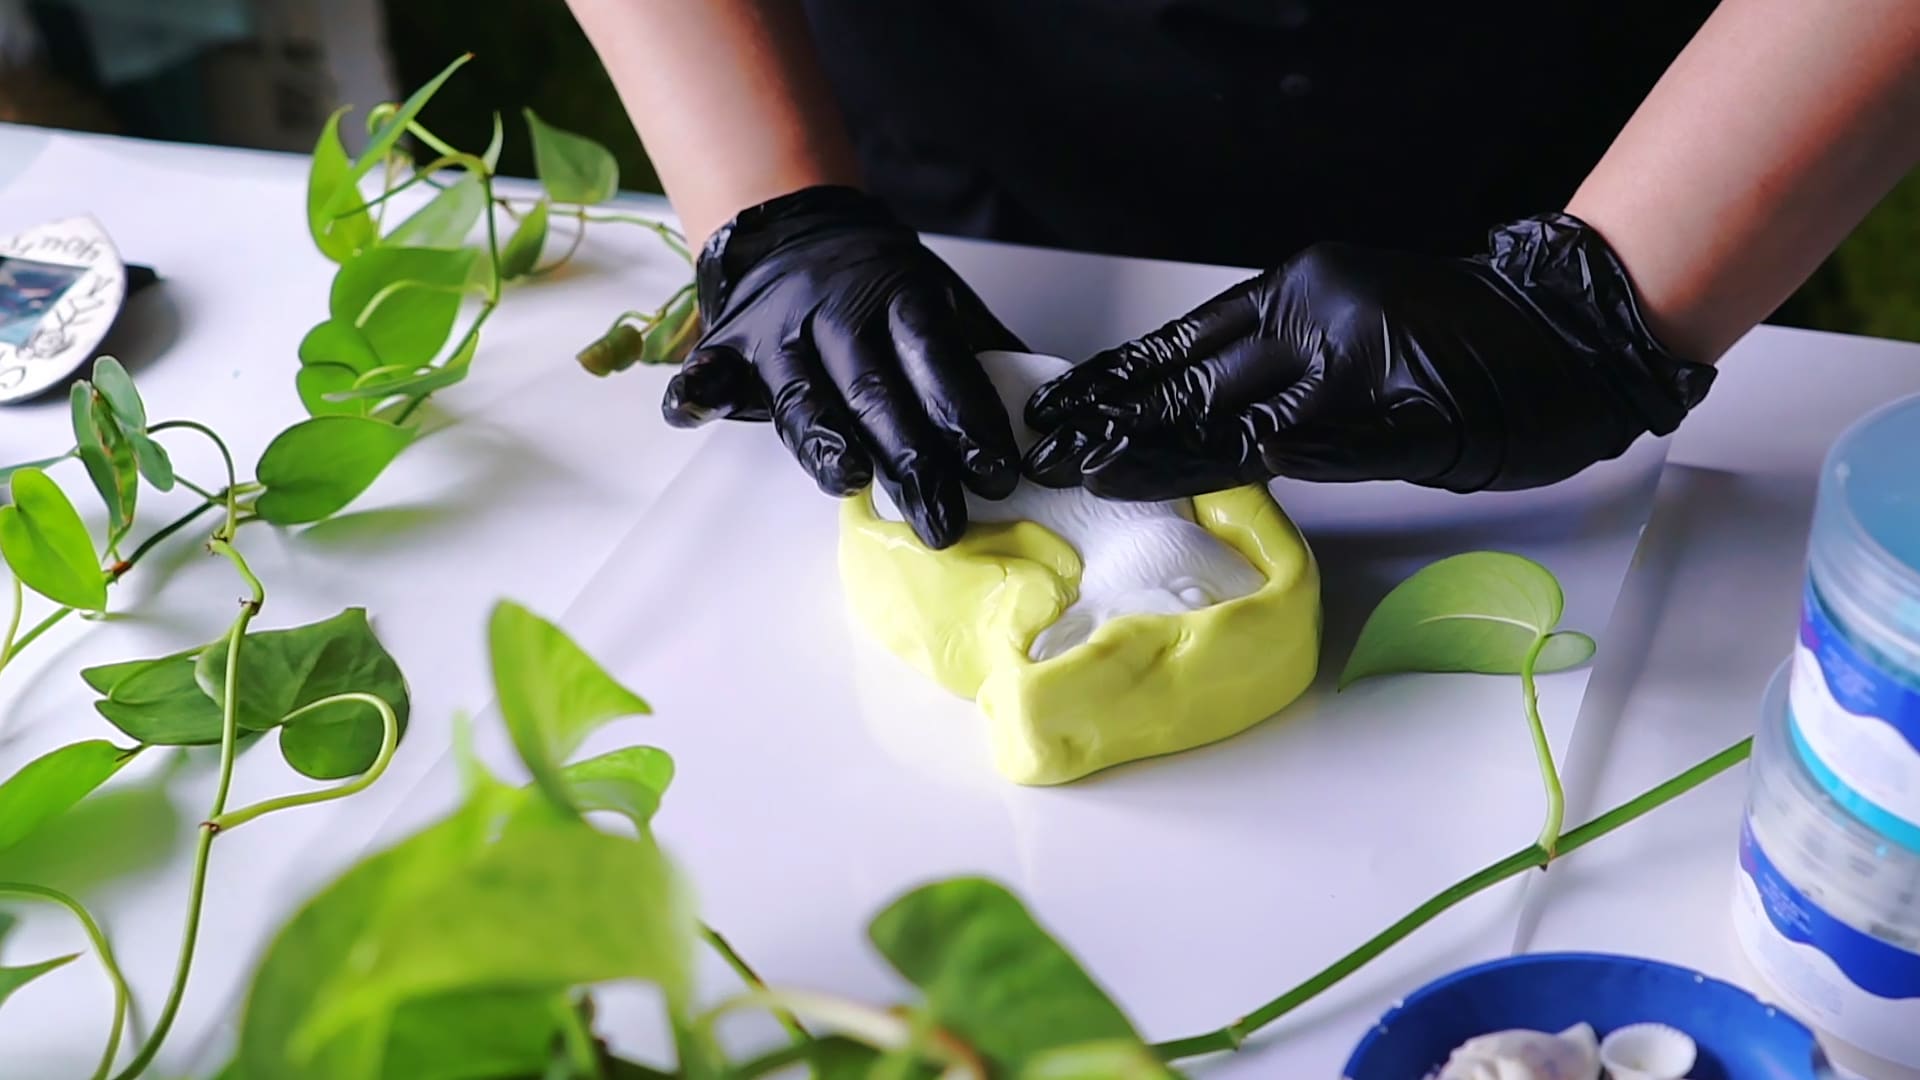
Step 3: Shape and Build Your Project
Immediately after mixing, apply the putty while it’s still pliable. For base shapes or filling cavities, spread and press into place firmly, sculpting for the desired mass. Smaller amounts can be layered for adding features or textural details. Tools such as a Tooth Shaped Spatula for Epoxy Resin Application can help you smooth, level, or create patterns, thanks to their notched design for consistent application.
Keep your hands and tools clean by occasionally dipping them in water or using a release agent if recommended. Work efficiently to complete sculpting before curing begins. For repetitive or complicated forms, pressing the putty into a pre-made silicone mould gives precise, repeatable results.
Step 4: Refine, Cure and Finish the Surface
After shaping, allow your epoxy putty to cure fully as per the manufacturer’s guidelines, usually several hours for structural integrity. Once hardened, you can sand or carve finer details. Start with a coarser sandpaper to even the form, progressing to finer grades for a smooth finish. If you notice any imperfections or require additional features, small amounts of mixed putty can be added and blended seamlessly.
Be patient during curing and finishing. Rushing may cause fingerprints or tool marks to become permanent. For a professional result, always use appropriate protection and proper ventilation, particularly during sanding.
Tips and Common Mistakes
- Choose the right putty for your project: Fibreglass-reinforced putties are excellent for repairs needing strength; opt for fine-grade epoxy for intricate art.
- Mix thoroughly for consistency: Incomplete mixing can lead to soft spots or delayed curing, impacting durability and finish.
- Work in manageable sections: Epoxy putty sets quickly; only prepare as much as you can sculpt within the open time.
- Refine and finish with care: Over-sanding or rushing can remove wanted details or create uneven surfaces. Always sand in steps and inspect your progress.
- If using moulds, ensure they are free of debris and properly mixed before each use to avoid defects in the cast.
- Store unused components sealed and away from heat to prolong shelf life and maintain performance.
Project Examples and Finishing Touches
Finished epoxy putty sculptures can range from repair patches to elaborate custom models. Sand, polish, or paint your cured piece for a refined appearance and long-lasting durability.

- Tooth Shaped Spatula for Epoxy Resin Application£3.45The Tooth Shaped Spatula allows precise and even epoxy resin application for both large and small surfaces.
- Wooden Spatula Set for Epoxy Resin Projects – 50 Pack£2.95Wooden spatula set designed for precise mixing and application in epoxy resin projects, suitable for detailed work and comfortable handling.
- CROP 2K Fiberglass Putty – 750 ml + Hardener£15.85CROP 2K Fiberglass Putty is a reinforced polyester product designed for bodywork cracks, dents, and deeper repairs in line with How to sculpt with…
- "I–Gum" – Non-Toxic Silicone Putty for Mould MakingPrice range: £24.00 through £104.95"I–Gum" is a non-toxic two-component silicone putty designed for mould making with a 1:1 mix ratio and long working time.
Frequently Asked Questions
How do I prepare a surface before applying epoxy putty?
Clean the area thoroughly to remove dust, grease, and debris. A clean surface ensures better adhesion and smoother results.
What are the best tools for sculpting with epoxy putty?
Spatulas and moulding tools like notched or wooden spatulas help with shaping, detailing, and achieving a uniform finish.
How long should epoxy putty cure before sanding?
Wait until the putty is fully hardened—typically several hours—to ensure sanding does not cause smearing or gouging.
Can I make custom moulds for epoxy putty projects?
Yes, silicone putty moulds allow you to replicate shapes and achieve consistent results for complex or repeated elements.
How can I add fine details or finish my epoxy sculpture?
Carve or sand after curing, and use fine putty additions for new features. Always use fine sandpaper and work carefully.
What should I do if the epoxy putty is not curing properly?
Check the mix ratio and ensure thorough blending. Incorrect mixing can cause tackiness or slow curing—remix and reapply if needed.