 Free shipping on orders over £29,85


How to paint polyethylene resin?
Step-by-step guide for professional adhesion and colour


Painting polyethylene resin can dramatically transform your craft or restoration projects, giving fresh life to models, doming surfaces, and cast parts. However, polyethylene is known for being difficult to paint due to its non-stick, slick surface. This guide walks you through the key steps to achieve a lasting, professional-quality finish on polyethylene resin, whether it forms the core structure or serves as a coating.
What You’ll Need
- Pure Isopropyl Alcohol 99.9% – 1000ml Bottle for Epoxy Resin Projects & DIY – for cleaning and degreasing
- Fine grit sandpaper (320–600 grit) or abrasive pads
- Microfibre cloth
- Plastic primer suited to polyethylene (adhesion promoter or specialist spray primer)
- Paint rated for plastics (acrylic, polyurethane, or flexible paints)
- Brushes, rollers, or spray equipment
- Protective gloves and dust mask
Polyethylene Painting Preparation Tools
Choosing the right cleaning materials and abrasives makes all the difference for a strong bond. Pure Isopropyl Alcohol 99.9% ensures thorough degreasing, while fine sandpaper helps the primer grip the resin effectively.
Step 1: Clean and Prepare the Polyethylene Surface
The first step in obtaining great paint adhesion is to remove all contaminants from the polyethylene resin. Any oils, dust, or mould-release agents will prevent the primer and paint from bonding effectively. Begin by washing the item with mild detergent and water, then dry thoroughly with a lint-free cloth. For a deeper clean and especially before sanding or priming, use Pure Isopropyl Alcohol 99.9% to wipe the surface. This high-purity alcohol efficiently removes grease and fine particulates, creating the best conditions for further treatment.
Work in a well-ventilated area and allow the alcohol to completely evaporate before proceeding to surface abrasion.


Step 2: Lightly Sand to Promote Adhesion
Polyethylene’s slick texture makes it notorious for paint flaking or peeling. Light sanding is essential for creating microscopic roughness that physically anchors the primer and paint. Use fine grit sandpaper or an abrasive pad to scuff all areas to be painted, applying even, gentle pressure without gouging. After sanding, remove all dust with a clean, dry microfibre cloth—a second quick alcohol wipe can help eliminate persistent debris.
Ensure no glossy spots remain, as these will compromise the durability of your painted finish.
Step 3: Apply a Plastic Primer or Adhesion Promoter
Standard primers are rarely effective on polyethylene. Select a specialist plastic primer formulated for low-energy surfaces, often labelled as suitable for polyethylene or polyolefin plastics. These primers increase chemical adhesion and are typically applied with a spray or foam applicator. Apply a thin, even layer, following product instructions for drying times—too thick a layer can cause adhesion failure or excessive build-up.
Let the primer cure fully; rushing this process is a common mistake that leads to poor results. Test the primer by gently scratching a small hidden spot before painting.


Step 4: Paint with Suitable Coatings and Allow to Cure
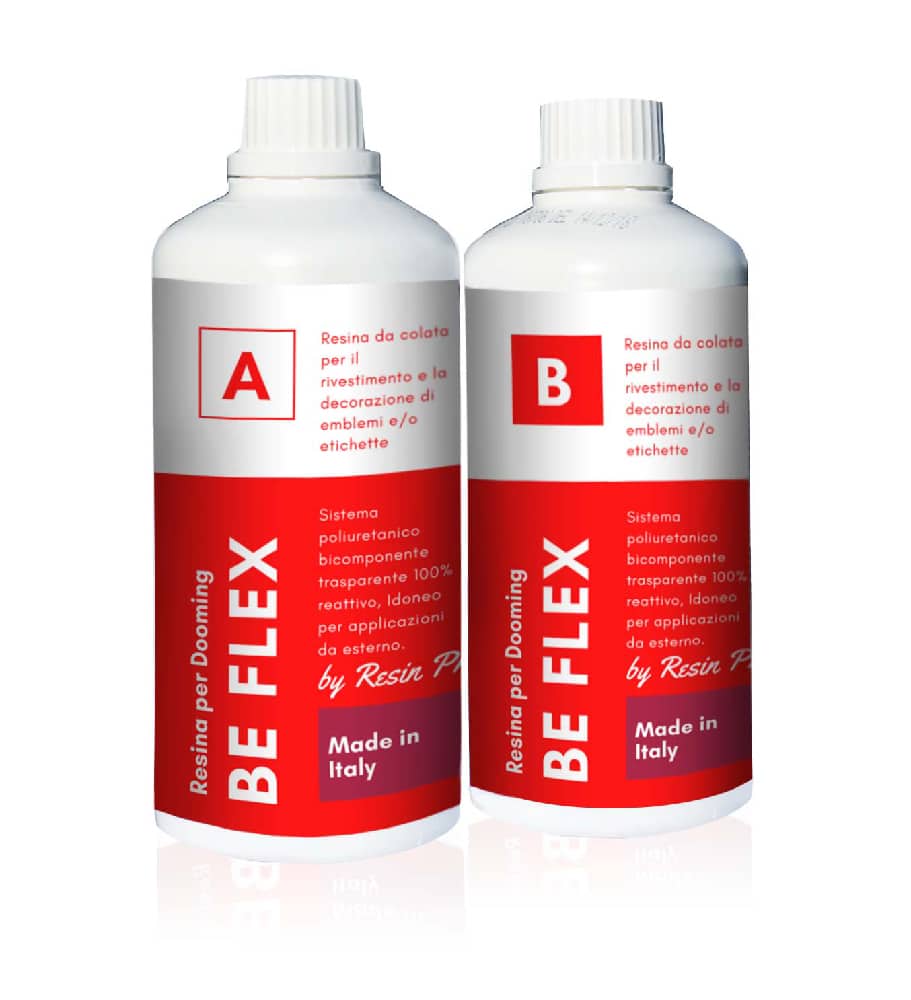
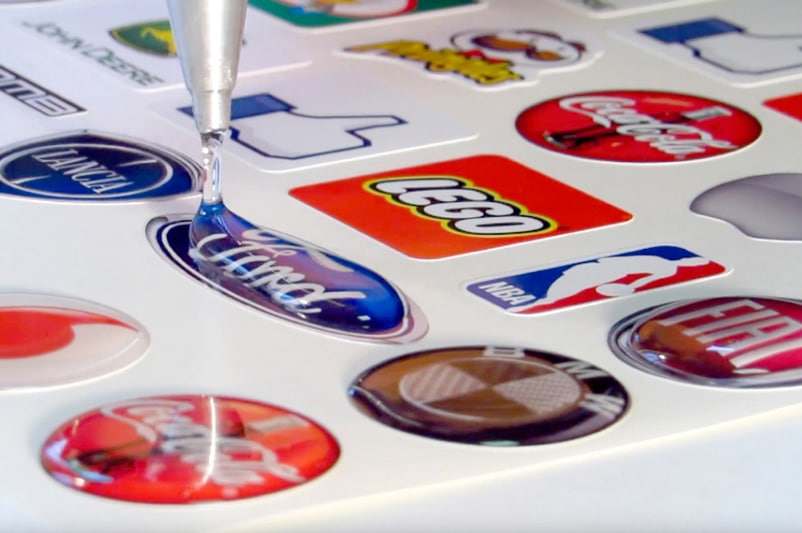
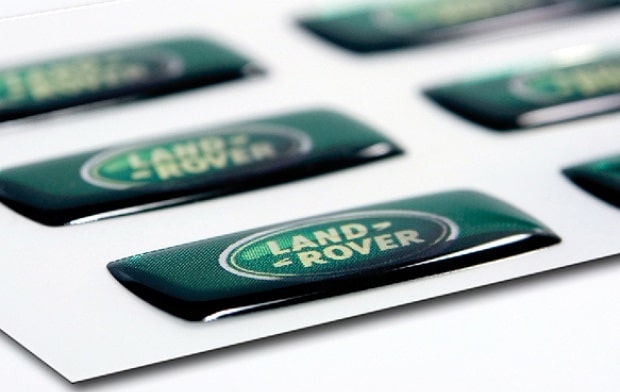
Once primed, use a paint designed for plastics—acrylics, polyurethane-based coatings, or flexible formulas work best. Apply your chosen paint in several thin coats, allowing sufficient drying between layers. If you are enhancing resin domed badges or crafts with flexible, durable coatings, consider resin doming over painted areas using a product like “Be Flex” – Transparent Polyurethane Doming Resin – Scratch-Resistant for added protection and professional appearance.
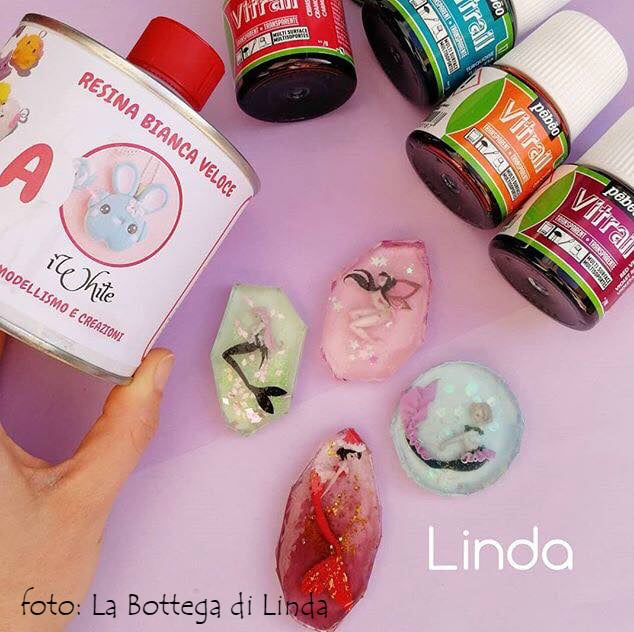
For cast objects made from white or colourable polyurethane resins, such as “IWhite” – Polyurethane Casting Resin – White, Fast-Curing Two-Part System, acrylic paints can be applied directly once cured. Follow all manufacturer guidance on curing times for best results.
Tips, Common Mistakes, and Troubleshooting
Thorough surface preparation is crucial—skipping the cleaning or sanding steps is the most common reason for paint failure. Always address surface gloss and contaminants before priming.
Use paints and primers rated for plastics to avoid delamination, especially on items subject to flexing. Household primers rarely adhere to polyethylene.
Allow products to fully cure before handling or reassembling parts. Rushed jobs often result in fingerprints or easily chipped coatings.
Test adhesion on a small area before completing high-visibility sections.
Work in a well-ventilated space and use PPE as directed for each product to ensure a safe and clean application.
Finishing Techniques and Coatings
For a tough, attractive finish on badges or artistic resin pieces, add a clear layer such as “Be Flex” doming resin to protect colour and detail for longer-lasting results.
- Pure Isopropyl Alcohol 99.9% – 1000ml Bottle for Epoxy Resin Projects & DIYPrice range: £10.45 through £20.95Pure Isopropyl Alcohol 99.9% in 1000ml bottle is suitable for epoxy resin projects and helps remove bubbles and create effects.
- "Be Flex" – Transparent Polyurethane Doming Resin – Scratch-ResistantPrice range: £45.00 through £81.95"Be Flex" is a flexible, transparent polyurethane resin designed for curved surfaces, providing a scratch-resistant, clear doming finish.
- “IWhite” – Polyurethane Casting Resin – White, Fast-Curing Two-Part SystemPrice range: £24.00 through £36.95IWHITE is a fast-curing polyurethane resin suitable for detailed moulding and painting, supporting precise model making and prototyping needs.
Frequently Asked Questions
Can you paint polyethylene resin effectively?
Yes, with thorough cleaning, sanding, and appropriate primers for low-energy plastics, paint will adhere reliably to polyethylene resin.
Do you have to sand polyethylene before painting?
Yes, sanding with fine grit is essential to roughen the surface and help primers and paints adhere permanently.
Which primer works best for polyethylene resin?
Use an adhesion promoter or specialist plastic primer labelled for polyethylene or polyolefin surfaces for strong bonds.
Can regular spray paint be used on polyethylene?
Regular spray paint alone usually will not adhere properly. Always use a suitable primer first and pick paints rated for plastics.
How long to wait after priming polyethylene?
Wait as long as the primer manufacturer recommends—typically 1–2 hours for touch dry, longer for full cure before painting.
Can you paint domed resin labels or badges?
Yes, when using a flexible doming resin like "Be Flex," you can paint the base layer and dome over it for protection and durability.