 Free shipping on orders over £29,85


← Back to How to prepare resin and then shape it?


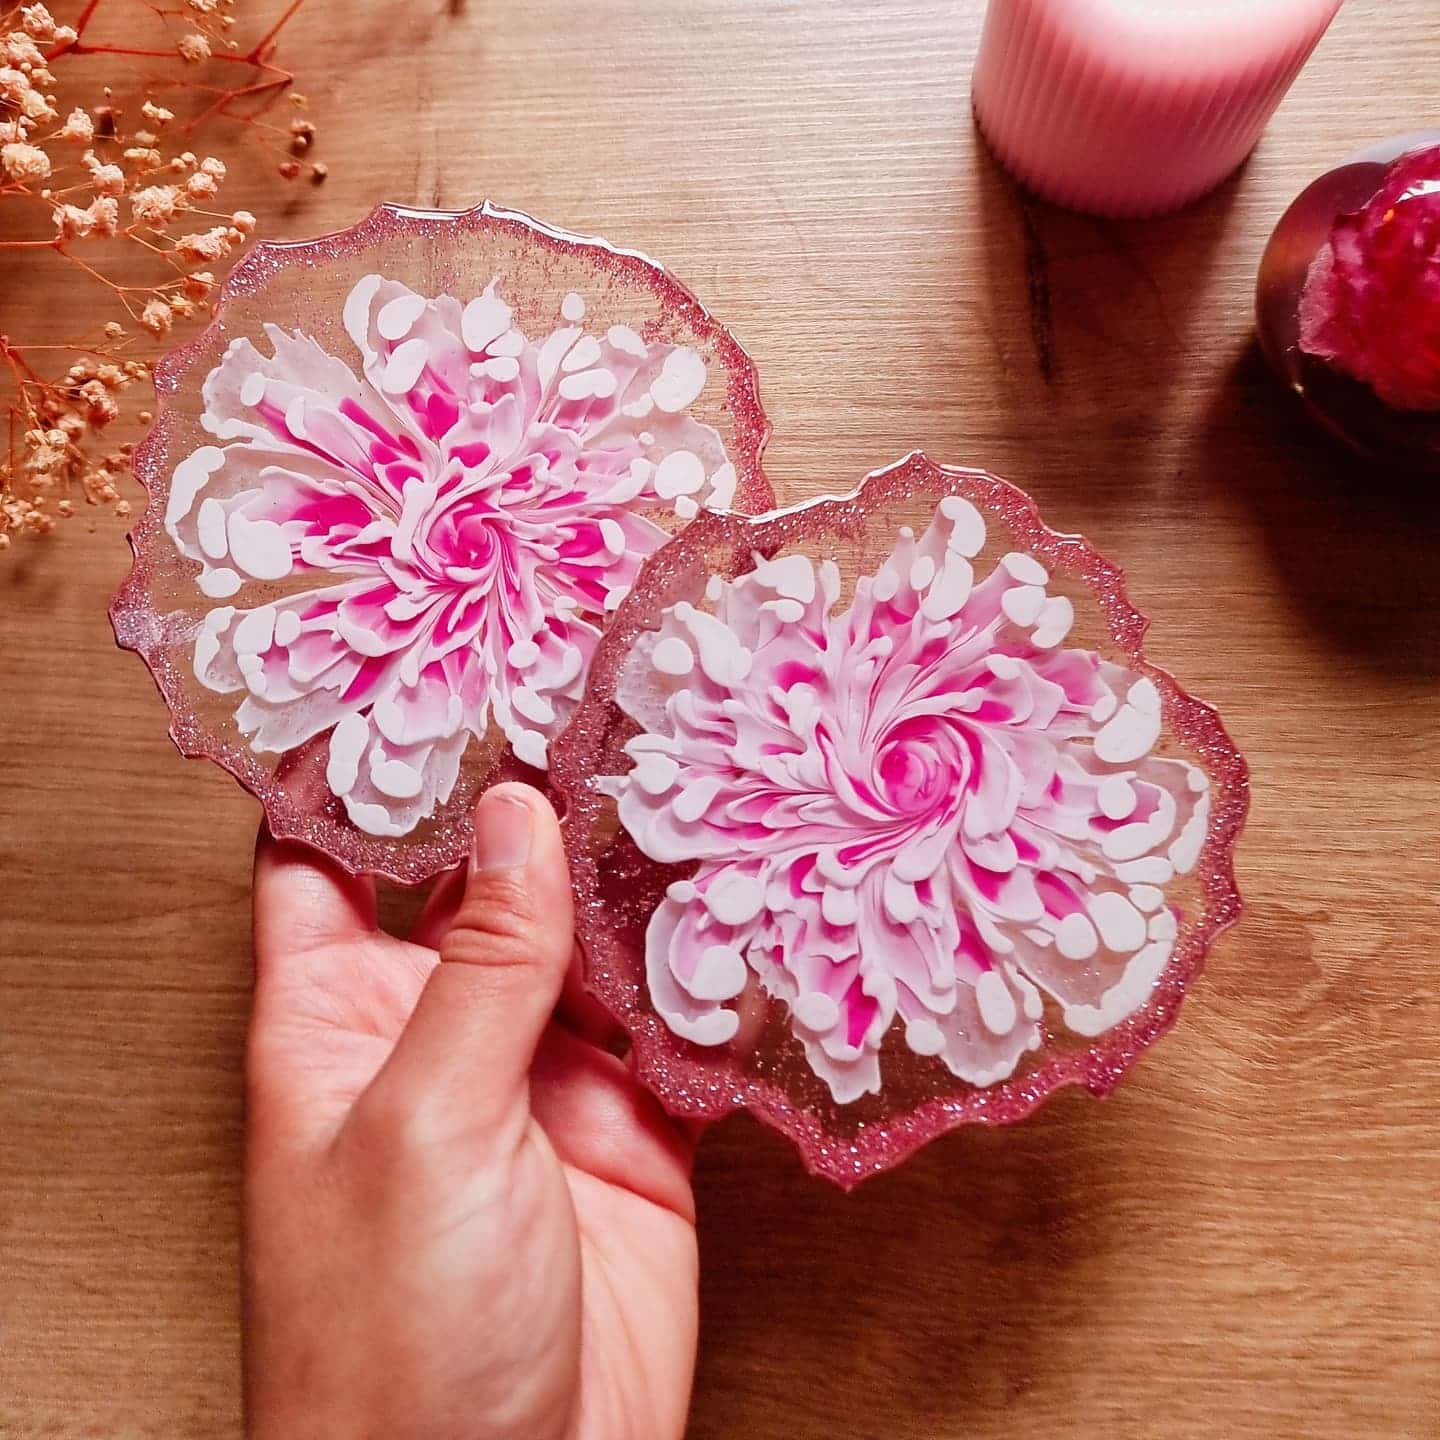
Getting beautifully clear and sturdy resin results depends on care at every stage—especially measuring, mixing, and curing. With the right method, you’ll avoid sticky patches and get a flawless finish every time.
Accurate Measuring
Each resin kit specifies a unique ratio of resin to hardener—commonly by weight, sometimes by volume. Always follow the instructions for your chosen brand and product to the letter. For the best results, use digital kitchen scales for accuracy. If the mix ratio is wrong, the resin may not cure fully and will remain tacky or soft.


Thorough Mixing Makes a Difference
Once measured, pour both parts into a clean mixing container. Stir gently for at least 2 to 3 minutes, scraping the sides and bottom to blend all material evenly. Mix slowly to minimise air bubbles, which can cloud your finished piece. If your project uses dyes or metallic pigments, add them gradually and ensure they’re well incorporated.
Many starter kits, like the Resin Geode Coaster Starter Kit, include step-by-step mixing guides to help you get perfect results, even as a beginner.
Curing for a Professional Finish
Pour the fully mixed resin into your mould or onto your surface. Place it on a flat, level area where it won’t be disturbed or exposed to dust. The resin should remain still as it cures—typically 24 to 48 hours, depending on product and temperature. Avoid touching or moving your project during this time to keep the finish clear and smooth.
When This Matters Most
Precise measuring, careful mixing, and patient curing are crucial for projects like coasters, trays or decorative art where clarity and hardness matter. Following these steps is the best way to avoid sticky spots and warped results.
Related products
Related guides
Mastering these basics sets the foundation for all your resin creations. For more detailed techniques and shaping tips, explore our full guide on how to prepare and shape resin projects.