 Free shipping on orders over £29,85


How to prepare resin and then shape it?
Step-by-step guide for creative resin mixing and artistic forms


Working with resin opens up endless possibilities for creative and functional art projects. Whether you want to craft coasters, trays, bowls, or unique decorative objects, knowing how to correctly prepare and shape resin is essential not only for aesthetics, but also for safety and success. This guide provides a detailed, step-by-step approach to mastering resin preparation and shaping, suitable for beginners and enthusiastic DIYers alike.
What You’ll Need
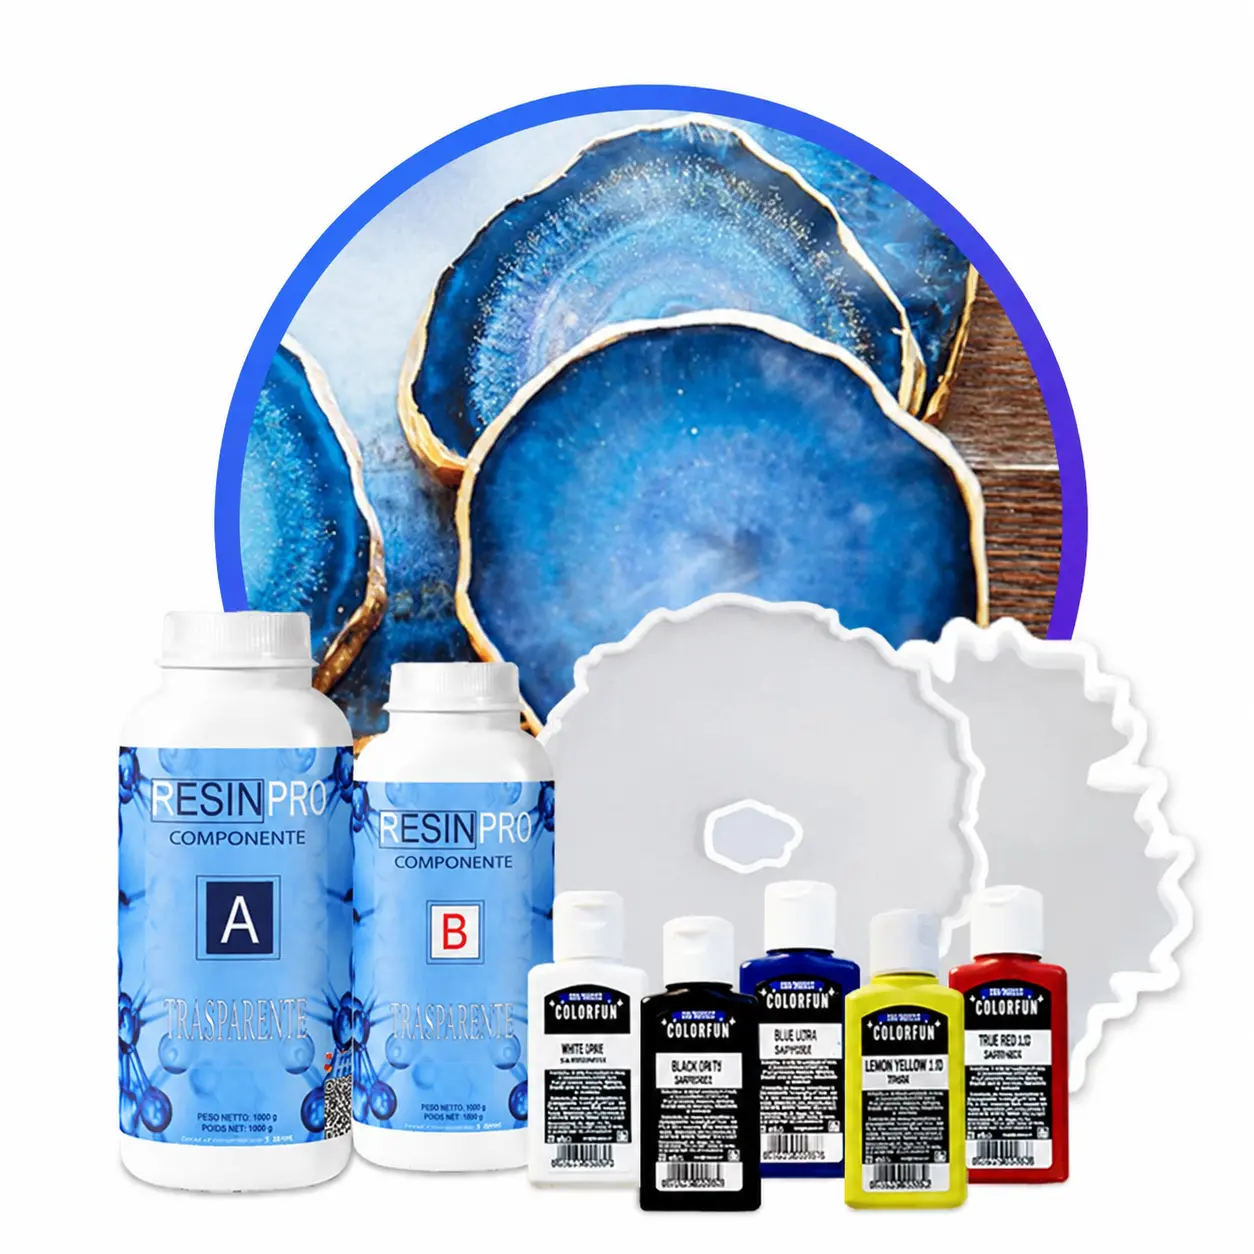
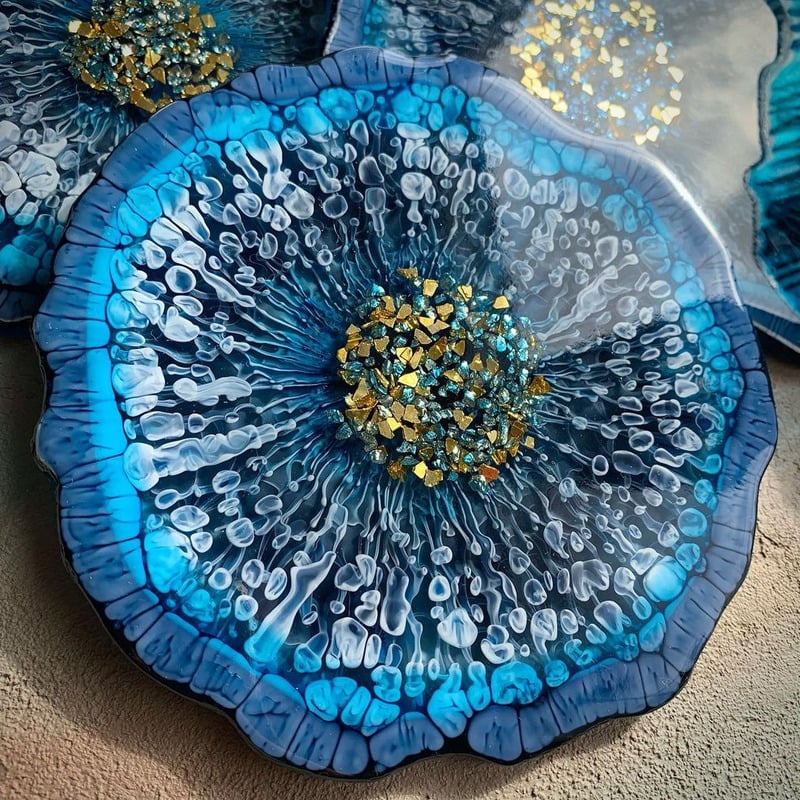
- Resin Geode Coaster Starter Kit – Create Stunning Crystal-Style Coasters at Home: Complete kit with resin, moulds, pigments, and basic accessories.
- “Tray” – Complete Resin Tray Kit with Silicone Mould and Colour Dyes: For those looking to make custom trays with creative dye effects.
- Petri Resin Art Starter Kit – Create Stunning Petri Effect Art at Home: Includes everything needed to create Petri effect resin decor using alcohol inks.
- Resin Class – 3D Effects Coasters Masterclass, 120 Minutes: An online class for guided learning and mastering advanced techniques.
- Silicone moulds (various shapes)
- Resin-safe measuring jugs, stirrers, and mixing buckets
- Protective gloves, mask and apron
- Thermometer (if specified by your chosen resin type)

Workspace Preparation and Essential Resin Tools
Setting up a safe and organised space is crucial. Lay down a protective cloth, organise your tools, and ensure resin kits like the Resin Geode Coaster Starter Kit or the Tray Kit are within easy reach. Always double-check that gloves, mask, and clean mixing containers are ready before you open your resin packs. Keeping essentials at hand reduces mistakes and waste during resin projects.
Step 1: Prepare Your Workspace and Safety Gear
Before beginning any resin project, always set up your workspace in a well-ventilated area, away from children and pets. Cover your table to protect against spills, and gather all required tools and materials in advance to make your workflow smooth. Wear protective gloves and a mask when working with resin, as chemicals can cause irritation or allergic reactions. Keep your resin kits and mixing tools clean and dry at all times to avoid contamination that might affect your final results.
Also, ensure there is adequate lighting and your surface is level, which is crucial for even resin curing.
Step 2: Measure and Mix Your Resin Accurately
Measuring resin and hardener in precise ratios is vital for a proper cure and lasting, non-sticky results. Always follow the manufacturer’s instructions as different products may have unique mixing requirements. Measure and mix resin components accurately to prevent problems with setting or tackiness.
Pour your two components into a mixing bucket, stirring slowly but thoroughly for the time recommended (often around three minutes). Scrape the sides and base continuously. With sets such as the Resin Geode Coaster Starter Kit, follow the included instructions for guaranteed results. Wait a couple of minutes after mixing, as this helps air bubbles rise before the next step.
Step 3: Pour and Colour the Resin
Once your resin is mixed, decide if you want to add colourants, glitters, or decorative inclusions. Slowly combine your chosen additions into the resin, stirring gently to achieve your desired effect without introducing excess bubbles. Pour resin slowly to reduce bubbles.
Select your silicone mould and, if making geode or Petri resin art, follow specific pouring techniques to create classic patterns or layered effects. For example, with the Petri Resin Art Starter Kit, you can add alcohol inks to the freshly poured resin to achieve organic, marbled looks.

Step 4: Shape the Resin During Curing
Many resin projects require shaping after the initial pour but before the resin has fully hardened. Once you notice the resin is partially set yet still flexible (often after several hours, depending on product and conditions), gently remove the piece from its mould if shaping is desired. Shape resin gently during its semi-cured phase to create curves, folds, or custom contours for items like bowls or curved trays.
This step is explored in interactive sessions such as the Resin Class – 3D Effects Coasters Masterclass, 120 Minutes, where you can watch demonstrations and try your hand at shaping semi-cured resin safely and effectively.
Demould only when resin is partially set; removing too soon can cause distortion, while waiting too long may result in the piece being too rigid to reshape.
Step 5: Cure and Finish Your Piece
Let your shaped project cure completely on a dust-free, flat surface. Most kits recommend 24 to 48 hours for a thorough cure. Avoid touching or moving the item during this period to maintain its shape and finish. Only unmould and handle the final piece once it is fully hardened and cooled.
If needed, edges can be sanded and a final layer of resin applied for extra gloss. Keep your workspace level and clean throughout to ensure flawless finishing.

Tips, Common Mistakes, and Troubleshooting
Always check ambient temperature before mixing—cool rooms may extend curing times, while high humidity can cloud the finish. Avoid rushing the mixing stage, as incomplete blending is a leading cause of sticky or soft spots. Use silicone rather than plastic or metal moulds for easy release and best results. If working with intricate shapes, monitor the resin closely; shaping too late reduces flexibility, but too early leads to drooping or sagging.
Begin with small, simple projects and gradually move to more advanced techniques as you gain confidence. Courses such as the Resin Class – 3D Effects Coasters Masterclass can be invaluable for learning advanced fixes and methods from experienced resin artists.
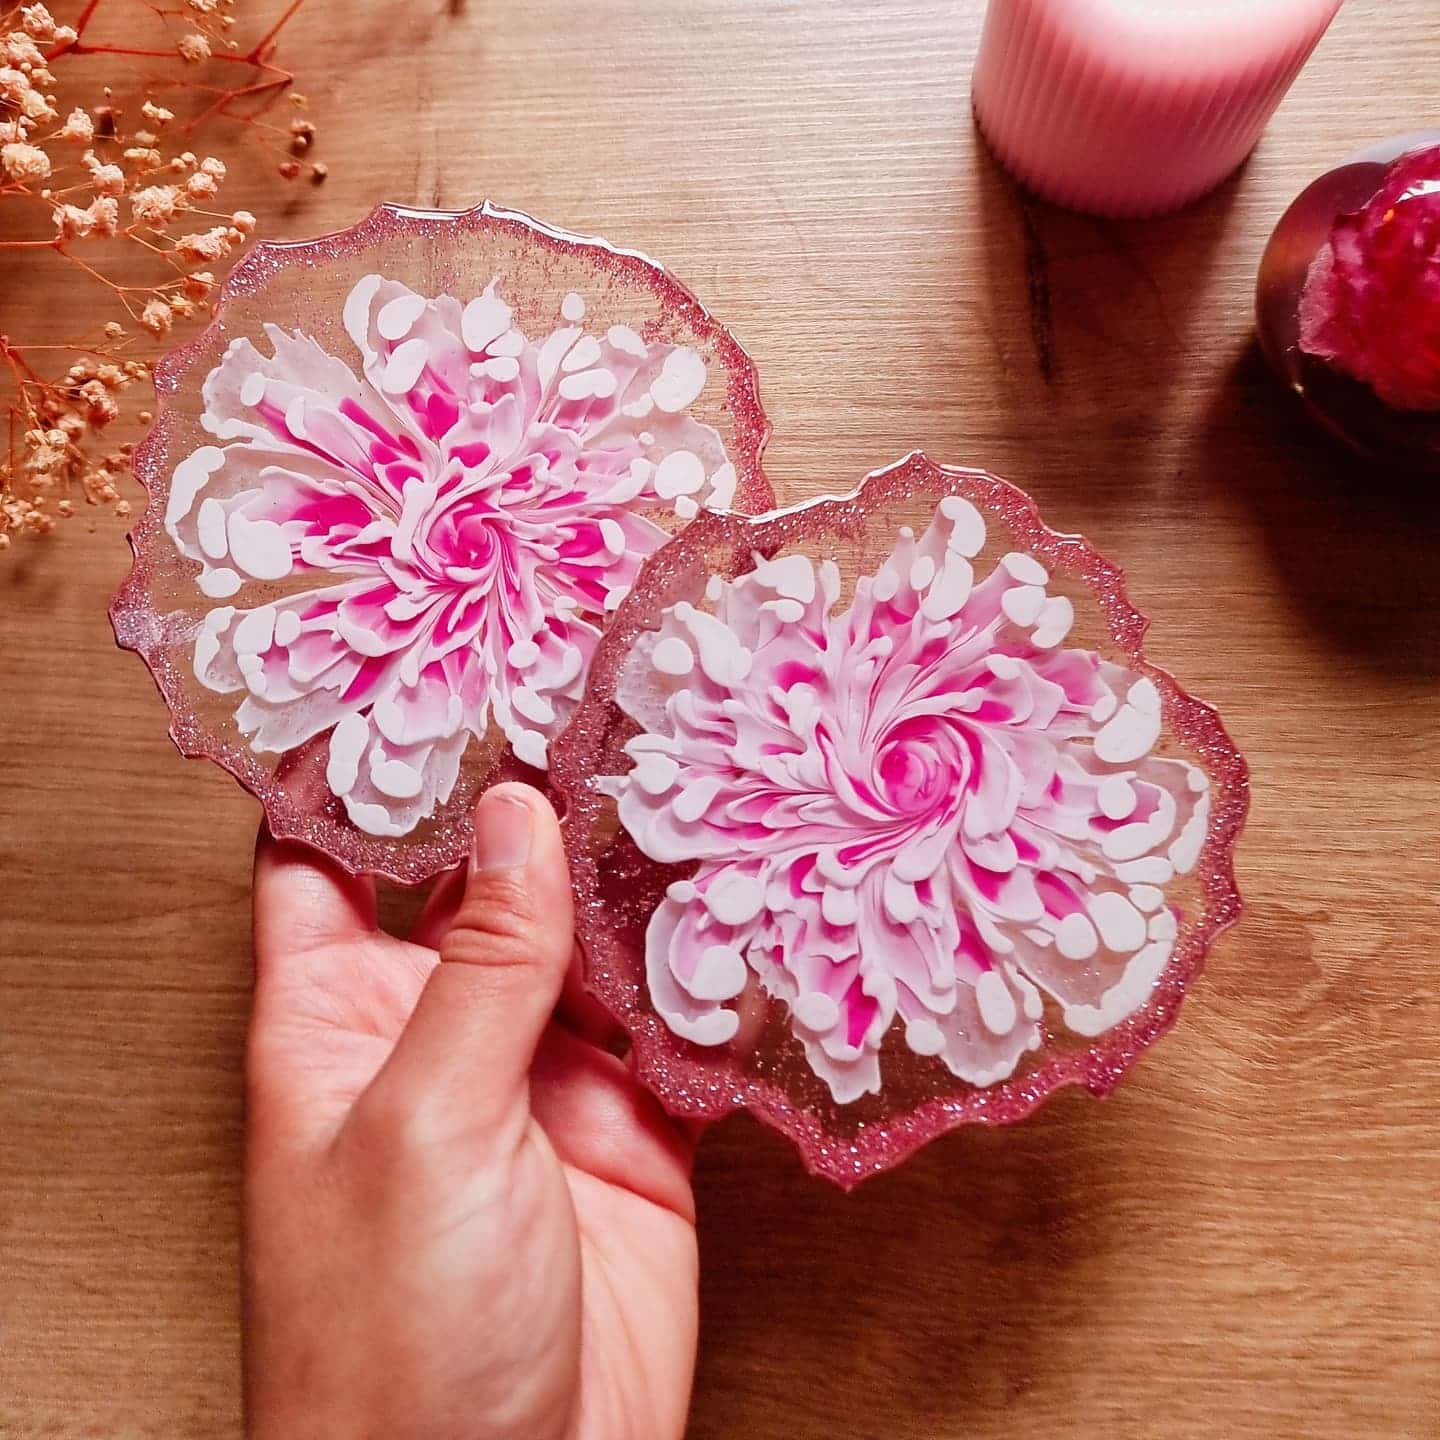
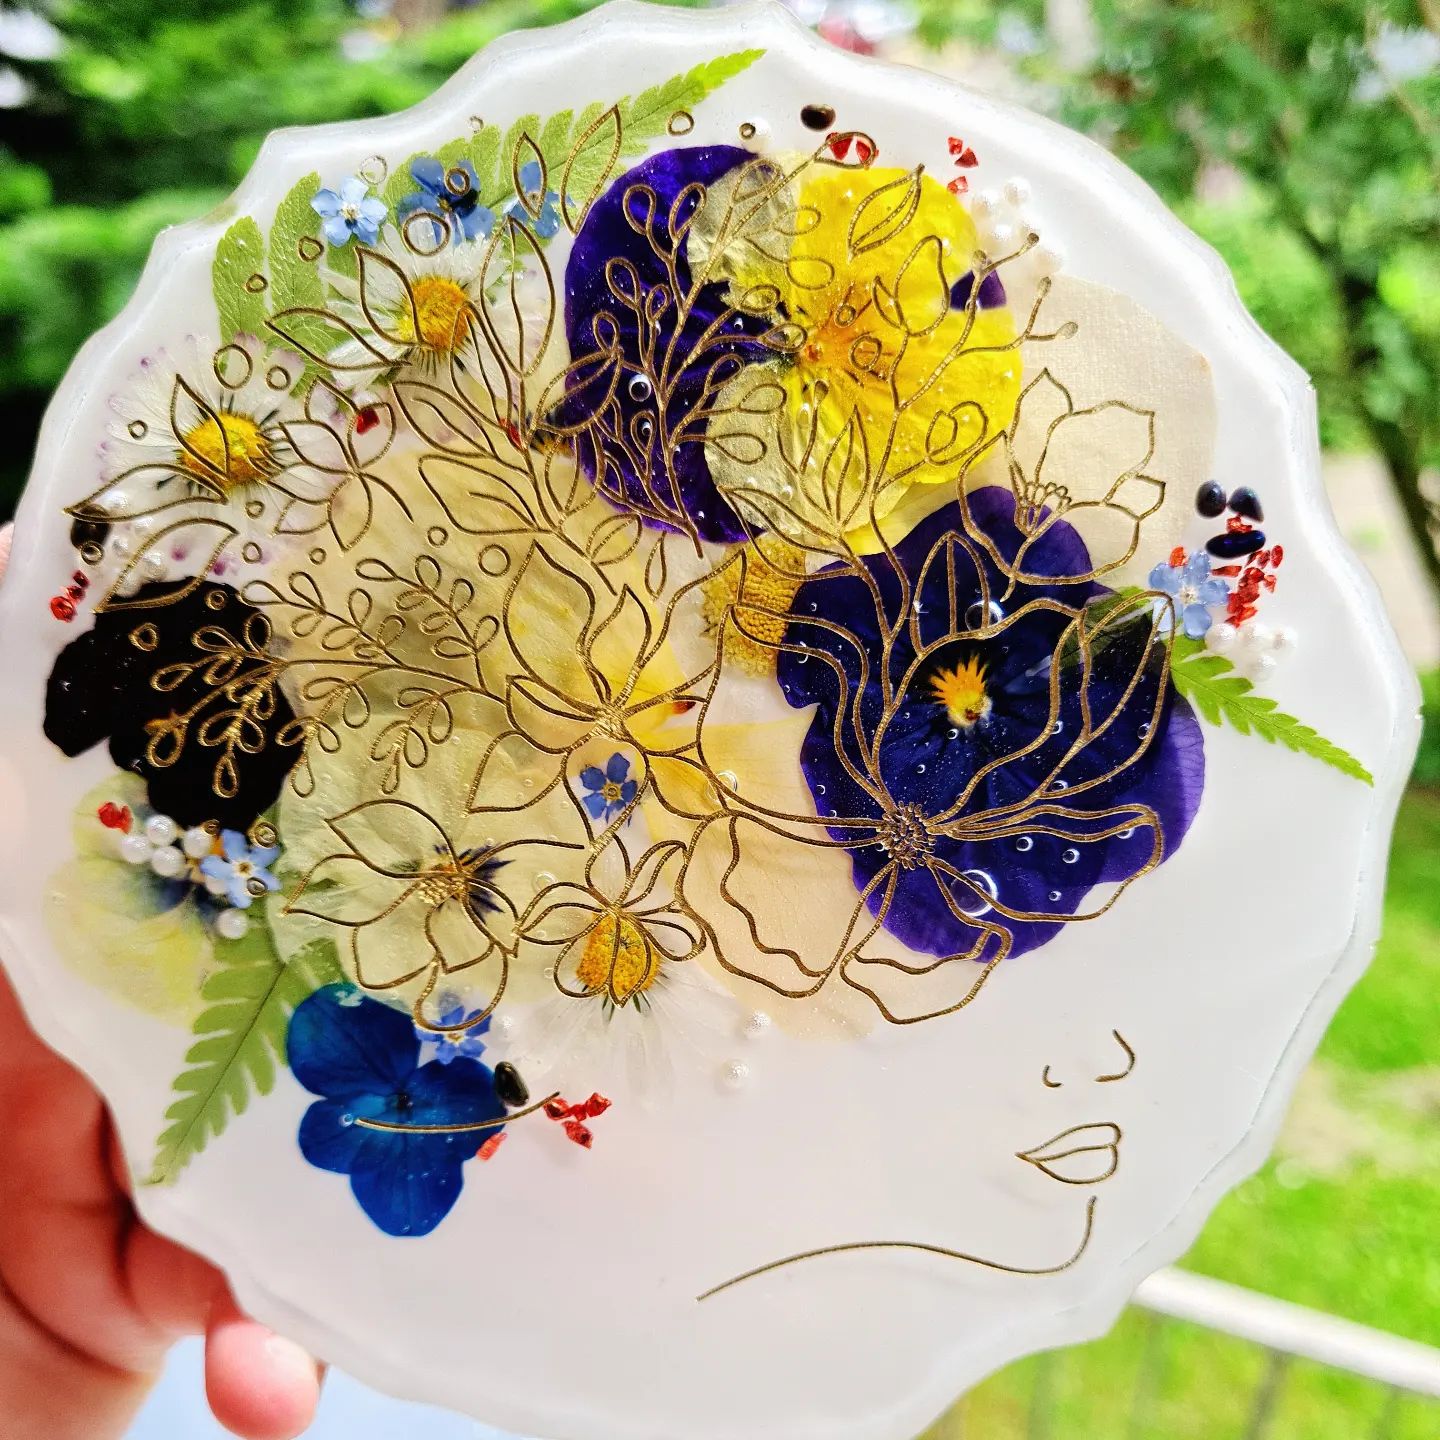
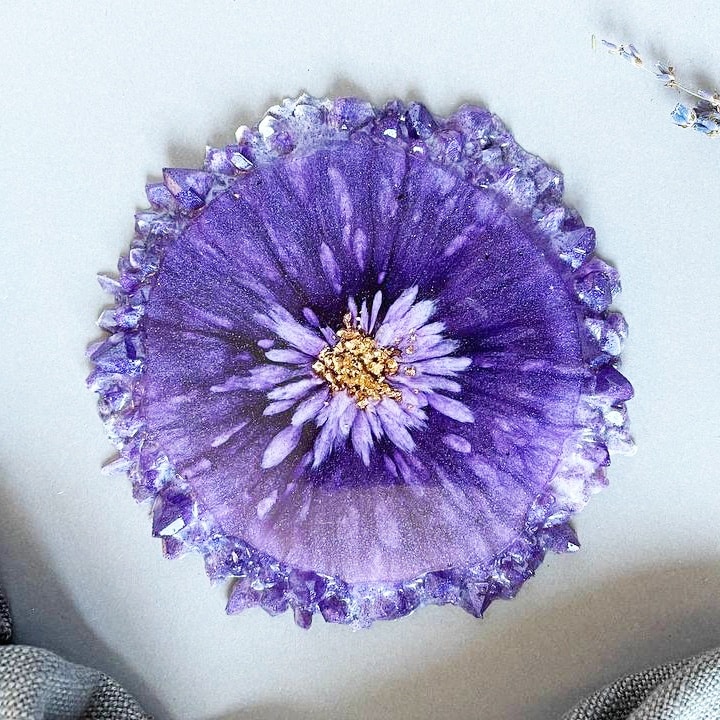
Inspiration: Shaping Options and Artistic Touches
Explore signature looks by combining different pigments, embedding decorative elements, or experimenting with various moulds. Class-based resources such as the Resin Class – 3D Effects Coasters Masterclass can boost your confidence and creativity, whether you are interested in bowl-folding, web effects, or intricate pouring for geode and Petri art. There’s no limit to the forms and finishes you can achieve with careful timing, technique, and imagination.

- Resin Class – 3D Effects Coasters Masterclass, 120 MinutesThis course explains how to work with resin to create coasters, trays and bowls, focusing on preparation and shaping techniques.
- Resin Geode Coaster Starter Kit – Create Stunning Crystal-Style Coasters at Home£42.85A starter kit designed for making handmade resin coasters inspired by natural geodes, suitable for beginners following step-by-step instructions.
- "Tray" – Complete Resin Tray Kit with Silicone Mould and Colour Dyes£57.95This kit provides a creative setup to prepare resin trays featuring dense dyes and includes a silicone mould and handles.
 Petri Resin Art Starter Kit – Create Stunning Petri Effect Art at Home£55.85A starter kit for creating decorative resin artworks with flowing colours and distinctive Petri effects.
Frequently Asked Questions
How do I measure, mix, and cure resin properly?
Always follow the specific kit’s instructions for ratios and mixing time, stir thoroughly, and let resin cure undisturbed on a flat surface for 24–48 hours.
When should I demould and shape my resin pieces?
Demould when the resin is semi-cured but still flexible; waiting too long can make shaping impossible, while removing too soon risks distortion.
What protective gear do I need for resin work?
Use nitrile gloves, a filtering mask, and an apron in a well-ventilated area to protect skin and lungs from resin contact and fumes.
How can I get a clear, bubble-free finish?
Mix and pour slowly, allow bubbles to rise after mixing, and use a toothpick or gentle heat to remove remaining bubbles on the resin surface.
Why is my cured resin soft or cloudy?
Causes include incorrect ratios, incomplete mixing, high humidity, or premature demoulding. Recheck instructions and curing environment for best results.
What tips help beginners with resin art?
Start with small, simple projects, measure carefully, keep all tools clean, and allow ample time for curing before removing pieces from moulds.