 Free shipping on orders over £29,85


How to remove epoxy resin from tiled wall?
Step-by-step solution for resin spills or stubborn residues

Accidentally spilled epoxy resin on your tiled wall? Removing cured or sticky resin without harming your tiles is possible with the right method. This guide walks you through safe, effective techniques suited for renovation, DIY, and cleanup jobs, so your tiles can look as good as new.

What You’ll Need
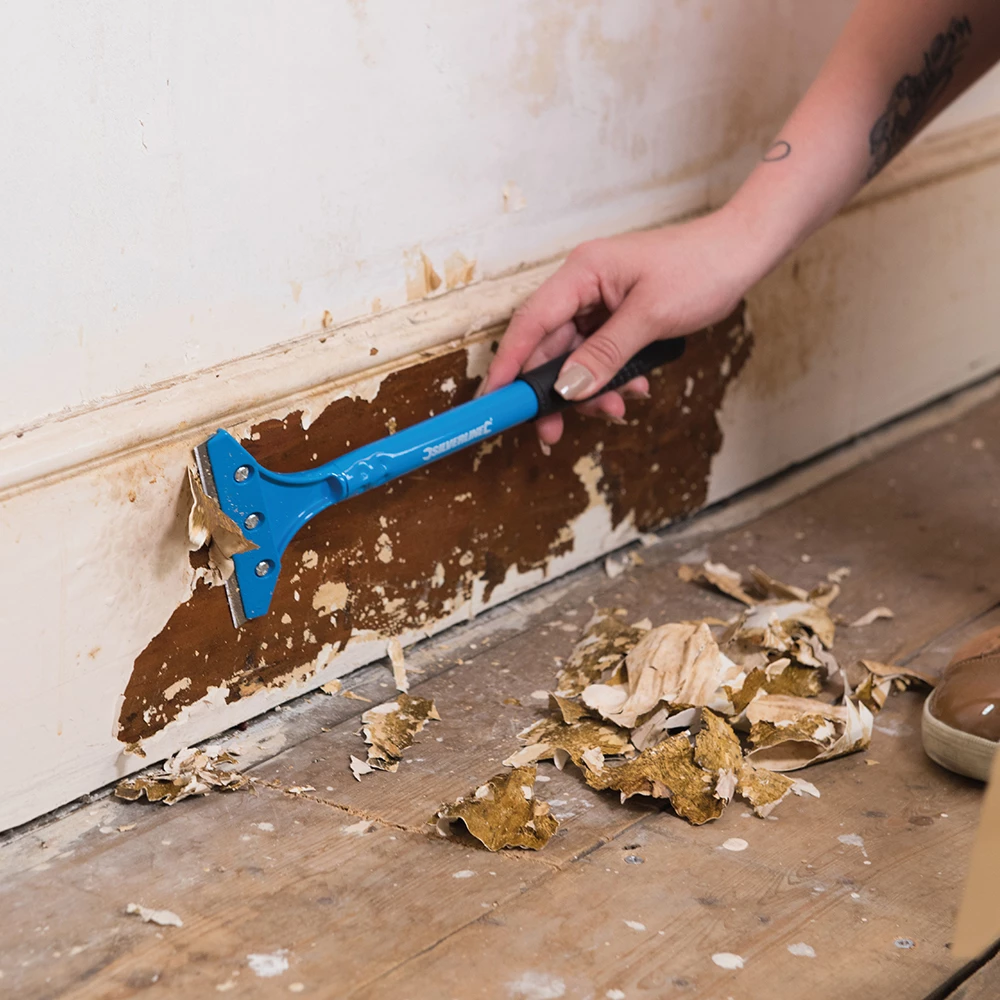
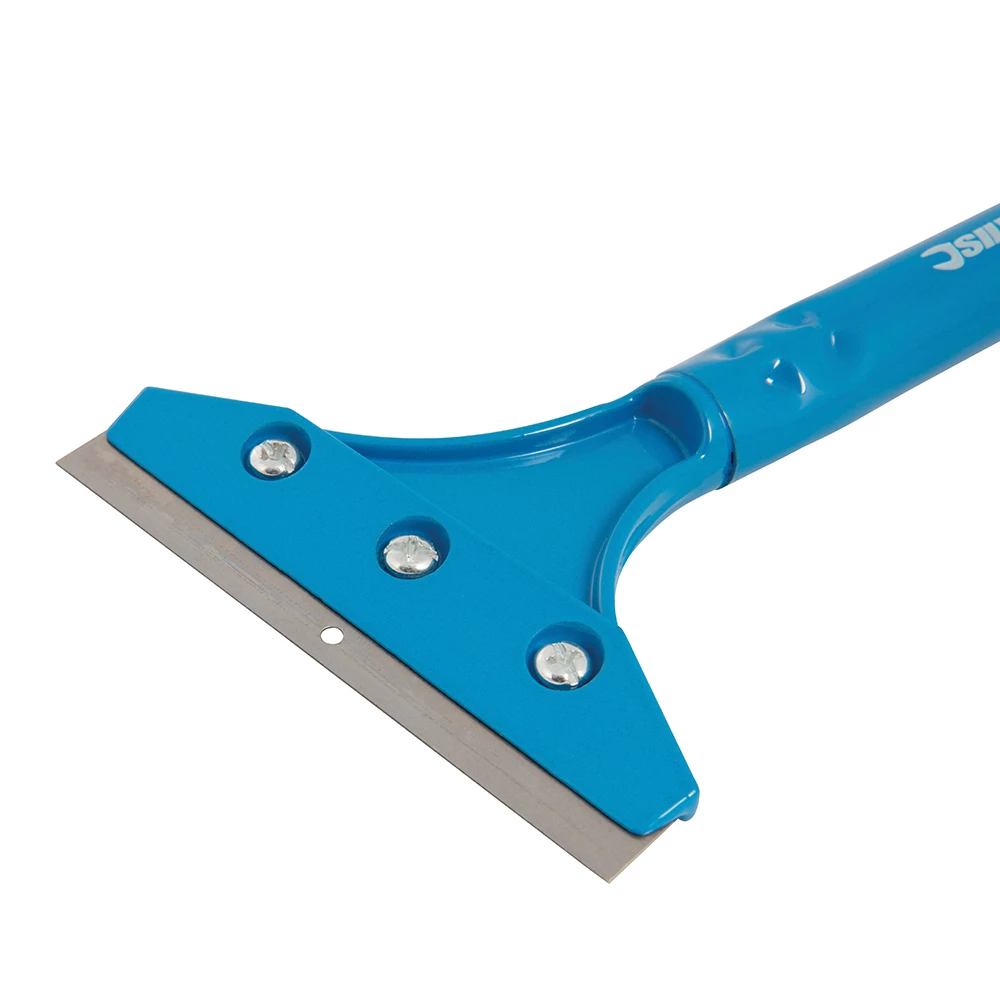
- Heavy Duty Scraper for Paint and Epoxy Resin Removal – for precision scraping and residue removal
- Strong Technical Degreaser for Resin Projects – 100% Natural Formula – to clean up any lingering marks and bring back surface shine
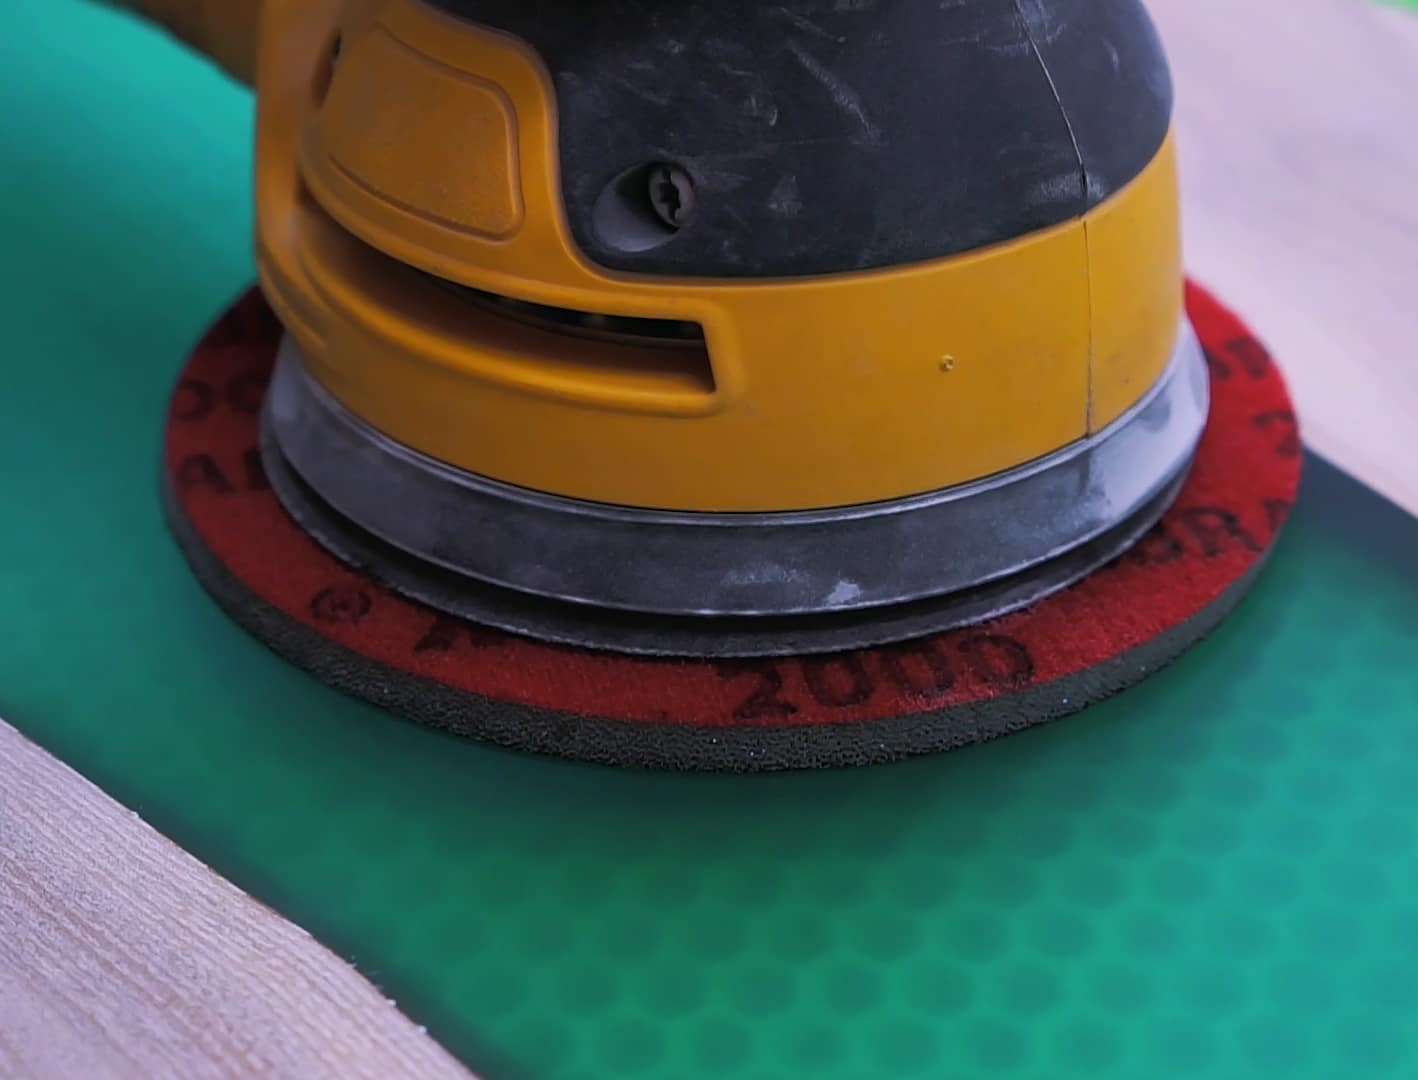
- “Ebonite Abralon” – Sanding Pads 360-4000 Grit for Resin and Wood – for gentle sanding if resin persists after scraping
- Protective gloves and safety goggles
- Clean, soft cloths
- Warm water and mild soap
Key Safety and Preparation Advice
Always prioritise safety by wearing gloves and goggles when removing epoxy resin. Work in a well-ventilated space and keep cleaning tools at hand. Test all products on a hidden spot before applying to large areas to avoid tile damage or unwanted reactions.
Step 1: Soften and Loosen the Epoxy Resin
If you are dealing with uncured or partially hardened epoxy, try to act quickly. Begin by heating the affected area with a hairdryer set to moderate heat. This will help to soften the resin, making it easier to remove. Avoid using excessive heat, as extreme temperatures may damage tile glaze or grout.
Gently wipe the warmed residue with a damp cloth. Mild soap may help if the resin is still sticky. Do not use abrasive tools on decorative or delicate tile finishes at this stage, as unnecessary force can cause scratches.

Step 2: Carefully Scrape Off the Resin
For patches of cured resin, mechanical removal is the most efficient approach. Hold your scraper at a shallow angle (approximately 30–45 degrees) and gently work under the resin, applying even pressure. Work in short, controlled strokes to peel the layer away bit by bit.
If required, use the Heavy Duty Scraper for Paint and Epoxy Resin Removal. Its razor-sharp blade and sturdy grip provide the control needed to minimise damage to your tiles whilst efficiently removing residue. Take care around grout lines, as excessive force can chip or loosen them.
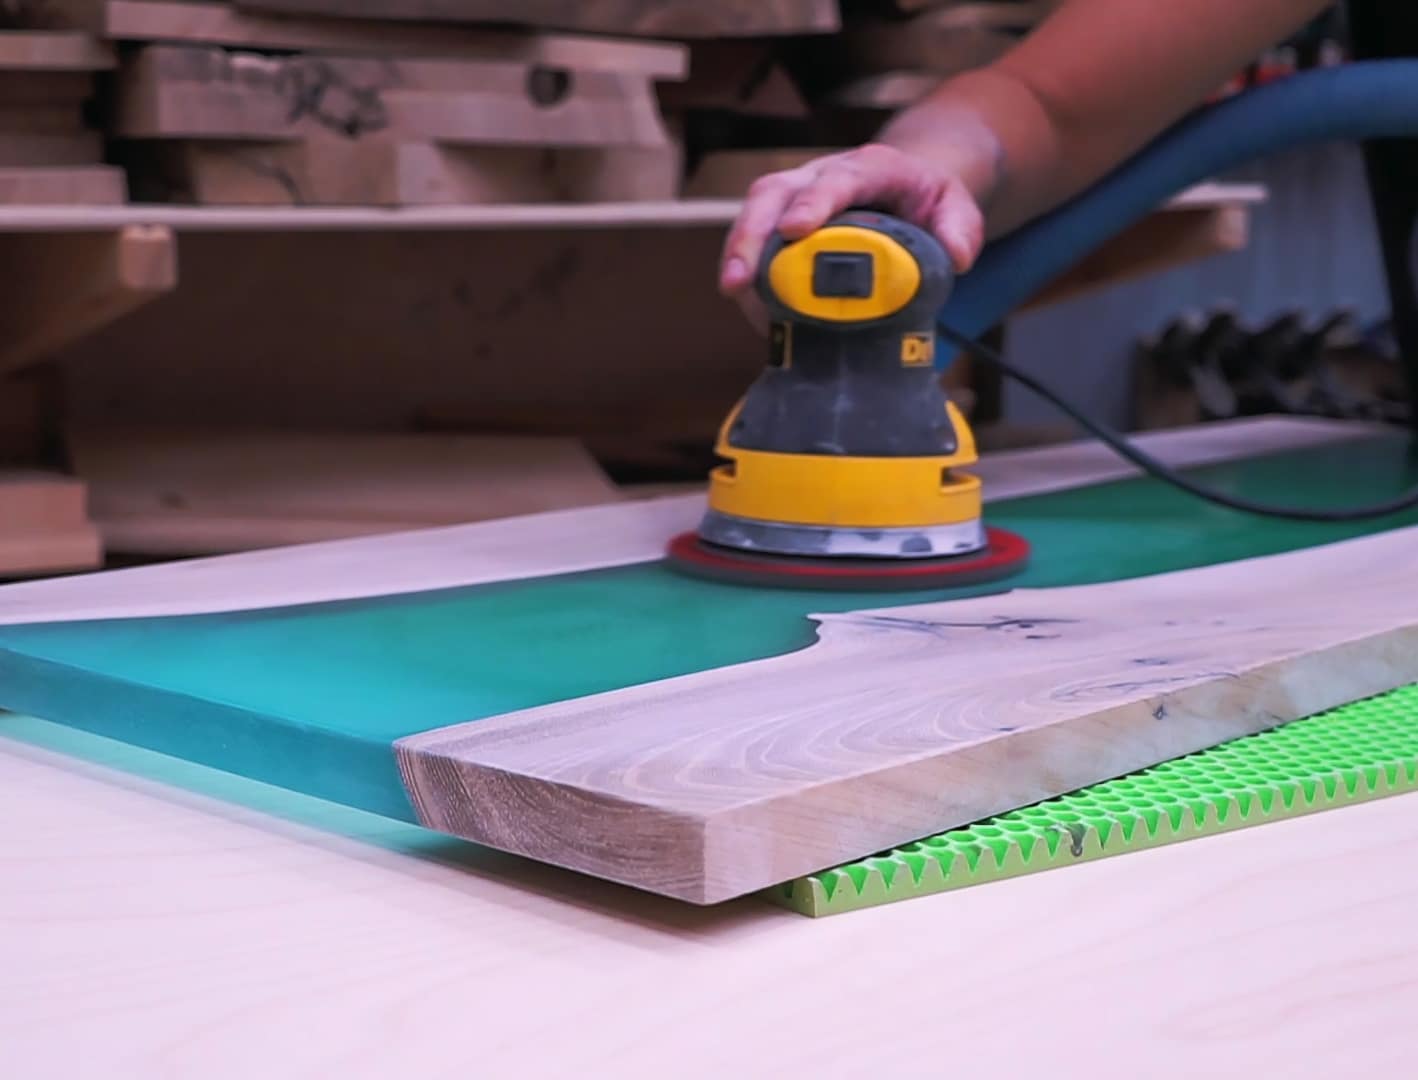
Step 3: Sand and Smooth the Surface (If Needed)
Should thin layers of resin persist, use a fine-grit sanding pad for gentle abrasion. Begin with a 1000-grit pad and increase to a finer grit if the surface allows. Work slowly in a circular motion, periodically wiping away dust to monitor your progress and avoid over-sanding one area.
For this purpose, consider the “Ebonite Abralon” – Sanding Pads 360-4000 Grit for Resin and Wood, which are specifically engineered to deliver a consistent finish without harsh scratching. Always test on an inconspicuous spot first.
Step 4: Clean and Restore the Tiles
Once all visible resin is removed, clean the surface using warm soapy water and a fresh cloth. For particularly stubborn or greasy residues left by the scraping or sanding, a dedicated degreaser is helpful.
The Strong Technical Degreaser for Resin Projects – 100% Natural Formula is suitable for use on ceramics and tiled surfaces, offering a natural and gentle clean. Wipe thoroughly and allow the area to dry fully. Inspect for any missed spots and repeat the above steps if necessary.
Tips and Common Mistakes
- Always test your technique on a discreet tile area first to ensure no damage or discolouration occurs.
- Do not use abrasive tools on delicate or decorative tiles, as this can lead to permanent scratches or dull areas.
- Be patient—rushed removal can damage grout or tiles. Small, repeated actions are better than forceful scrapes.
- Wear gloves and goggles to protect your hands and eyes throughout the process, especially when using chemical cleaners.
- Regularly check your progress to prevent wearing down the tile surface with unnecessary sanding.
Recommended Techniques for Best Results
Gentle, consistent effort yields the cleanest outcome when removing resin from tiles. Work slowly and methodically with your chosen tool, and don’t hesitate to take breaks between steps to avoid fatigue and mistakes.
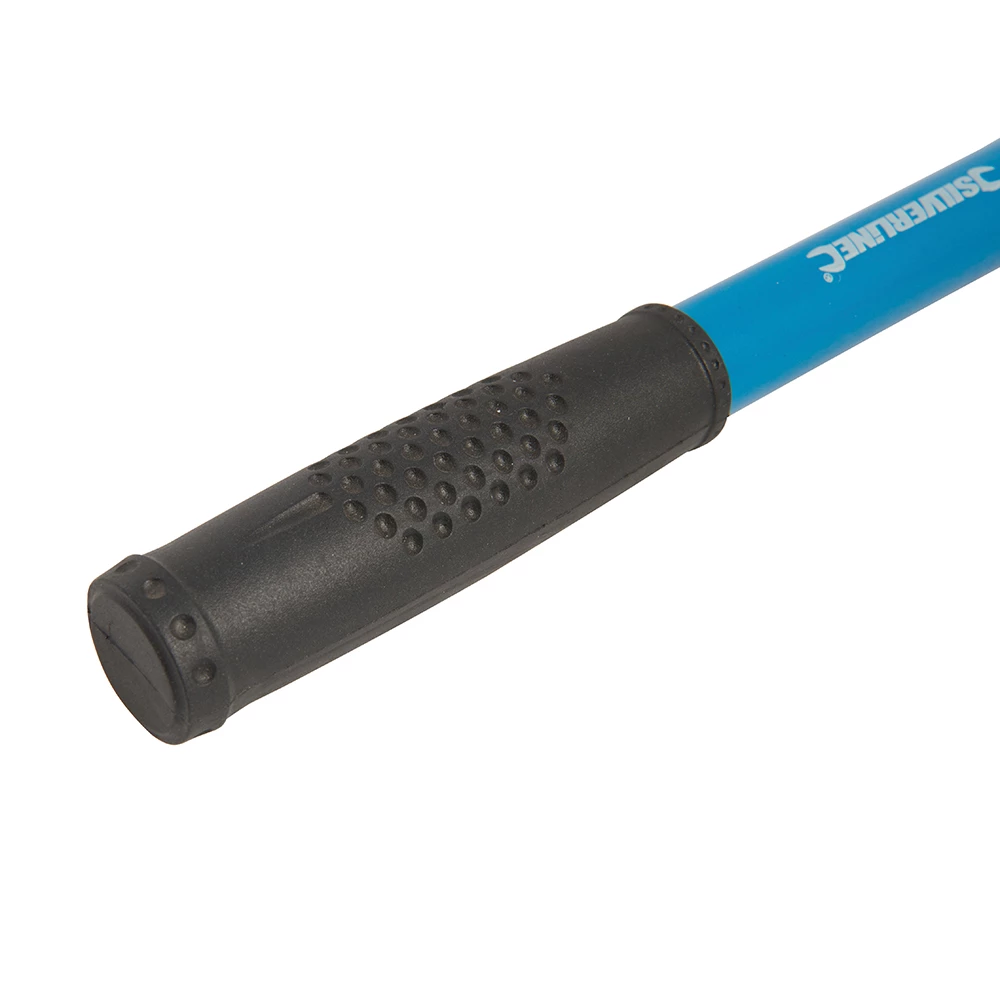
- Heavy Duty Scraper for Paint and Epoxy Resin Removal£8.95Heavy Duty Scraper is designed for effective removal of paint, tiles, and resin on surfaces, fitting the theme on epoxy resin removal from tiled…
- Strong Technical Degreaser for Resin Projects – 100% Natural FormulaOriginal price was: £10.95.£9.45Current price is: £9.45.Strong Technical Degreaser is a natural, gentle cleaner designed for use with epoxy resin and multiple surfaces including tiles.
- "Ebonite Abralon" – Sanding Pads 360-4000 Grit for Resin and Wood£4.15Ebonite Abralon Sanding Pads provide a consistent finish on epoxy resin and wood surfaces in polishing tasks.
Frequently Asked Questions
Will removing epoxy resin scratch or damage my tiles?
If you use appropriate tools and gentle techniques, damage is unlikely. Avoid harsh abrasives on delicate or decorative tiles.
Is removal different for cured and uncured epoxy resin?
Yes, uncured resin can be softened and wiped away, while cured resin usually requires scraping or sanding.
Can I use a technical degreaser on kitchen or bathroom tiles?
Yes, a natural formula degreaser is suitable for most ceramic or porcelain tiles found in bathrooms and kitchens.
What should I do if residue remains after following all steps?
Repeat the softening and scraping process or try a finer sanding pad. Persistent deposits may need professional attention.
Are harsh chemicals necessary to remove epoxy from tiles?
Harsh chemicals are not usually recommended as they may damage tiles or grout. Mechanical methods and gentle degreasers work best.
Do I need to reseal grout or re-polish tiles after removal?
If grout or tile finish is disturbed, resealing or polishing may help restore appearance and protect the surface.