 Free shipping on orders over £29,85


← Back to How do you prepare resin?


Adding colour, glitter, or decorative elements to resin is a creative way to personalise your projects. Timing is key to achieving even distribution and crisp effects in your finished piece.
When to Add Colour and Decorative Elements
The ideal stage to add pigments, pastes, glitters, or inclusions is immediately after thoroughly mixing your resin and hardener together. Once the resin is fully blended and free from streaks, you can introduce your chosen colours or decorative items. Stir them in gently to avoid introducing additional bubbles, then pour the mixture into your mould while it is still fluid for best results.


Practical Tips for Adding Inclusions
- Mix thoroughly: Blend your colourants or glitters well to ensure a uniform look.
- Avoid overmixing: Stir in decorative elements just until they are evenly dispersed, which helps prevent excess bubbles.
- Consider density: Heavier inclusions such as glass or stones may settle, while lighter glitters can float. To suspend items, allow the resin to thicken slightly before adding.
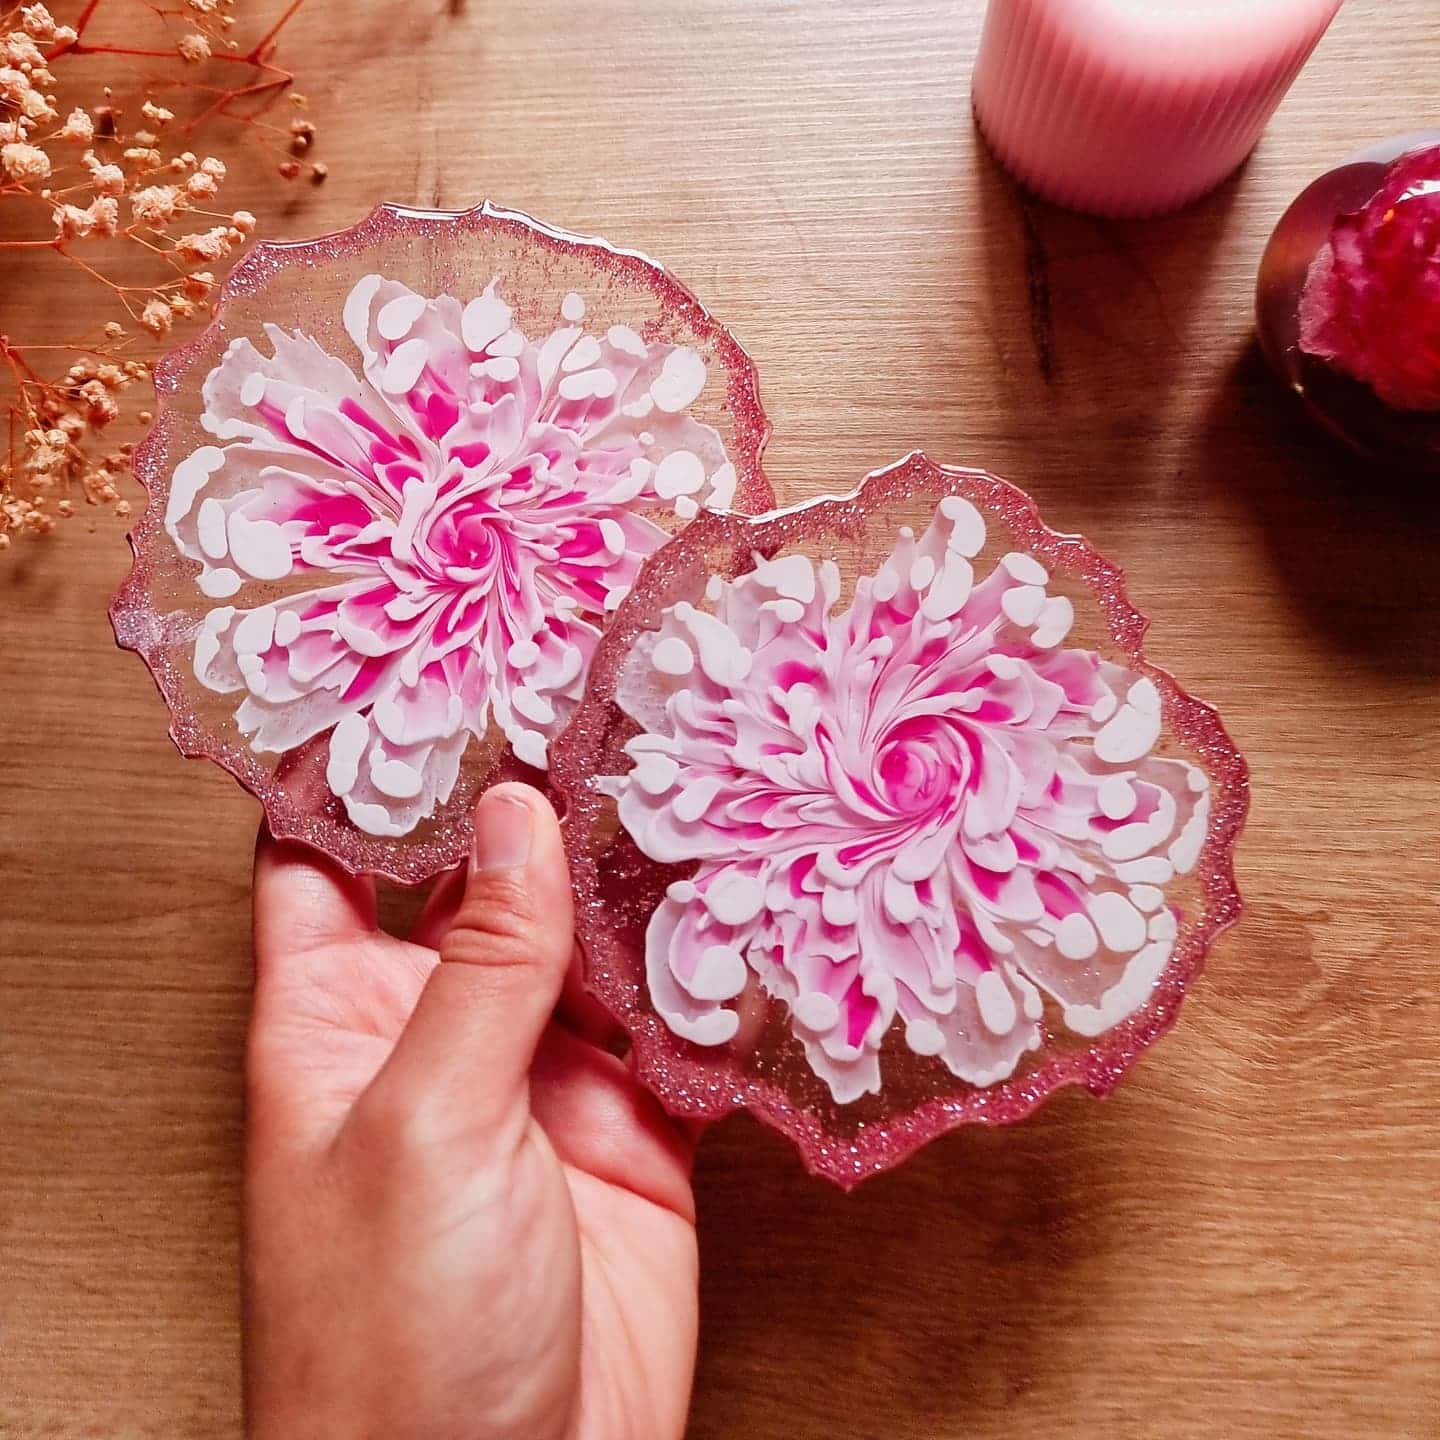
If you’re looking for guidance on creative techniques, the Resin Class – 3D Effects Coasters Masterclass covers approaches for blending colours and setting decorative features.
When This Matters
Getting the timing right is particularly important when creating layered or detailed effects, such as in coasters, jewellery, or art pieces where clarity and placement are essential. Promptly adding your colours or inclusions reduces unwanted movement or sinking during curing.
Related products
Related guides
Understanding the best time to add colour and inclusions ensures your resin creations are both vibrant and personalised. To explore more on resin preparation, visit our main guide on how to prepare resin.