 Free shipping on orders over £29,85


How do you use epoxy resin for a kitchen countertop?
Step-by-step guide to stunning, long-lasting kitchen worktops


Updating your kitchen can be both exciting and rewarding—especially when you learn how to use epoxy resin for a kitchen countertop. Whether you’re aiming to revive a tired worktop or achieve a high-gloss, contemporary look, this guide will take you through each essential step, from preparation and pour to finishing touches. Epoxy resin offers exceptional durability, a mirror-smooth surface, and the creative freedom to mimic marble, granite, or custom tints.
What You’ll Need
- “Stone Effect Collection” – Marble Epoxy Resin Countertop Kit – For all-in-one marble/stone finishes
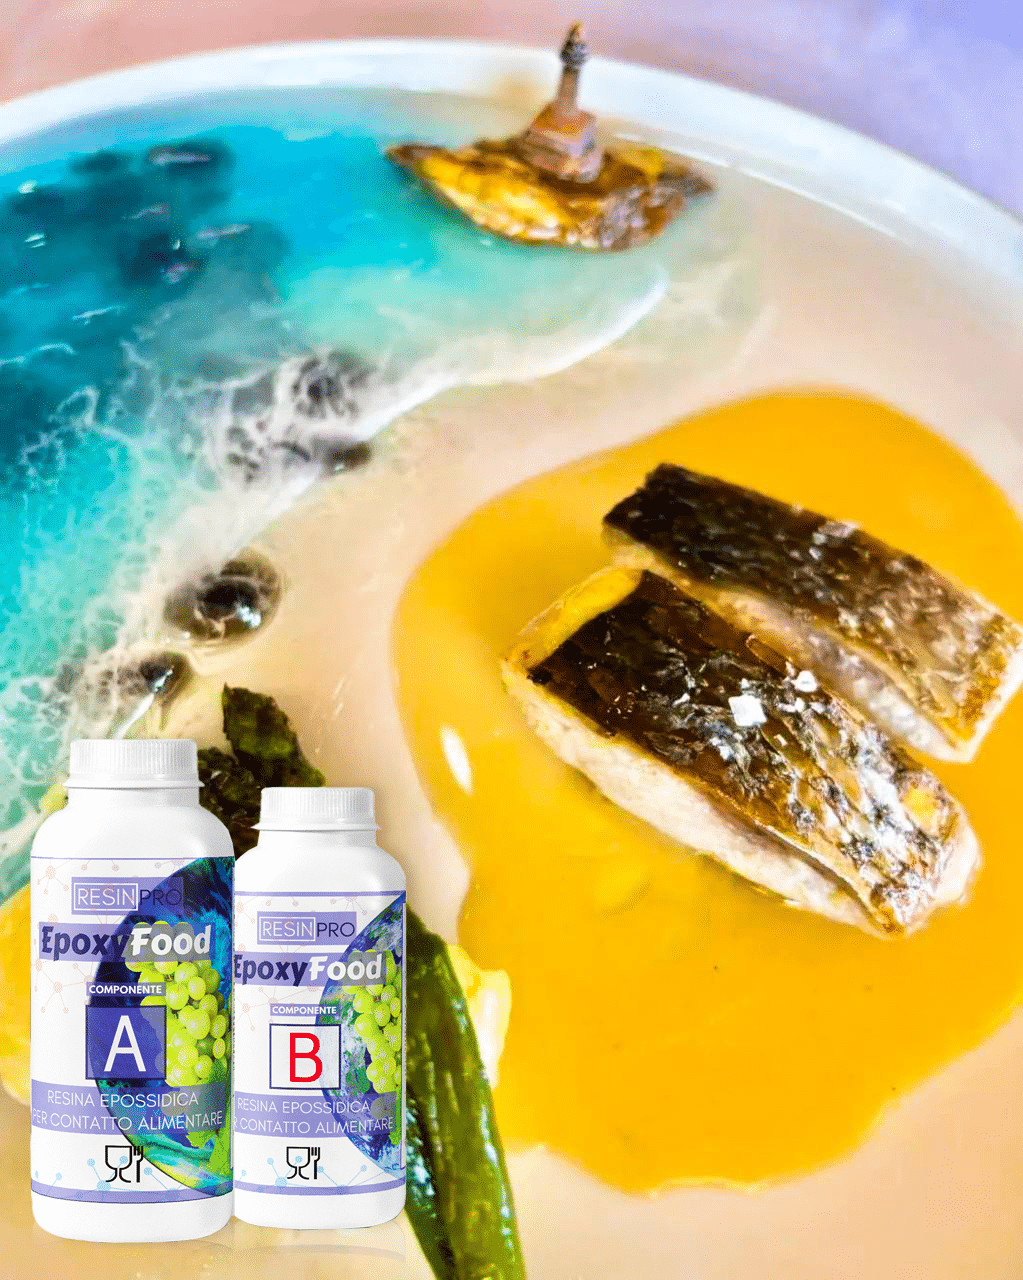
- “EpoxyFood” – Certified Clear Food Contact Epoxy Resin for Coating – If food contact is required
- “Trasparente” – Multipurpose Clear Epoxy Resin for Casting – Up to 2cm – For crystal clear overlays or coloured pours
- “Trasparente” Epoxy Resin Kit 800g + Mica Powder 10g – 10 Colour Variations – For creative finishes or metallic effects
- Clean cloth, degreaser or isopropyl alcohol, gloves, mixing cups, and protective sheeting

Epoxy Resin Countertop Inspiration
See real-world before and after transformations with ResinPro epoxy resin kits. From classic marble looks to modern metallics, these kitchen projects showcase the endless creative and practical possibilities for your home.

Step 1: Prepare the Surface
Your surface must be completely clean and degreased before applying epoxy resin. Begin by removing all items from the countertop and gently sanding the surface to roughen gloss or previous coatings. Carefully vacuum dust and wipe the worktop using isopropyl alcohol or a reputable degreaser. This helps ensure the resin bonds securely, with no contamination or surface defects.
If your original countertop is uneven or damaged, use a suitable filler and allow it to fully cure before sanding again. For best results, ensure ambient conditions are dust-free and between 18–24°C.
Step 2: Mix the Epoxy Resin
Follow the instructions for your chosen resin product, ensuring correct ratios and thorough mixing for a consistent finish. For a sophisticated, professional look, the “Stone Effect Collection” – Marble Epoxy Resin Countertop Kit comes pre-measured for your project size and includes all necessary pigments and veining additives. Stir the resin and hardener slowly for several minutes, scraping the container sides to prevent unmixed product.
If you opt for a food-safe finish on worktops used for food preparation, “EpoxyFood” – Certified Clear Food Contact Epoxy Resin for Coating is suitable for a certified protective layer. Mix carefully, as rushing can introduce air bubbles and uneven curing.


Step 3: Pour and Spread the Resin
Begin pouring at one end of the countertop and allow the resin to self-level across the surface. Use a plastic spreader or notched trowel to distribute evenly, ensuring edges and corners are covered. For effects such as marble veining, follow the directions provided in the “Stone Effect Collection” kit, incorporating included pigments and isopropyl alcohol spray to blend colours naturally.
Avoid working in overly warm or humid environments, which may speed up curing and increase dust contamination. Exclusive metallic or tinted finishes can be explored using the “Trasparente” Epoxy Resin Kit 800g + Mica Powder 10g – 10 Colour Variations.
Step 4: Remove Air Bubbles and Allow to Cure
After pouring, air bubbles may form on the surface. Gently sweep a heat gun or torch over the surface at a distance to encourage bubbles to rise and pop—but do not linger in one spot, as overheating can cause dull patches or burns. Let the resin cure undisturbed, as per manufacturer guidance—this often means protecting it from dust and movement for at least 24–48 hours.
Work patiently to avoid mixing errors and bubbles. Once fully cured, your resin countertop will provide a durable, scratch-resistant surface with unrivalled gloss and style.

Step 5: Sanding, Polishing, and Final Touches
For a flawless finish, lightly sand any raised drips or imperfections after the resin has fully cured (usually after 48–72 hours). Clean up residue and, if desired, apply a second coat to build depth or enhance clarity. Always use gloves and suitable respiratory protection during this final step.
Proper curing is essential for long-term performance. Once the process is complete, gently reintroduce your kitchenware onto the revitalised surface, and enjoy the stunning resilience and beauty of your new countertop.
Tips and Common Mistakes
Use a food-safe product if direct food contact is required. Avoid pouring overly thick layers unless specified; too much at once can overheat and create cloudiness. Maintain a dust-free workspace and never rush the curing process.
Surface must be completely clean and degreased—any trace of oil or dust can undermine adhesion. If you are seeking a marble or specialty effect, follow the pigment instructions closely and avoid over-mixing once pigment is added for natural veining.
Finishing Touches and Surface Care
Keep your epoxy countertop looking its best by cleaning with mild, non-abrasive cleaners and a soft cloth. Avoid harsh chemicals and excessive heat. For any surface that will touch food, ensure your resin has certified food-safe properties.

- "Stone Effect Collection" – Marble Epoxy Resin Countertop KitPrice range: £57.95 through £272.95"Stone Effect Collection" offers all-in-one epoxy resin kits for durable marble and stone effect surfaces, suitable for kitchens and bathrooms.
- "EpoxyFood" – Certified Clear Food Contact Epoxy Resin for CoatingPrice range: £20.95 through £146.95"EpoxyFood" is a clear, food-safe epoxy resin suitable for coating kitchenware surfaces, offering UV resistance and a glossy finish.
 "Trasparente" – Multipurpose Clear Epoxy Resin for Casting – Up to 2cmPrice range: £8.95 through £397.95"Trasparente" is an ultra-clear multipurpose casting epoxy resin, designed for smooth, glossy, self-levelling finishes up to 2cm thickness.
 "Trasparente" Epoxy Resin Kit 800g + Mica Powder 10g – 10 Colour Variations£20.95"Trasparente" epoxy resin kit offers high transparency and a glossy, self-levelling finish suited for table making and DIY projects.
Frequently Asked Questions
Is epoxy resin safe for direct food contact on worktops?
Only specific products such as 'EpoxyFood' are certified food safe for direct contact. Always check your chosen product's certifications.
How long should I wait before using my epoxy countertop?
Most resins take 24–48 hours for initial set and up to 7 days for full cure. Always follow the guidance on your chosen resin.
How can I achieve a marble effect using epoxy resin?
Use a resin kit that includes pigments and follow the provided instructions. Creating natural veining requires careful colour application and blending.
Can I add another layer of resin onto my countertop?
Yes. Lightly sand the cured surface, clean thoroughly, and apply the new layer following the instructions.
How do I minimise bubbles in my countertop resin pour?
Mix slowly and thoroughly. Eliminate bubbles using a heat gun immediately after pouring. Pouring in thin layers also helps.
How should I care for my epoxy resin kitchen countertop?
Use soft cleaning cloths and mild detergents. Avoid abrasive scrubs, harsh chemicals, and excessive heat for maximum durability.