 Free shipping on orders over £29,85


How do you sand and polish a clear resin table?
Achieve a flawless, mirror-like finish for any resin tabletop


Caring for a clear resin table goes beyond its stunning initial pour. To truly achieve a glass-like, flawless finish, careful sanding and polishing are essential. This complete guide is designed for makers of all experience levels looking to restore or reveal perfect transparency and gloss on their resin tables. You’ll learn how to tackle imperfections, why each step matters, and proven tips for safe, professional-looking results.

What You’ll Need
- “Ebonite Abralon” – Sanding Pads 360-4000 Grit for Resin and Wood – for progressive sanding stages
- 1200W Polisher for Sanding and Buffing – Variable Speed, D-Handle (or equivalent rotary polisher) – for even, efficient polishing
- “Epoxy Polish” – Epoxy Resin Polishing System – for restoring gloss and clarity
- Clean, lint-free cloths and fresh water (for wet sanding and final wipe-down)

Visual Guide: Sanding Stages Explained
Observe the clear transition from a matt, sanded resin surface to a perfectly smooth, scratch-free layer as you progress through each grit. This visual reference makes it easy to spot missed sections and track your progress effectively.
Step 1: Prepare the Table and Workspace
Ensure the resin table surface is fully cured, dust-free, and at room temperature. Remove any loose debris or rough drips with a soft cloth or very fine scraper. Work in a well-lit, well-ventilated area, protecting nearby spaces from fine sanding residue.
Always wear a dust mask and safety glasses to avoid inhaling airborne particles. Support the table on a stable surface that allows easy movement around all sides.


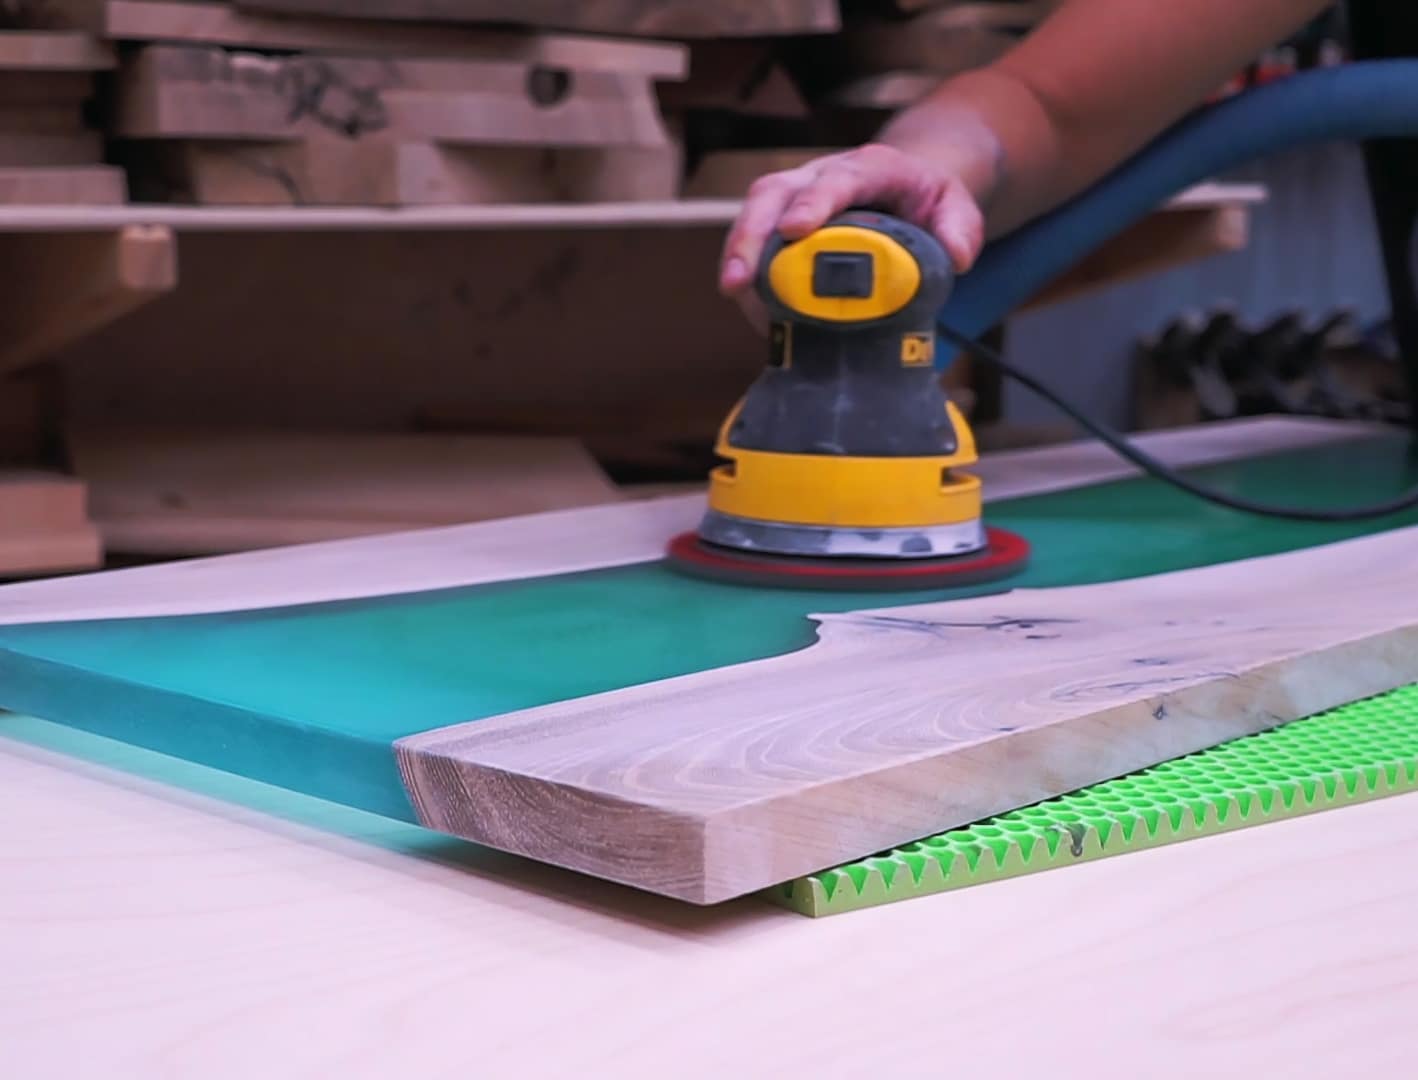
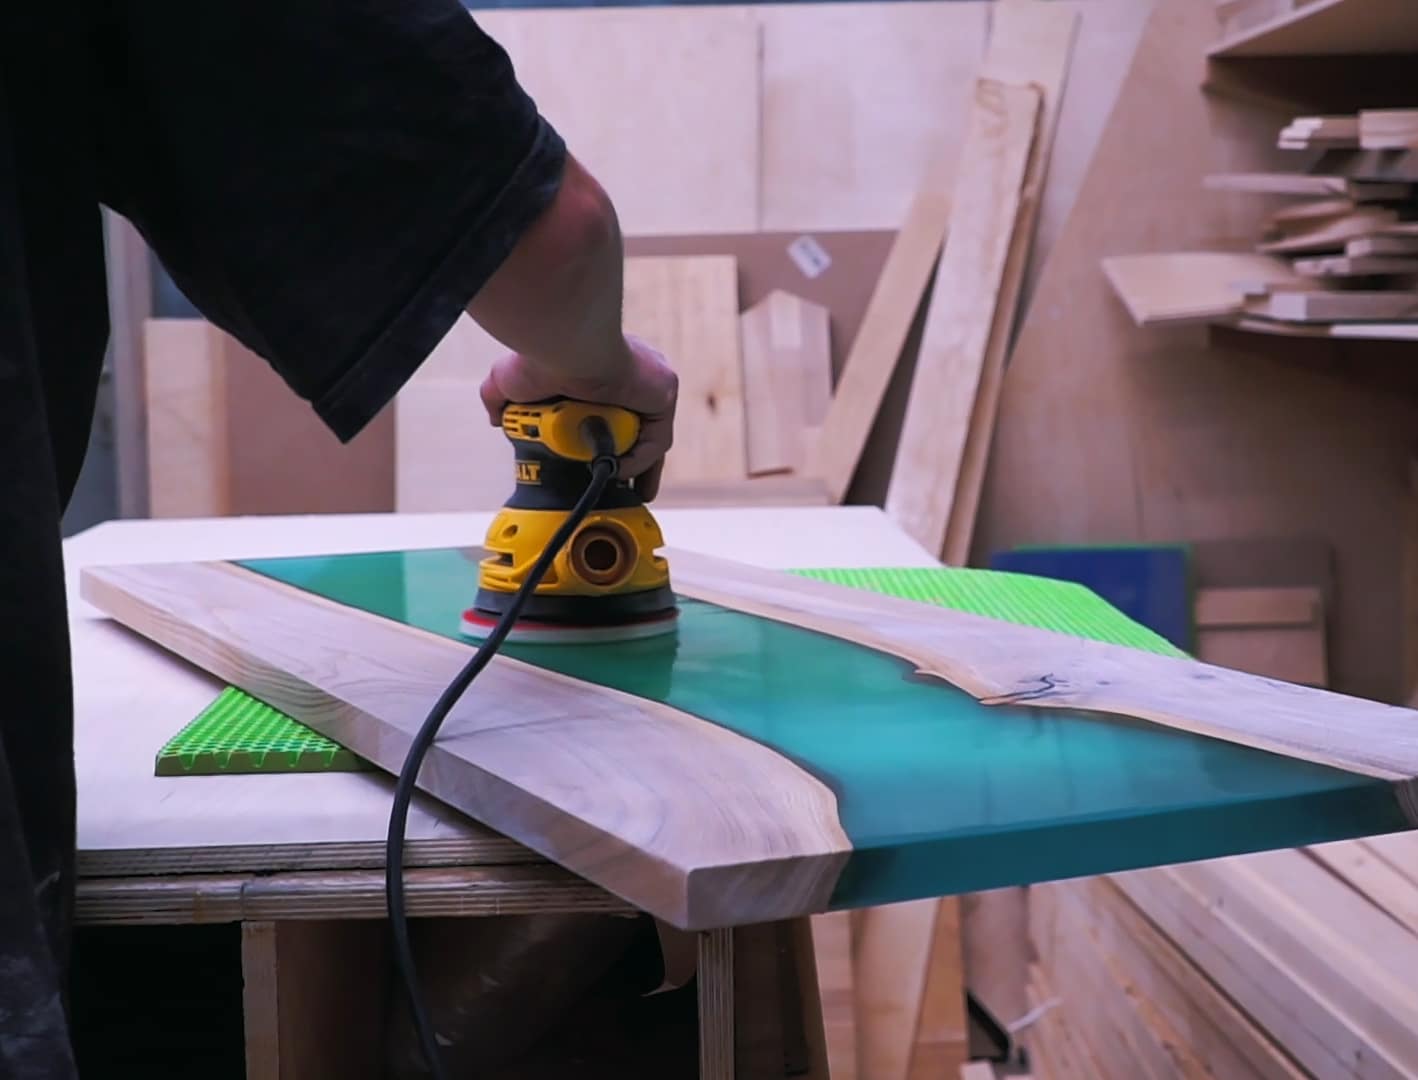
Step 2: Sand the Resin Surface Evenly
Sanding is crucial for smoothing out imperfections such as drips, high spots, or surface blemishes. Start sanding with lower grits and progress gradually, typically beginning with 360 or 500 grit, depending on the level of roughness. Move methodically in overlapping passes, maintaining consistent, gentle pressure.
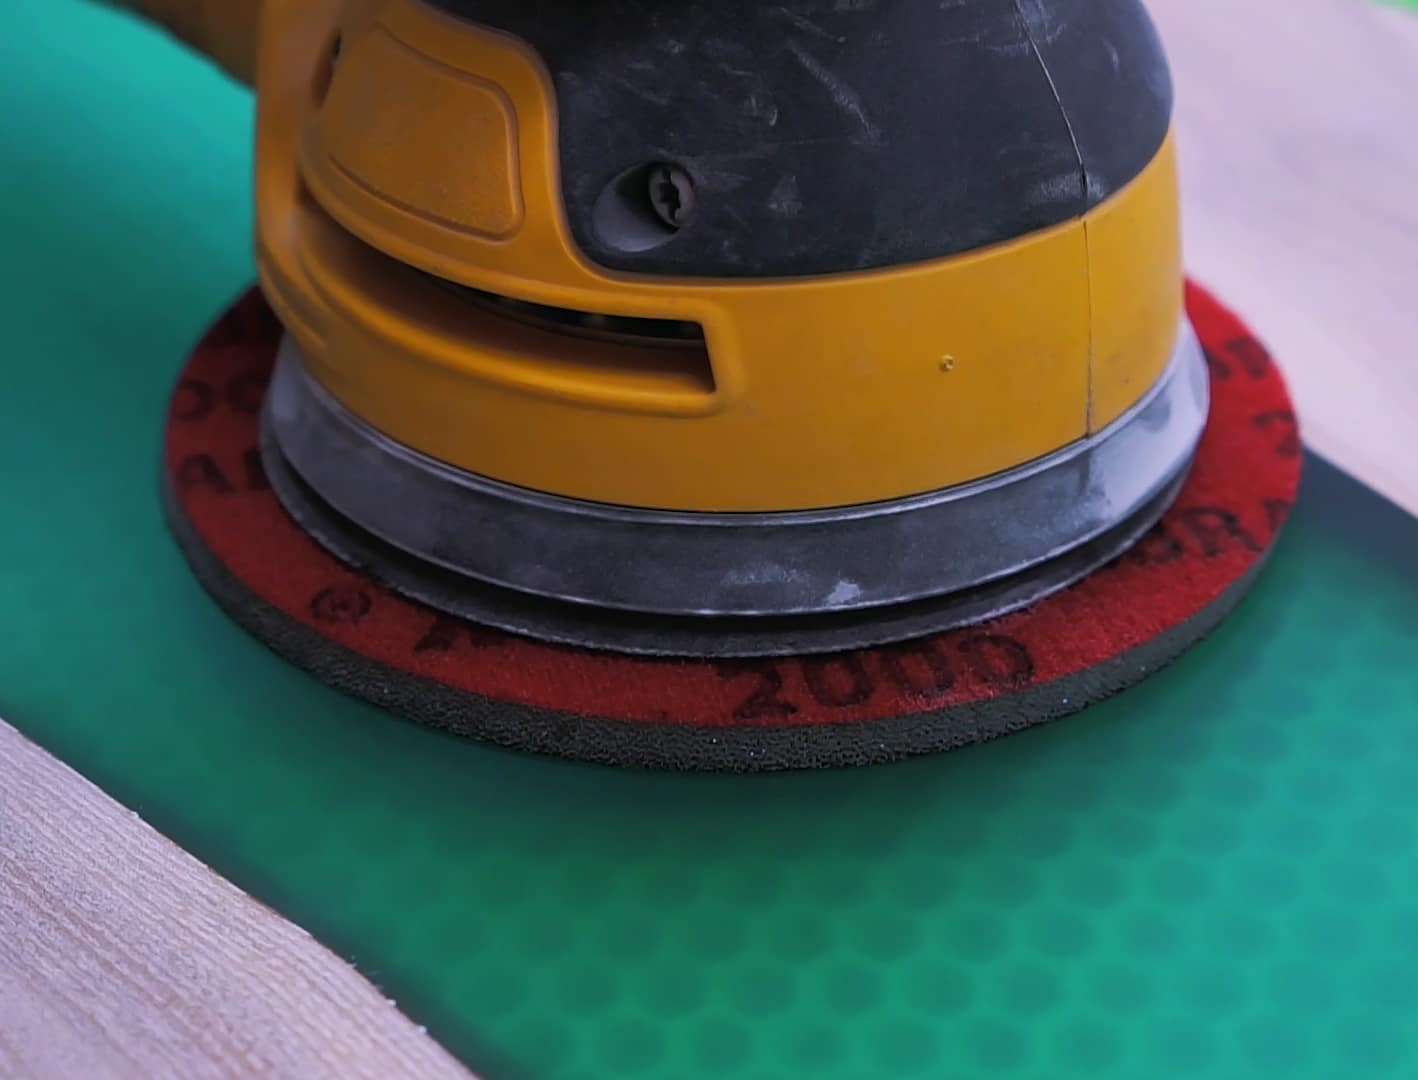
It’s best to use water during sanding to lubricate the surface and minimise airborne dust. Always use clean water when wet sanding, rinsing pads often to prevent clogging. The “Ebonite Abralon” – Sanding Pads 360-4000 Grit for Resin and Wood are ideal for this stage, as they provide controlled abrasion and uniform results.
Work through progressively finer grits: 360, 500, 1000, 2000, and up to 4000 for a smooth, satin finish. Be thorough, as skipping grits can leave visible scratch marks even after polishing.
Step 3: Polish for a Clear, Glossy Finish
Once sanding is complete, carefully dry the table surface. Polishing restores the clarity and depth of resin, removing fine scratches left by abrasives. Work in small sections for best control. Apply a small amount of “Epoxy Polish” – Epoxy Resin Polishing System to a soft polishing pad.
For large tables, a rotary polisher such as the 1200W Polisher for Sanding and Buffing – Variable Speed, D-Handle is recommended, as it ensures even, streak-free application. Use a medium-to-low speed to avoid overheating the resin. Move the pad in overlapping circular motions, maintaining steady, moderate pressure.
Check your progress frequently, removing spent polish and residue with a damp microfibre cloth. Continue polishing until the surface reaches your desired clarity and gloss.
Step 4: Final Inspection and Care
After polishing, wipe the resin table thoroughly with a damp, lint-free cloth to remove any polish residue. Buff thoroughly for maximum clarity using a clean dry microfibre cloth.
Examine the surface under bright, angled light to ensure no sanding marks, dull areas, or swirl patterns remain. Repeat sanding or polishing where necessary, always progressing patiently with the appropriate grit or polish.
Allow the table to sit in a dust-free environment for several hours before use, minimising the risk of new blemishes settling onto your glazed finish.
Tips, Troubleshooting, and Common Mistakes
- Avoid starting sanding with grits that are too fine—coarse scratches require lower grits to be removed effectively.
- Never skip grit levels during sanding. Moving to finer abrasives too early can leave stubborn scratches.
- Clean all pads and cloths frequently to prevent introducing new marks.
- If polish appears cloudy after application, it usually means it has not been fully worked into the surface or removed. Use more pressure or switch to a clean polishing pad.
- Practise on a small, inconspicuous area before attempting the entire table, especially if new to sanding or polishing resin.
Before and After: The Mirror Gloss Effect
See the remarkable difference proper sanding and polishing can make—turning a dull, slightly cloudy table into a crystal-clear surface with striking depth and gloss. Consistency and patience at each step deliver truly professional results.

- "Epoxy Polish" – Epoxy Resin Polishing SystemPrice range: £18.95 through £47.45"Epoxy Polish" is a polishing system designed for epoxy resin surfaces, suitable for restoring a glossy finish as part of resin table care.
- "Ebonite Abralon" – Sanding Pads 360-4000 Grit for Resin and Wood£4.15Ebonite Abralon Sanding Pads offer precise sanding and polishing for resin and wood with grits from 360 to 4000 suitable for both wet and dry use.
 1200W Polisher for Sanding and Buffing – Variable Speed, D-Handle£90.45The 1200W Polisher is designed for sanding and polishing epoxy resin surfaces with variable speed and user-friendly controls.
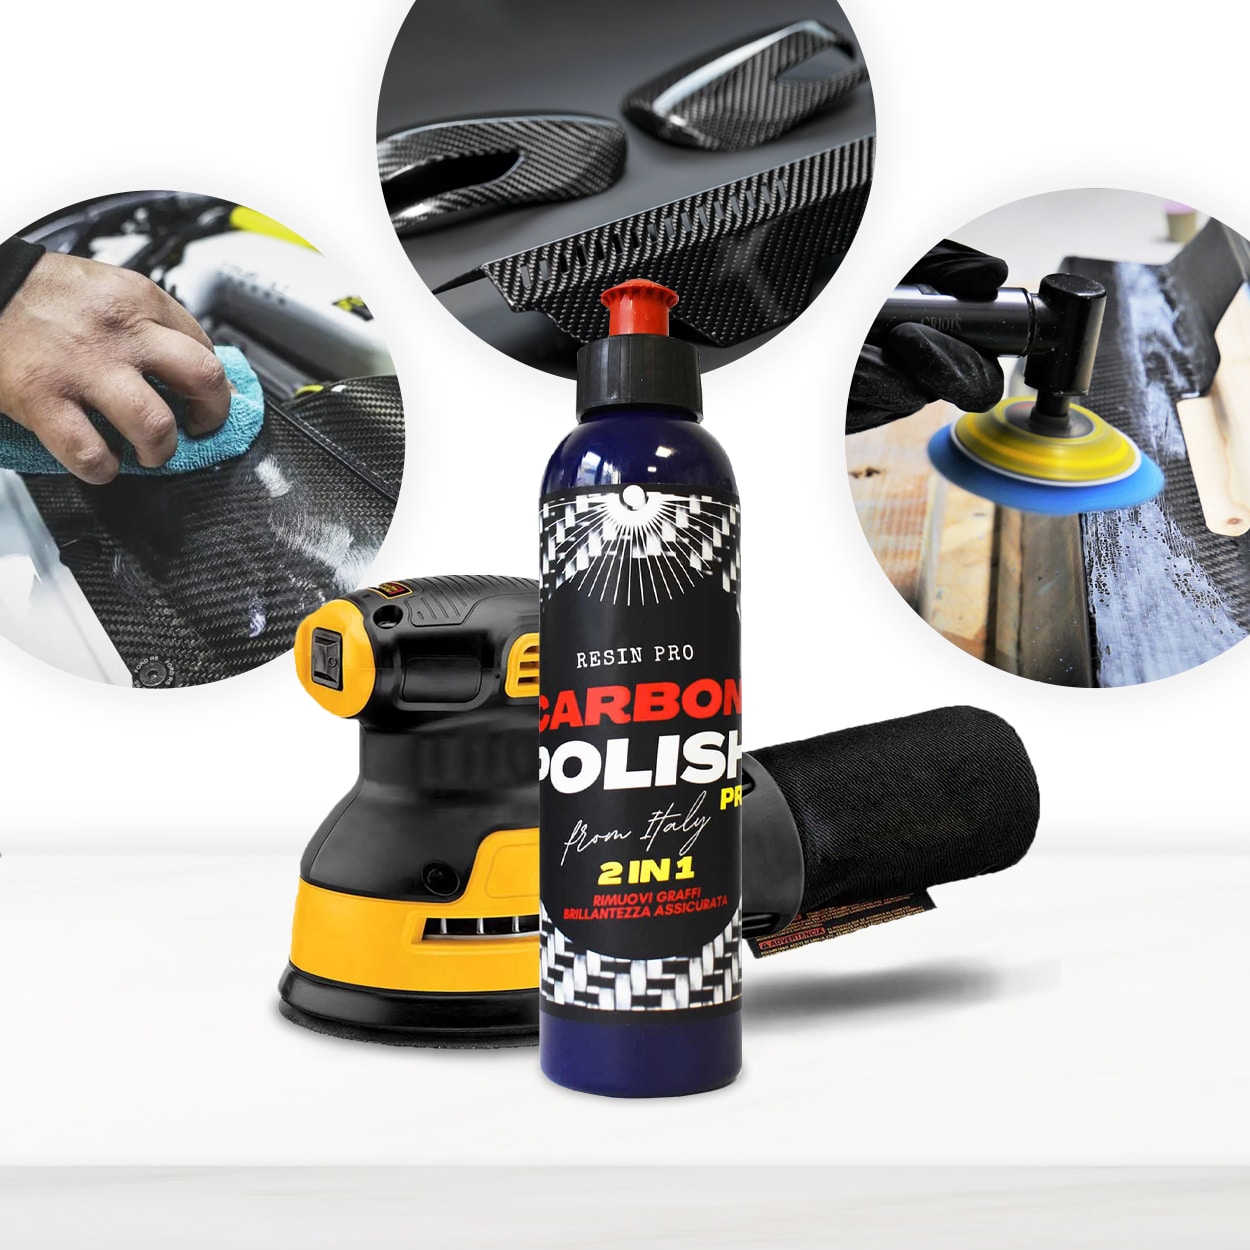 "Carbon Polish" – Polishing System for Dark and Black Surfaces, 250mlPrice range: £18.95 through £47.45Carbon Polish Black is designed for polishing dark and black surfaces, suitable for epoxy resin projects requiring a refined finish.
Frequently Asked Questions
Which grits should I use when sanding a clear resin table?
Start with 360 or 500 grit to level imperfections, then use 1000, 2000, and finish with 4000 grit for a silky surface.
Can I polish a resin table by hand?
Small surfaces can be polished by hand using polishing pads, but larger tables benefit greatly from a rotary polisher for a consistent finish.
Why does polish sometimes look cloudy after application?
Cloudiness usually indicates the polish wasn't fully worked in or removed; use more pressure or a clean pad to buff thoroughly.
Should I wet sand or dry sand my resin table?
Wet sanding is generally recommended as it reduces dust, cools the surface, and achieves a smoother, more consistent finish.
How can I remove deep scratches from resin?
Begin with a lower grit sanding pad and work up through progressively finer grits before polishing for the best results.
Is a variable speed polisher required for best results?
A variable speed polisher provides better control and helps avoid overheating, especially on resin surfaces, for a superior finish.