 Free shipping on orders over £29,85


How do you dye and color polyester resin compound?
Create stunning effects with professional resin colouring techniques.


Dyeing and colouring polyester resin opens up endless possibilities for creative and professional projects, from vivid art pieces to functional repairs. This guide takes you through the practical steps and expert techniques to successfully colour polyester resin compound, ensuring vibrant, reliable, and consistent results for any application.

What You’ll Need
- Resin Fibreglass Repair Kit – Complete Polyester Resin and Hardener Set – For a ready-to-use polyester resin base.
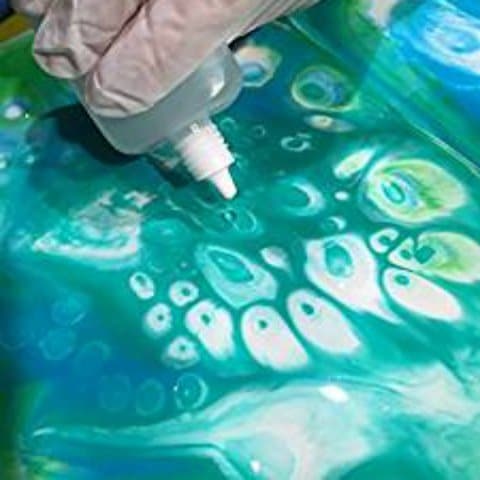
- “Resi-Blast” – Cell Effect Additive for Resin Art, 25ml – To introduce cell effects or decorative patterns (optional for unique visual finishes).
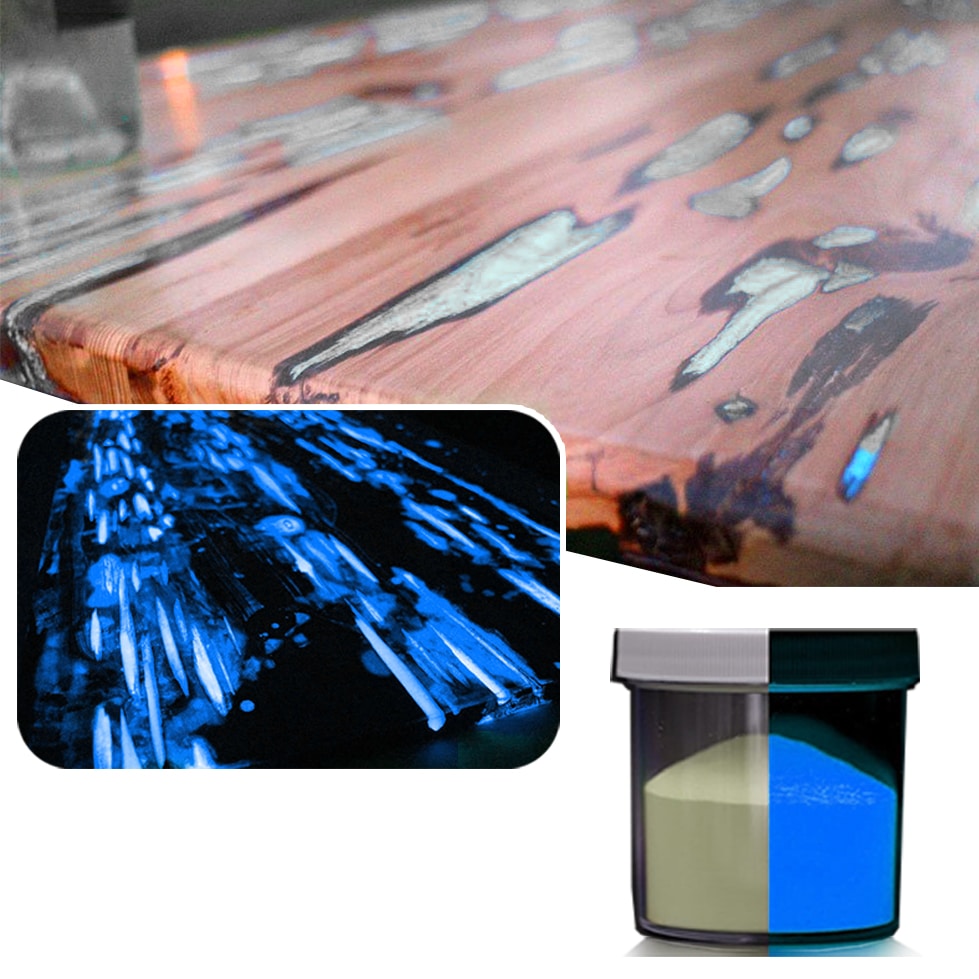
- Phosphorescent Pigment – Glow-in-the-Dark Additive for Resin, Paint, and Varnish – For luminous or glow-in-the-dark effects.
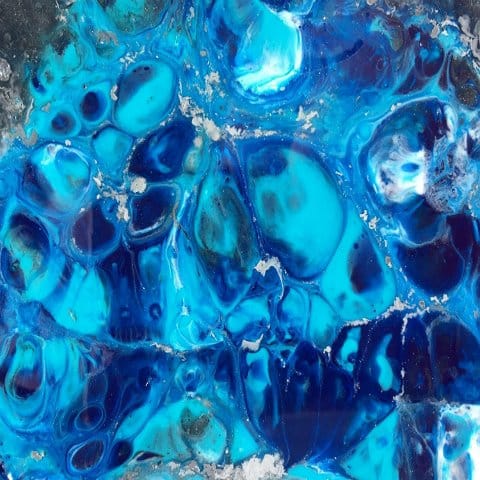
- “Sahara Space” – Interference Metallic Pigment, 10g – For metallic or iridescent colours.
- Mixing containers, measuring scales, and stirrers.
- Gloves and eye protection for safe handling.

Essential Tools and Pigments for Dyeing Resin
Invest in high-quality pigments and additives specifically formulated for use with polyester or epoxy resins. This not only ensures safe handling but also delivers brighter colours and more predictable finishes. Dedicated resin dyes and additives prevent blotching, cloudiness, or curing issues that can occur with generic craft pigments. Always use disposable mixing tools and gloves for effortless cleanup.
Step 1: Prepare the Work Area and Safety Gear
Before you begin, set up a clean, well-ventilated workspace free from dust and contaminants. Lay down protective coverings and ensure all tools and containers are clean and ready to use. Wearing gloves and safety glasses is highly recommended, as both polyester resin and pigments can irritate the skin and eyes. Adequate ventilation is key, as polyester resin can emit strong fumes during mixing and curing. Arrange your materials neatly for an organised workflow and quick access.


Step 2: Mix the Polyester Resin Base
Begin by accurately measuring the required amount of polyester resin and hardener as directed by your product’s instructions. Precision here is crucial for consistent curing and strength. Pour the resin into a clean mixing container, then add the appropriate quantity of hardener. Stir gently and thoroughly for several minutes to ensure a uniform mixture with no unmixed spots. Thorough mixing is essential for optimal curing and effect, especially before any pigment is added.
If you’re using a Resin Fibreglass Repair Kit – Complete Polyester Resin and Hardener Set, follow its specific guidelines for ratios and mixing order for best results.
Step 3: Add and Disperse Pigments or Additives
Choose the pigment or additive suitable for the colour or effect you wish to achieve. For everyday colouring, interference or metallic pigments such as “Sahara Space” – Interference Metallic Pigment, 10g offer vibrant metallic hues. To create decorative patterns or cell effects in your resin, the “Resi-Blast” – Cell Effect Additive for Resin Art, 25ml can be introduced during this step. For glow-in-the-dark results, a small quantity of Phosphorescent Pigment – Glow-in-the-Dark Additive for Resin, Paint, and Varnish may be blended in.
Begin by adding pigments gradually, mixing thoroughly between additions to gauge colour strength and effect. Use pigments and additives designed for resin systems to avoid incompatibility or cloudiness. Don’t exceed recommended pigment ratios—usually up to 5% pigment to resin by mass for metallic options. Continue mixing until the pigment is evenly dispersed and no streaks remain.
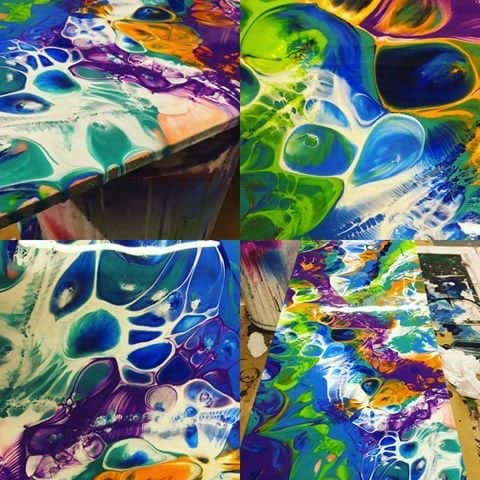
Step 4: Cast, Spread, or Apply the Coloured Resin
With your resin now coloured, quickly pour or apply it to your mould, repair site, or project surface as required. Polyester resin begins to cure promptly once mixed with hardener, so work efficiently. Use spatulas or brushes for even spreading if needed. For multi-colour effects or patterning, pour different coloured batches sequentially or manipulate with sticks or additive drops before the resin sets. Allow the piece to cure undisturbed, following product curing times.
Step 5: Allow to Cure and Finish if Needed
Let the resin cure fully, keeping it protected from dust and direct sunlight. Curing times can vary depending on temperature, humidity, and the specific product, so refer to your instructions. Once cured, you may sand, polish, or coat the surface for added shine or durability to complete your project.
Tips, Common Mistakes, and Troubleshooting
Avoid adding excessive pigment, as this can weaken the resin or prevent proper curing. Always add pigments gradually and respect manufacturer recommendations for best performance. Always test a small batch first to preview the final colour and compatibility, as different pigments and additives can behave unpredictably with various resin formulations. Take care to seal mixed resin promptly to reduce air bubbles and maintain clarity. If problems occur—such as incomplete curing or cloudiness—it may result from imprecise mixing ratios or incompatible additives; review your process for adjustments.
Master Creative and Durable Colour Effects
Experiment with different pigment types—from metallics and interference powders to glow-in-the-dark options—for bold statement pieces or subtle highlights. For highly technical projects, blend small test batches to perfect colour, opacity, or visual effect before committing to a full pour. Cleanliness and correct ratios are the keys to long-term durability and beautiful visual results.

- Resin Fibreglass Repair Kit – Complete Polyester Resin and Hardener SetResin Fibreglass Repair Kit offers a complete polyester resin repair solution with fibreglass reinforcement, suited for structural fixes under the…
- "Resi-Blast" – Cell Effect Additive for Resin Art, 25ml£21.95Resi-Blast is a 25ml additive for epoxy resin art, designed to create cell effects and patterns without added complexity.
- Phosphorescent Pigment – Glow-in-the-Dark Additive for Resin, Paint, and VarnishPrice range: £8.45 through £13.95Phosphorescent Pigment is designed for adding glow-in-the-dark effects to resins, paints, or varnishes for decorative use.
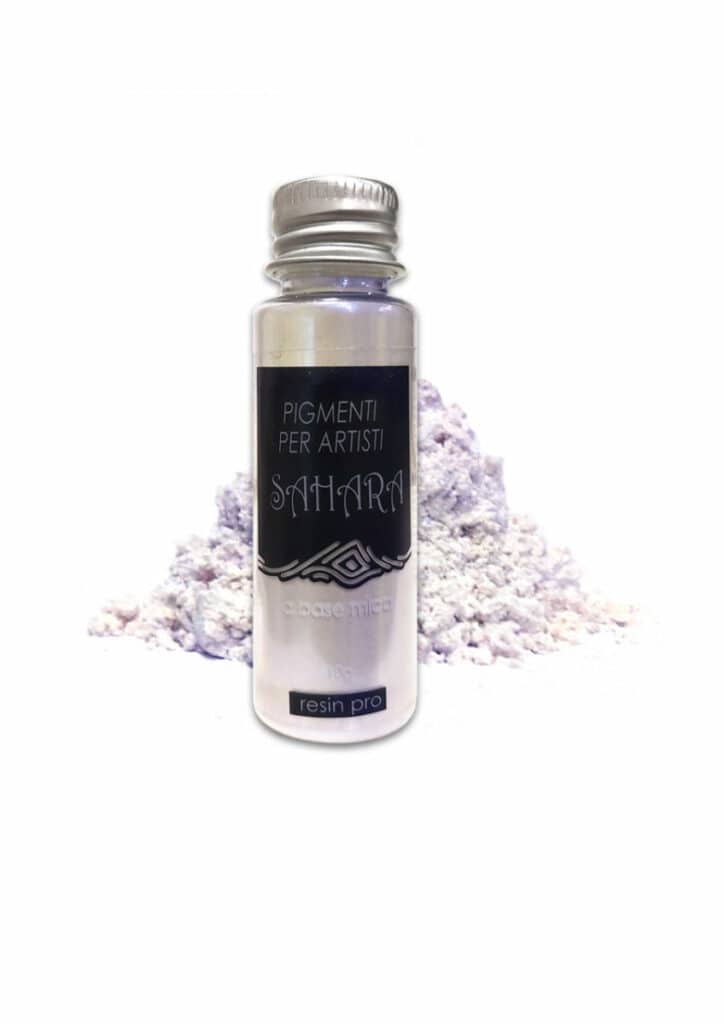 "Sahara Space" – Interference Metallic Pigment, 10gMetallic interference pigments in four colours designed for use with epoxies and resin art.
Frequently Asked Questions
What pigments work best for colouring polyester resin?
Resin-compatible pigments and additives designed for polyester or epoxy systems deliver the most vibrant and reliable results.
How much pigment should I add to polyester resin?
Generally, up to 5% pigment by mass is suitable, but always follow the manufacturer’s guidance for best curing and colour effect.
Can I use acrylic paint or food dyes in resin?
No, standard paints or food colouring are not recommended as they can interfere with curing or cause unwanted effects in resin.
Will adding colour affect the strength or cure of resin?
Adding too much pigment or using incompatible additives can weaken the finished resin or prevent full curing, so use sparingly.
Can I combine metallic and glow-in-the-dark pigments?
Yes, you can blend different pigment types, but test a small batch to see how effects and curing are influenced in combination.
Is "Resi-Blast" suitable for polyester resin?
Yes, "Resi-Blast" can be used with polyester resin to achieve cell effects and artistic patterns.
How do I prevent cloudiness in coloured resin?
Use pigments created for resin, mix thoroughly, and avoid excessive additive use to keep transparency and colour clarity.