 Free shipping on orders over £29,85

How do you use the pot with epoxy resin?
Detailed steps for mixing and pouring epoxy resin correctly

Whether you are creating art, pouring a river table, or crafting decorative surfaces, using the right type of pot or container with epoxy resin is essential for successful results. This guide will show you how to use pots safely and effectively when working with epoxy resin, from setup through mixing and cleanup.

What You’ll Need
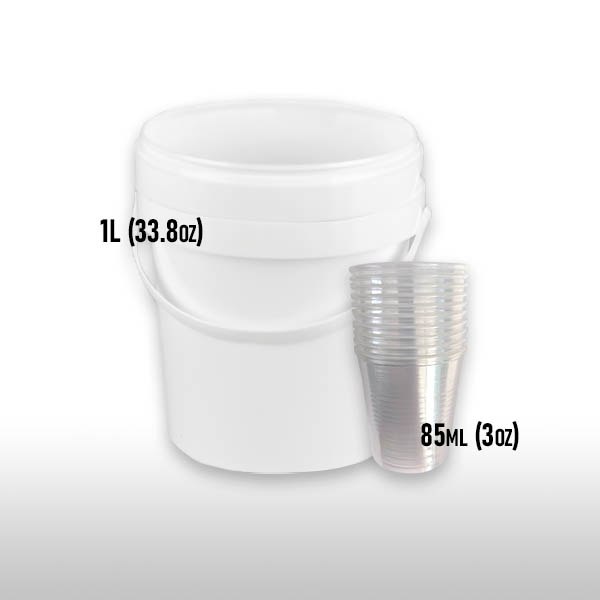
- Mixing Buckets Kit for Epoxy Resin Art – Easy Clean Flexible Design: Flexible mixing buckets designed for use with epoxy resin in artistic and craft applications.
- Aluminum Pot for Melting Wax – 1.8L Capacity: A heavy-duty aluminium pot designed for safely melting wax and resin in creative craft projects.
- “River-Table” – Complete Kit for Creating Your First Epoxy Resin Table: Complete starter kit designed for crafting wood and resin tables with included instructions and finishing materials.
- “Stone Effect Collection” – Marble Epoxy Resin Countertop Kit: A comprehensive epoxy resin kit designed for creating durable marble and stone effects on countertops and surfaces.
- Mixing sticks or spatulas
- Protective gloves, apron, and eye protection
- A flat, level workspace surface covered with a protective sheet

Tool Selection for Mixing and Pouring
Choosing the right tools is critical for achieving smooth epoxy mixes and easy clean-up. Flexible containers simplify resin removal, while metal pots offer heat resistance for projects involving wax or large batches. Match your equipment to your project scale and technique for the best results.
Step 1: Select the Right Pot or Container
Choosing the appropriate pot for your epoxy resin project depends on the task at hand. For general resin art or small crafts, flexible mixing containers are most effective because they allow you to remove cured resin with ease. A flexible mixing bucket is especially useful when you need to mix multiple colour batches or want minimal residue build-up.
If you are working with melted wax or need to blend epoxy with heat-sensitive additives, an aluminium melting pot provides heat resistance and easy pouring. Always ensure the chosen pot is clean, dry, and free from any previous residue before starting.


Step 2: Measure and Mix Your Epoxy Resin Safely
Begin by carefully measuring out the resin and hardener according to your product’s instructions. Gradual, steady pouring prevents splashes and ensures accuracy in ratios. Pour both parts into your selected container, ensuring it is stable and placed on a flat surface.
Use a mixing stick to blend the resin and hardener thoroughly, scraping the sides and bottom of the pot. Take your time—insufficient mixing is the most common cause of tacky or improperly cured resin. Flexible mixing buckets are ideal for easy resin removal after use, saving you time on cleaning.
Step 3: Pour and Finish Your Project
Once your epoxy is fully mixed, transfer it to your project form or surface. For larger pours—like tabletops or countertops—a robust, heat-resistant pot helps with smooth, controlled pouring, reducing the risk of spills.
Be mindful of pot size if working with deep pour applications. For river tables and similar projects, following detailed instructions from a kit can simplify the process, guiding you with resin amounts and recommended pot sizes for each stage.


Step 4: Clean Up and Reuse Safely
After pouring, allow any residue in your mixing pot to fully cure. For flexible buckets, simply flex and squeeze the walls—cured epoxy will pop out, leaving the bucket ready for reuse. For aluminium or rigid pots, wipe excess resin before it sets, then clean according to the product’s guidelines.
Dispose of cured resin debris responsibly. Never pour unused epoxy down the drain as it can harden in pipes and cause blockages.
Tips and Common Mistakes to Avoid
- Always follow manufacturer guidelines for equipment safety to prevent resin contamination or overheating.
- Mix slowly to minimise air bubbles in the final project.
- Work in a well-ventilated area and wear protective gear to avoid skin irritation or inhaling vapours.
- Do not use pots previously exposed to moisture or incompatible chemicals.

Project Safety and Efficient Workspace Setup
Maintain a safe, organised workspace for every resin task. Lay down protective sheeting, keep ventilation in mind, and prepare all pots and mixing accessories before starting. This reduces spills, exposure risks, and ensures a smoother crafting experience.

- Mixing Buckets Kit for Epoxy Resin Art – Easy Clean Flexible DesignPrice range: £2.05 through £8.95Mixing Buckets Kit designed for epoxy resin art, providing an easy clean, flexible container suitable for various mixing tasks.
- Aluminum Pot for Melting Wax – 1.8L Capacity£11.95Aluminum Pot for Melting Wax with 1.8L capacity, suitable for wax melting and resin art in a practical DIY crafting context.
- "River-Table" – Complete Kit for Creating Your First Epoxy Resin TablePrice range: £198.45 through £467.45"River-Table" kit includes resin, sealant, pigment and polishing kit with instructions for creating wood and resin tables.
- "Stone Effect Collection" – Marble Epoxy Resin Countertop KitPrice range: £57.95 through £272.95The "Stone Effect Collection" kit suits those transforming surfaces with professional marble and stone effects in kitchens and bathrooms.
Frequently Asked Questions
Can I reuse mixing buckets for resin work?
Yes, flexible mixing buckets are designed to be reused—remove cured resin by flexing the walls before your next batch.
Should I heat epoxy in a metal pot?
Epoxy resin usually cures at room temperature. Only heat in approved containers if additives or processes specifically require it, and always follow safety advice.
How do I prevent resin contamination in my pot?
Thoroughly clean pots before each use and do not mix leftover resin from previous projects to ensure high-quality results.
What type of pot is best for epoxy mixing?
Flexible plastic buckets are preferred for general epoxy mixing and are easy to clean after the resin cures.
Can I use an aluminium pot for art and table projects?
Yes, aluminium pots can be used for projects that involve heating or require a large mixing capacity, like tabletops or artistic pours.
Do I need dedicated pots for each colour?
Using a fresh or thoroughly cleaned pot for each colour prevents unwanted colour mixing and ensures clean results.