 Free shipping on orders over £29,85

How do you make the petri dish effect on resin?
Step-by-step guidance for stunning organic resin art effects


The Petri dish effect on resin creates vibrant, organic patterns reminiscent of spreading ink in a laboratory dish. This guide will take you through each stage of achieving this stunning look in your resin art, from preparation through to finishing, so artists of any level can enjoy fascinating results with ease.
What You’ll Need
- Petri Resin Art Starter Kit – Create Stunning Petri Effect Art at Home – A comprehensive kit with resin, mould, inks and more, perfect for beginners seeking convenience and professional results.
- “Petri Art” – Set of Alcohol Ink – Alcohol inks designed for creating translucent, flowing colours in resin, ideal for this technique.
- “Jacquard Pinata” – White Alcohol Ink for Petri Art, 118.29ml – A bright, sinkable white ink for layering and drawing colours down into the resin for classic Petri effects.
- “Resi-Blast” – Cell Effect Additive for Resin Art, 25ml – Use sparingly to enhance cell development for added visual textures.
- Protective gloves, mixing cups, stirring sticks and a silicone or plastic mould (included in most starter kits).

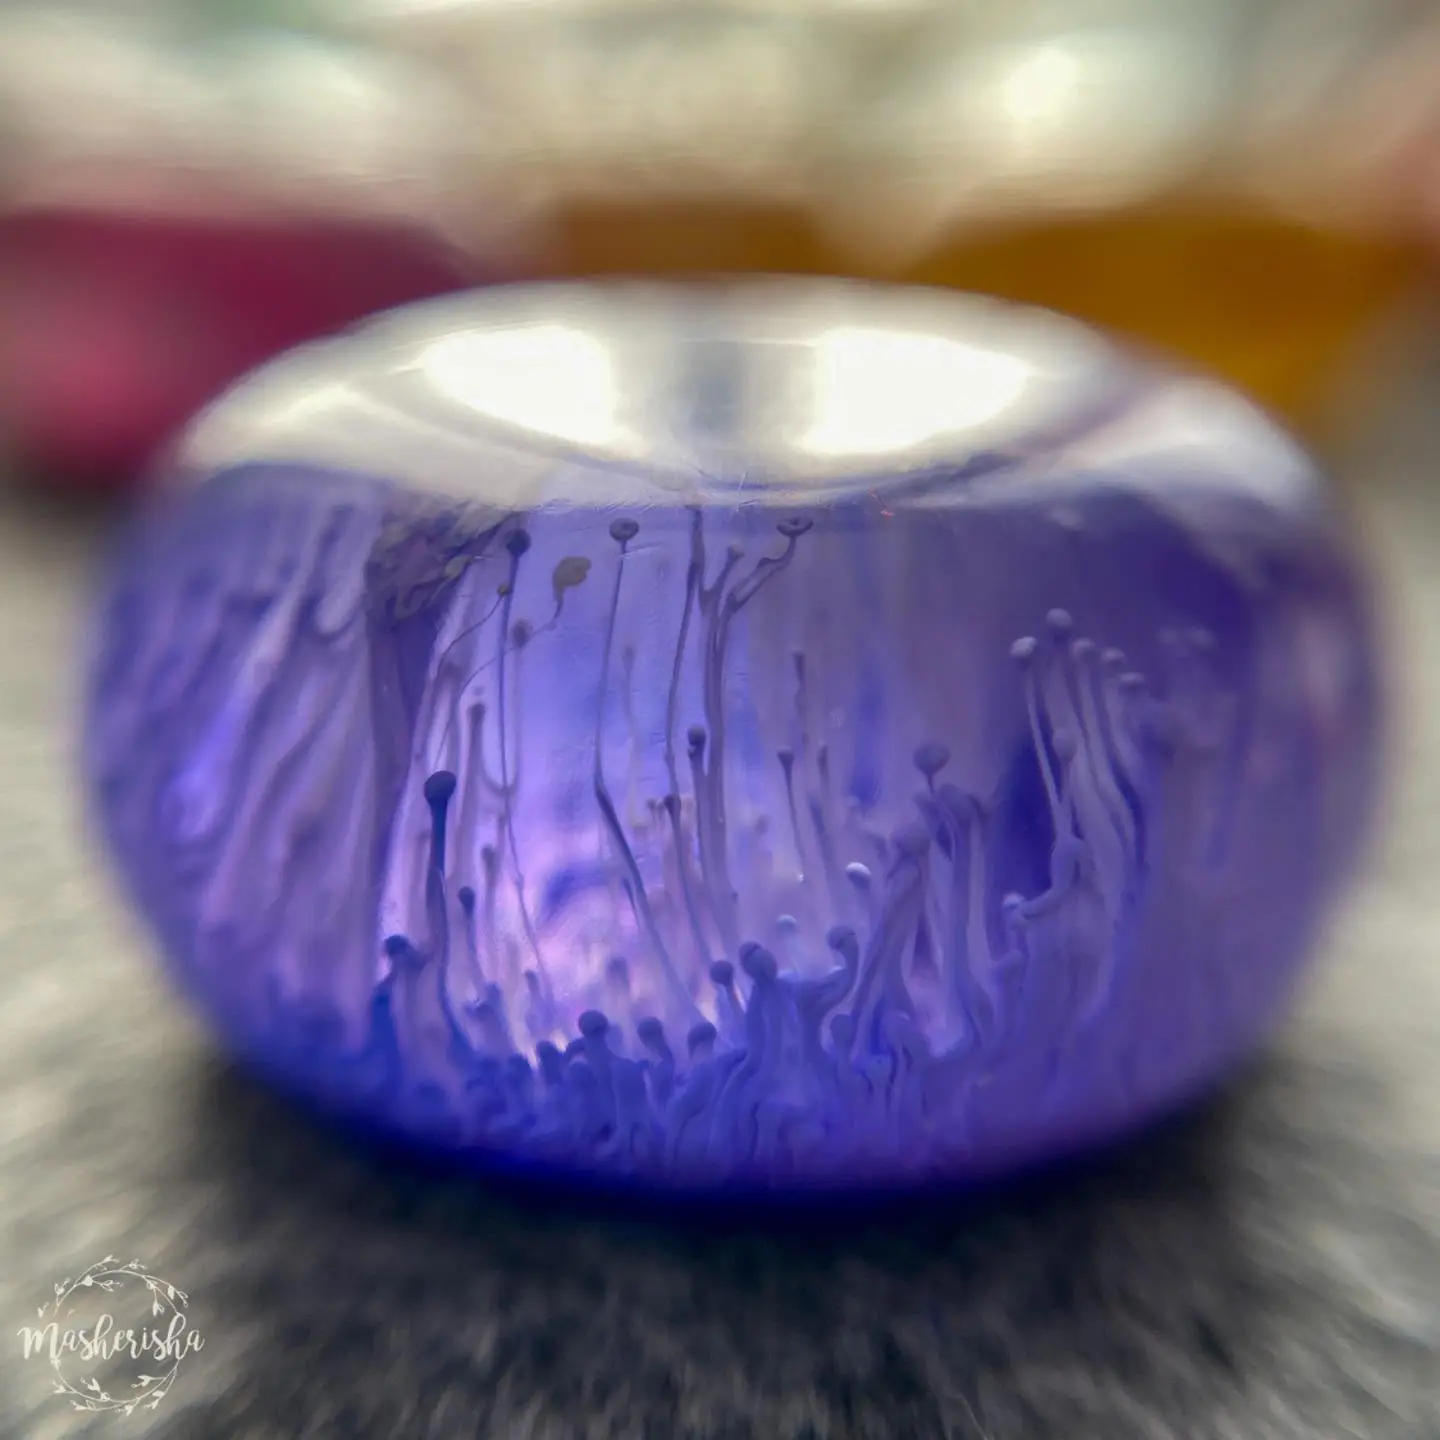
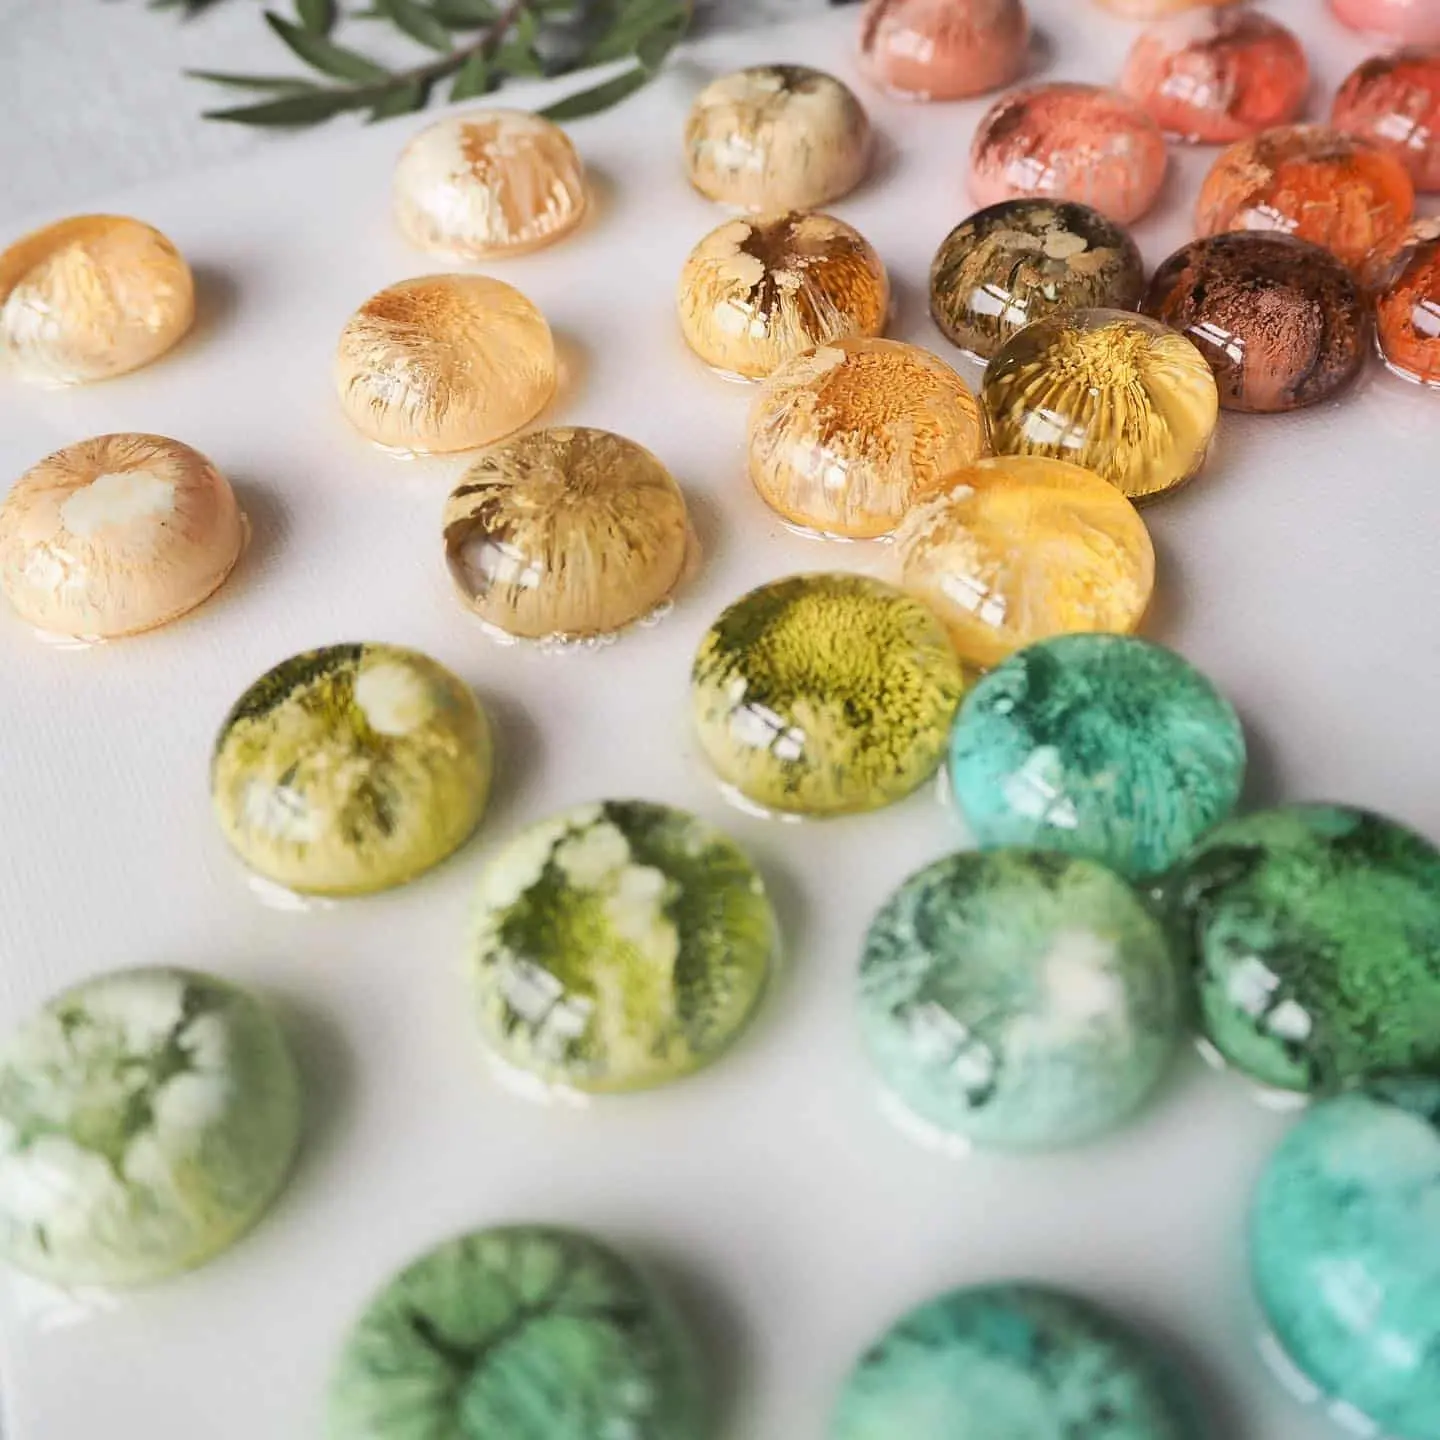
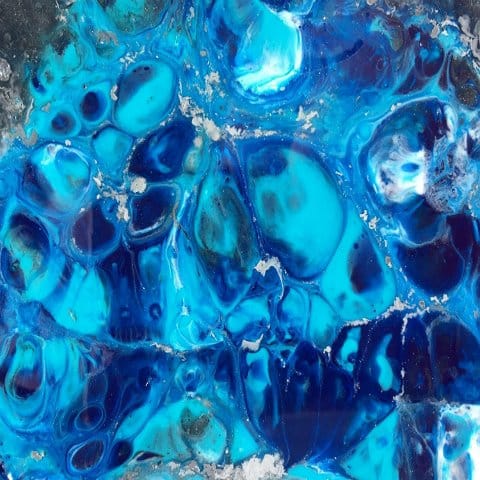
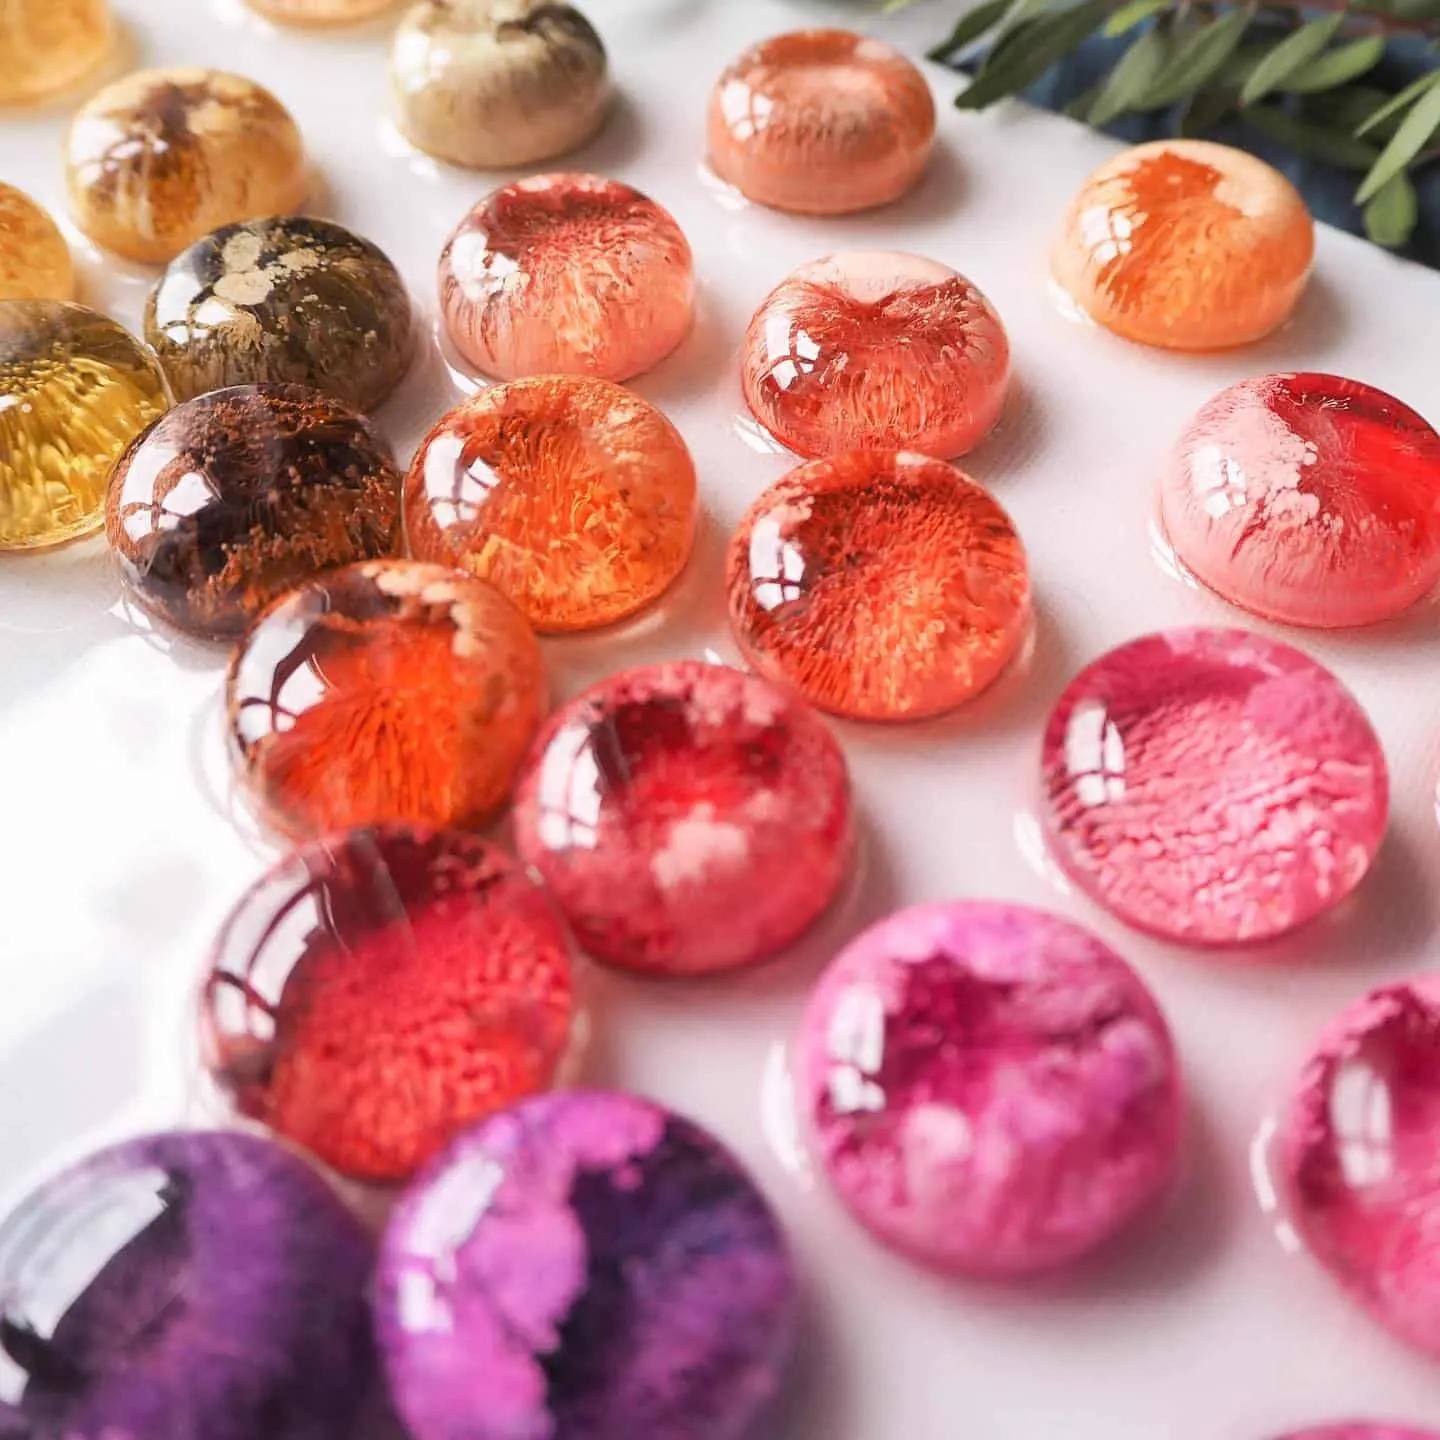
See the Petri Effect in Action
View examples of stunning Petri dish resin art, showing how alcohol inks and cell additives interact to form intricate organic shapes in clear epoxy. Watch the layering and dropping processes for inspiration before you begin your own project.
Step 1: Prepare Your Workspace and Resin
Clean, dust-free surroundings are crucial for producing clear resin art. Lay down a protective covering on your surface, and ensure all your tools and moulds are ready. Wear gloves to protect your hands from sticky spills.
Follow your resin’s instructions precisely: measure the epoxy resin and hardener by weight, and mix thoroughly—usually for about three minutes, ensuring a uniform consistency. Allow the mixture to rest a few moments so trapped bubbles can rise to the surface before pouring.

Step 2: Pour the Resin and Wait for the Right Viscosity
Pour the mixed resin into your mould of choice, filling to the desired depth. At this point, the resin is still highly fluid, which is not ideal for the Petri dish technique. Allow the resin to sit for approximately 20–30 minutes, until it thickens slightly. This waiting period ensures the inks will sink slowly, creating beautiful, controlled patterns rather than simply dispersing.
Wait for the right resin viscosity – The actual wait time may vary depending on your room temperature, so keep a close eye on the resin’s texture.
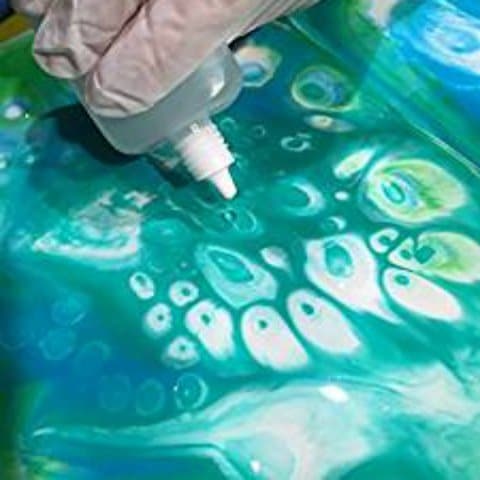
Step 3: Apply Alcohol Inks for Petri Effects
Begin by dropping a few spots of coloured alcohol ink (such as from the “Petri Art” – Set of Alcohol Ink) onto the resin surface wherever you wish to create colour blooms. Immediately after, add a drop of white alcohol ink directly on top of each colour spot—this is key, as the white ink sinks into the resin and pulls the pigment downwards, making those signature Petri rings and organic ‘cloud’ forms.
Use white alcohol ink for layering – The “Jacquard Pinata” – White Alcohol Ink for Petri Art is especially formulated to enhance this effect.
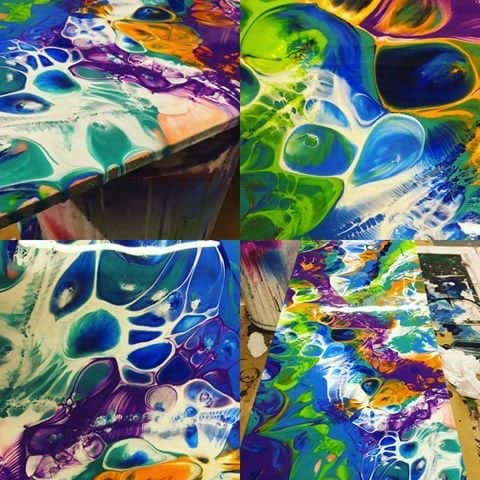
Step 4: Enhance with Cell Effects and Finish Curing
To intensify movement or add organic cell-like patterns, add one or two drops of “Resi-Blast” – Cell Effect Additive for Resin Art, 25ml over the inked areas. Do not overuse—just a couple of drops are usually enough to start the cellular action. Resist the urge to manipulate the resin too much; allow the chemical interactions to develop naturally for the most impressive results.
Let your resin art cure fully, undisturbed, as per your resin’s guidelines (typically 24–48 hours). When set, demould and enjoy the unique, organic Petri patterns you have created.
Tips, Common Mistakes, and Troubleshooting
Avoid overmixing the colours – Layering ink is best for clean separated effects; excessive swirling blends inks together, losing the Petri look.
Work in a dust-free workspace to prevent debris from settling in the still-tacky resin surface.
If your colours are blurring or not sinking, your resin may be too runny. Wait a little longer before adding inks, or check you have used the correct type of white ink for this process.
Creative Variations with Petri Resin Techniques
Experiment by altering ink colours, drop placement, or by combining additives for different effects. Each Petri piece is one-of-a-kind, so try out your ideas and discover new styles that match your artistic vision.
- Petri Resin Art Starter Kit – Create Stunning Petri Effect Art at Home£55.85This kit includes resin, mould, inks and tools for creating resin artworks with flowing colours and Petri effects, suitable to explore this theme.
- "Petri Art" – Set of Alcohol InkPrice range: £14.95 through £19.95"Petri Art" – Set of Alcohol Ink supports the Petri Art technique, a simple creative method using epoxy resin and alcohol inks.
- "Jacquard Pinata" – White Alcohol Ink for Petri Art, 118.29ml£16.95"Jacquard Pinata" white alcohol ink is suitable for use in the Petri Art technique and is intended as a base colour.
- "Resi-Blast" – Cell Effect Additive for Resin Art, 25ml£21.95"Resi-Blast" is a liquid additive suited for enhancing epoxy resin art with cell effects, fitting the theme about creating petri dish effects.
Frequently Asked Questions
Which resin type is best for creating the Petri dish effect?
Epoxy resin is ideal for the Petri technique as it stays clear and allows alcohol ink colours to develop distinctive patterns.
Which colour inks should I choose for Petri dish resin art?
Bright or contrasting alcohol inks paired with white ink create bold, clear Petri effects—darker shades sometimes appear more subtle.
When should I add alcohol inks to the resin for best results?
After pouring, wait 20–30 minutes for the resin to thicken so inks sink slowly and form crisp, organic patterns.
Why are my Petri colours blurring or spreading too much?
The resin may be too fluid or inks are too close together. Try waiting longer or altering the drop placement for better separation.
Can cell effect additives be used to enhance Petri dish resin art?
Yes, when used sparingly, additives like Resi-Blast enhance cell patterning—but overuse may cause muddled effects.
Should I work in a ventilated area when creating Petri dish resin art?
Yes, work in a well-ventilated area and wear gloves to ensure safety with epoxy resins and alcohol inks.