 Free shipping on orders over £29,85


← Back to How do you achieve the Petri dish effect on resin?

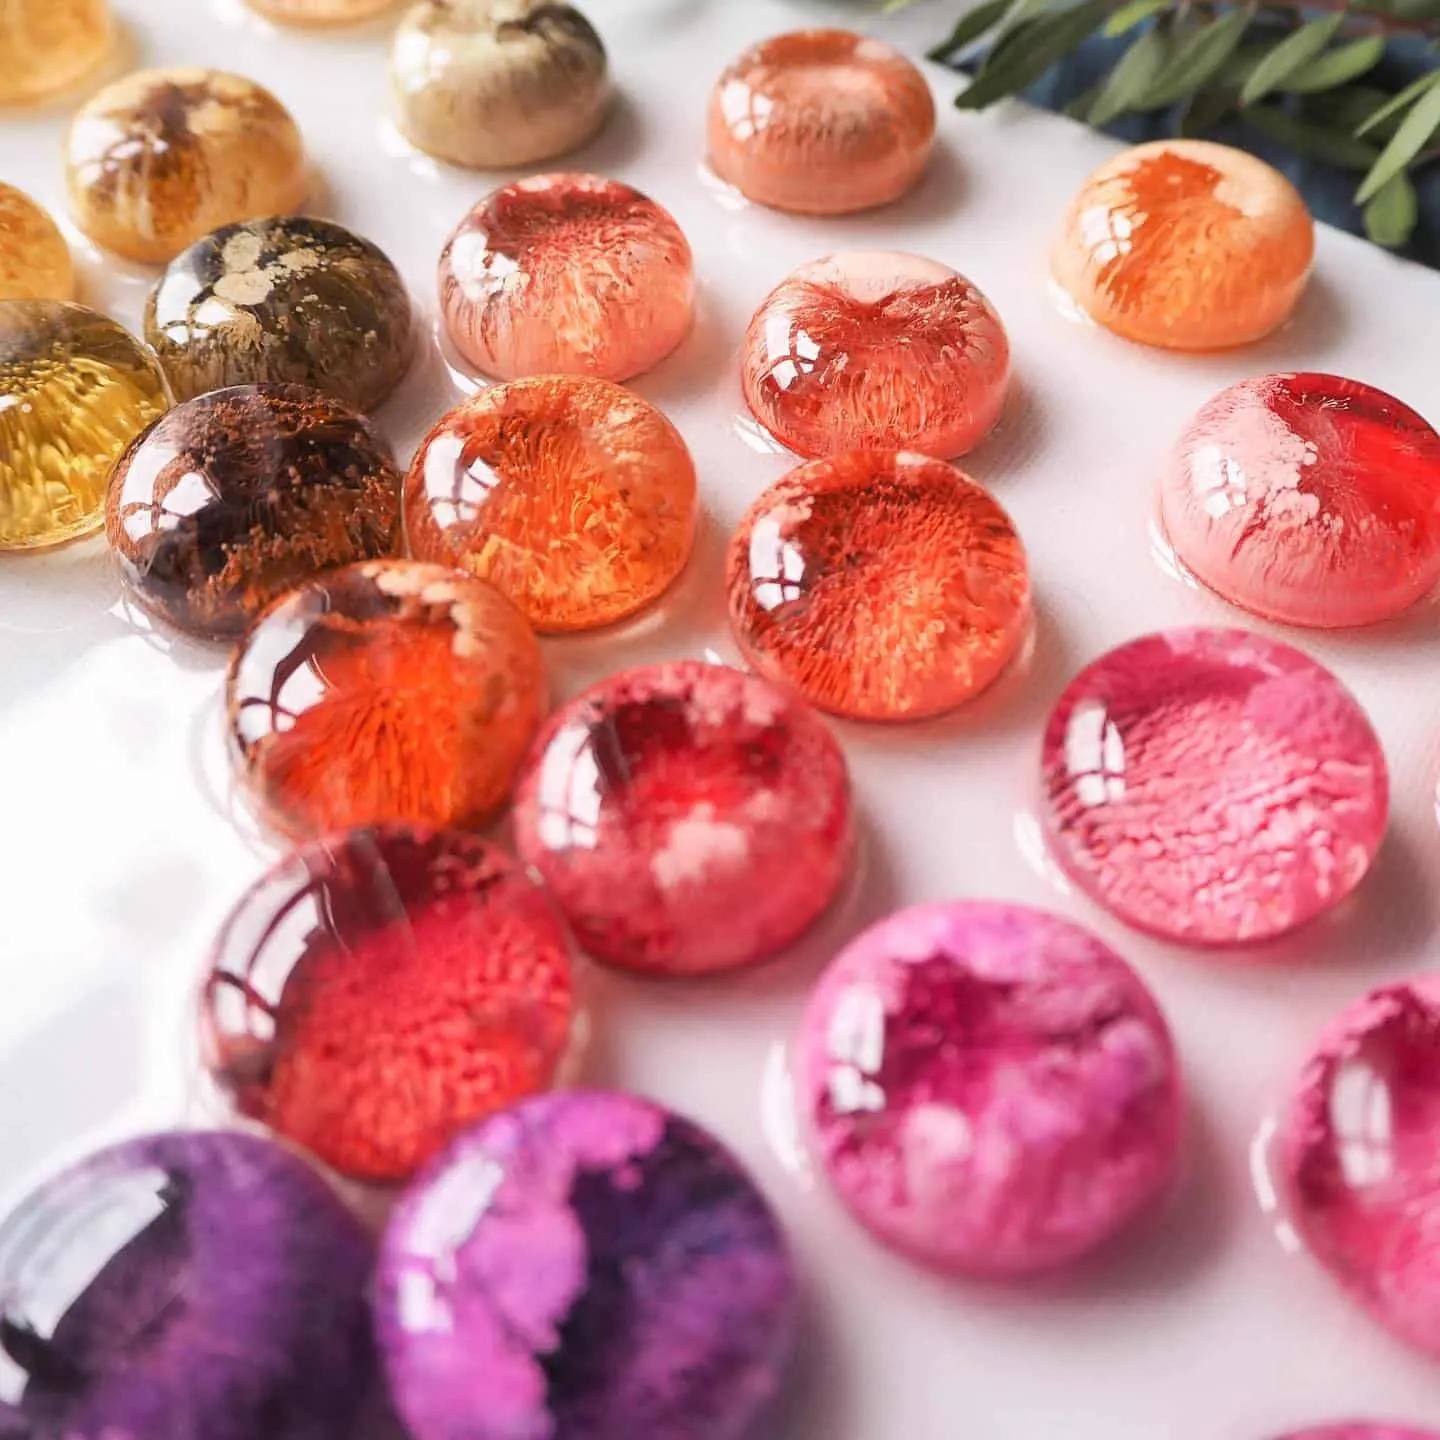
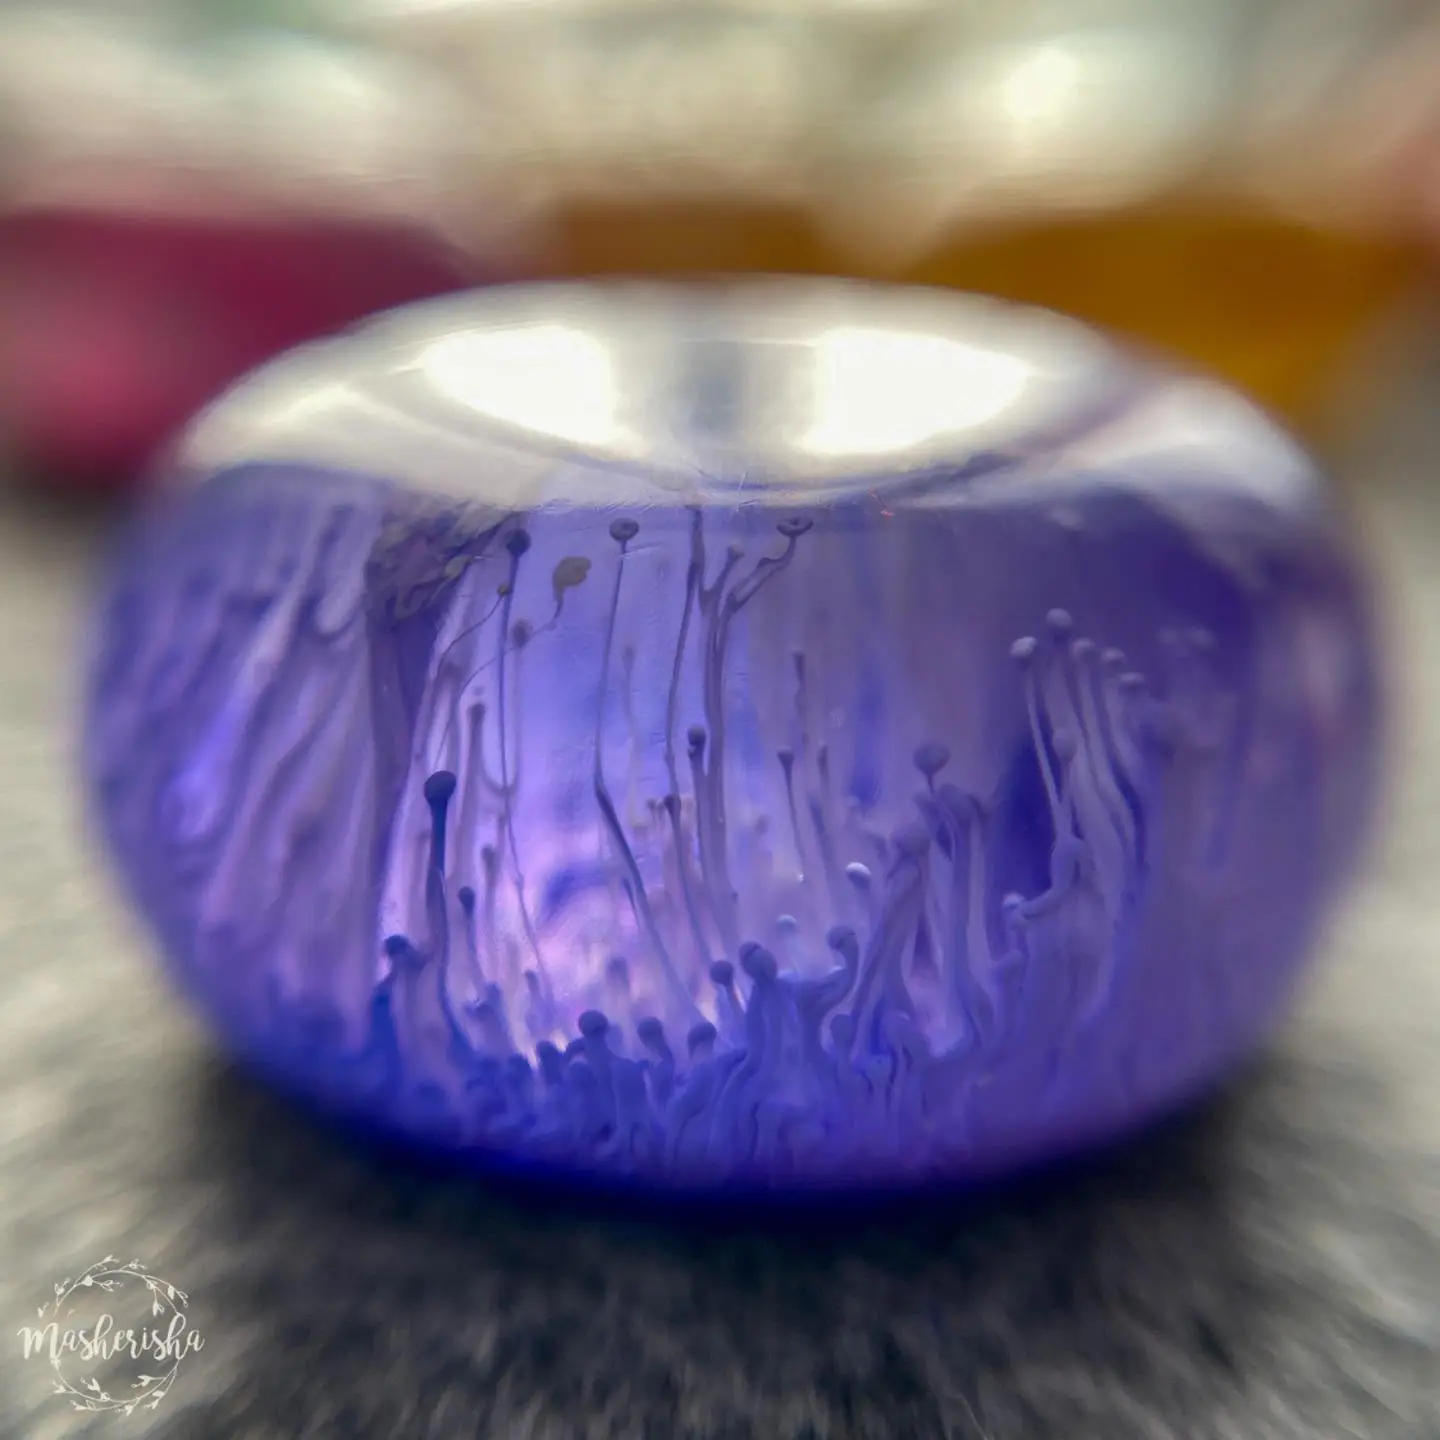
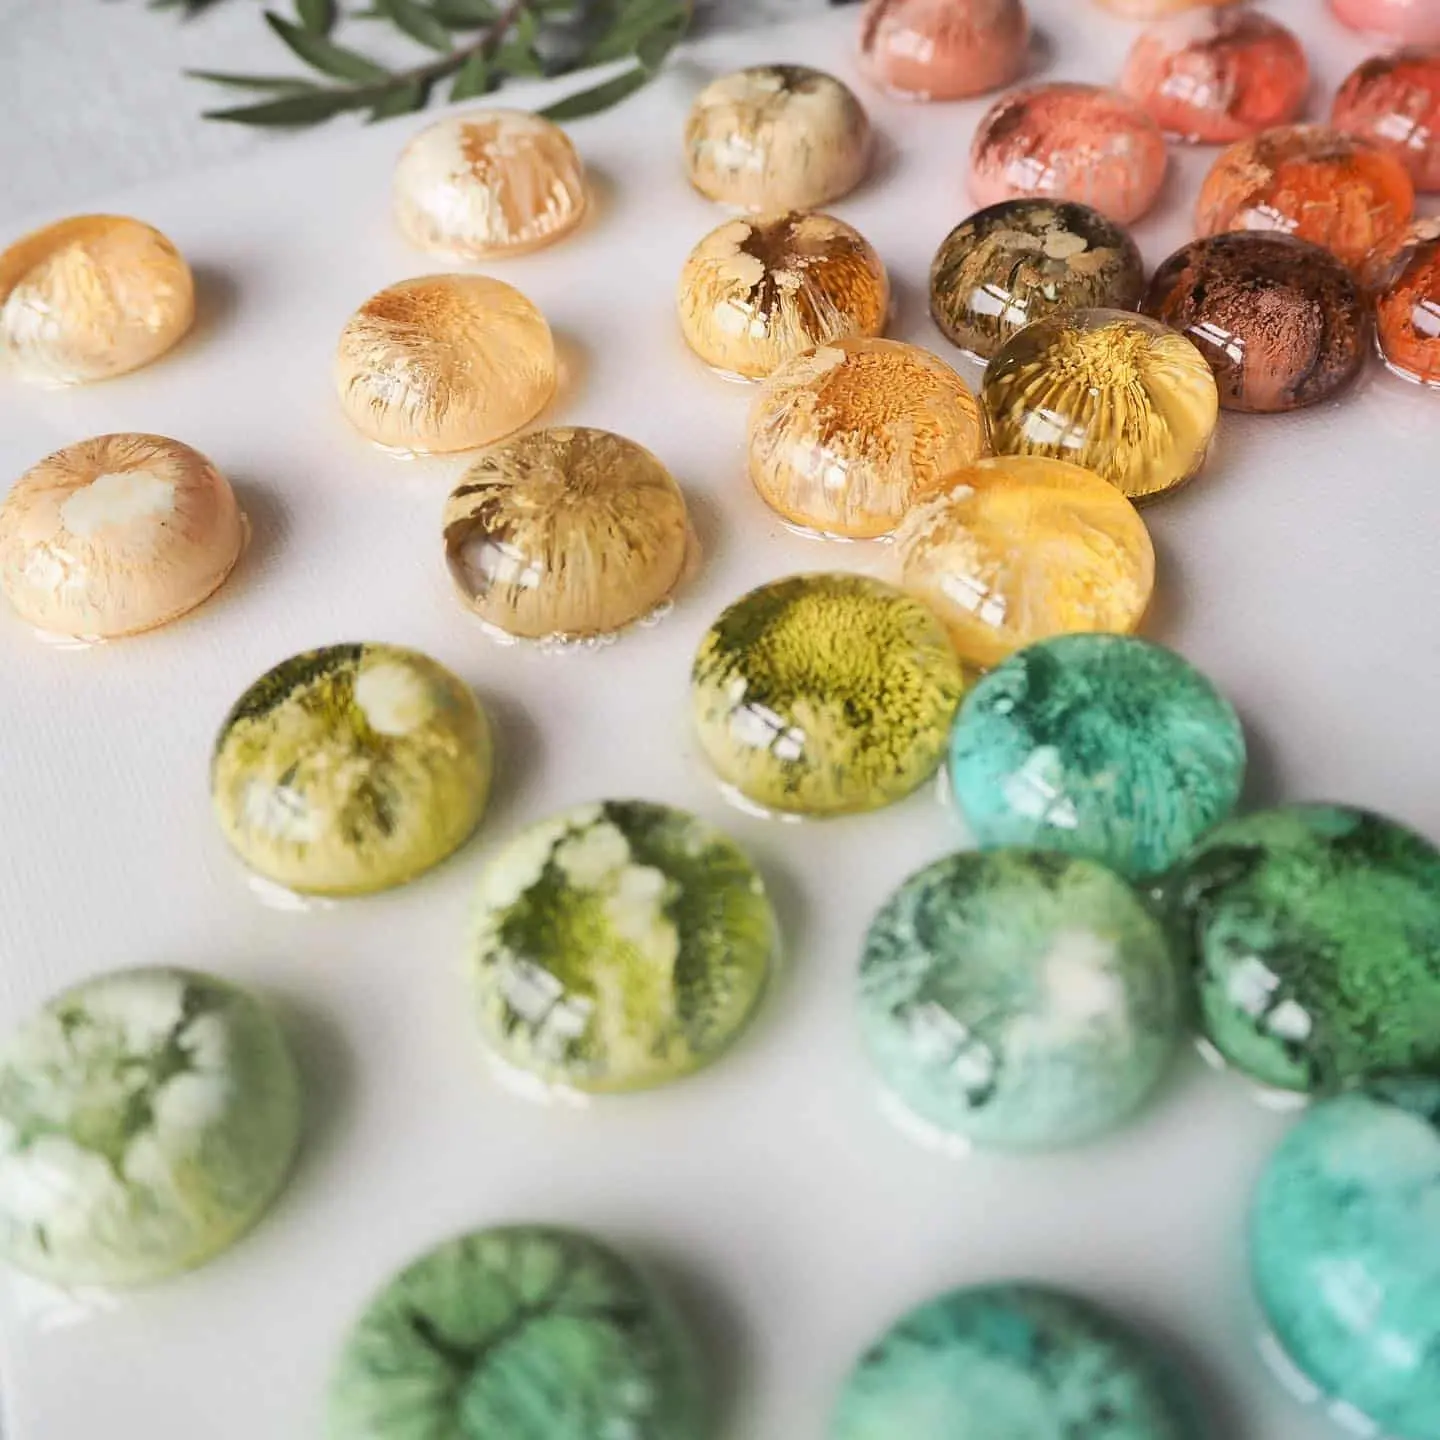
To achieve the gorgeous Petri dish effect in resin art, timing is everything. The consistency, or viscosity, of your resin at the moment you add alcohol inks will determine how the colours interact and form vivid patterns.
Understanding Viscosity for Petri Effects
Viscosity is the thickness or resistance to flow of your mixed resin. For Petri dish techniques, it’s important to work when the resin has thickened slightly but has not started to set. If you add the inks too soon, colours will disperse chaotically; too late, and the inks won’t sink and blend as desired.
- Ideal viscosity is reached roughly 20-30 minutes after mixing.
- Timing depends on room temperature—cooler rooms may take longer.
- The resin should feel like runny honey rather than water.
Practical Timing Tips and Technique
After mixing your epoxy, let it rest uncovered for a short while. Check the consistency by letting a drop flow from your mixing stick: it should slowly fall off, not drip immediately. Now you’re ready to apply drops of coloured alcohol ink, followed by white ink to trigger the signature Petri pattern. A starter kit like the Petri Resin Art Starter Kit includes full instructions and the required materials.
When This Matters Most
For those aiming for pronounced organic swirls or layered effects rather than blended clouds, waiting for the right viscosity makes all the difference. This approach is especially helpful for beginners, as it gives greater control over where and how your ink patterns will form.

Related products
Related guides
Letting your resin reach the correct viscosity is a crucial but simple step for successful Petri art. Once you’re comfortable with timing and technique, you’ll be able to experiment confidently with different colours and effects. For more on classic Petri dish resin methods, see our full resin art guide.