 Free shipping on orders over £29,85

← Back to How to season resinous wood?


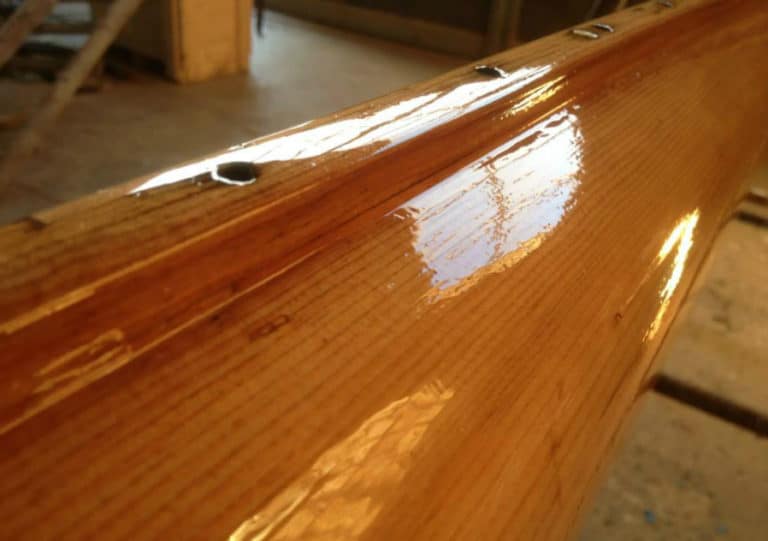
Pitch or resin from coniferous and some hardwood species can form sticky deposits on timber surfaces. Preparing resinous wood properly before applying any finish is crucial to achieve a smooth, professional result.
Step-by-Step: Removing Resin Pitch
- Scrape Off Bulk Pitch: Use a sharp chisel, cabinet scraper, or utility knife to gently lift away visible globs of resin. Work carefully to avoid damaging the wood fibres underneath.
- Sanding the Surface: Once most of the pitch is removed, sand the area thoroughly with progressively finer grit. Start with coarse grit (80–120) for stubborn spots, finishing with a medium (150–180) grit to smooth the surface. Replace sandpaper frequently, as resin can clog abrasives.
- Degreasing (Optional): For particularly resinous areas, a wipe with a clean, slightly damp cloth or a mild solvent such as white spirit can further clean away sticky residues. Allow the wood to dry fully before proceeding.
Preparing Wood for Finishing
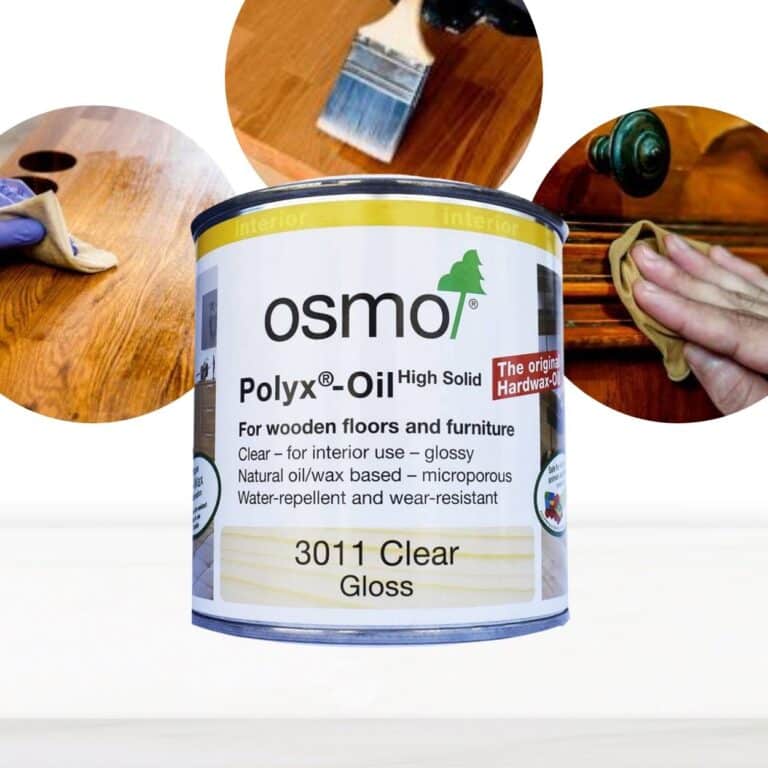
After removing the resin, inspect the timber to ensure that the area feels dry and no sticky patches remain. Clean dust thoroughly using a vacuum or tack cloth. For a long-lasting, even finish, consider sealing the wood with a deep-penetrating resin such as EpoxyWood – Wood Restoration Epoxy Resin for Deep Penetration and Waterproofing. A suitable sealer helps reinforce the wood and creates a stable surface for subsequent oils or waxes.
When This Matters
Thorough pitch removal is essential for any woodworking where a smooth, clear finish is desired—especially before applying wax oils, stains, or clear epoxies. Skipping this step can lead to uneven absorption, messy finishes, and reduced durability.
Related products
Related guides
Carefully preparing resinous wood by removing pitch sets the stage for achieving a flawless finish. For more insights and guides on working with wood of this type, visit our main advice page on how to season resinous wood.