 Free shipping on orders over £29,85

How do you heat epoxy resin?
Expert guide to heating techniques for flawless resin results


Heating epoxy resin is a vital step if you want to banish bubbles and achieve optimal curing results in crafting, art, or DIY projects. This guide explains practical methods for safely and efficiently heating epoxy resin to help you create a smooth, professional finish every time.
What You’ll Need
- Gas Heat Gun for Epoxy Resin – Precision Tool for Bubble Removal and Finishing: Ideal for quick, controlled heat application.
- 1500W Heat Gun for Crafting and Epoxy Resin Projects – Two Heat Settings: Perfect for those who want adjustable temperature options.
- “Rhino” – 2kW Fan Heater for Epoxy Resin Projects: Effective for maintaining an optimum working environment in your studio or workshop.
- Nitrile gloves and basic PPE for safety
- A well-ventilated workspace
Why Preparation Matters for Resin Heating
Preparing your workspace is vital for both safety and effective results. A tidy area without obstructions reduces accident risks and supports even heating across your project. Using the right tools and working conditions can prevent unwanted imperfections in your epoxy resin creations.
Step 1: Prepare Your Workspace
Before you begin heating your epoxy resin, it’s crucial to ensure that your workspace is safe and ready. Remove clutter, cover surfaces, and check for anything flammable. Proper ventilation is essential when heating epoxy resin. Always open windows or use extraction fans to minimise exposure to fumes that may arise during the heating process.
Take care to keep your heating tools away from liquids or dust that may interfere with their performance. Lay out all your materials in advance so you don’t have to interrupt the process once you begin.


Step 2: Mix and Pour the Epoxy Resin
Carefully measure and mix your resin and hardener according to manufacturer instructions. Pour the mixture evenly onto your surface or into your mould. Allow a minute or two for initial bubbles to rise to the surface. If the resin mixture is particularly cold, you might notice more bubbles forming than usual.
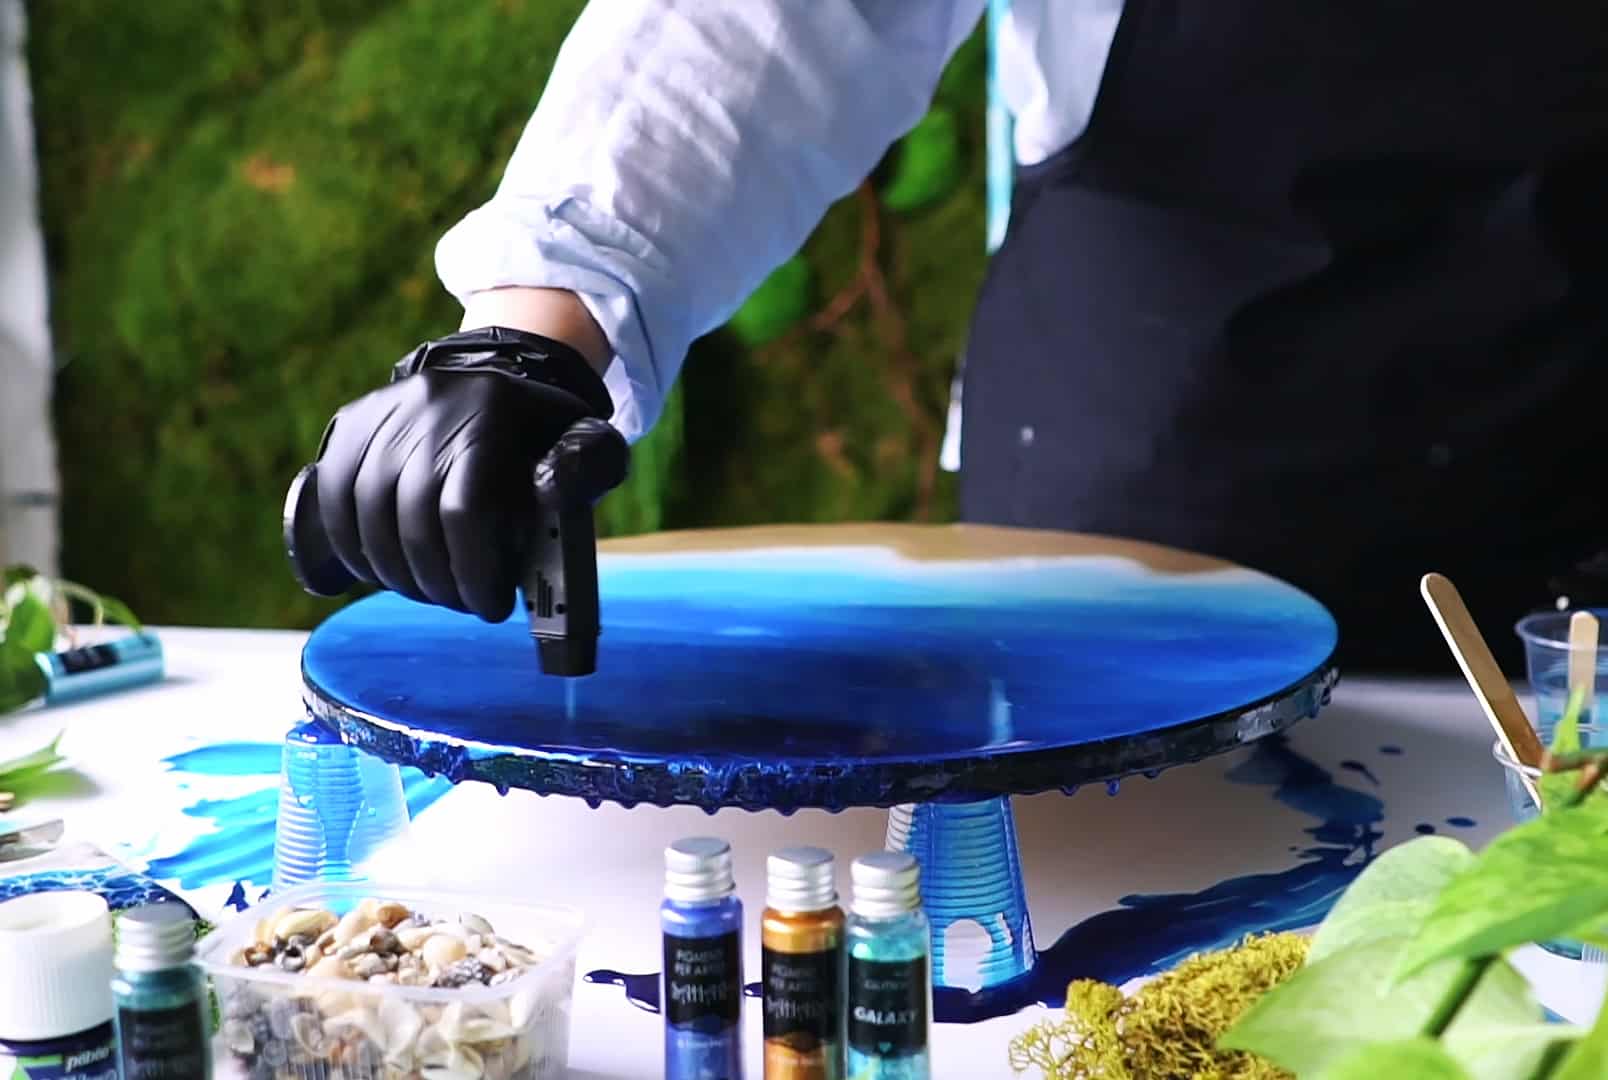
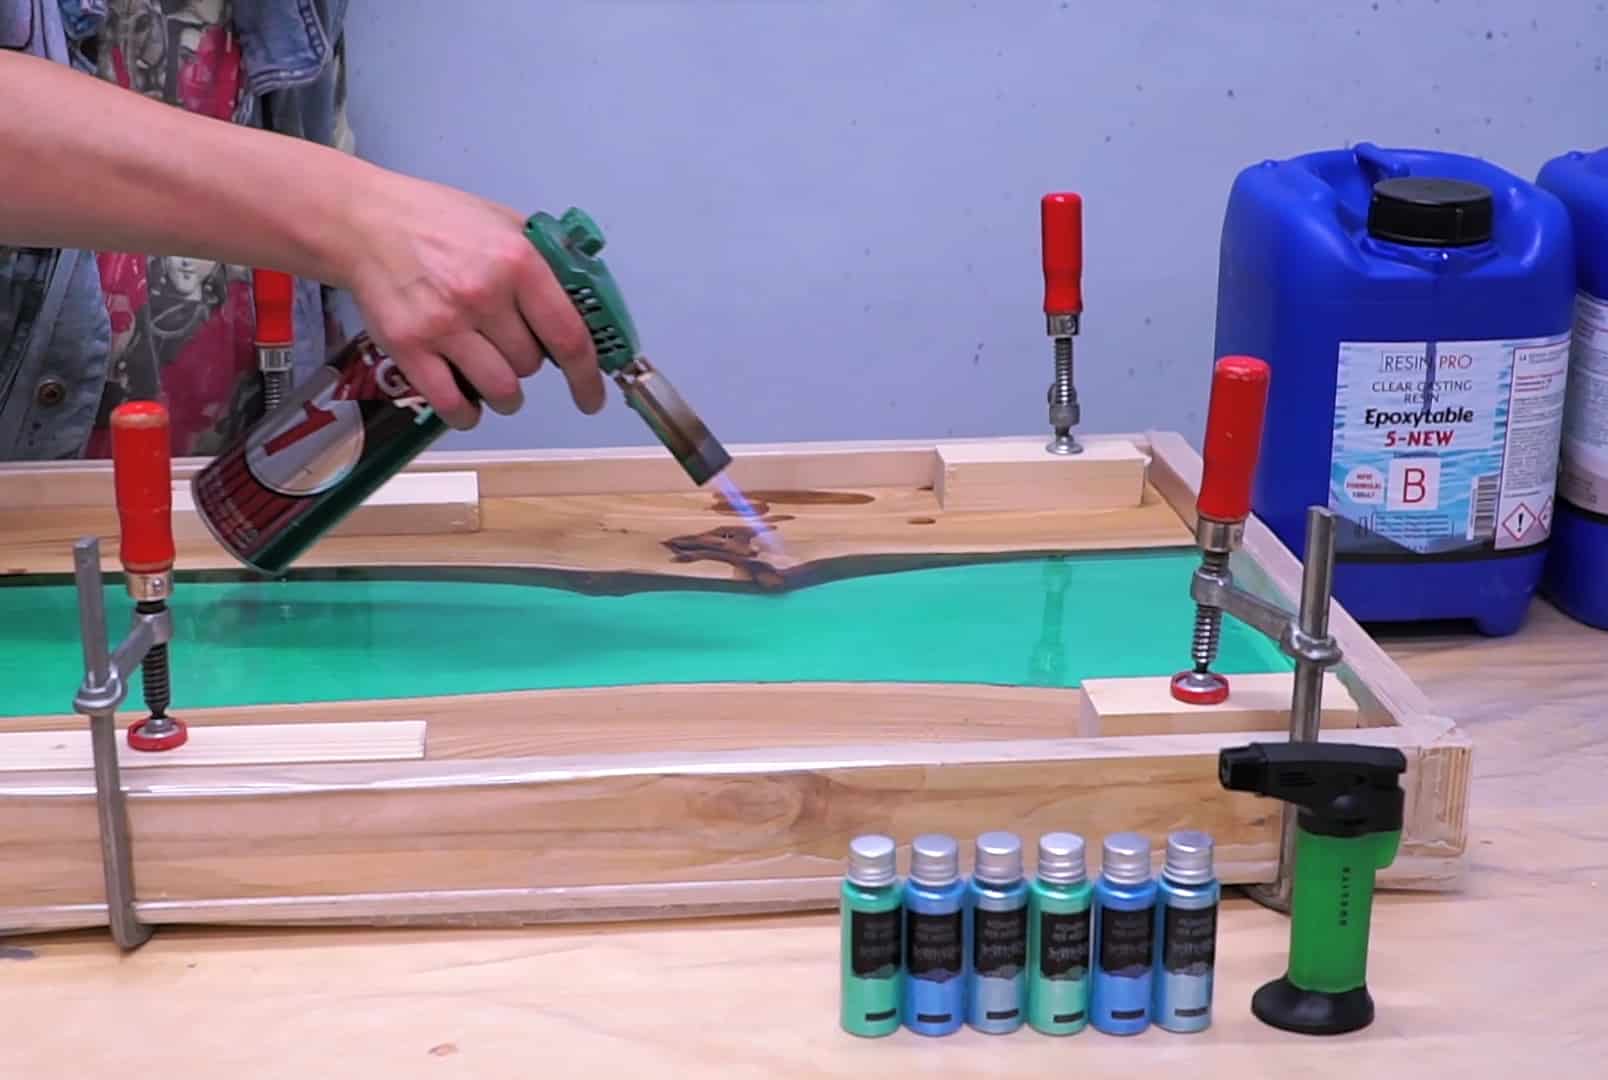
Step 3: Apply Gentle Heat to Release Bubbles
Hold your selected heat source a safe distance—usually around 10–15cm—above the resin surface. Gas Heat Gun for Epoxy Resin – Precision Tool for Bubble Removal and Finishing is excellent for providing pinpoint heat, ideal for delicate projects. Alternatively, a 1500W Heat Gun for Crafting and Epoxy Resin Projects – Two Heat Settings enables you to adjust the temperature for different project sizes.
Move the heat source slowly and smoothly over the surface. Move the heat gun steadily and avoid lingering in one spot. Your aim is to burst bubbles without overheating the resin. Most bubbles will rise and pop shortly after heating. For a broader workspace, keep the tool moving continually and avoid contact with the wet resin.

Step 4: Maintain the Correct Curing Temperature
To ensure even curing, control the environmental temperature, particularly if working in a cold area. The “Rhino” – 2kW Fan Heater for Epoxy Resin Projects helps maintain a stable ambient temperature, which supports proper resin hardening. Set the heater on low to medium, allowing air to circulate gently around your curing resin—never point it directly at the wet resin to avoid dust and debris disturbing your finish.
Monitor the room temperature throughout the curing process. Ideally, temperatures should remain consistent until the resin is fully set.
Tips, Common Mistakes, and Troubleshooting
Overheating can cause resin to yellow or develop ripples. Always use the lowest effective heat setting and keep tools moving. Don’t try to pop every tiny bubble—some will naturally dissipate as the resin levels. If working with new equipment, test temperature settings on a small area if unsure. Forgetting ventilation or using excessive heat in one spot are common mistakes, so double-check your setup before starting.
Troubleshooting Heating Issues in Epoxy Resin
Encountering persistent bubbles or uneven curing? Check the distance and movement of your heat source and verify that your workspace temperature is steady. When in doubt, refer to guides or start with a test sample before committing a large batch of resin to heat treatment.
- Gas Heat Gun for Epoxy Resin – Precision Tool for Bubble Removal and FinishingPrice range: £4.45 through £14.95A tool for precision heating that supports bubble removal and finishing of epoxy resin projects, suitable for both beginners and experienced users.
- 1500W Heat Gun for Crafting and Epoxy Resin Projects – Two Heat Settings£29.45The 1500W Heat Gun is designed for epoxy resin projects, offering two heat settings and up to 500°C for bubble removal and finishing.
- "Rhino" – 2kW Fan Heater for Epoxy Resin Projects£20.95The Rhino 2kW Fan Heater provides rapid warming with adjustable thermostat, suitable for epoxy resin projects and controlled heating.
Frequently Asked Questions
What is the safest way to heat epoxy resin for removing bubbles?
Gentle heat from a heat gun, applied at a safe distance and kept moving, is the safest and most effective method.
Can I use a fan heater to help epoxy resin cure?
Yes, a fan heater can help maintain ambient temperature for proper curing, but avoid direct airflow on wet resin to prevent dust.
What happens if I overheat my epoxy resin?
Overheating can cause yellowing, unwanted ripples, and may compromise the strength of the cured resin.
How close should I hold a heat gun to epoxy resin?
Hold the heat gun about 10–15cm above the surface and keep it moving to avoid local overheating.
What is the ideal room temperature for curing epoxy resin?
A steady environment of 20–25°C is commonly recommended for smooth curing, but always check your resin’s manufacturer guidance.
Is a hair dryer suitable for heating epoxy resin?
Hair dryers generally do not reach suitable temperatures for effective bubble removal and may blow dust onto the resin.
When should I apply heat to my epoxy resin?
Apply heat immediately after pouring, once bubbles rise, but before the resin begins to set and becomes tacky.