 Free shipping on orders over £29,85

How do you remove the film applied with resin?
Expert guidance for achieving a clean, professional finish

Removing the protective film used during resin projects is a crucial step towards achieving a flawless, glossy finish. Whether you’ve used a specialist release film during casting or want to ensure your final piece is free from sticky residue, following the correct technique is essential. This guide explains how to safely and effectively remove film applied with resin, ensuring your work retains its beauty and clarity.
What You’ll Need
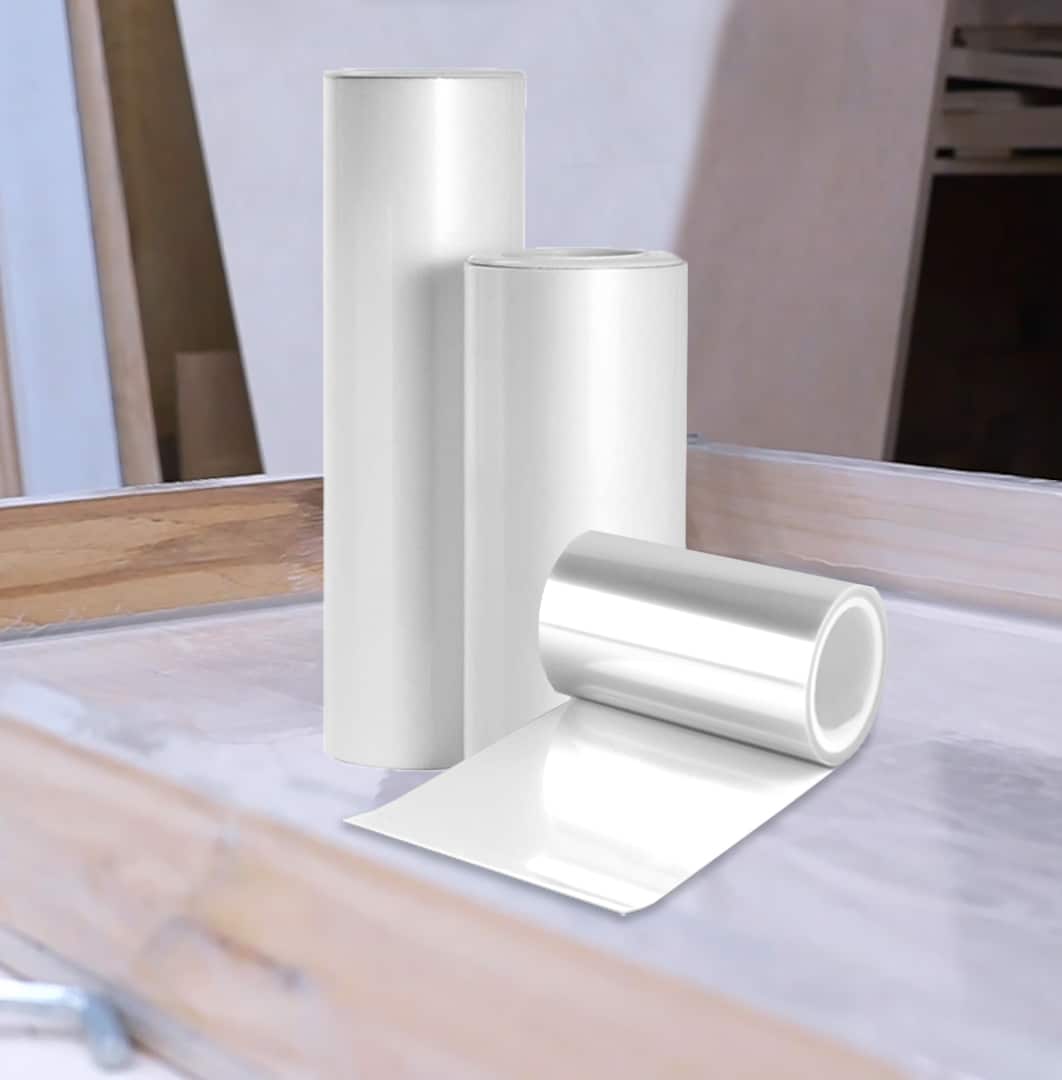
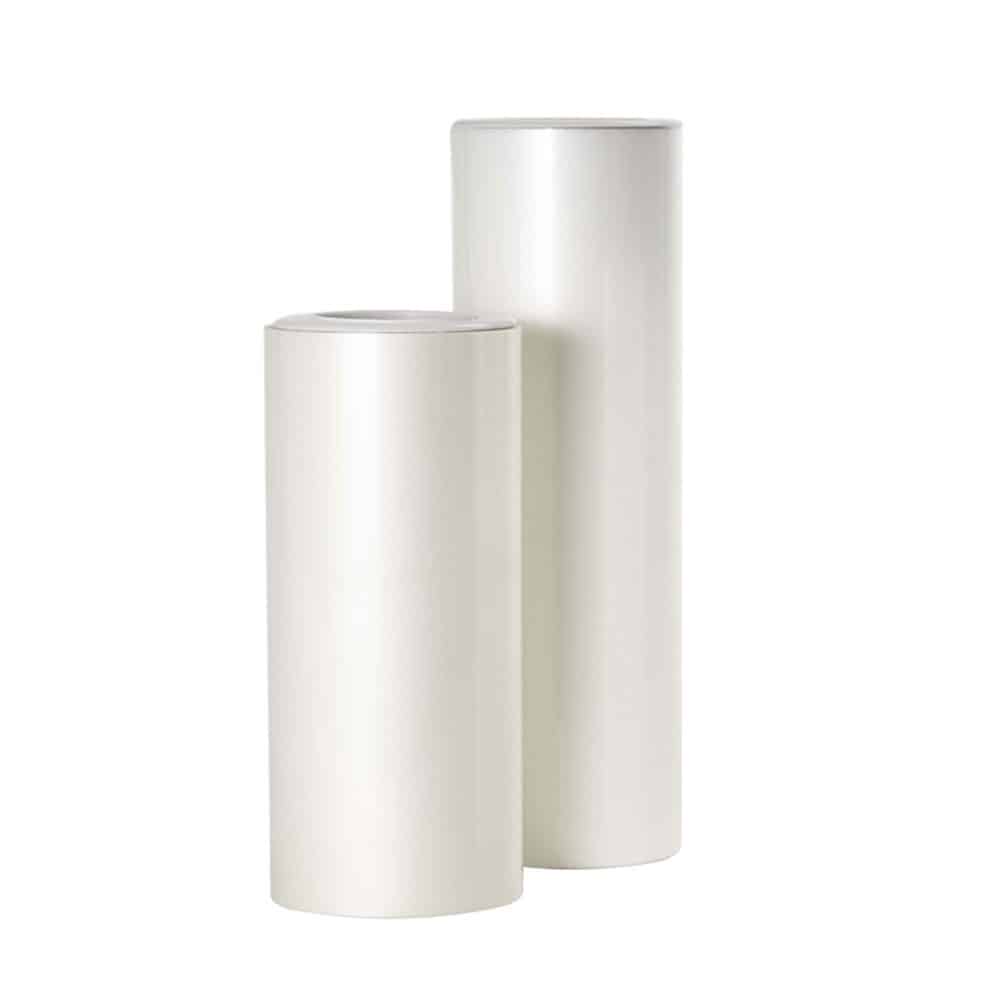
- “Shiny Shield” – Glossy Release Film for Resin Projects (if this type of film was used in your project)
- Pure Isopropyl Alcohol 99.9% – 1000ml Bottle for Epoxy Resin Projects & DIY (for gentle cleaning of residue)
- Strong Technical Degreaser for Resin Projects – 100% Natural Formula (for cleaning surfaces and tackling stubborn films)
- Soft, lint-free cloths
- Protective gloves
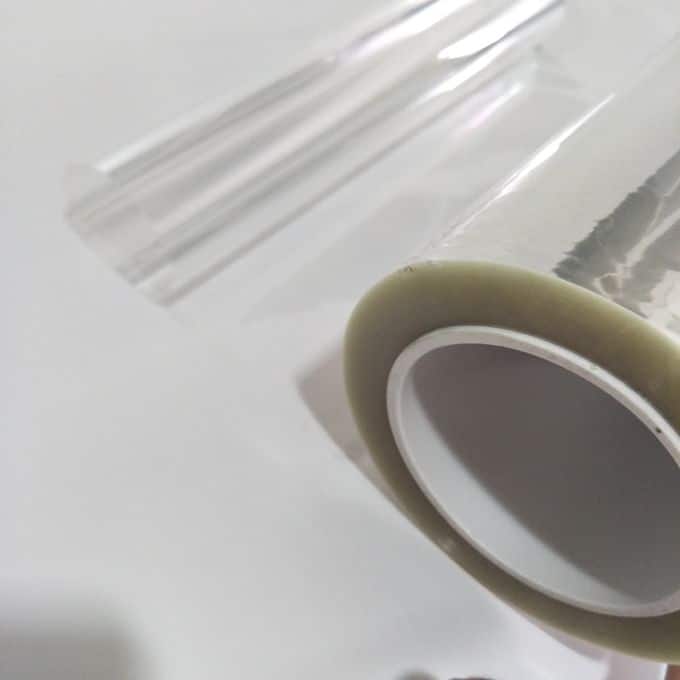
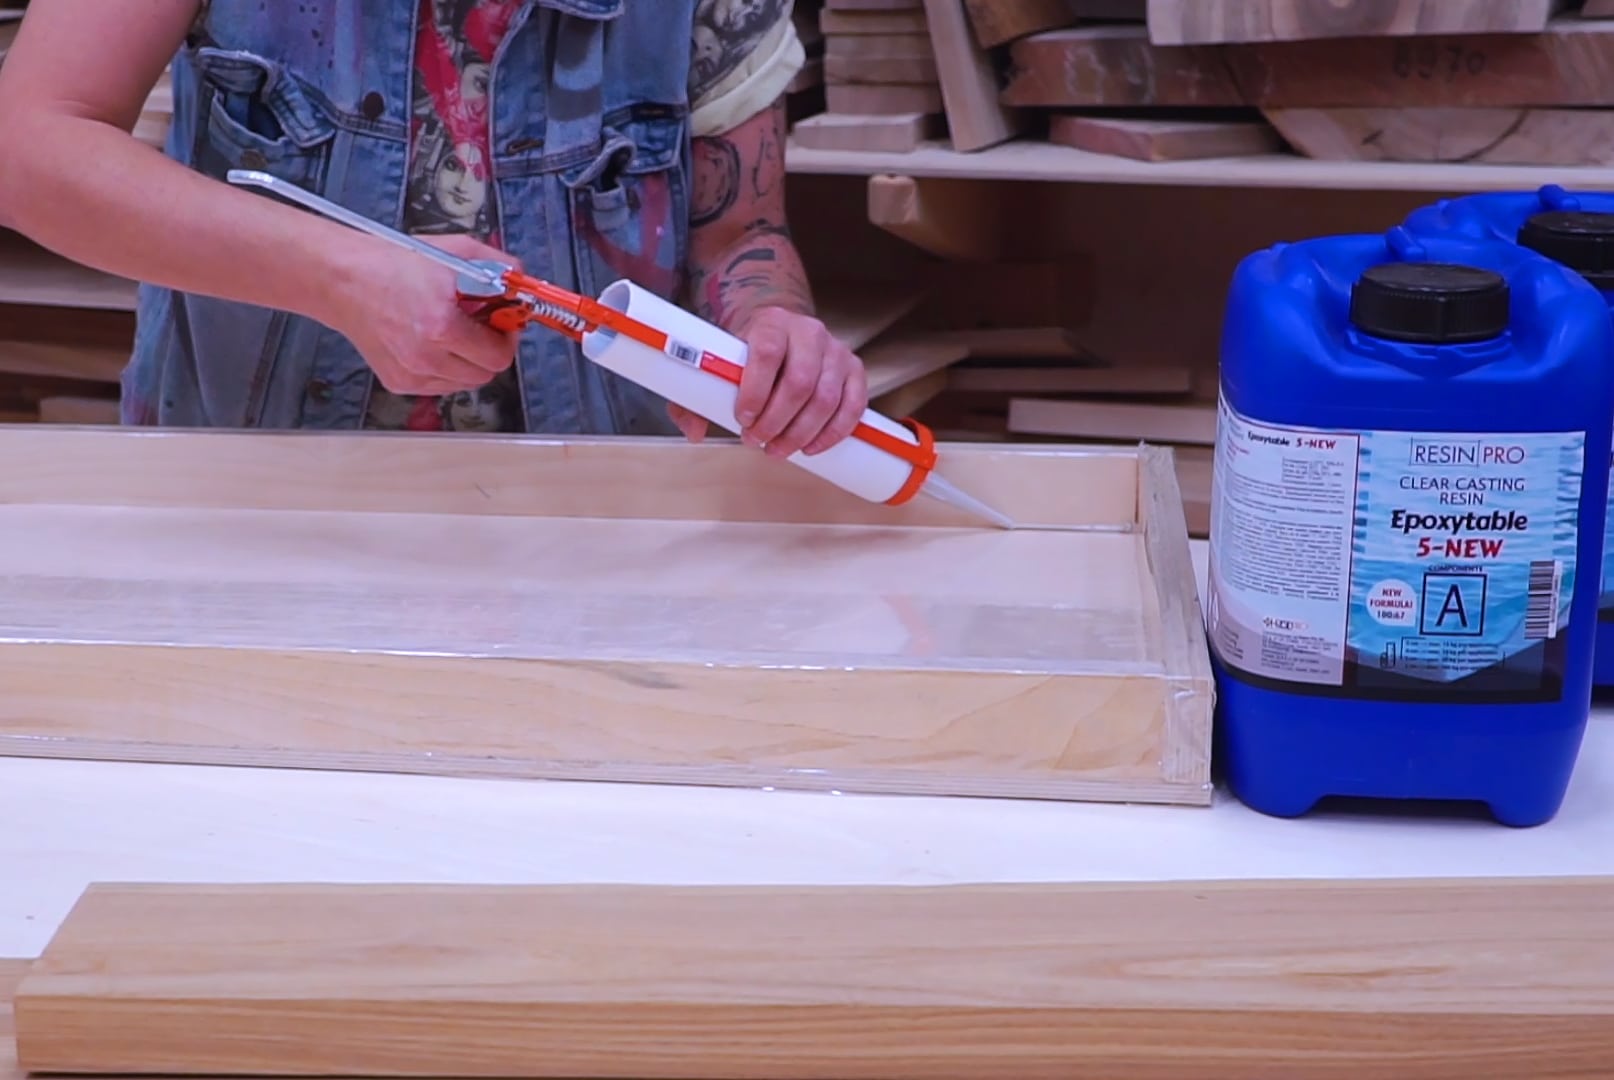
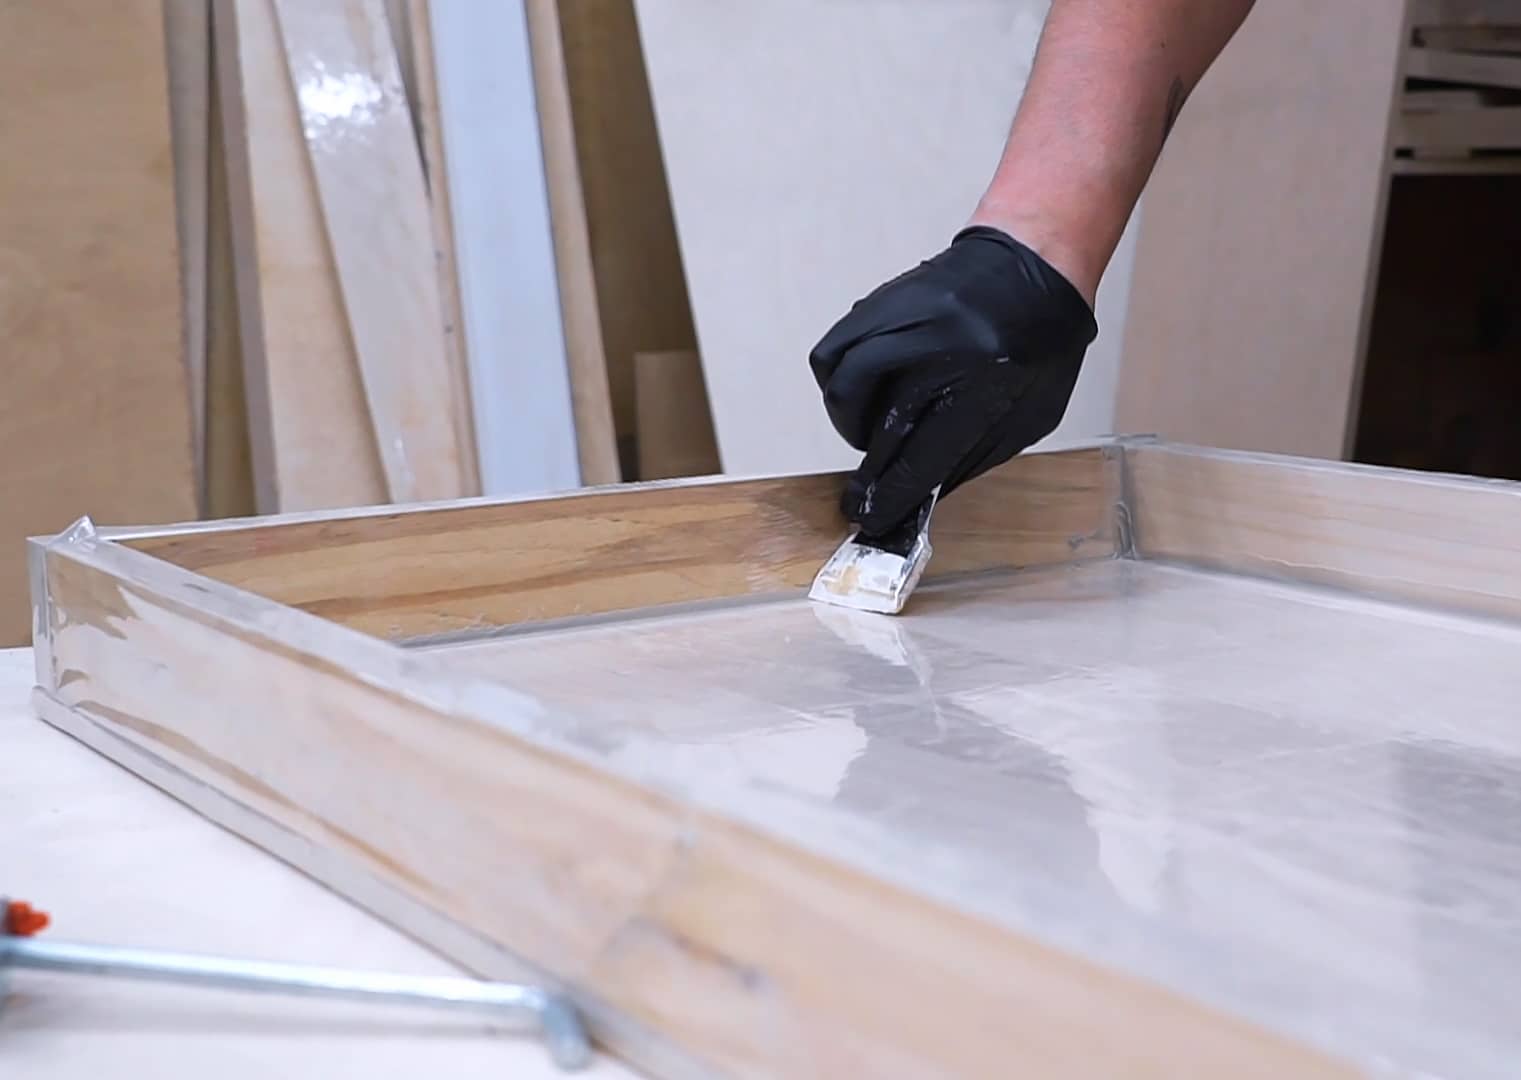
Visual Examples of Film Removal
See step-by-step visuals showing how release films peel away cleanly from cured resin work. Notice the clarity and absence of residue when the correct film and methods are used. Using dedicated tools helps prevent surface defects and streamlines the cleaning process.
Step 1: Wait for the Resin to Fully Cure
Always allow the resin to fully cure before attempting removal. Curing times depend on your resin type and project environment—typically, this will be 24–72 hours. Premature removal may cause the film to tear or the resin to deform, leaving imperfections on the finished surface. Ensure the resin feels hard to the touch and does not dent under gentle pressure before moving to the next step.
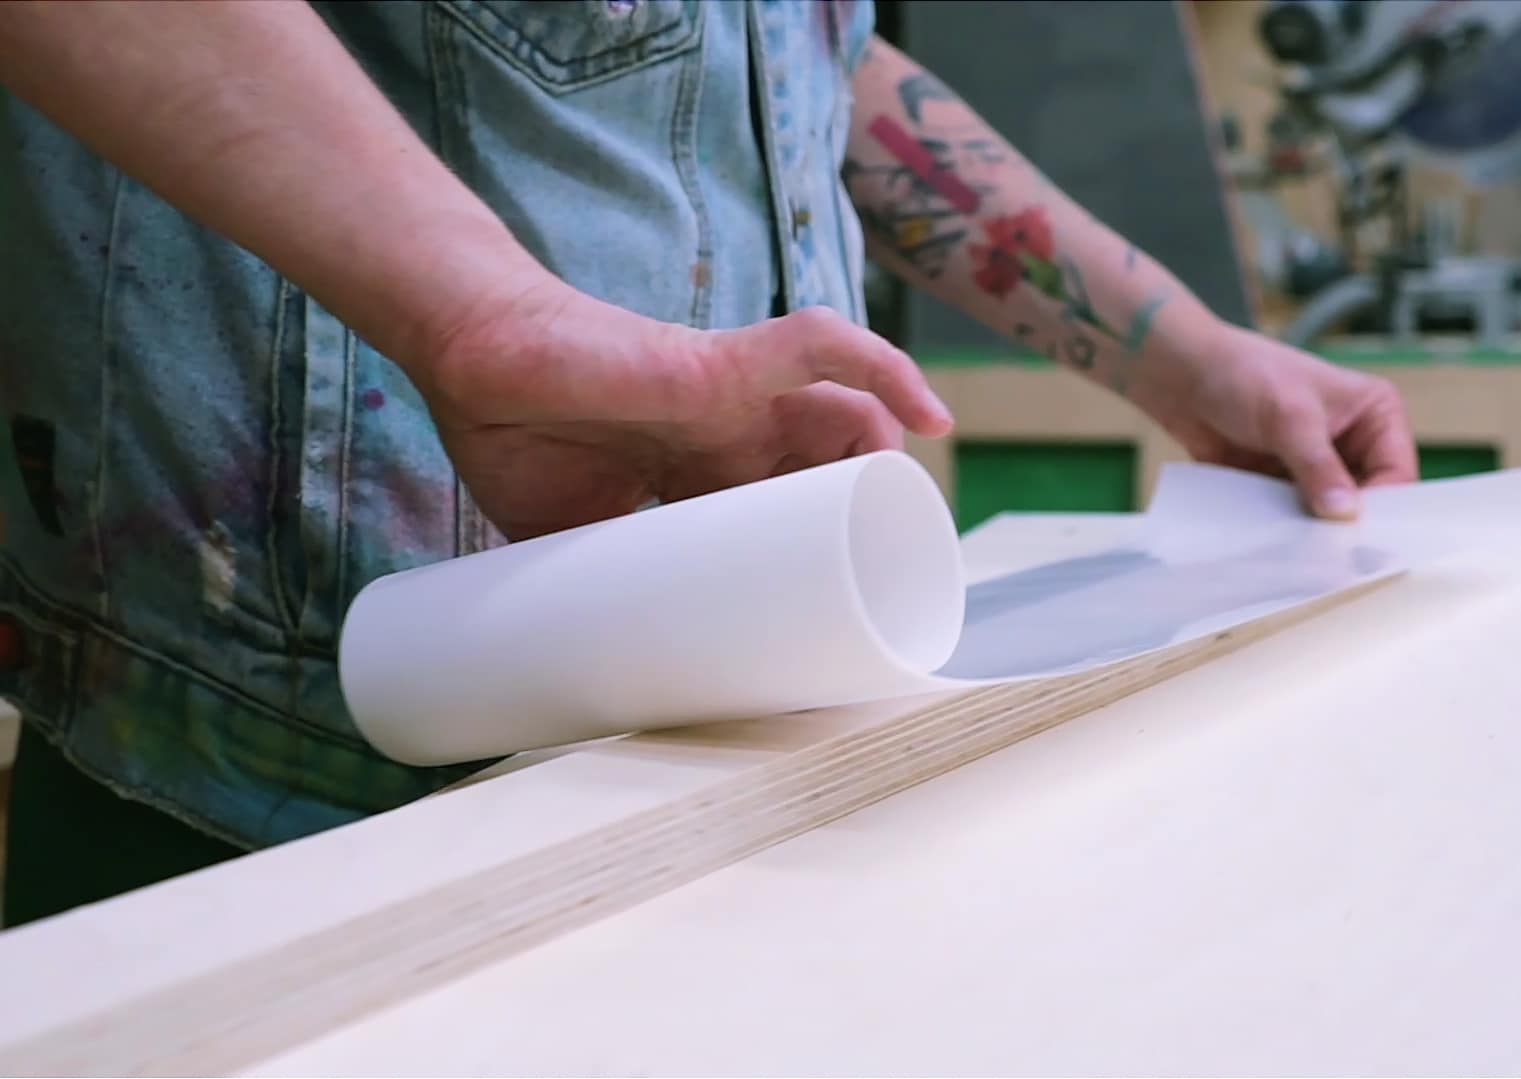
Step 2: Peel Back the Release Film
If you have used a dedicated release film such as “Shiny Shield” – Glossy Release Film for Resin Projects, start peeling from one corner and lift gently at a shallow angle. The self-adhesive film is designed to separate cleanly from both the resin surface and the mould or formwork, reducing the risk of snagging. For best results, work slowly to avoid snapping the film or leaving behind fragments.
Work gently to avoid damaging your resin artwork. If any small pieces of film remain stuck, avoid scratching the surface—address these in the following step.
Step 3: Remove Residues and Stubborn Film
If you notice sticky patches or stubborn bits of film, moisten a soft, lint-free cloth with Pure Isopropyl Alcohol 99.9%. Gently rub the affected area in a circular motion until the residue lifts away. Isopropyl alcohol evaporates quickly and leaves no trace, making it ideal for resin surface cleaning.
For especially persistent films or greasy residues, apply a small amount of Strong Technical Degreaser for Resin Projects – 100% Natural Formula to your cloth and gently clean the area. Always rinse with a fresh, damp cloth afterwards to prevent streaks.
Test cleaning products on a small area first to ensure no adverse effects on your particular resin formulation or pigment.


Step 4: Inspect and Finish the Surface
After all film and residue are removed, carefully inspect your resin piece for clarity and shine. If the surface is uneven or lacks gloss, gentle polishing can restore its lustre. In this case, use a soft, clean pad—preferably from a dedicated resin polishing kit—and work in light, even circles. Always follow the product recommendations suited to resin finishing.
Avoid using harsh abrasives on finished resin surfaces to prevent scratching or dulling the appearance. If in doubt, test on an inconspicuous area first.
Tips and Common Mistakes
- Never attempt to peel the film before the resin is fully hard, as this increases the risk of damaging your artwork.
- Gently pulling the film away rather than yanking reduces the chance of leaving remnants or marking the surface.
- When cleaning, less is more—avoid soaking the resin in liquid as overexposure can affect certain finishes.
- If a film or residue resists cleaning, allow it to dry further before another removal attempt.
- Store your polishing and cleaning products in a dry, cool place, well away from open flames or heat sources.

Demonstrating Cleaned and Finished Resin Surfaces
Observe before-and-after results of resin surfaces following correct film and residue removal. Proper cleaning completes your project and enhances gloss and depth. Isopropyl Alcohol and Strong Technical Degreaser contribute to a clean, professional finish.
- "Shiny Shield" – Glossy Release Film for Resin ProjectsPrice range: £3.45 through £12.95Shiny Shield is a self-adhesive film designed for a bubble-free, flat resin surface and easy removal without residue.
- Pure Isopropyl Alcohol 99.9% – 1000ml Bottle for Epoxy Resin Projects & DIYPrice range: £10.45 through £20.95Pure Isopropyl Alcohol is suitable for epoxy resin projects where bubble removal and cleaning are needed.
- Strong Technical Degreaser for Resin Projects – 100% Natural FormulaOriginal price was: £10.95.£9.45Current price is: £9.45.Strong Technical Degreaser is a natural, gentle cleaner for multiple surfaces, designed for use in resin projects.
- "River-Table" – Complete Kit for Creating Your First Epoxy Resin TablePrice range: £198.45 through £467.45"River-Table" kit includes resin, sealant, polishing kit and pigments with instructions for resin tables and crafts projects.
Frequently Asked Questions
Can you remove resin film without damaging the surface?
Yes, if the resin is fully cured and you peel gently, the film will come off cleanly without scratching or dulling the finish.
What if the film sticks to the resin surface?
Use a lint-free cloth with isopropyl alcohol to gently remove any stuck fragments or residues from the cured resin.
Is isopropyl alcohol safe for resin cleaning?
Yes, pure isopropyl alcohol is commonly used for cleaning cured resin and will not damage the surface when used properly.
How long should you wait before removing the film?
Wait until the resin has fully cured—this may take between 24 to 72 hours depending on your resin and conditions.
How to clean sticky resin residue after film removal?
Gently wipe the area with a soft cloth and isopropyl alcohol. For greasy or persistent residues, a natural degreaser may also help.
Do you need polishing after film removal?
Most high-quality release films leave a glossy surface, but minor imperfections can be polished with suitable products if needed.