 Free shipping on orders over £29,85

← Back to How is E-30 water effect resin used?

Creating stunning resin wave art is highly rewarding, but achieving crisp, detailed waves can be a challenge. If your designs appear blurred or indistinct, a few simple changes to your approach can make a significant difference.
Choosing the Right Resin for Defined Waves
The viscosity of your resin plays a crucial role in the clarity of wave effects. Thicker, ultra-high viscosity resins like Art Pro Deluxe help keep pigments and wave powders in place, preventing colours from blending unintentionally. This allows for sharper lines and more exact definition in your ocean scenes compared to using medium or low-viscosity resins.
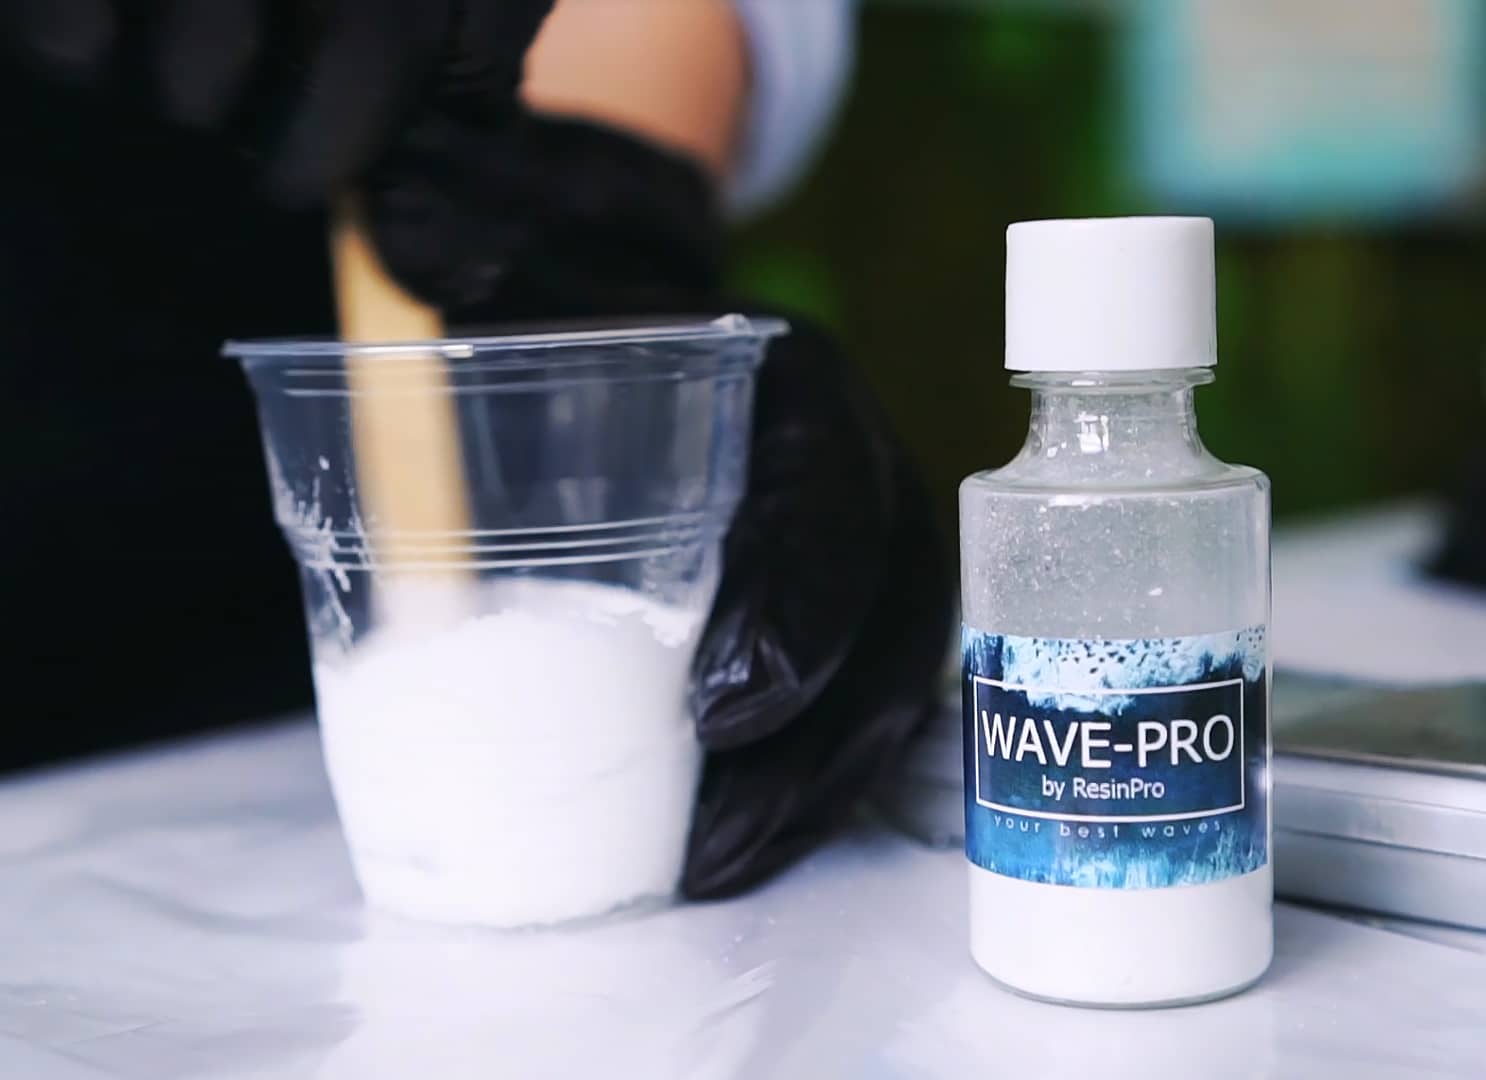

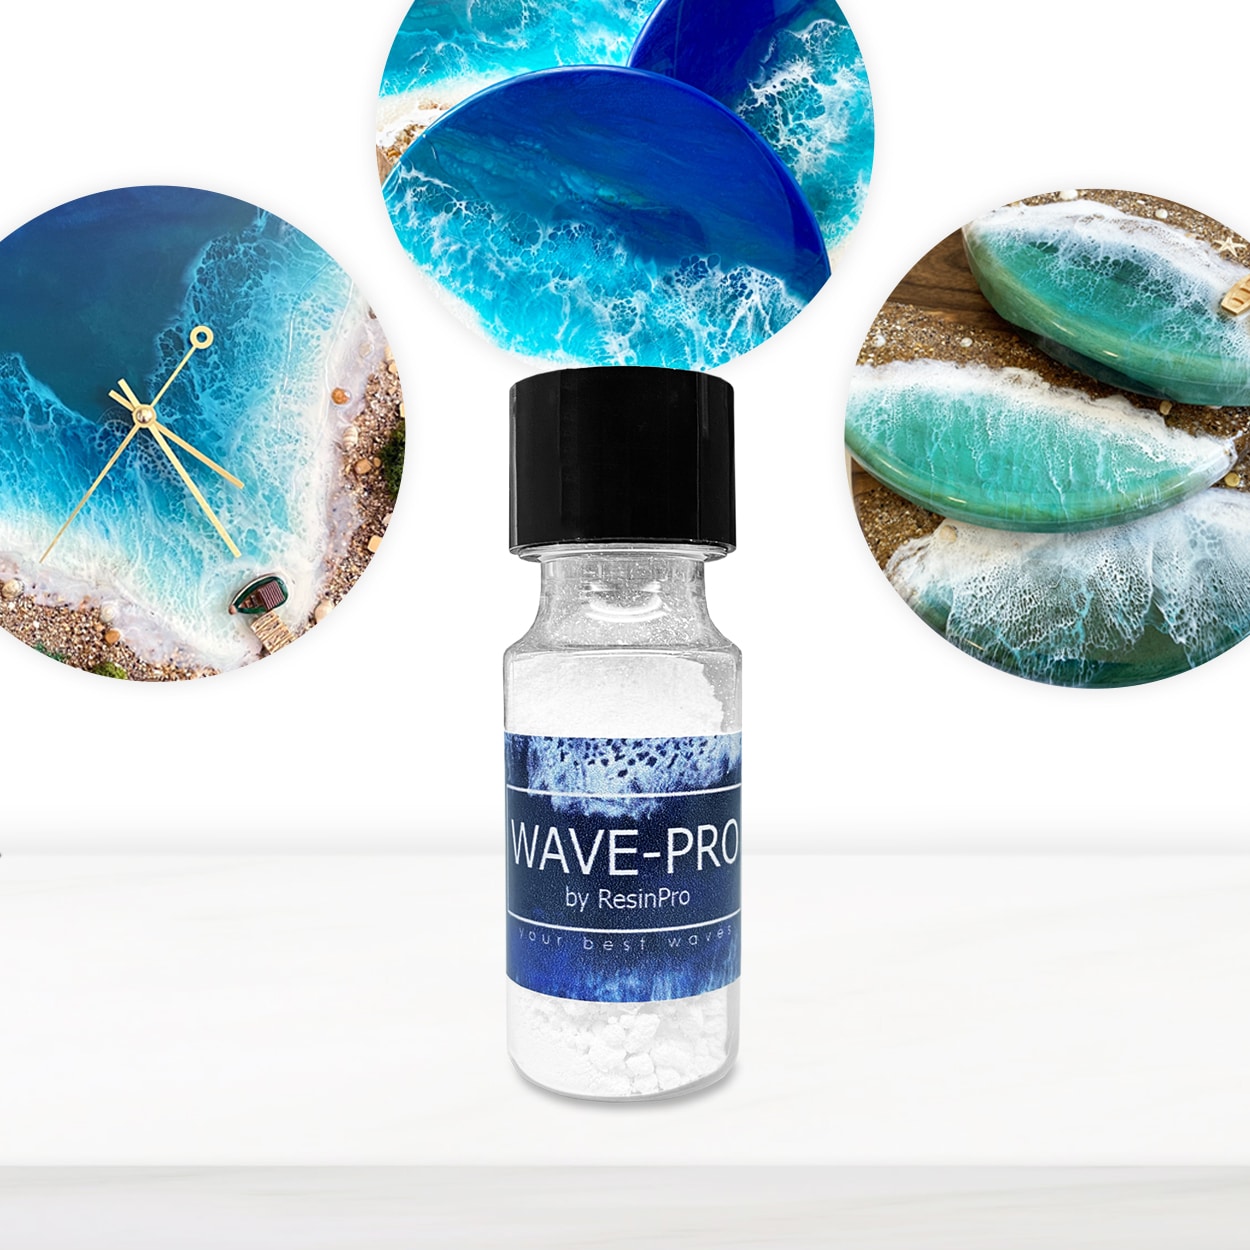
Maximising Results with Wave Powder and Technique
Once you apply a specialised wave additive, such as Wave-Pro, it’s important to avoid overworking the surface. Too much manipulation can disrupt the crisp foamy patterns that form naturally in high-viscosity resin. Aim for gentle movements and refrain from excessive tilting or spreading after adding the powder to maintain detail.
Practical Steps for Crisp Wave Effects
- Use a primed surface like canvas or board to prevent absorption and ensure smooth resin movement.
- Mix your resin thoroughly according to the recommended ratio and work promptly, as thicker resins may cure faster.
- Apply the wave powder sparingly and observe how it reacts before making any further adjustments.
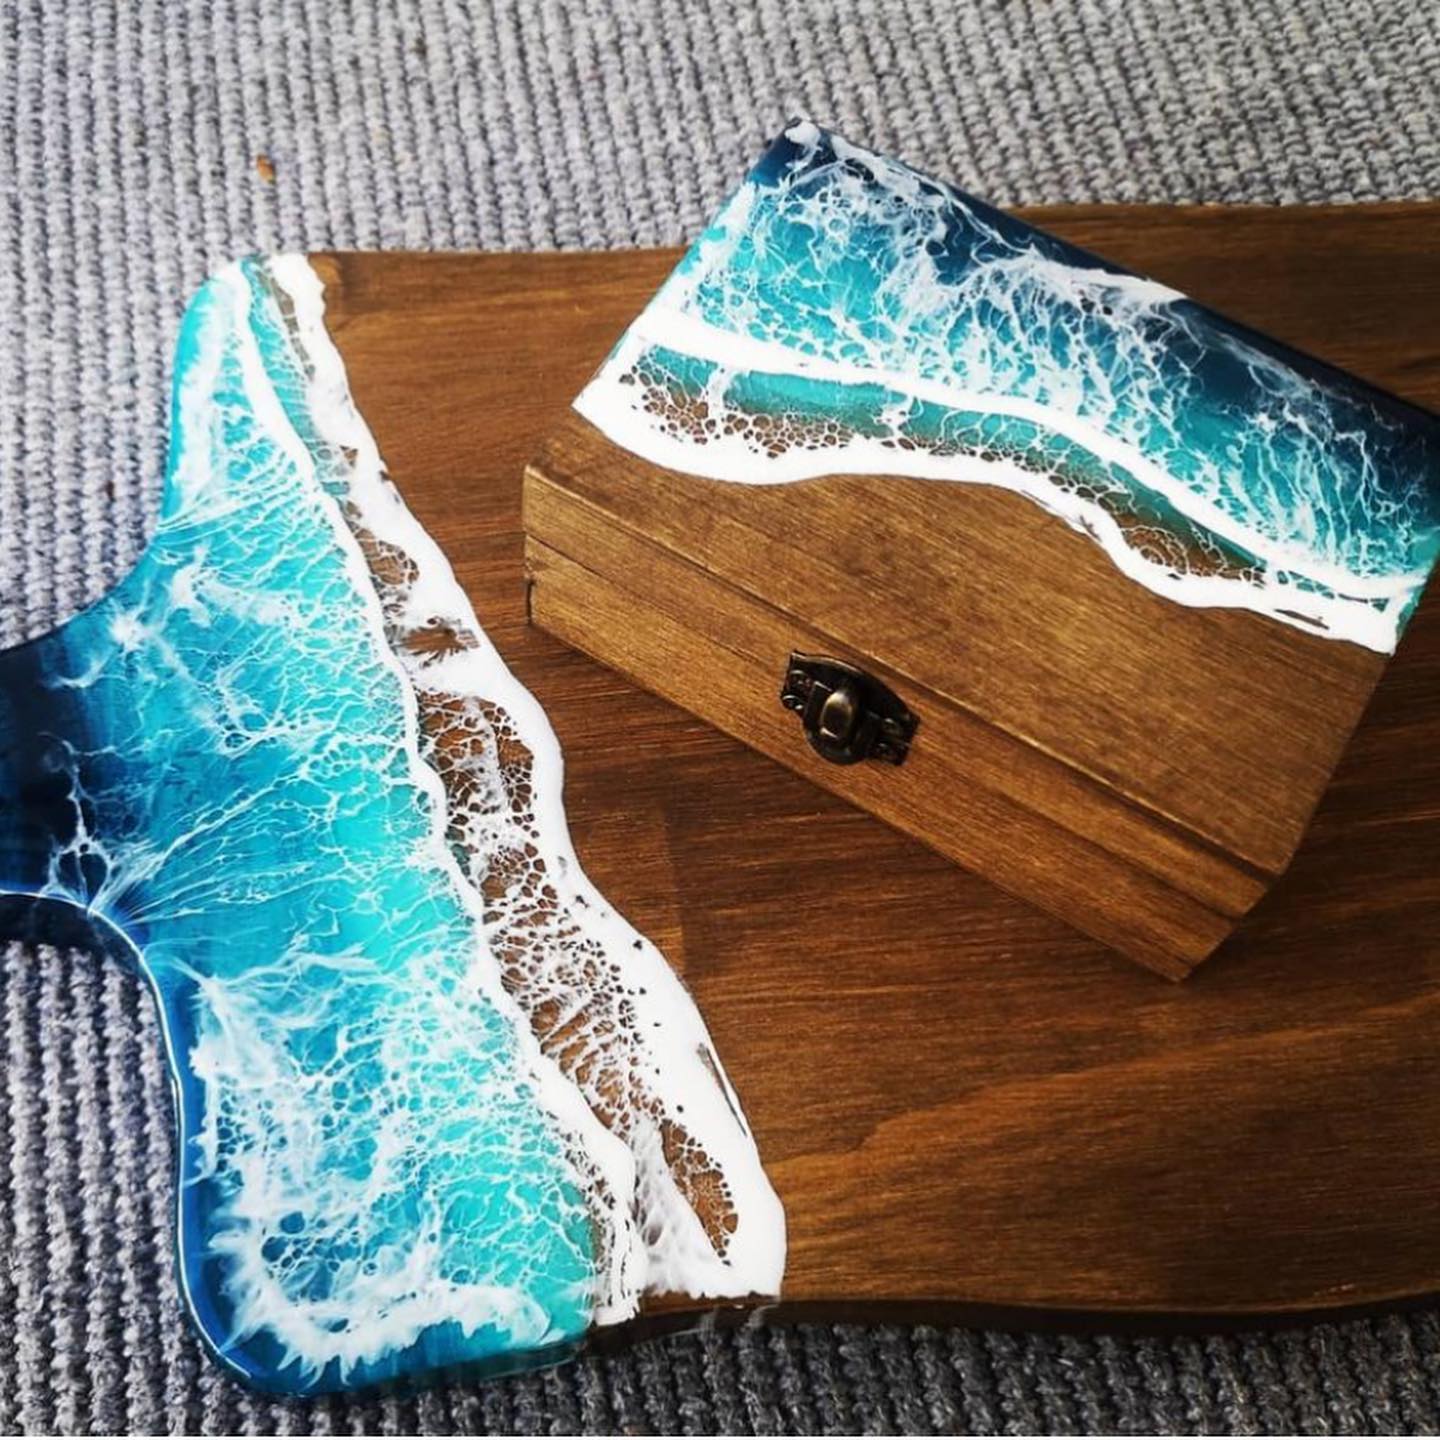
When This Matters
Crisp, detailed wave effects make a real difference in seascape and ocean-inspired resin art. Whether you’re creating wall pieces or decorative trays, mastering wave definition elevates your finished work and gives it a more lifelike quality.
Related products
Related guides
Understanding resin viscosity, the right wave additives, and careful technique are all key to creating clear, beautiful waves in your projects. For more guidance on perfecting water effects and exploring quality resin kits, visit our main page on how E-30 water effect resin is used.