 Free shipping on orders over £29,85

How is E-30 water effect resin used?
Achieve stunning sea wave effects in your resin artwork.

Mastering ocean-inspired art with E-30 water effect resin allows creators to capture the beauty and movement of the sea in a unique and visually captivating form. This guide will walk you through achieving realistic water and wave effects, whether you’re a hobbyist or looking to create professional-level marine scenes. Follow these essential steps to ensure a vibrant finish and a smooth, frustration-free process, from preparation right through to finishing touches.
What You’ll Need
- “Sea” – Resin Kit for Creating Ocean Art, 1.7kg Epoxy, Pigments & Canvas – Complete kit with thick epoxy resin, canvas, pigments, and a wave effect additive.
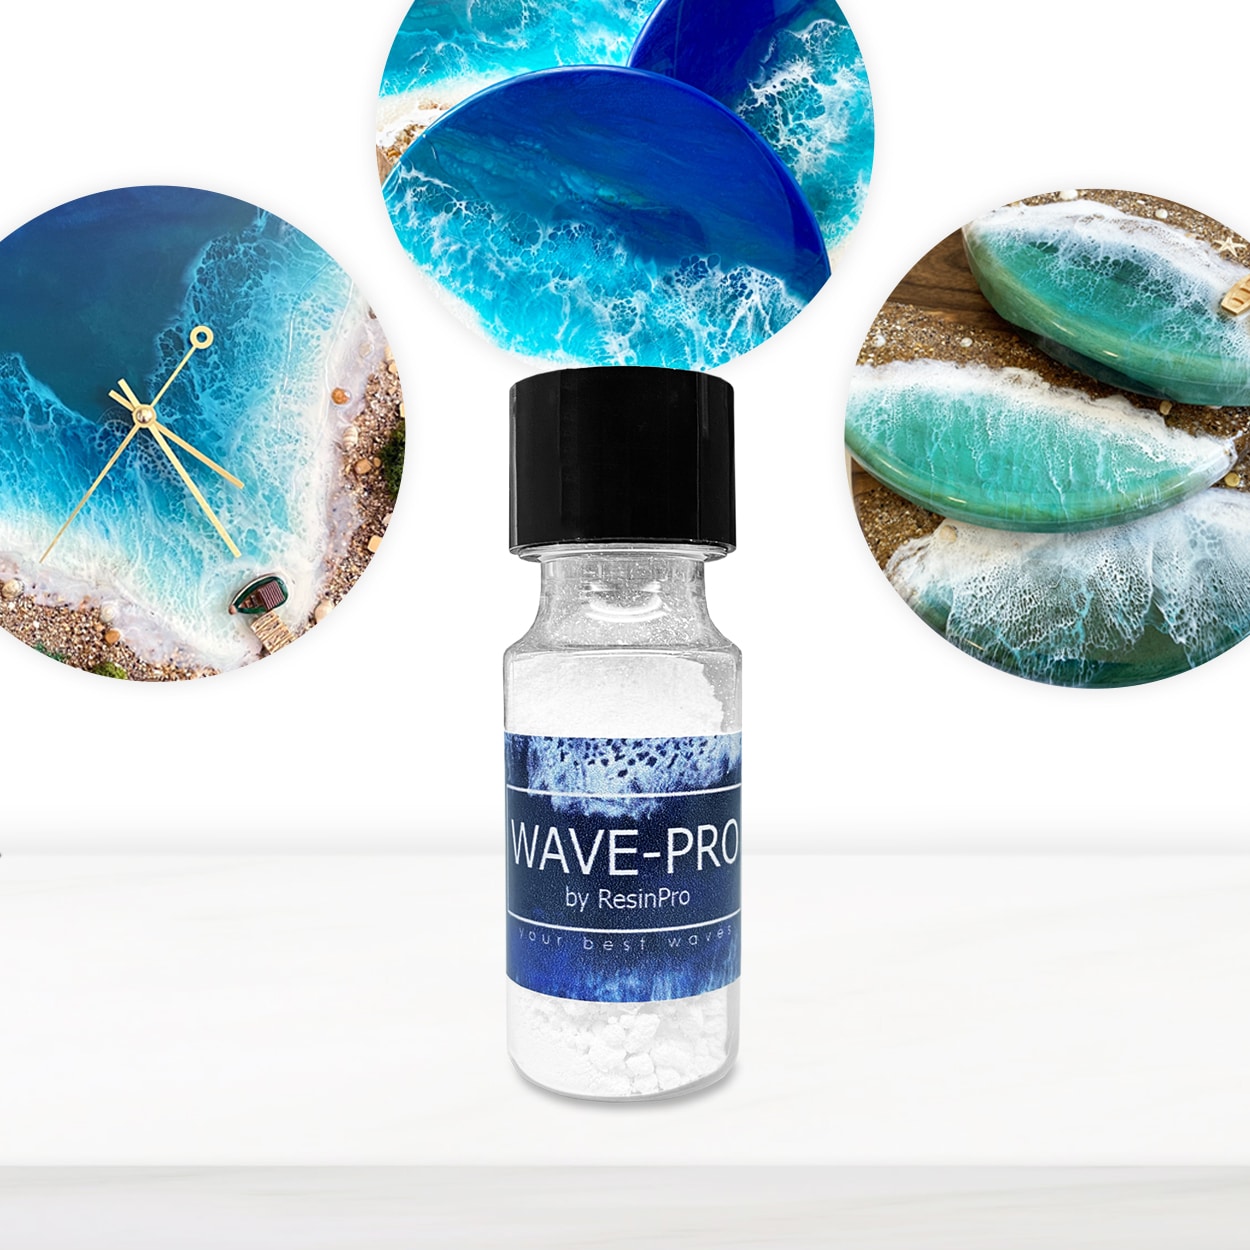
- “Wave-Pro” – Pigment Additive for Sea Wave Effect in Epoxy Resin – For creating foamy wave and cell effects.
- “Art Pro Deluxe” – Ultra-High Viscosity Epoxy Resin for Artists – Provides heightened control for crisp lines and defined waves.
- “One-2-One” – Epoxy Resin for Handcraft, 1:1 Mixing Ratio – For decorative layering and encapsulation.
- Mixing sticks, cups, nitrile gloves, protective apron or clothing
- Level, protected work surface and a flat canvas, board, or suitable base
- Optional: Heat gun or hairdryer (for minor bubble removal)
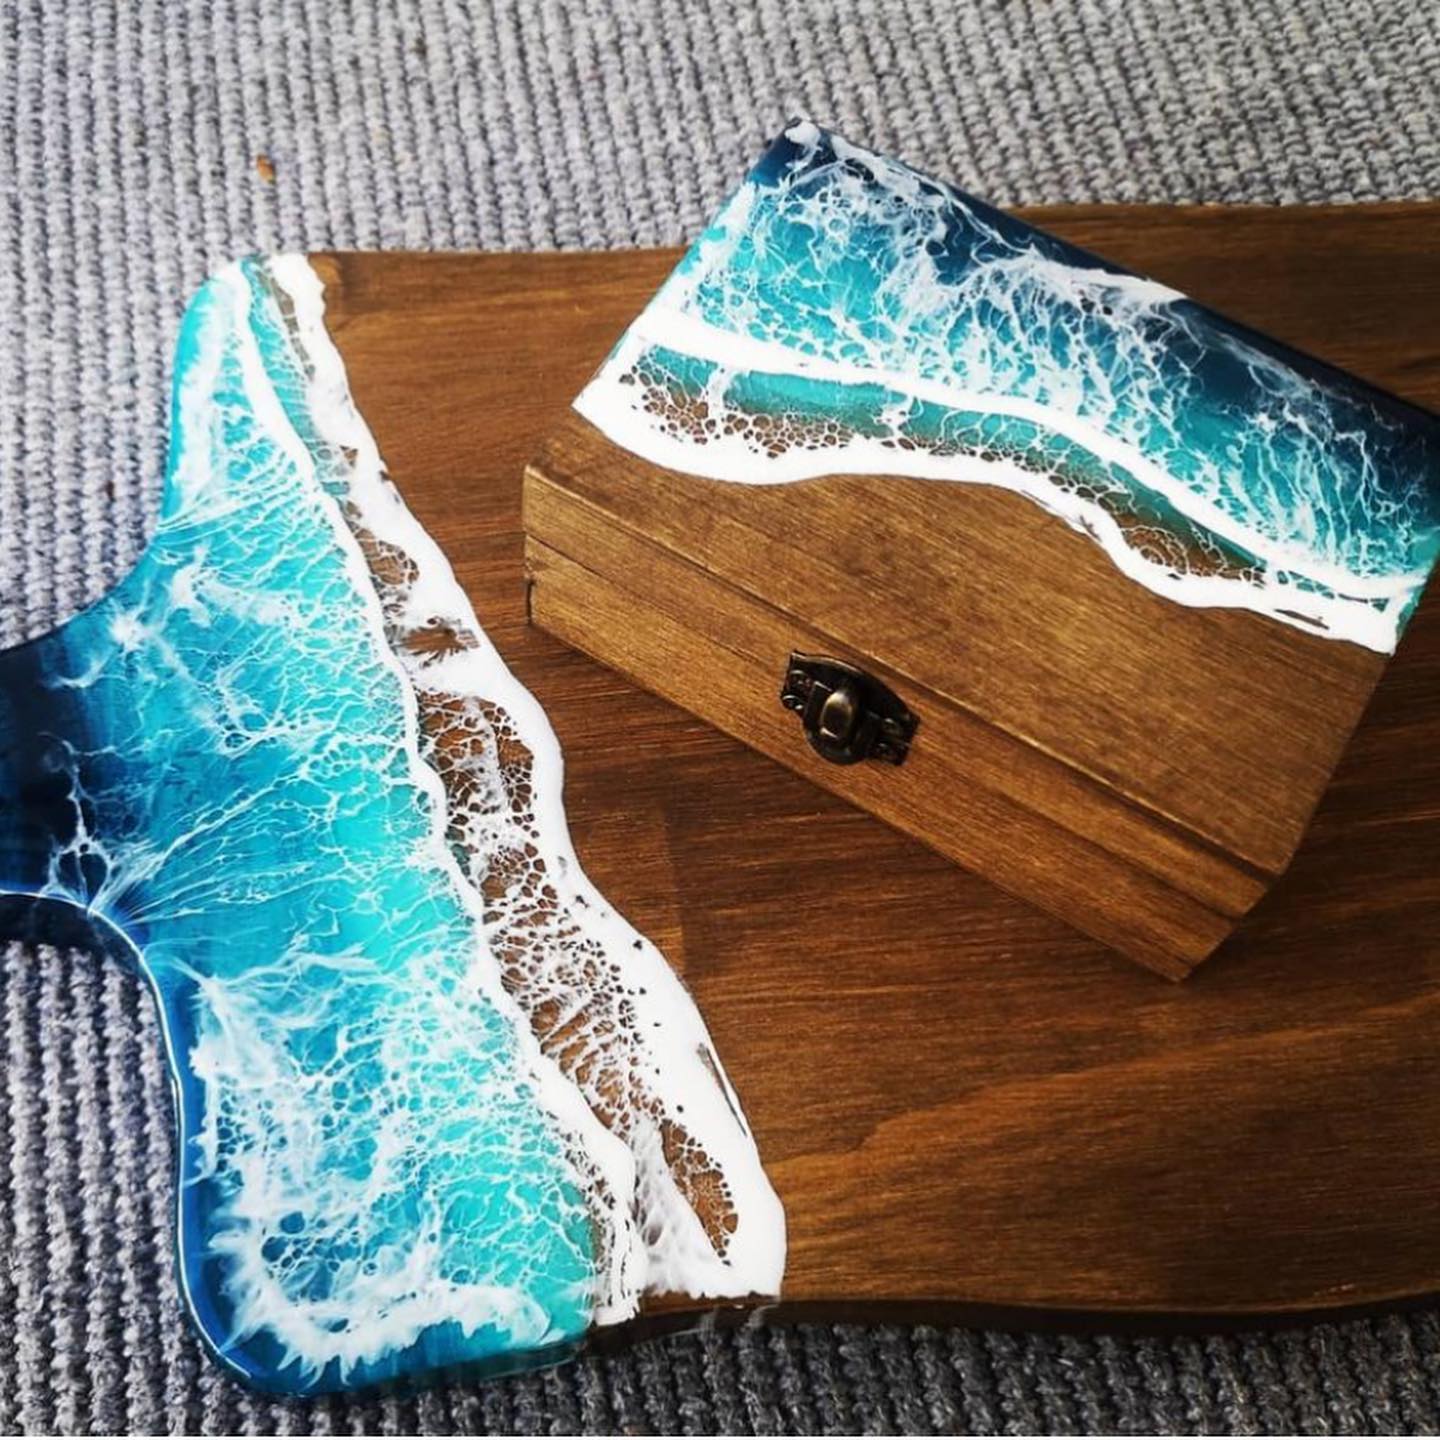
Discover Resin Art Water Effects in Action
Explore inspiring examples of ocean resin art featuring cascading waves, vibrant colour gradients, and depth-enhancing techniques. Notice how different resins and additives can transform your artwork from a basic colour pour to a mesmerising seascape.
Step 1: Prepare Your Workspace and Materials
Check your workspace is clean, dust-free, and well-ventilated. Lay down plastic sheeting or disposable covers to protect surfaces from spills. Gather all your materials beforehand and read the safety instructions. Wear gloves and protective clothing whenever handling resin to avoid skin contact. Place your canvas or chosen backing on a level surface.
If you are using a complete kit such as the “Sea” – Resin Kit for Creating Ocean Art, 1.7kg Epoxy, Pigments & Canvas, ensure all included components are ready and organised, including pigments and wave additives.


Step 2: Mix and Colour Your Resin
Carefully follow the instructions for the resin you’ve chosen, measuring the resin and hardener in the correct ratio. For example, the “One-2-One” resin mixes in a simple 1:1 ratio by volume, which is particularly straightforward for beginners. Stir slowly for 2–3 minutes until the mixture turns clear and streak-free, scraping the sides and bottom of your mixing cup for a uniform result.
Blend pigments slowly and thoroughly into your mixed resin to achieve your desired tones. If pursuing crisp, separated bands of blue, teal, or white, an ultra-high viscosity resin like “Art Pro Deluxe” – Ultra-High Viscosity Epoxy Resin for Artists can help prevent colours bleeding together.
Step 3: Pour and Layer for the Water Effect
Pour the resin gradually and tilt the surface for even coverage. Start with the darker blue at the top (the sea), then layer lighter colours toward the shore. Use a spatula or stick for gentle blending—don’t overmix textures if you’re aiming for defined waves.
Level your artwork to avoid pooling. At this stage, work efficiently: resin begins to cure within about 30–40 minutes, so finish your pouring and blending swiftly to achieve a smooth waterline.


Step 4: Create Realistic Waves and Effects
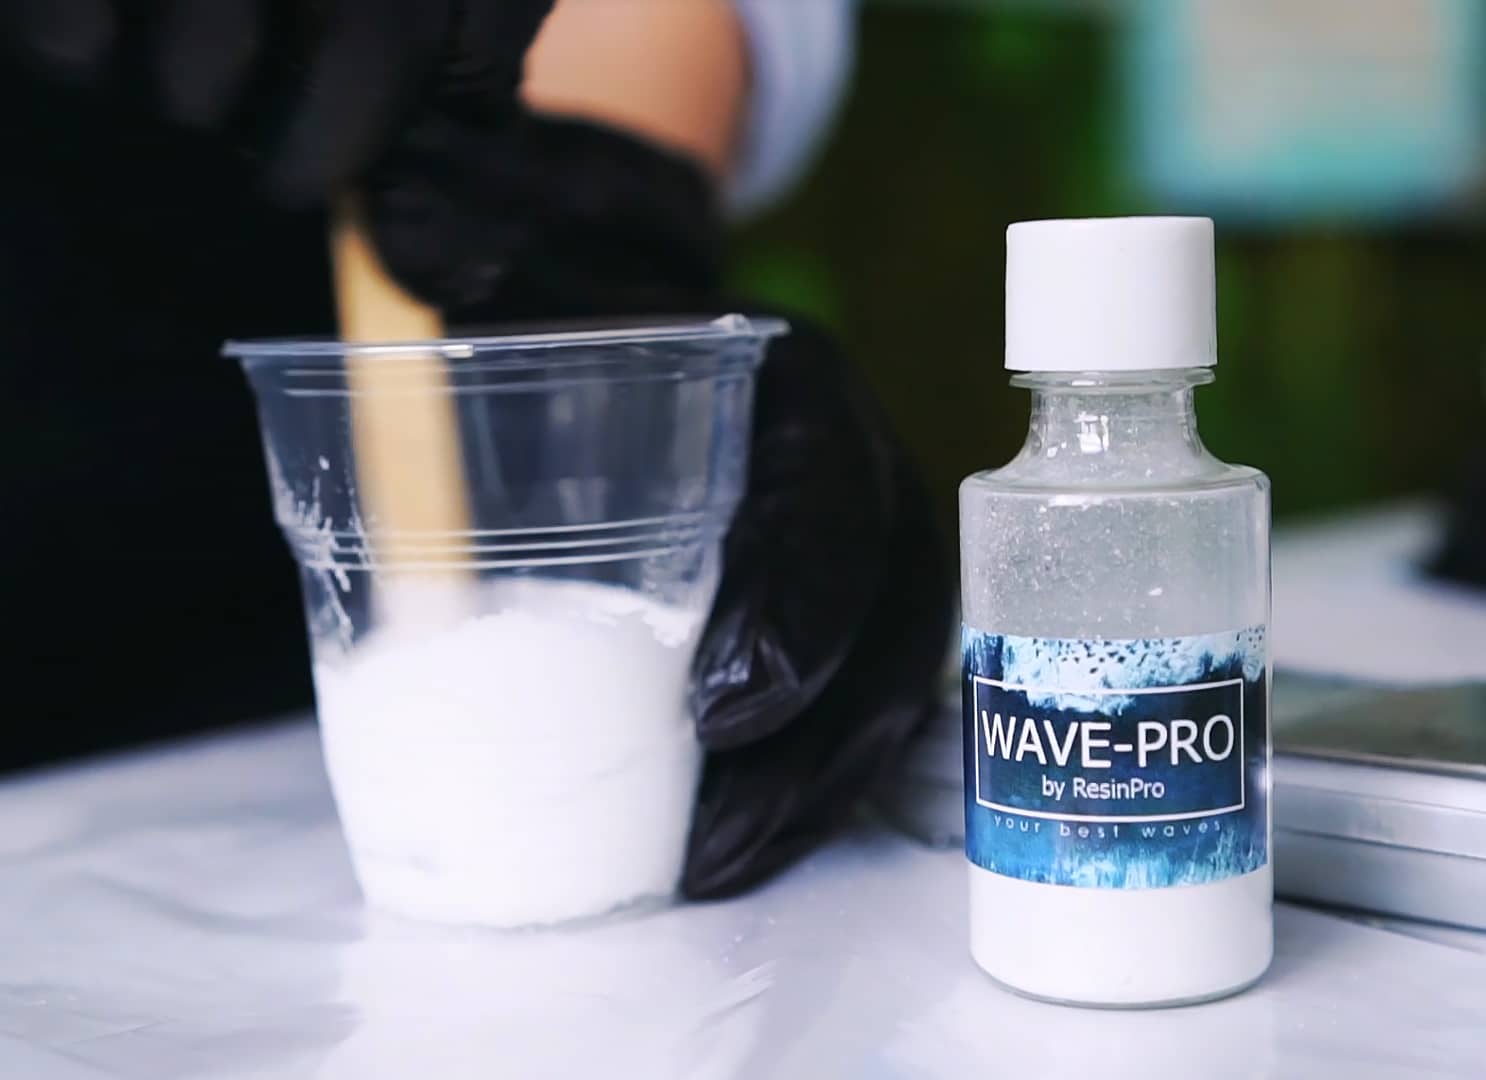
Apply the wave effect additive only to freshly poured resin. If using a special additive such as “Wave-Pro” – Pigment Additive for Sea Wave Effect in Epoxy Resin, sprinkle or brush it onto areas where you want foamy, turbulent waves. The powder naturally disperses to form cell patterns and lace-like details without extra heat.
If your pigment kit includes white or foam-effect colourants, line these delicately along the base of existing layers for a natural crest. Touch up with a hairdryer or heat gun if minor bubbles appear, but avoid excessive heating to maintain a clear, glossy surface.
Step 5: Cure and Finish for Lasting Results
Allow your piece to cure untouched on a flat surface. Follow the resin’s recommended curing time (often 24–48 hours) to achieve optimal hardness and clarity. Prevent dust or debris from landing on your art while curing—use a box or tent to cover larger pieces if needed.
Once hardened, you can sand edges or pour a thin, clear coat for added gloss. Resist handling the art until it has cured completely, especially in humid or cold environments which can extend curing time. Your finished piece will display lifelike depth and wave movement typical of premium water effect resin techniques.


Tips, Common Mistakes, and Troubleshooting
Work room temperature—cold slows curing, while extreme heat can introduce bubbles. Always measure and mix your resin accurately; unbalanced ratios cause sticky or cloudy results. If your waves appear too spread, opt for higher viscosity resin for the next layer. For consistently crisp waves, avoid overworking the surface after the additive is applied.
Practice on smaller canvases before tackling a large ocean scene to perfect your technique and understand how your chosen resin behaves with different colourants and additives.
Creative Finishing Touches for Resin Ocean Art
For a professional finish, add shimmering effects with pearlescent pigments or a final clear coat. Display your cured resin art in a well-lit space to maximise the illusion of depth and water movement. Protect finished pieces with soft cloths and avoid abrasives to keep the glossy surface pristine.

- "Sea" – Resin Kit for Creating Ocean Art, 1.7kg Epoxy, Pigments & Canvas£47.45"Sea" resin kit contains thick epoxy, pigments, and wave additive suitable for creating ocean-inspired artwork.
- "Wave-Pro" – Pigment Additive for Sea Wave Effect in Epoxy ResinPrice range: £4.45 through £11.45Wave-Pro pigment additive creates lifelike wave and cell effects in resin. Designed for realistic sea wave art and compatible with Resin Pro resins.
- "Art Pro Deluxe" – Ultra-High Viscosity Epoxy Resin for ArtistsPrice range: £35.95 through £302.45"Art Pro Deluxe" ultra-high viscosity resin offers precise control in resin art and glossy finish layers with a clear, scratch-resistant surface.
 "One-2-One" – Epoxy Resin for Handcraft, 1:1 Mixing RatioPrice range: £15.95 through £59.95"One-2-One" epoxy resin is a medium viscosity, easy mix 1:1 resin suitable for jewellery and decorative crafts.
Frequently Asked Questions
Do I need special pigment for wave effects?
A dedicated wave effect additive such as 'Wave-Pro' is recommended to create the most realistic foam and cell patterns in resin ocean art.
Can beginners use water effect resin kits?
Yes, many kits include step-by-step instructions, gloves, and all components needed, making them suitable for newcomers to resin art.
How long does E-30 water effect resin take to cure?
E-30 water effect resin typically cures within 24–48 hours. Warmer conditions may speed up the process, while cooler rooms slow it down.
Why are my resin waves not crisp or detailed?
Using a more viscous resin and limiting surface manipulation after the wave powder is applied helps maintain sharper, more defined wave effects.
Can I make ocean art without a kit?
Yes, but using a kit ensures you have compatible resin, pigments, and additives, which leads to more predictable and professional results.
Is E-30 water effect resin safe for home use?
It is generally safe when used with gloves and in a ventilated area. Always follow the manufacturer’s safety recommendations.