 Free shipping on orders over £29,85

← Back to How to use bodywork resin sheets?

Trapped air bubbles can spoil the finish and structural integrity of repairs when using resin sheets for bodywork. With the right technique and materials, you can ensure a clear, strong bond every time.
How Bubbles Form and How to Avoid Them
Bubbles usually form when air is trapped between the substrate and the resin sheet, or within layers of resin during application. To minimise bubbles, always apply the resin in thin, even layers. Use a brush, spreader, or roller to gently press the sheet onto the resin, starting from the centre and working outward. Carefully roll or press out lingering air pockets before the resin starts to cure.


Tips for Bubble-Free Application
- Surface preparation: Clean, dry, and degrease surfaces before applying resin or sheets.
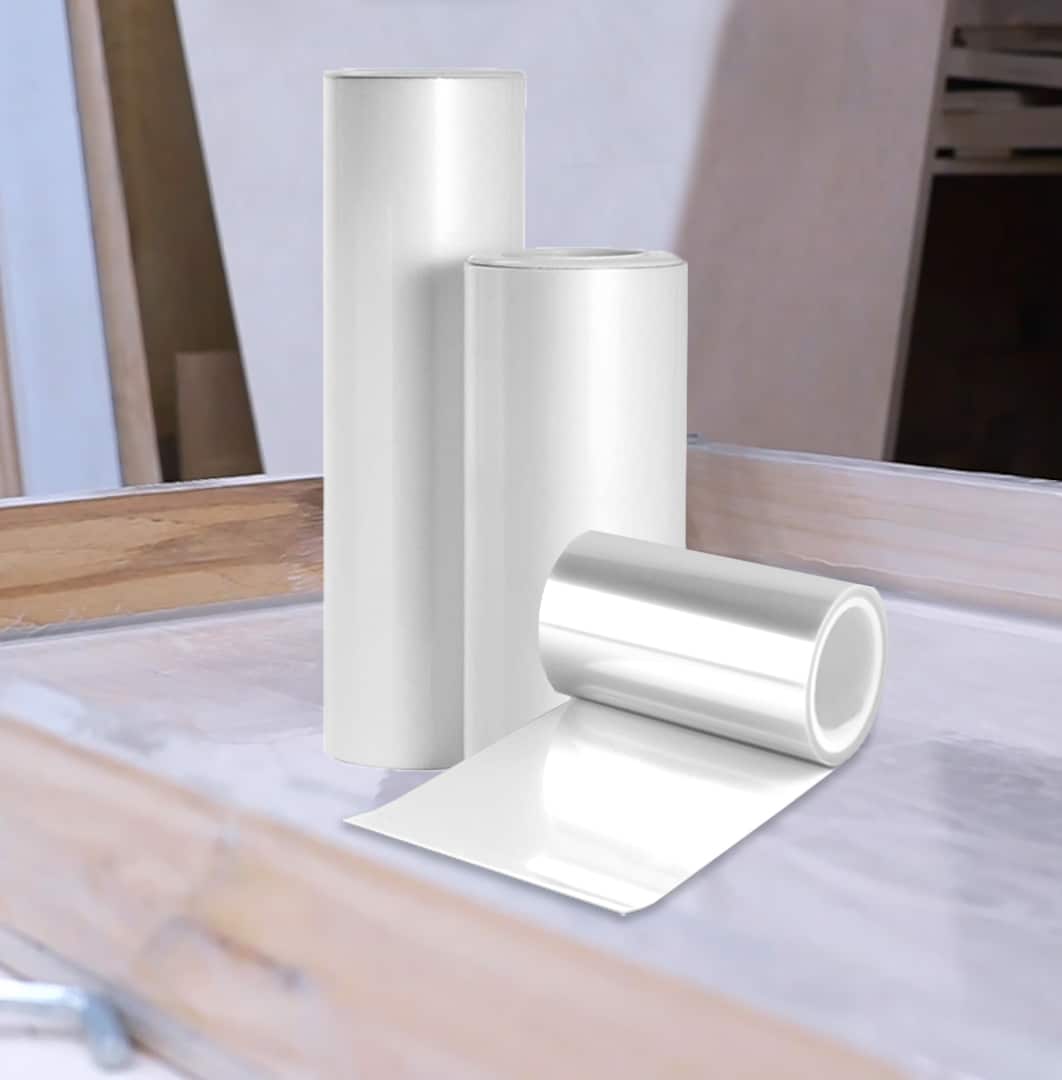
- Select a suitable release film: Using a self-adhesive product like the “Shiny Shield” – Glossy Release Film helps achieve a flat, polished effect while reducing trapped air.
- Even pressure: Use rollers or squeegees to apply even pressure, helping push out hidden bubbles.
- Work methodically: Avoid rushing, and check for air pockets as you go along for best results.
When This Matters Most
Achieving a bubble-free finish is essential on surfaces where appearance and longevity are key, such as visible car body panels, tabletops, or repairs requiring extra strength and a smooth, gloss finish. Investing in proper tools and a protective film will make the process easier and the results more professional.
Related products
Related guides
Keeping bubbles out of your resin sheet applications ensures a lasting, flawless result. For more guidance on using resin for bodywork repairs and projects, see our full guide on working with bodywork resin sheets.