 Free shipping on orders over £29,85

← Back to How is resin sand prepared?

When working with resin sand mixtures, air bubbles can interfere with the texture and finish of your project. Fortunately, a few careful steps can help keep your creations smooth and bubble-free.
Mixing Technique Matters
The way you combine your resin and sand has a direct impact on bubbles. It’s best to stir the mixture gently using a slow, steady motion. Vigorous or fast stirring traps pockets of air within the resin, which can later rise to the surface or remain trapped, affecting the clarity and smoothness of your project. Using tools specifically designed for resin preparation—like broad mixing sticks—can also help reduce agitation and minimise air entry.

Give Time for Air to Escape
After blending your resin and sand, allow the mixture to rest before pouring. This settling period gives trapped air bubbles a chance to rise up and dissipate naturally. If you notice bubbles forming on the surface, a quick pass with a hairdryer or heat gun (used on a low setting and kept at a distance) can further encourage air to escape, although care is needed to avoid disturbing the mixture.
Practical Tips for Resin Art Success
- Mix smaller batches at a time to better control the consistency and reduce the risk of bubbles.
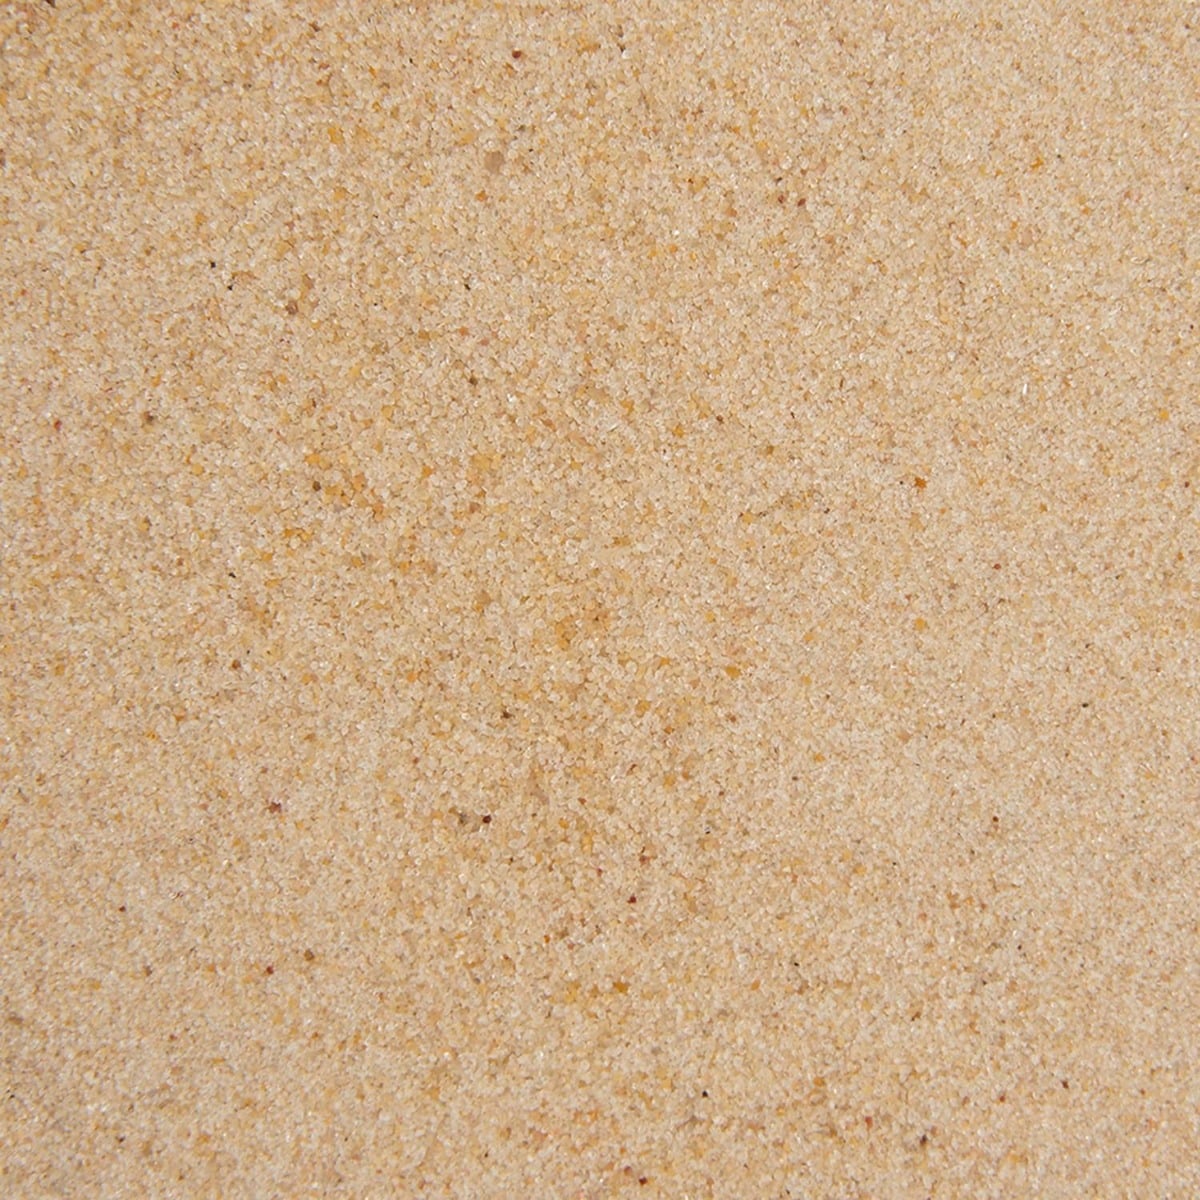
- Select quality materials—like the Natural Sand for Art Decoration—designed specifically for resin work.
- Check that tools and containers are clean and dry as moisture or dust can introduce more bubbles.

Related products
Related guides
Preventing air bubbles in your resin sand blends ensures your projects achieve a spectacular, professional finish. For more guidance on creating perfect resin sand textures, see the full guide on how resin sand is prepared.