 Free shipping on orders over £29,85

← Back to How is enamel repair done with resin?

Before launching into a full enamel repair with resin, it’s wise to trial your materials on a discreet spot. This simple precaution helps ensure the final result meets expectations and prevents avoidable mishaps.
Why a Small-Area Test is Essential
Every ceramic, enamel, or porcelain surface can react differently to resin products. Factors like the glaze, existing damage, or even subtle changes in ambient temperature can influence results. By testing a small, inconspicuous area, you can check for:
- Adhesion and bonding strength
- Potential discolouration or unwanted chemical reactions
- Resin clarity and the final decorative look
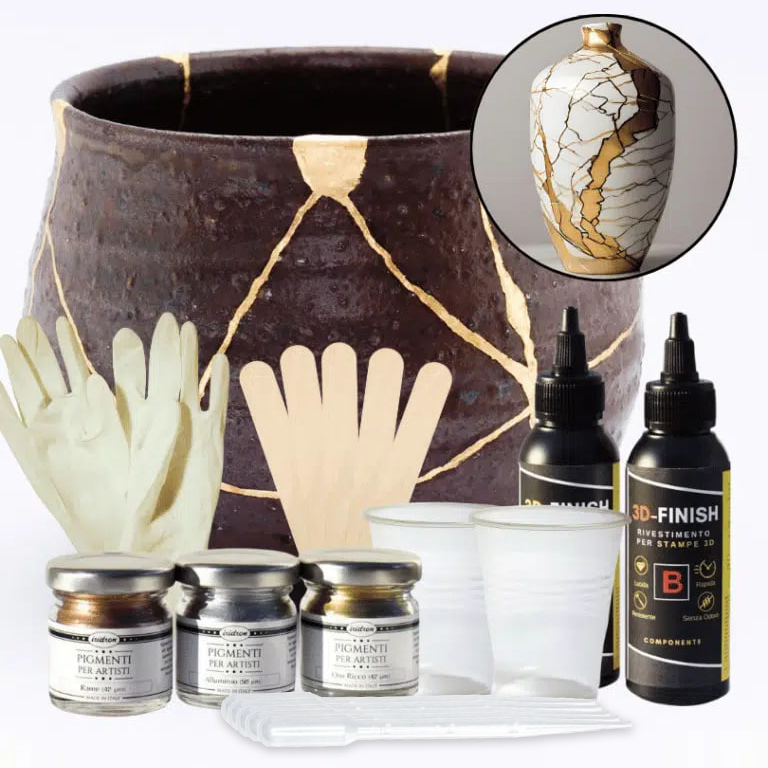
This approach is particularly helpful if it is your first time using a kit such as the “Kintsugi” – Ceramic Repair Kit with Gold, Silver, or Copper Metallic Pigments.


How to Conduct an Effective Test Patch
Prepare a small amount of resin according to the kit instructions, and apply it to an area that will remain hidden or is not visually prominent. Allow the resin to fully cure as per the recommended timescale. Once set, examine the area closely for clarity, colour alignment, and bond strength before deciding to proceed with your full repair. This proactive step lets you make adjustments or choose a different product if necessary.
When This Matters Most
A test patch is vital when repairing valuable, sentimental, or highly visible items. It’s also important if you’re unfamiliar with the specific resin being used, as product formulations differ in viscosity, setting time, and finish. For surfaces expected to contact food, always confirm the resin’s suitability separately; for instance, the Kintsugi kit is not food-safe.

Related products
Related guides
Taking a moment to test on a small area before completing your resin enamel repair helps safeguard your project and boosts your confidence in the process. For more detailed techniques and product guidance, see our main guide on how enamel repair is done with resin.