 Free shipping on orders over £29,85

How do you use expanded polyurethane resin?
Simple steps for safe, durable, and detailed polyurethane projects

Expanded polyurethane resin is a highly versatile material for casting, coating, doming, and protective finishes in hobby, craft, and industrial projects. Whether you are looking to create detailed models, custom coatings, or durable surface finishes, mastering the process ensures safety, optimum results, and longevity for your creations. This guide explains each stage clearly so that both beginners and advanced users can work with polyurethane resin with professional confidence.
What You’ll Need
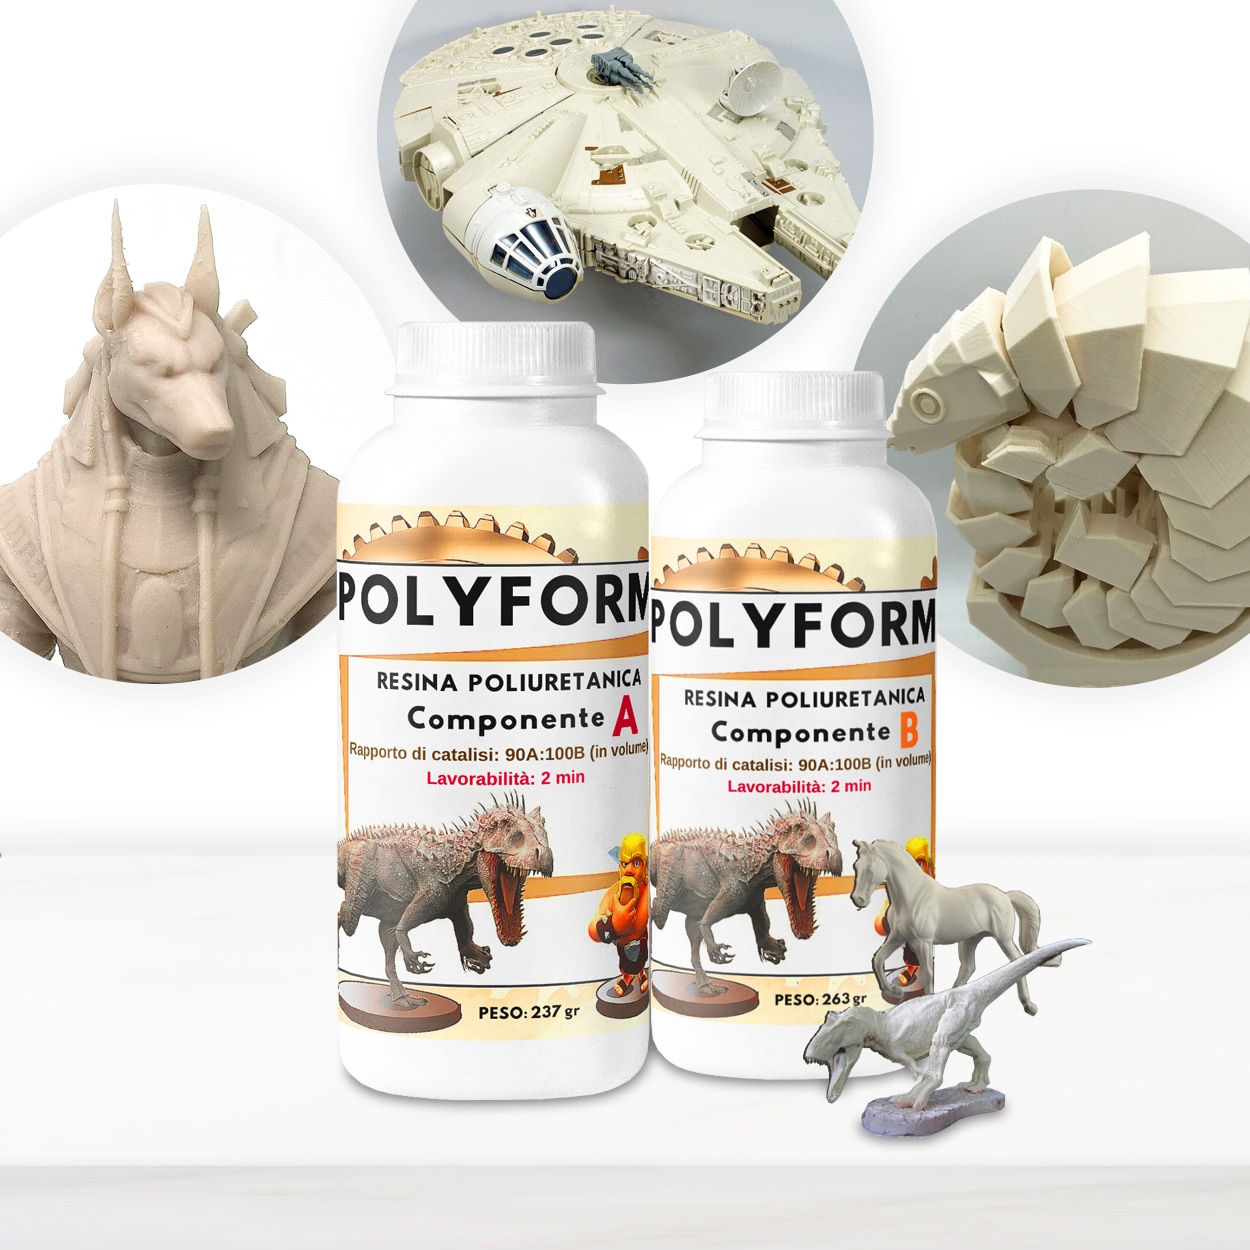
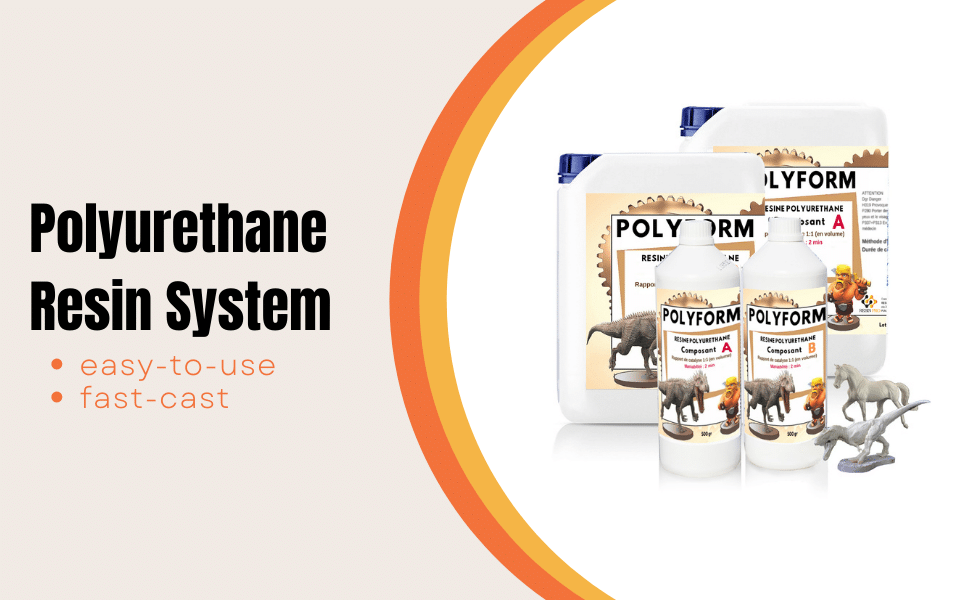
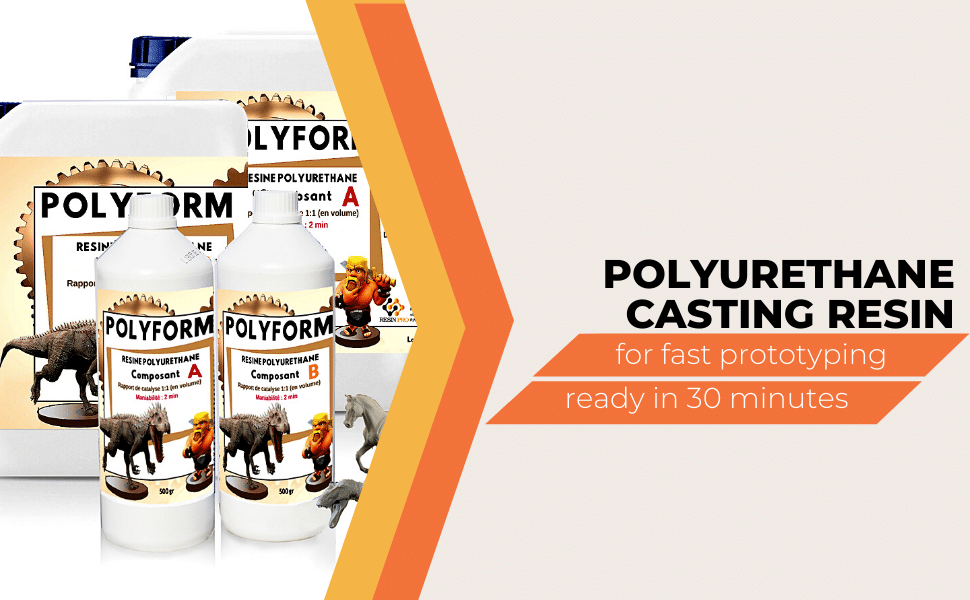
- “Polyform” – Polyurethane Casting Resin, Beige, Fast-Setting for Prototyping: Fast-setting resin ideal for rapid prototyping and small batch casting.
- “IWhite” – Polyurethane Casting Resin – White, Fast-Curing Two-Part System: Highly fluid, colourable resin suitable for intricate moulds and craft projects.
- “Be Flex” – Transparent Polyurethane Doming Resin – Scratch-Resistant: Provides a flexible, protective doming effect for labels and badges.
- “Prolux” – PU coating for tiles, concrete, plastic and metal – suitable for driveable surfaces: Hard-wearing coating for high-traffic floors or industrial surfaces.
- Clean silicone or plastic moulds (for casting projects)
- Mixing containers and stirrers (silicone or disposable)
- Protective gloves, eye protection, and (when handling uncured resin) a respiratory mask
- Disposable apron or old clothing
- Digital scales or graduated cups for accurate measurement
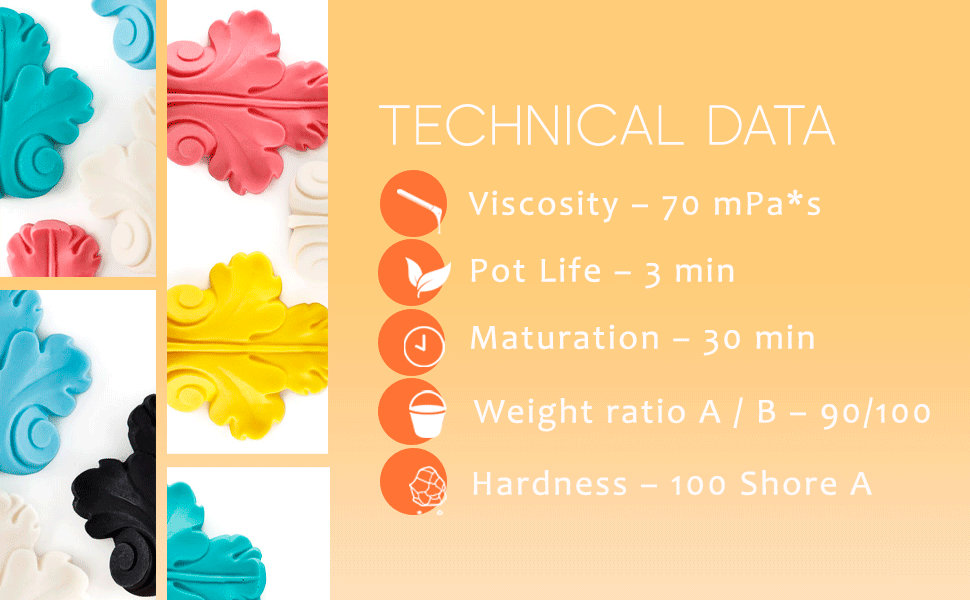
See Expanded Polyurethane Resin in Action
View real-world examples of casting, doming, and professional surface coatings created with polyurethane resin. These process photos demonstrate the clarity of domed badges, the detail achievable in model making, and the robust finish of high-traffic floors with polyurethane coatings.
Step 1: Prepare Your Workspace and Moulds
Always work in a well-ventilated environment and protect your surfaces with disposable coverings. Organise all your tools and lay out your personal protective equipment before handling any resin components. For casting or doming, ensure your silicone or plastic moulds are perfectly clean and dry, as any dust or moisture can cause defects in the final result. If using a surface like concrete or tiles, make sure it is thoroughly prepared as described on the particular product packaging.
Poor preparation can lead to resin not curing properly or sticking to the mould. Take your time on this stage for a consistent finish and easier demoulding or coating.
Step 2: Measure and Mix Resin Components
Expanded polyurethane resin typically comes as a two-part system (components A and B). Accurate ratios are crucial for even expansion and curing. Weigh or measure both parts precisely using digital scales or marked mixing cups in the ratio recommended on your product instructions.
“IWhite” – Polyurethane Casting Resin and “Polyform” – Polyurethane Casting Resin, Beige both require careful measurement for optimal results. Mix thoroughly but efficiently, scraping the sides and base of your mixing container, as these resins often begin curing rapidly (within minutes). Avoid introducing air bubbles by stirring smoothly, not vigorously.
Step 3: Pouring and Shaping the Resin
Once mixed, proceed to pour the resin without delay, as the chemical reaction and expansion begin almost immediately. Pour slowly to avoid trapping air. For castings, fill the mould gradually, allowing the resin to flow into all recesses. For coatings such as those applied with Prolux – PU coating, use a suitable spreader or roller and ensure the product is evenly distributed.
If working with doming resins like Be Flex, dispense the resin onto the centre of your label or badge and allow it to naturally self-level. Don’t move or adjust the piece until the resin has set to avoid disrupting the dome.


Step 4: Curing and Demoulding/Finishing
Allow sufficient time for the resin to expand and cure fully, following the timing specified for your chosen product. Conditions such as temperature and humidity will affect curing—warmer, drier environments are ideal. Premature unmoulding may damage the piece or leave a sticky surface, so patience is key. For coatings and doming, avoid heavy handling until the resin is fully set and robust.
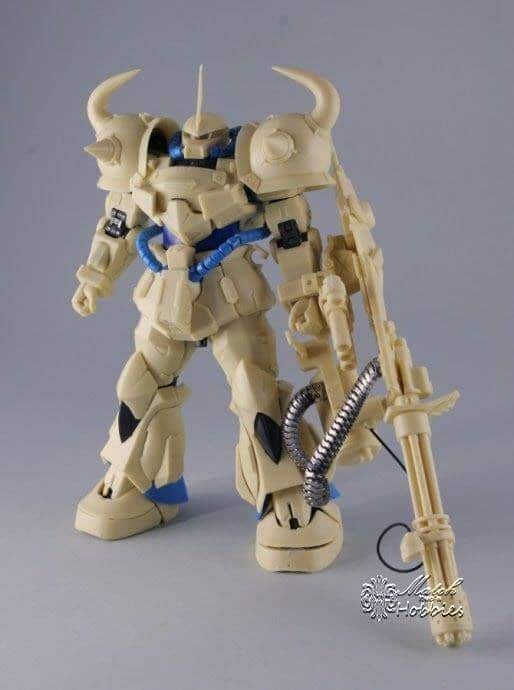
After curing, sand any sharp edges if required (and if suitable for your application). Painted finishes may be applied to products such as “IWhite” for custom touches—ensure the resin is fully cured before painting or decorating.
Tips, Troubleshooting, and Common Mistakes
Do not rush the mixing or pouring process—this can introduce bubbles and cause uneven results. Always check product-specific guidance for mixing ratios and working temperatures. If the resin fails to cure or feels tacky, double-check that both parts were measured accurately and that the workspace temperature met the product’s requirements. Incomplete mixing or using containers with old residue can weaken your finished piece.
Store unused resin components in a cool, dry place with lids sealed tightly. Clean tools and surfaces immediately with appropriate solvents (following safety instructions) to prolong their reusability.

Close-Up: Professional Finishes with Polyurethane Resin
Detailed images of cured doming, surface protection, and intricate prototypes help visualise the versatility of expanded polyurethane resin. From glossy, flexible domes to perfectly cast miniatures and seamless driveable surfaces, polyurethane resin stands out for its reliability and finish.
- “Polyform” – Polyurethane Casting Resin, Beige, Fast-Setting for PrototypingPrice range: £15.95 through £141.95Polyform polyurethane casting resin is designed for reliable prototyping and detailed casting with fast setting and durable results.
- “IWhite” – Polyurethane Casting Resin – White, Fast-Curing Two-Part SystemPrice range: £24.00 through £36.95IWHITE White Polyurethane Casting Resin is suitable for detailed moulding and fast prototyping with a durable finish.
 "Be Flex" – Transparent Polyurethane Doming Resin – Scratch-ResistantPrice range: £45.00 through £81.95Be Flex offers a flexible transparent finish with self-healing and scratch resistance, suitable for labels and badges on curved surfaces.
 "Prolux" – PU coating for tiles, concrete, plastic and metal – suitable for driveable surfacesPrice range: £44.85 through £494.85"Prolux" offers a durable polyurethane finish suitable for various surfaces including tiles, concrete, and metal, fitting the theme of expanded…
Frequently Asked Questions
How do you correctly mix expanded polyurethane resin?
Mix components A and B in the precise ratio given by the manufacturer and stir thoroughly but quickly, as polyurethane resins react fast.
How long does expanded polyurethane resin take to cure?
Most fast-setting polyurethane resins begin curing in minutes and can usually be demoulded or handled after 30 minutes to 1 hour.
What are common mistakes when using polyurethane resin?
Inaccurate measurement, incomplete mixing, or working at the wrong temperature can cause tackiness or incomplete curing.
Is expanded polyurethane resin safe to use?
When cured, it's safe to handle. Always wear gloves and protective eyewear when working with uncured resin and ensure good ventilation.
Can you paint or colour polyurethane castings?
Some resins like “IWhite” can be painted or coloured. Always check the product label for compatibility before adding pigments.
How do you control expansion and pour volume?
Use accurate measurements for both resin parts and follow fill guides, as the expansion is predetermined by product formulation.
What’s essential in preparing surfaces for polyurethane coatings?
Surfaces must be clean, dry, and properly prepared to ensure strong adhesion and even curing of the polyurethane coating.