 Free shipping on orders over £29,85

How to prevent resin from sticking?
Master mould release techniques for smooth resin demoulding.

Nothing is more frustrating than your beautifully crafted resin project refusing to release cleanly from the mould. Whether you are an artist, hobbyist, or professional, preventing resin from sticking is the key to flawless results and long-lasting moulds. This guide explains effective strategies to avoid stuck resin, covering techniques suitable for both beginners and seasoned resin crafters.
What You’ll Need
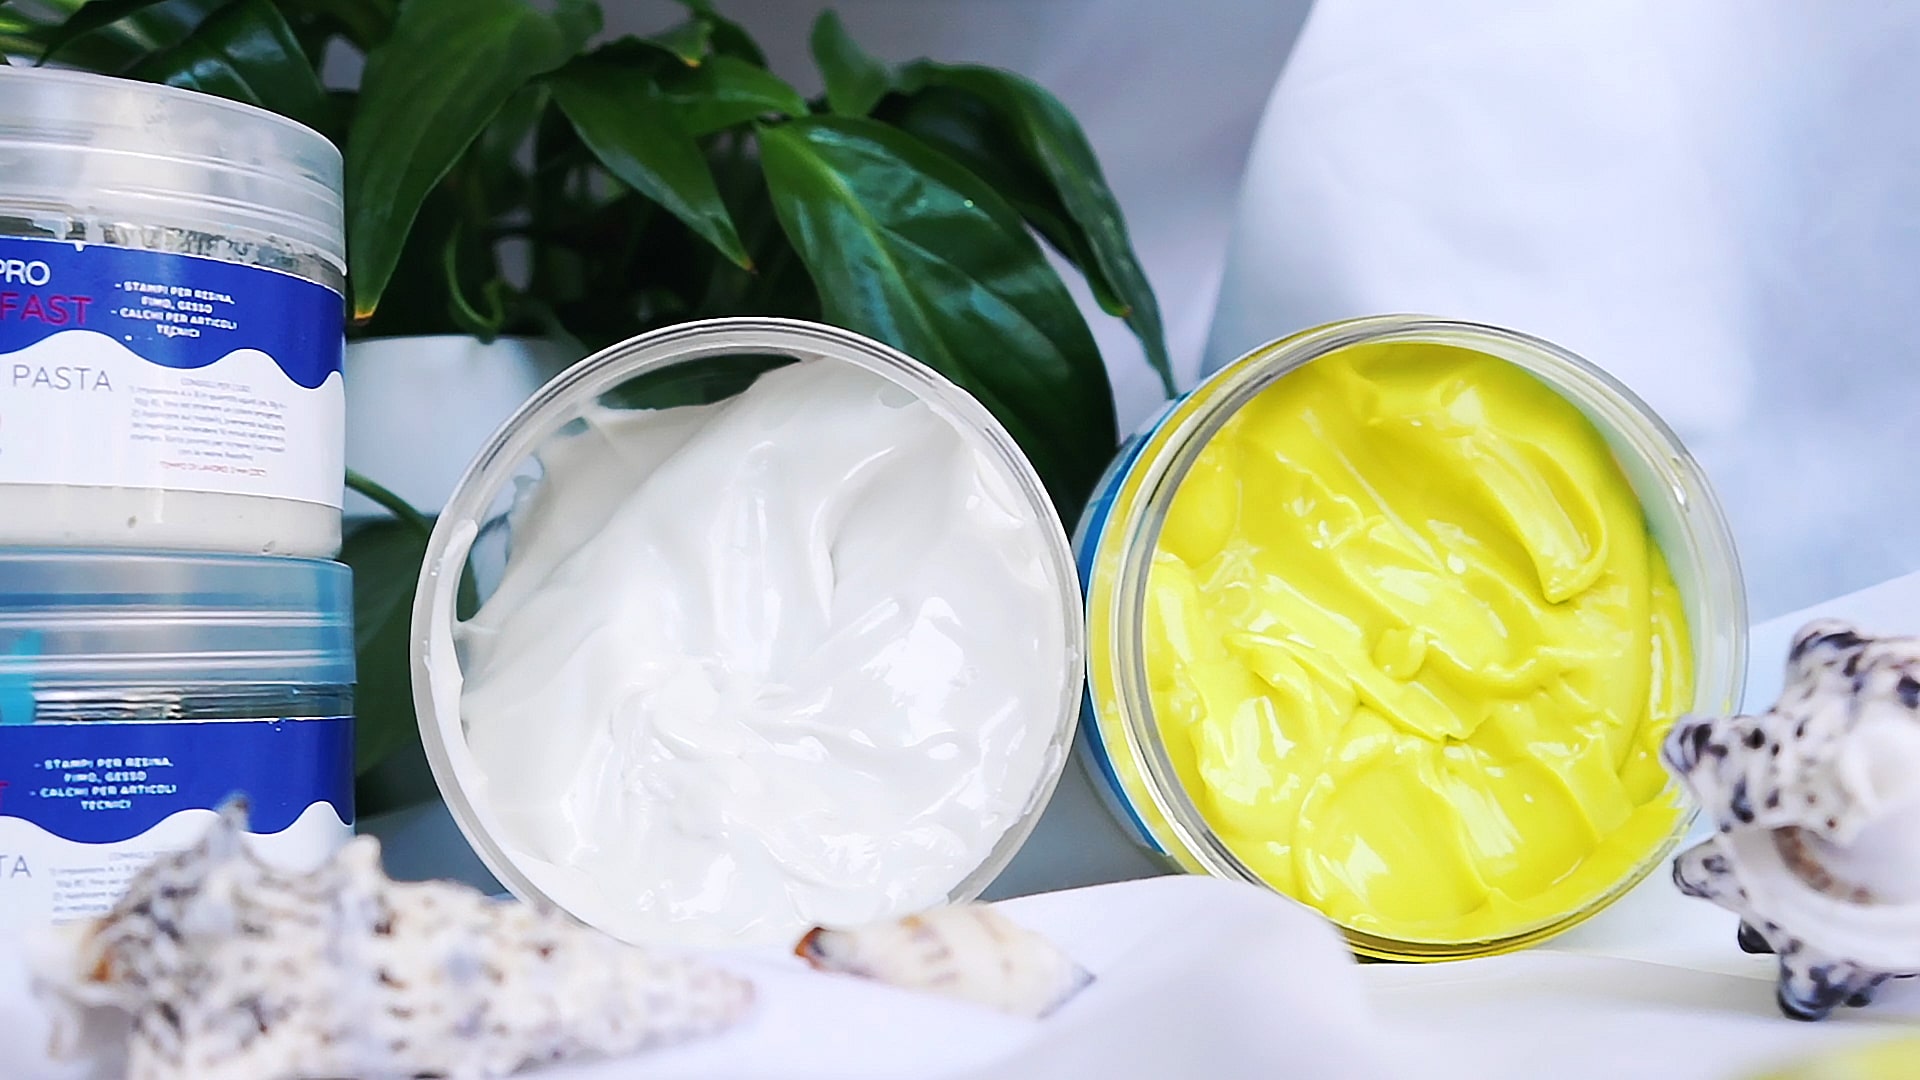
- Strong Technical Degreaser for Resin Projects – 100% Natural Formula: Removes oils and contaminants for optimal results.
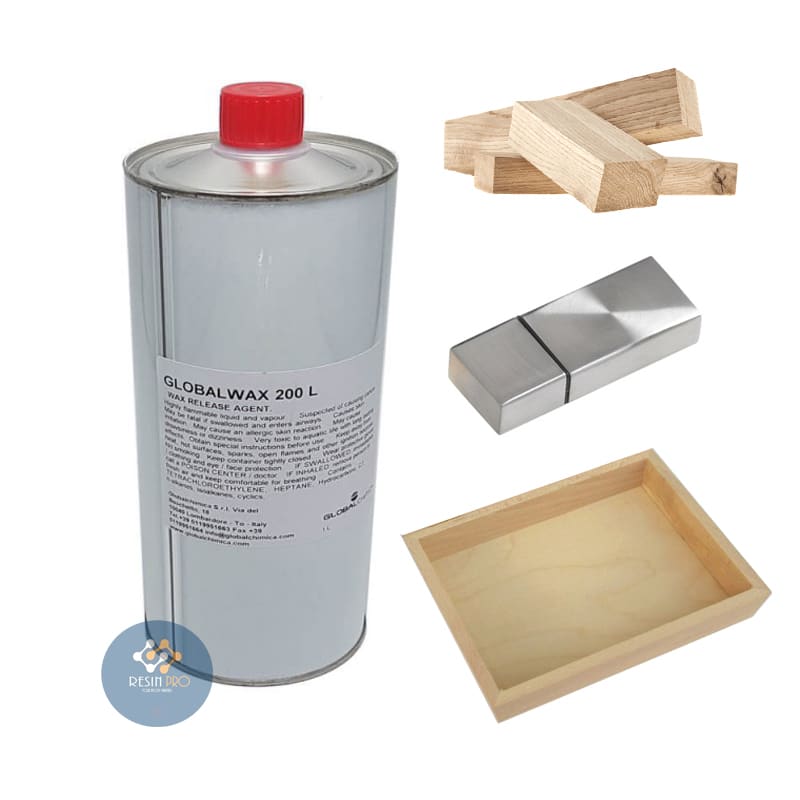
- “Global A2” – Release Wax for Epoxy and Resin Moulds, Liquid, Heat Resistant to 180°C: Forms a protective barrier to prevent adhesion.
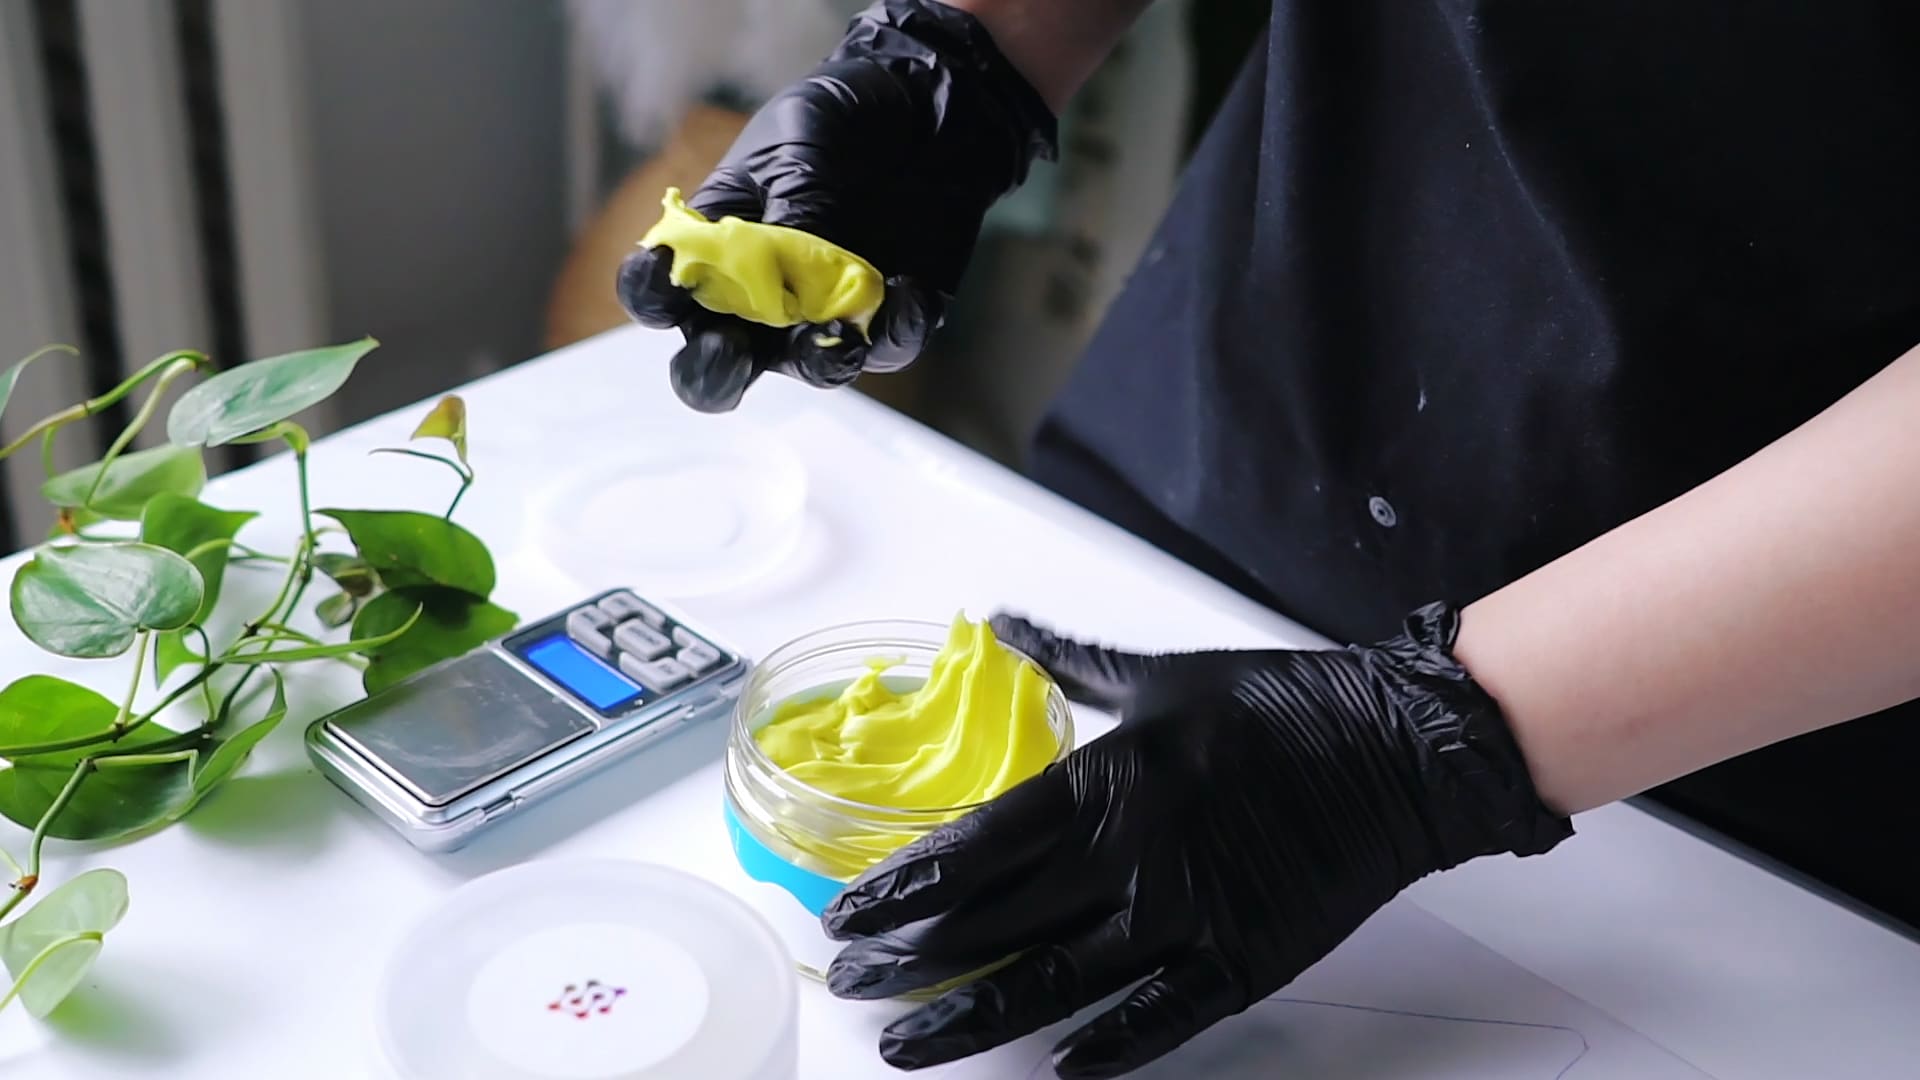
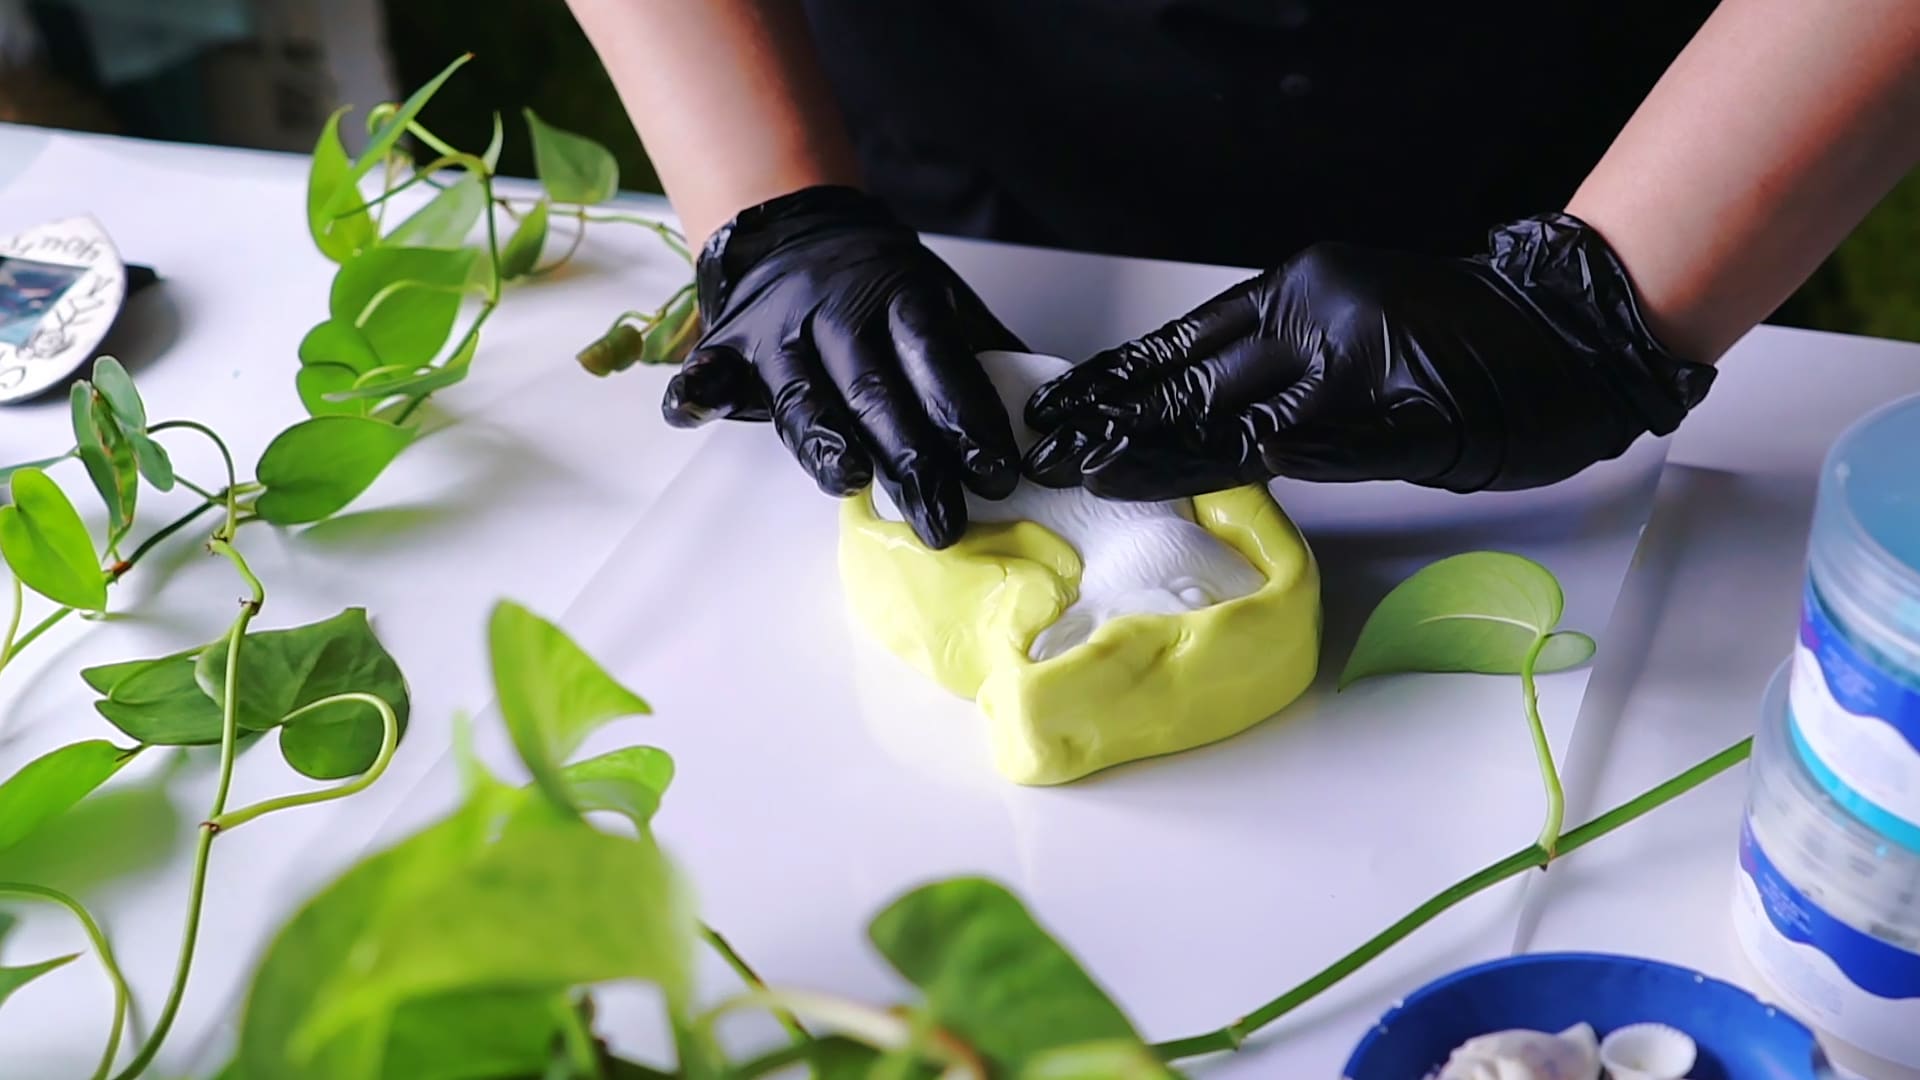
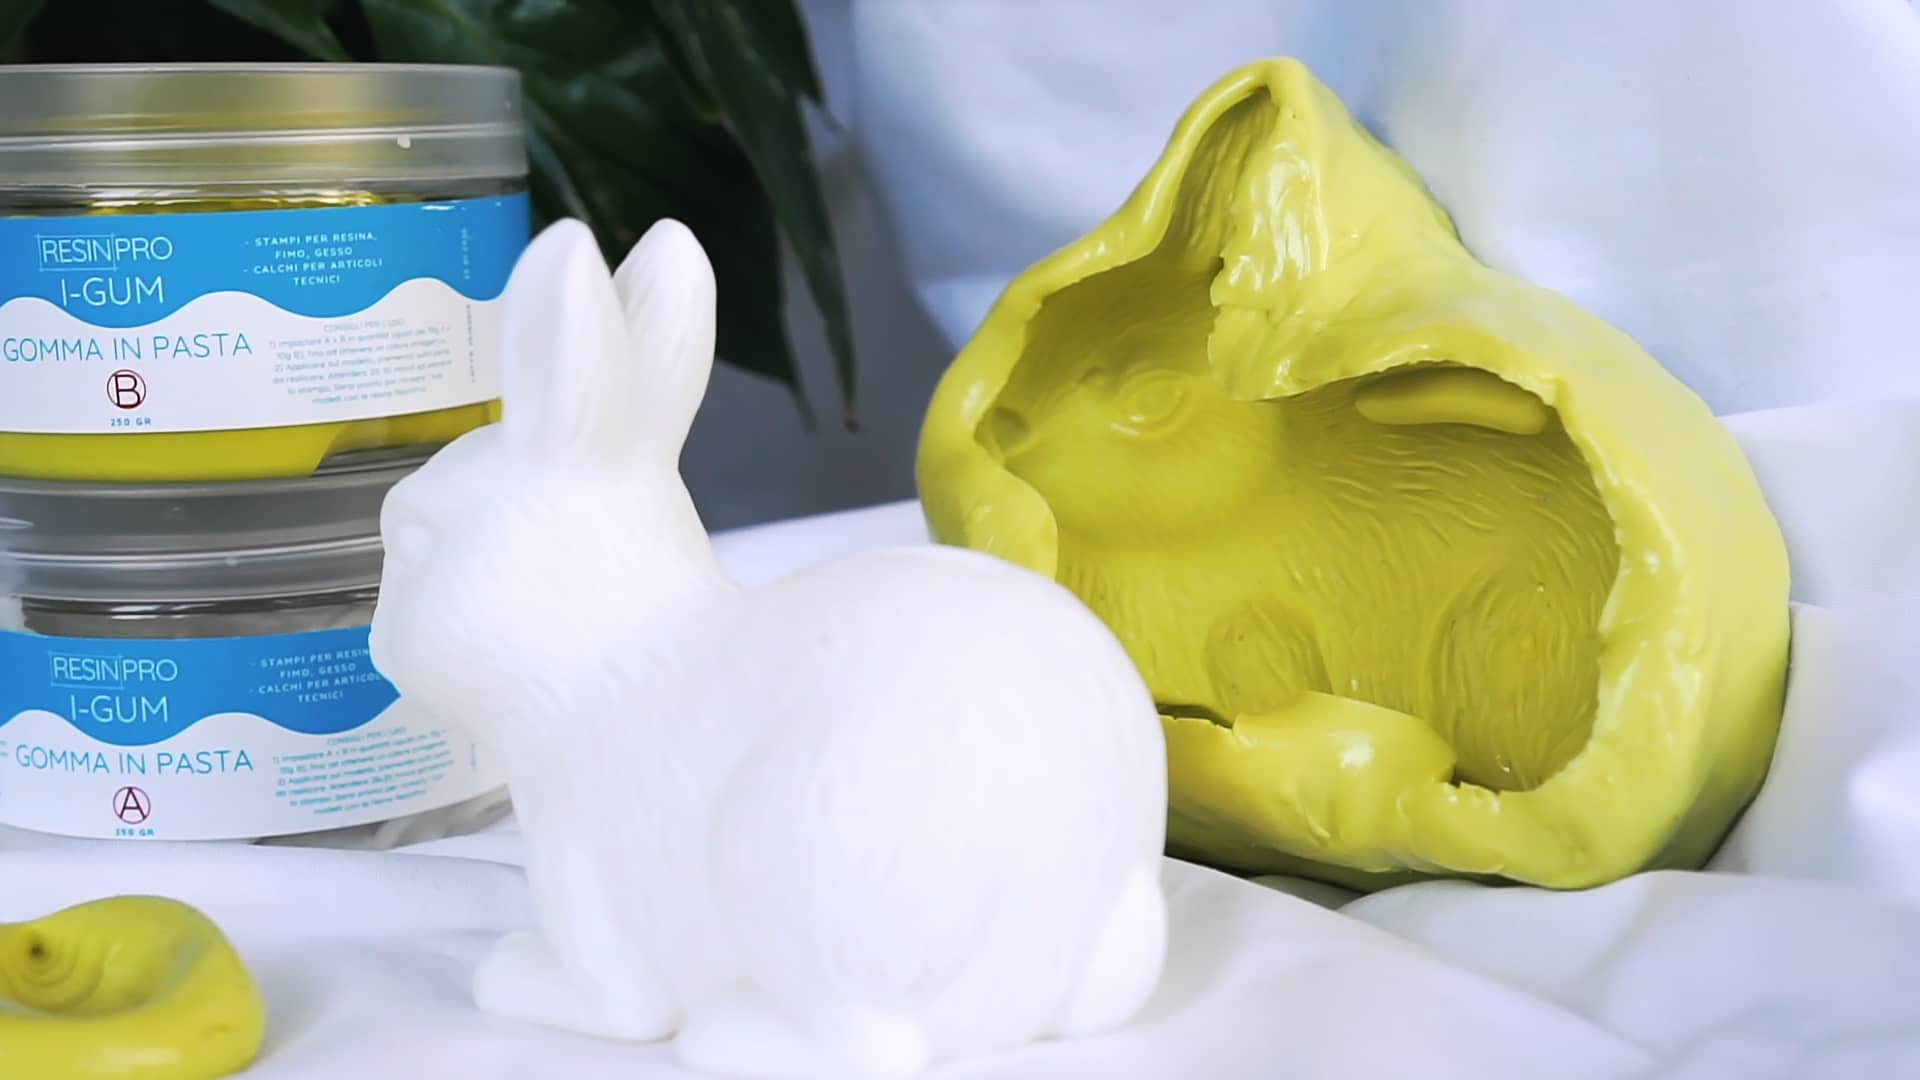
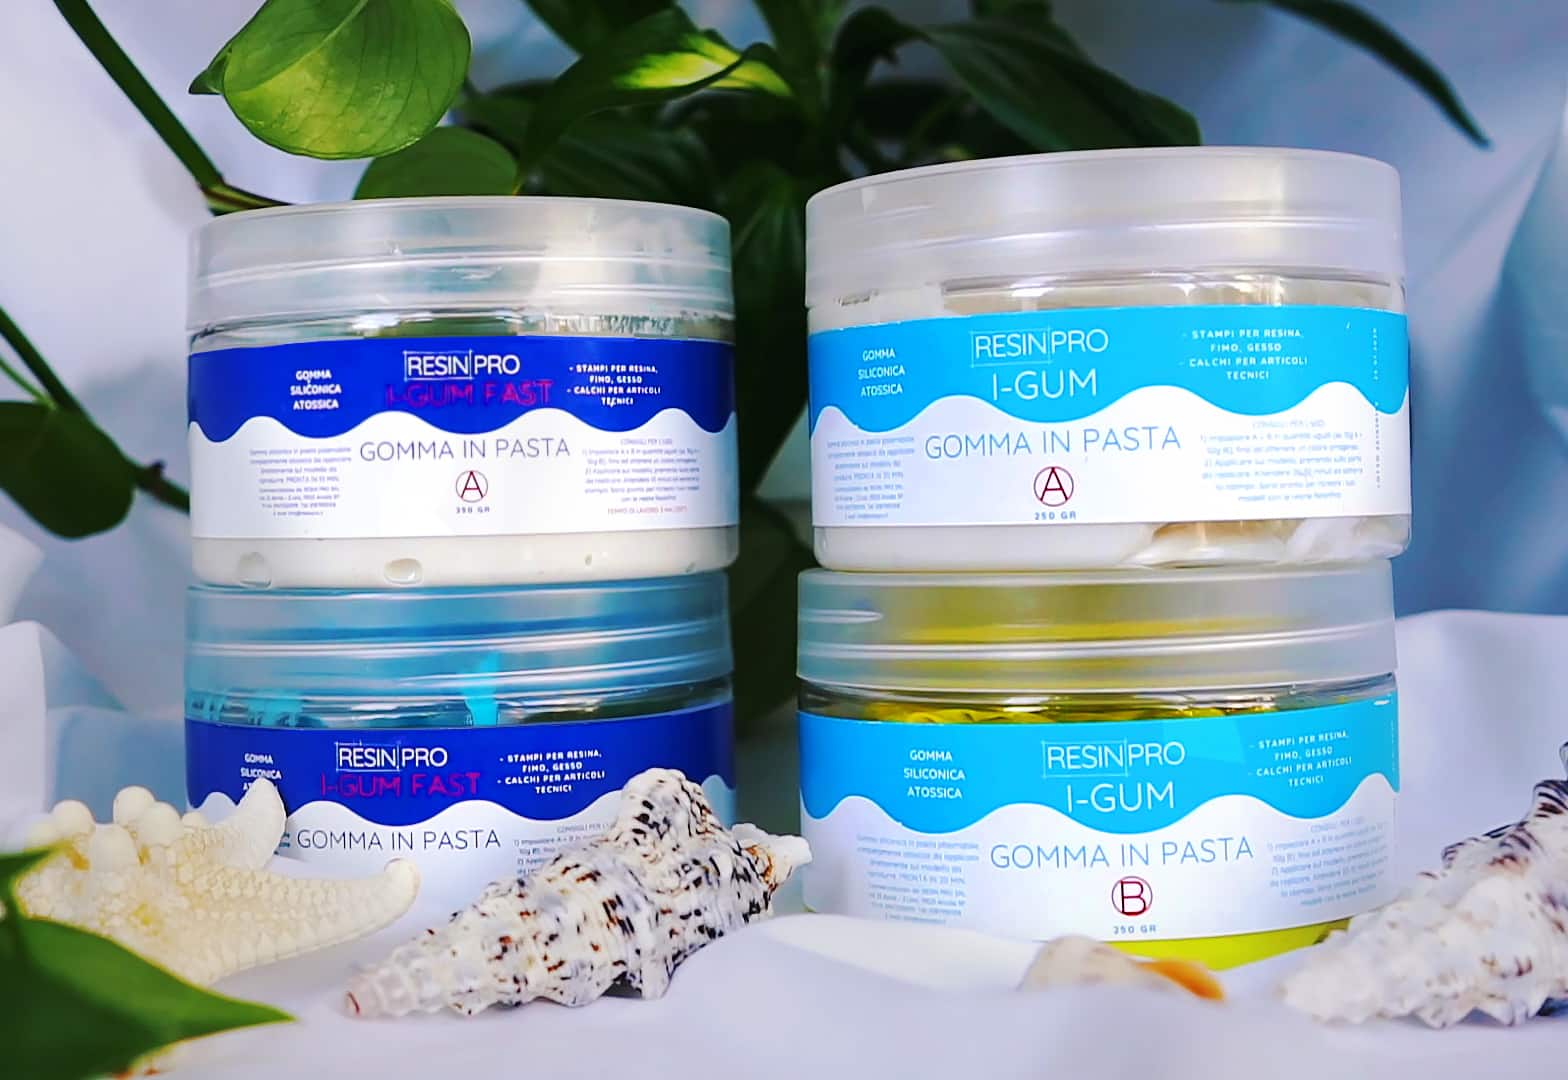
- “I–Gum” – Non-Toxic Silicone Putty for Mould Making: For creating flexible, non-stick custom moulds.
- Silicone Mould Model “With Edges” – 120x252mm: Reusable non-stick silicone mould for easy demoulding.
See Essential Resin Release Supplies in Action
Explore effective techniques and materials in practice—watch how proper cleaning, professional release wax, and premium silicone moulds make resin demoulding effortless. Discover why preparation and the right tools are crucial for professional finishes.
Step 1: Prepare Your Workspace and Materials
Thorough preparation is essential for successful resin work. Before starting, make sure your workspace is free from dust, grease, and other contaminants. Any residue on your tools or mould can cause the resin to bond unintentionally or leave unwanted marks.
If your surface or mould has previously been used or stored, wipe it down carefully with a lint-free cloth. Avoid any exposure to moisture, as even tiny droplets can interfere with curing and increase sticking risks.
Step 2: Clean Moulds and Surfaces
Cleanliness is crucial for minimising resin adhesion. Begin by cleaning your moulds and work surfaces thoroughly, removing fingerprints, oils, and debris. Oils—whether from your hands or previous projects—are among the most common causes of sticking.
For deep cleaning, consider using a dedicated degreaser. The Strong Technical Degreaser for Resin Projects – 100% Natural Formula is ideal for breaking down grease and residues without damaging your moulds or affecting skin sensitivity.
Step 3: Apply a Release Agent
Use the correct release agents to guarantee a clean release. Release agents create a non-stick layer between your resin and mould, protecting the mould surface and your finished piece from bonding together.
A popular choice for a wide range of surfaces is “Global A2” – Release Wax for Epoxy and Resin Moulds, Liquid, Heat Resistant to 180°C, which is quick-drying and can be easily applied to wood, metal, plastic, or cardboard moulds. Apply a thin, even layer either by brush or spray and allow it to dry thoroughly according to the product instructions before pouring resin.

Step 4: Choose the Right Moulds
Choose non-stick moulds made from high-quality, flexible materials such as silicone. Silicone’s natural non-stick qualities significantly reduce the risk of resin bonding—even without a release agent in most cases. Both commercial and custom-made silicone moulds work well for repeated resin projects.
If you require unique shapes, try using “I–Gum” – Non-Toxic Silicone Putty for Mould Making to form bespoke non-stick moulds easily, no gloves required. For standard projects, a reusable option like the Silicone Mould Model “With Edges” – 120x252mm offers excellent demoulding performance and durability.
Tips and Common Mistakes
Always follow each product’s curing times precisely—unmoulding too early is a typical mistake that can cause sticking or damage. Never use strong solvents to clean moulds, as they may degrade the non-stick surface. For stubborn resin remnants, gentle mechanical removal is safer than chemical attack.
Test each release agent or mould on a small sample project before full-scale use, especially if it’s your first time with a new material combination. Investing time in preparation pays off in stress-free, professional results every time.

Expert Advice for Long-Lasting Moulds
Get insights from experienced resin artists on maintaining your equipment and avoiding common demoulding mistakes. Proper care makes every project easier, protecting both your resin creations and tools for years to come.
 "Global A2" – Release Wax for Epoxy and Resin Moulds, Liquid, Heat Resistant to 180°CPrice range: £16.95 through £19.95A liquid release wax designed for epoxy resin projects, creating a protective film to prevent sticking.
- "I–Gum" – Non-Toxic Silicone Putty for Mould MakingPrice range: £24.00 through £104.95"I–Gum" silicone putty is designed for mould making, offering ease of use and non-toxic qualities suitable for resin and other materials.
- Silicone Mould Model "With Edges" – 120x252mmOriginal price was: £9.45.£8.95Current price is: £8.95.Silicone mould designed to create artworks with a professional finish. Suitable for heat-resistant resin craft projects.
 Strong Technical Degreaser for Resin Projects – 100% Natural FormulaOriginal price was: £10.95.£9.45Current price is: £9.45.A natural, gentle degreaser designed for cleaning surfaces involved in resin projects without damage.
Frequently Asked Questions
Why does epoxy resin stick to moulds?
Improperly cleaned moulds, absence of release agents, or incomplete curing can all cause resin to adhere and stick.
What is the best release agent for epoxy?
A liquid release wax, such as Global A2 Release Wax, is highly effective for various mould surfaces used with epoxy.
Can I use household products to prevent sticking?
Household products are not recommended, as they may interfere with curing or leave residues; use dedicated releases for reliable results.
How long should I wait before demoulding?
Always follow the resin manufacturer's instructions, typically waiting for full curing—often 24 to 72 hours—before demoulding.
Should I always use a release agent with silicone moulds?
High-quality silicone moulds often don't require release agents for resin, but using one can extend the mould's life and ease demoulding.
How do I clean my moulds after resin use?
Gently peel away leftover resin and clean with a mild, non-abrasive cleaner such as a natural degreaser. Avoid strong solvents.