 Free shipping on orders over £29,85

← Back to What are the best techniques for creating a translucent effect with epoxy resin?


Achieving a flawless translucent effect with epoxy resin can be challenging when bubbles appear in the cured surface. There are proven methods to effectively minimise bubbles for a crystal-clear finish every time.
Choose the Right Resin and Prepare Carefully
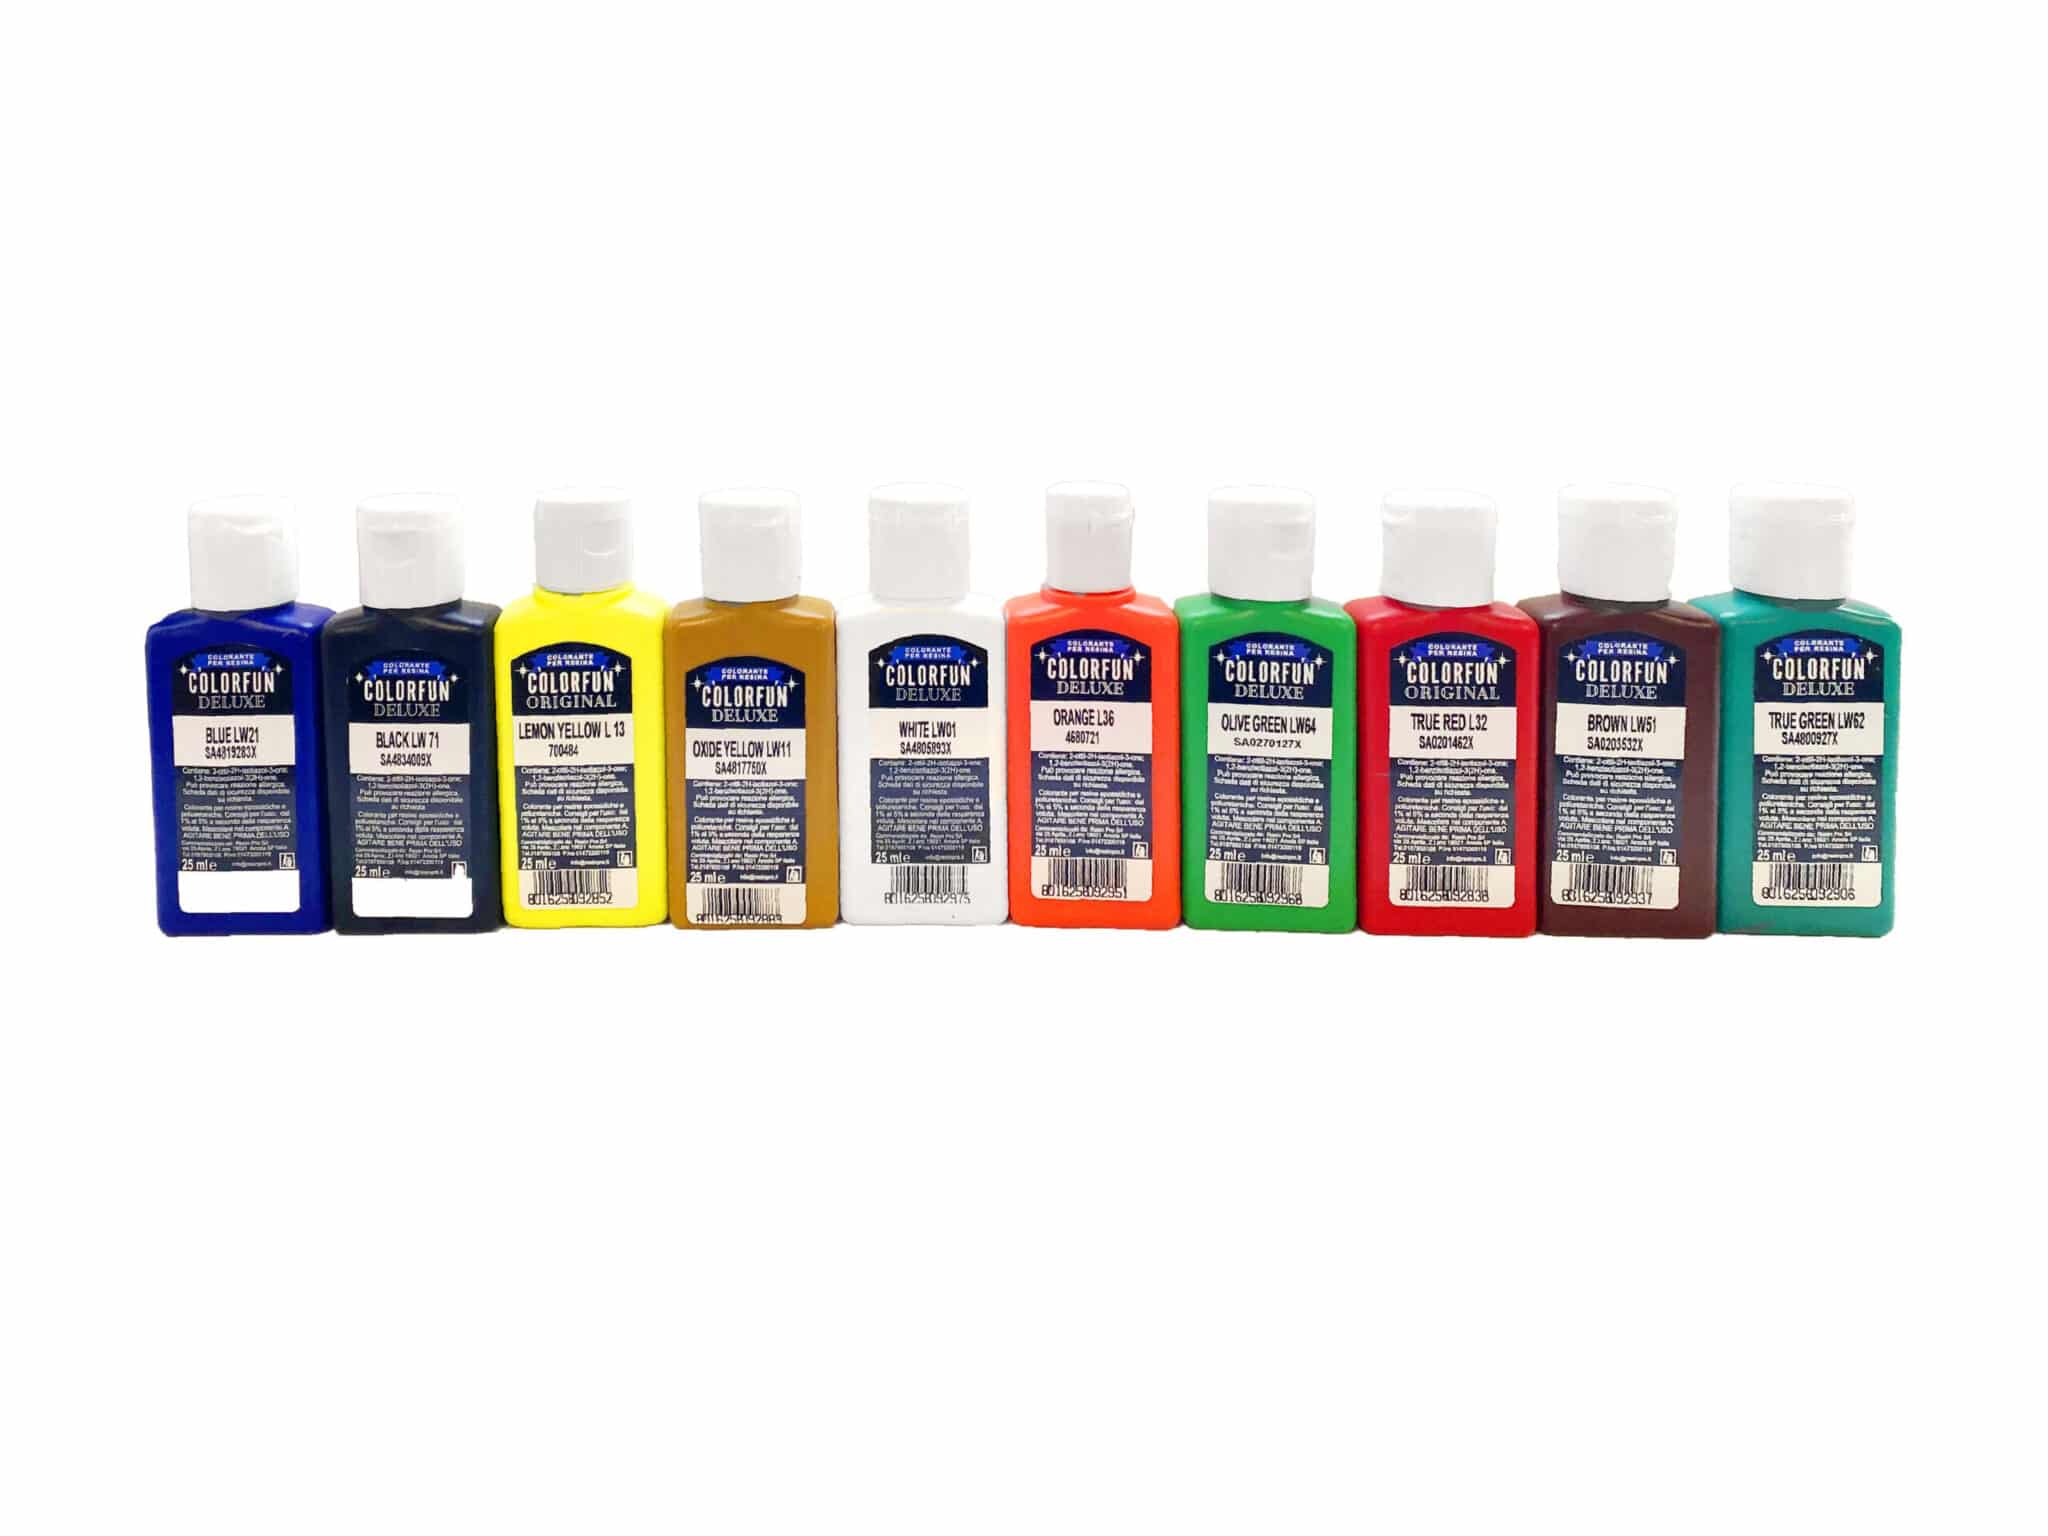
Selecting a self-levelling, crystal-clear epoxy resin is the first step in bubble minimisation. Resins like “Trasparente” or “Icrystal” are formulated for high transparency and are well-suited for projects where clarity is essential. Before beginning, make sure both your workspace and materials are free from dust and moisture, as contaminants can trap air in your resin.

Mixing and Pouring Techniques
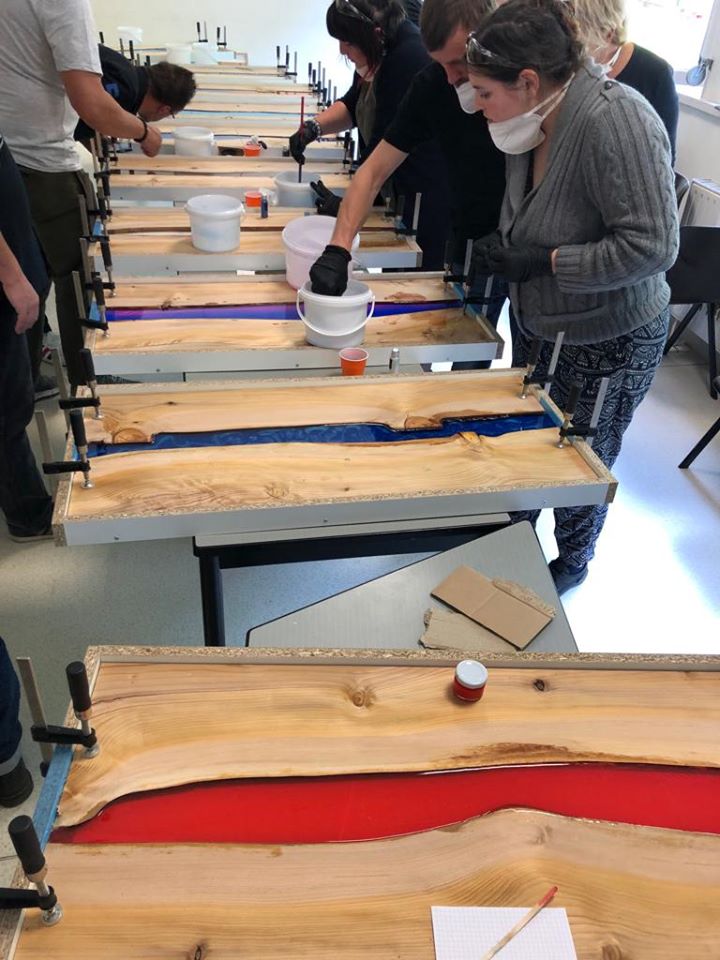
Mix the resin and hardener slowly and thoroughly, scraping the sides and base of your mixing container. Vigorous mixing introduces more air, resulting in bubbles. After mixing, let the resin stand for a minute to allow some air to escape. When pouring, do so gently and in thin layers—this helps trapped bubbles migrate to the surface before the resin thickens.
Release Bubbles with Heat
Once poured, pass a heat gun or a small torch swiftly over the resin’s surface to help bubbles rise and burst. Avoid lingering in one spot to prevent overheating the resin. Take care if working near colour additives such as those in the Colourfun Set, as excessive heat can alter the shade or finish.
When Bubble Prevention Matters
- Creating jewellery or coasters where clarity is vital
- Layered art pieces requiring invisible joins
- Inlays for furniture where surface finish must be perfect
Related products
Related guides
By combining careful preparation, gentle mixing, and controlled use of heat, you’ll achieve beautifully translucent epoxy resin results. For more creative techniques and resin project inspiration, see our main guide on epoxy resin translucent effects.