 Free shipping on orders over £29,85

How to achieve a translucent effect with epoxy resin?
Master techniques for clear, vibrant resin art at home


Translucent effects in epoxy resin give your pieces depth, colour play, and a contemporary flair. Whether you’re crafting jewellery, art panels, or decorative objects, mastering this effect means your work will stand out for its captivating clarity and subtlety. This guide will walk you step by step through the essential process for achieving flawless translucent results—covering preparation, mixing, pigment choice, pouring, and finishing touches.
What You’ll Need
- “Liquidissima” – Epoxy Resin For Creations & Jewellery – for high transparency and fine detail
- “Trasparente” – Multipurpose Clear Epoxy Resin for Casting – Up to 2cm – ideal for multiple casting needs
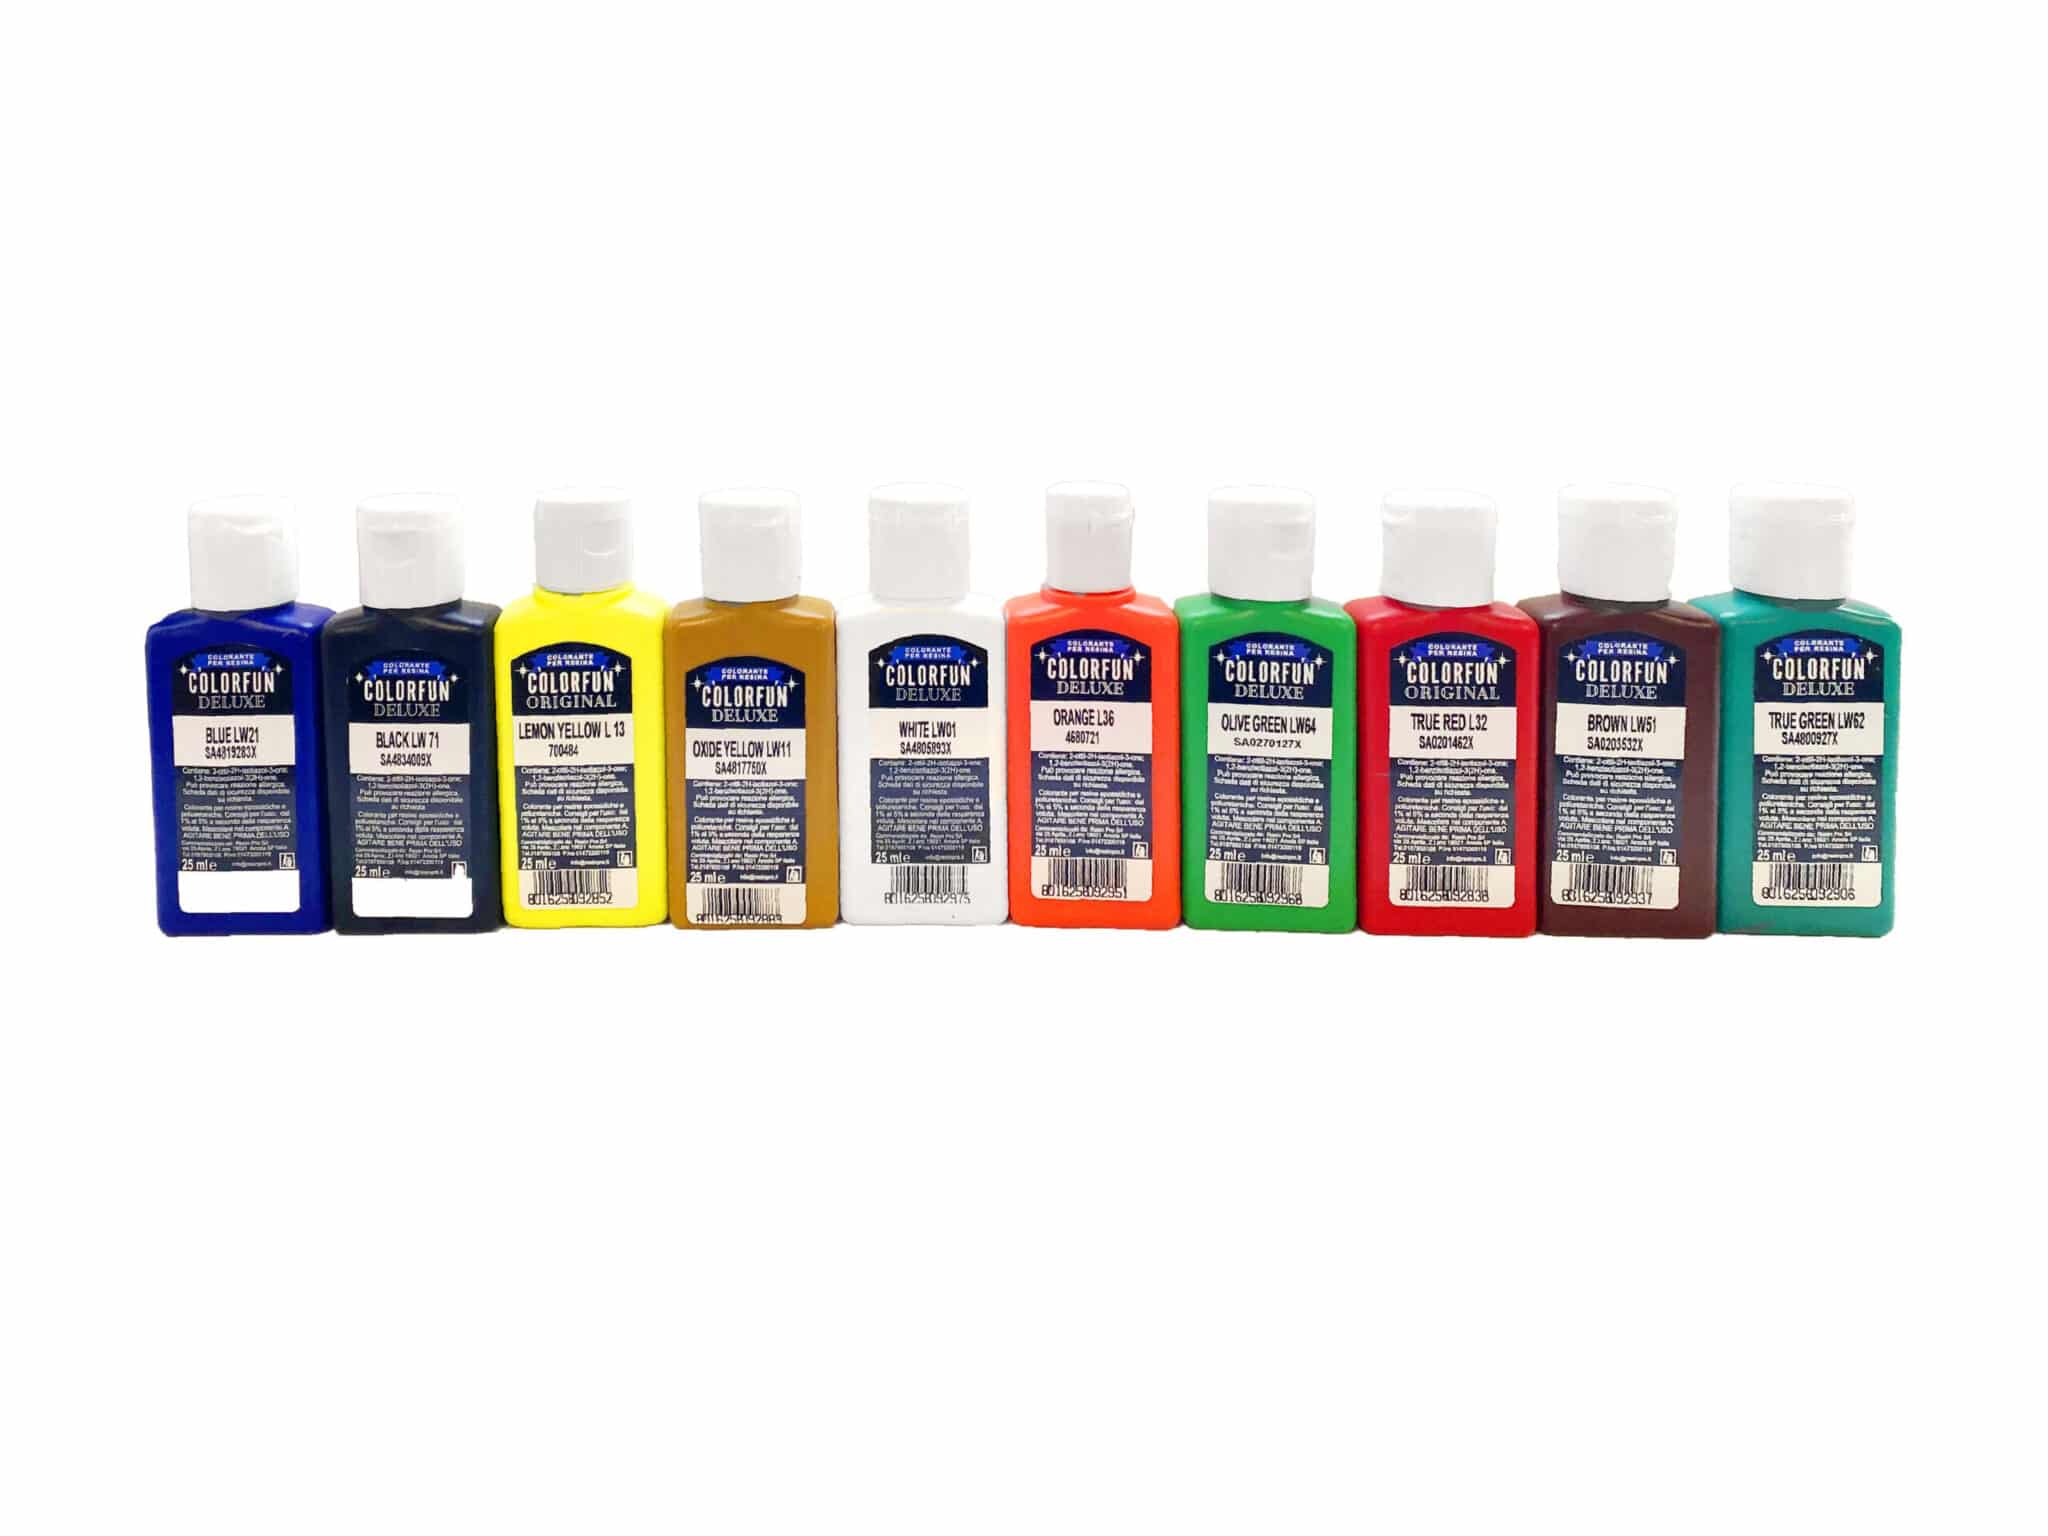
- “Colourfun Set” – Liquid Epoxy Resin Colourant Set for Solid Colour Effects – for vibrant, controlled translucent or opaque colours
- “Petri Art” – Set of Alcohol Ink – for artistic feathered and layered colour effects
- Mixing sticks, silicone moulds, disposable gloves, and a clean workspace
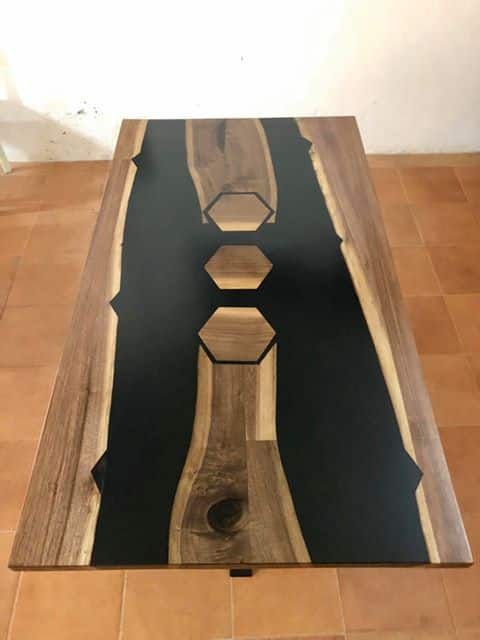
Examples of Translucent Resin Effects
Explore how subtle pigment dosing creates vivid, light-catching colours in jewellery, tabletops, and Petri Art. Notice the interplay of clarity and colour—achievable with the right resins and mixing technique.
Step 1: Prepare Your Workspace and Tools
Start by setting up in a dust-free environment, ensuring all surfaces and moulds are clean and dry. Cover your surfaces to protect from spills, and arrange all tools within easy reach. Put on disposable gloves to prevent skin contact with the resin. Resin can cure quickly once mixed, so having everything ready before you start is essential to avoid rushing and mistakes. Thorough preparation helps avoid dust or dirt getting trapped, which can make your translucent finish appear cloudy.

Step 2: Select and Mix Your Resin Carefully
To achieve maximum clarity, choose a resin formulated for transparency, such as Liquidissima for jewellery and fine detail work, or Trasparente for larger or thicker pours up to 2 cm.
Follow the manufacturer’s instructions for measuring and mixing the two resin components. Stir slowly but thoroughly, scraping the sides and bottom of your mixing cup. Allow the resin to reach the right viscosity especially if using alcohol inks, as slightly thickened resin (waiting 20–30 minutes after mixing) helps suspend pigment, creating a beautiful floating effect.
Step 3: Add Colour for Translucency
For the translucent effect, less is more. Use a dedicated colourant designed for resin, such as the Colourfun Set for rich yet see-through tones. Begin by adding a small drop of colourant to your mixed resin and stir gently. Increase pigment gradually until you reach the desired shade—but not to the point of opacity. Mix colourants thoroughly to avoid streaks and ensure even diffusion. If you’re aiming for artistic swirls or Petri effects, introduce a drop or two of Petri Art alcohol ink into the viscous resin, layering it with white ink for feathery effects.
Avoid over-pigmenting your mixture, as too much pigment can interfere with curing and diminish clarity. Most resins should contain no more than 2% pigment by total volume for translucent results.


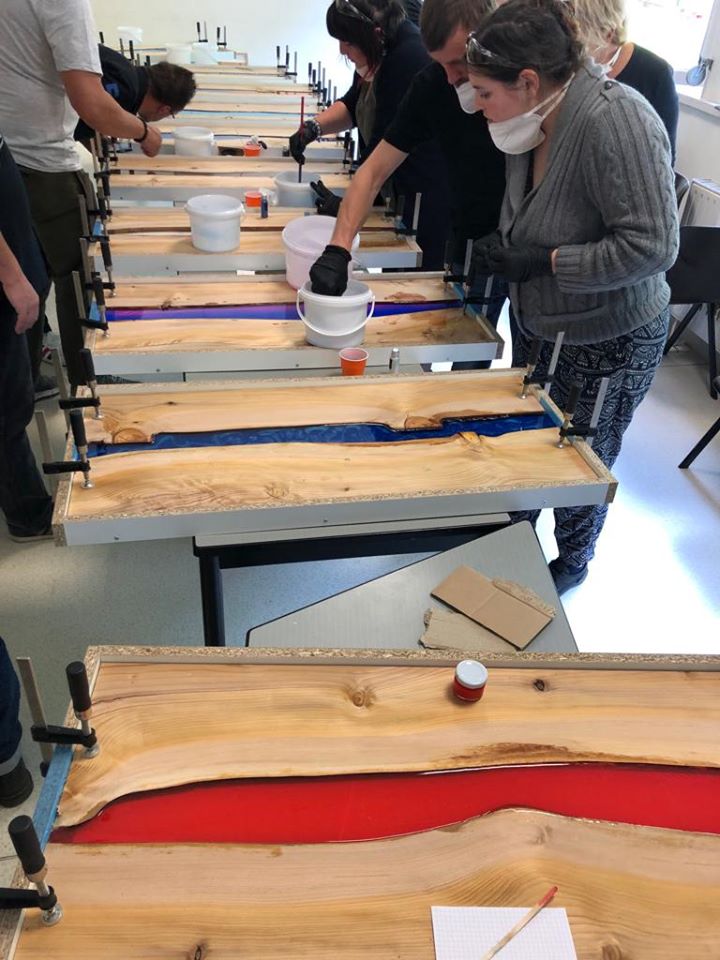
Step 4: Pour and Finish the Resin
Pour the resin slowly into your mould or onto your surface in a steady stream to reduce air bubbles. For deep pieces, pour in layers, allowing each to partially cure for optimal clarity. Use a heat gun or torch briefly to pop surface bubbles, but be careful not to overheat. Remove air bubbles for perfect clarity by gently blowing or waving the tool across the surface.
Cover your cast to shield from dust while curing. Depending on the resin, full cure may take 24–48 hours. Once hardened, demould gently and assess for any imperfections. Light sanding or polishing can further enhance the translucency if needed.
Tips and Troubleshooting for Translucent Finishes
Work at room temperature (around 20–25°C) for best results, as excessive heat may speed up curing and trap bubbles. If your finished piece appears cloudy, it could be due to under-mixing, excessive pigment, or dust contamination. Always use colourants formulated for epoxy, as non-specific inks can react poorly and create haze. Should air bubbles persist, revisit your mixing and pouring technique, and let resin rest briefly after mixing to allow bubbles to rise naturally.
Remember, patience during the process leads to superior clarity and stunning visual effects in your resin art.

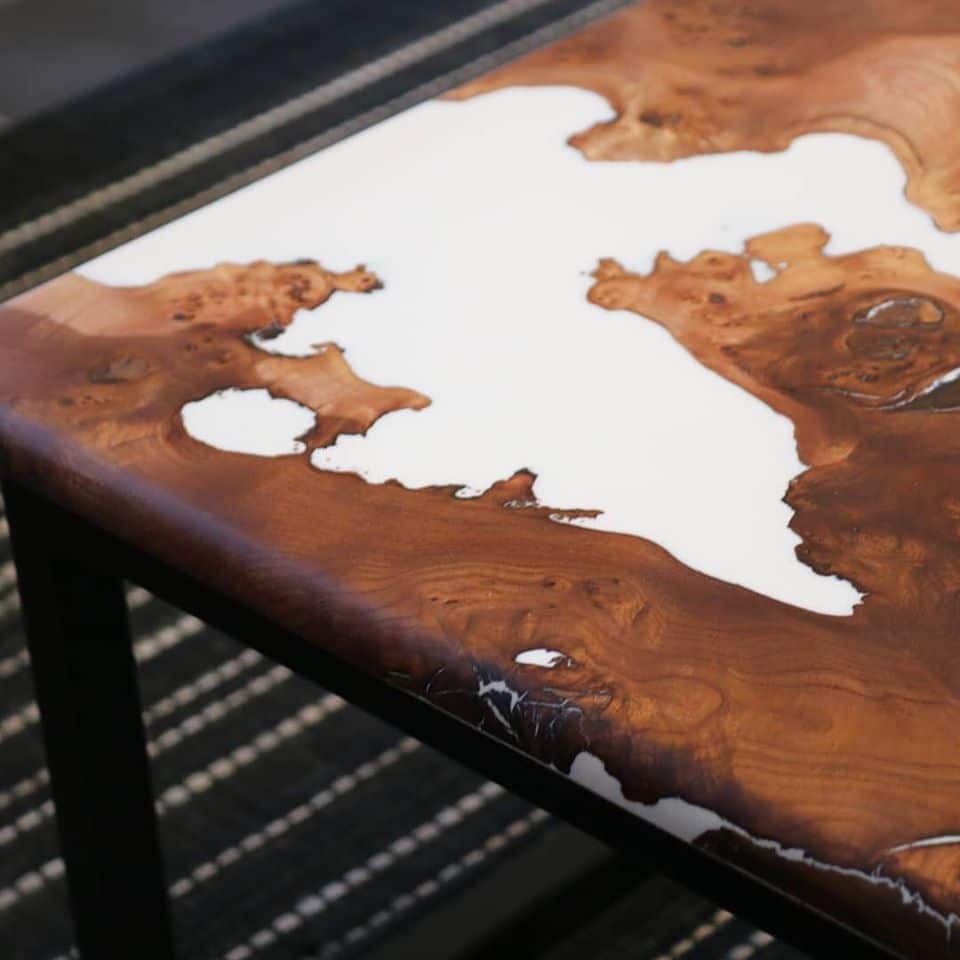
Showcasing Finished Translucent Resin Projects
See completed castings and art featuring translucent blues, greens, and purples. These showcase layer depth, intricate patterns, and the eye-catching clarity possible with specialist epoxy systems.
- "Colourfun Set" – Liquid Epoxy Resin Colourant Set for Solid Colour EffectsPrice range: £14.45 through £50.95Colourfun Set offers translucent, intense colour pastes designed for transparent epoxy resin projects with smooth mixing.
- "Petri Art" – Set of Alcohol InkPrice range: £14.95 through £19.95The Petri Art set is used for creating translucent coloured effects in epoxy resin, suitable for creative PetriArt techniques.
- "Liquidissima" – Epoxy Resin For Creations & JewelleryPrice range: £12.85 through £31.85LIQUIDISSIMA resin provides clear, low-viscosity epoxy suitable for detailed jewellery and creative projects within the translucent effect theme.
 "Trasparente" – Multipurpose Clear Epoxy Resin for Casting – Up to 2cmPrice range: £8.95 through £397.95Designed for detailed castings and DIY projects, this ultra-clear epoxy resin provides a glossy, self-levelling finish up to 2cm thick.
Frequently Asked Questions
How much pigment should I add for translucency?
Limit pigment addition to 0.1–2% of total resin volume for best translucent results. Too much pigment can easily make your piece opaque.
Why does my translucent resin cure cloudy?
Cloudiness often arises from dust, under-mixing, using unsuitable colourants, or excess pigment. Use clean tools and resin-safe pigments.
Can I use alcohol inks for translucent effects?
Yes, alcohol inks like Petri Art are suitable for creative swirls and floating colour layers when working with viscous resin.
How do I remove bubbles from my resin?
Gently use a heat gun or torch over the surface to break bubbles after pouring, but avoid overheating to maintain clarity.
Do I need special resin for translucent effects?
Select a clear resin designed for transparency, like Liquidissima or Trasparente, as standard craft resins may not stay optically clear.
What is the best temperature for curing translucent epoxy?
Room temperature (20–25°C) is ideal for even curing and bubble release, ensuring a flawless translucent finish.